|
|
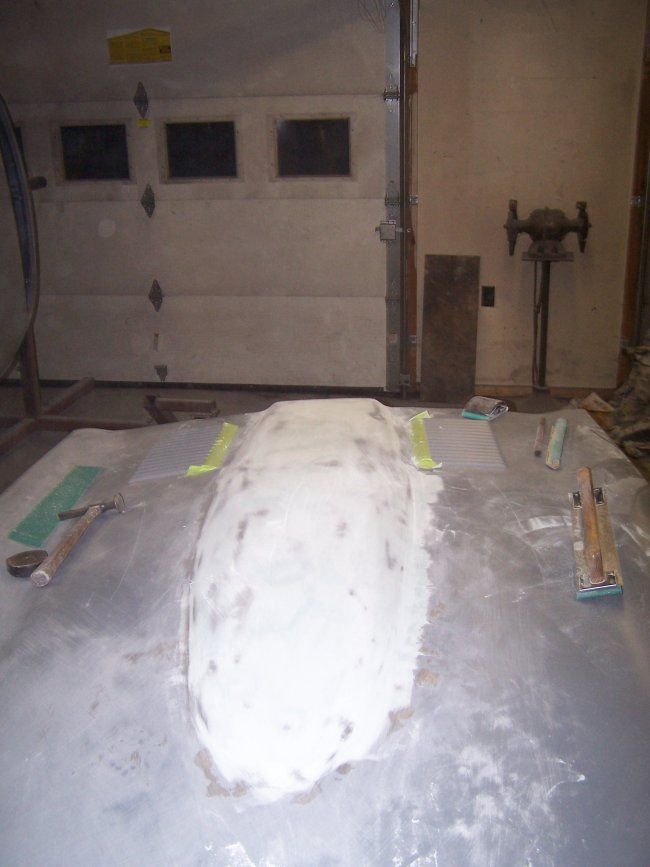
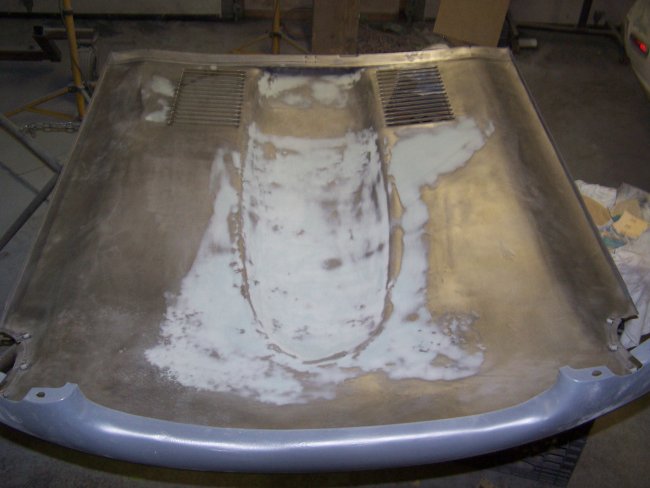
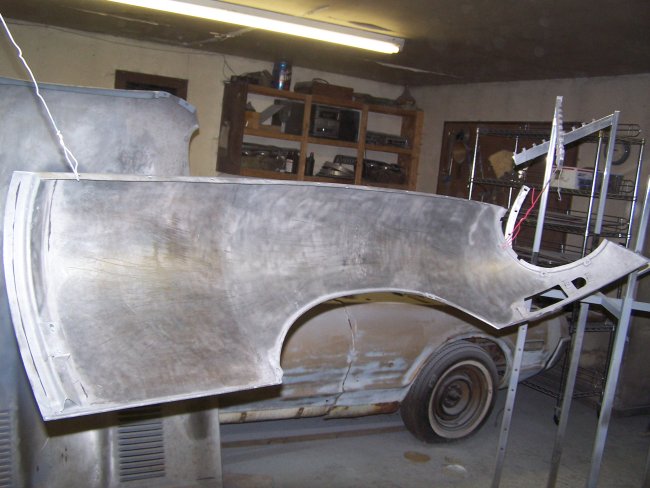
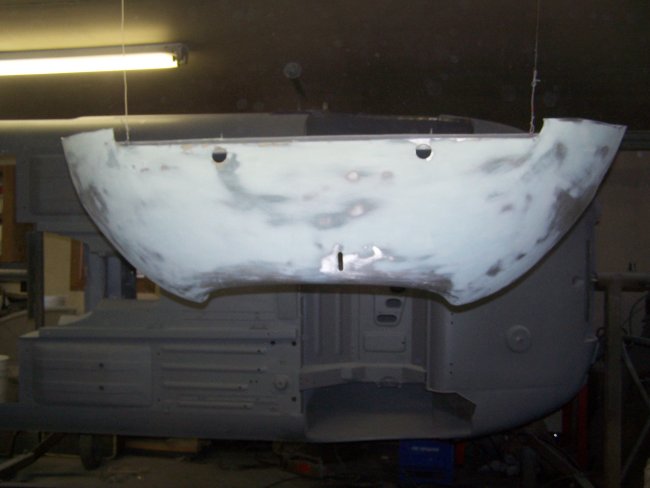
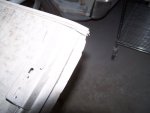
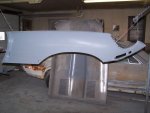
I had a week off during the Chrismas holidays so I dove right back into the bonnet rebuild. The first this I did was tackle the center hump of the bonnet. In the
first picture you can see where I sanded down the primer to get a feel for the work I had to do. The silver spots are the high spots and the darker gray spots are the low
spots. Not bad considering what it used to look like.
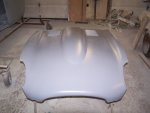
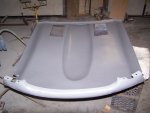
I stripped off the primer and applied a coat of Evercoat Rage Extreme down the center. The center was board sanded by hand. No air tools were used.
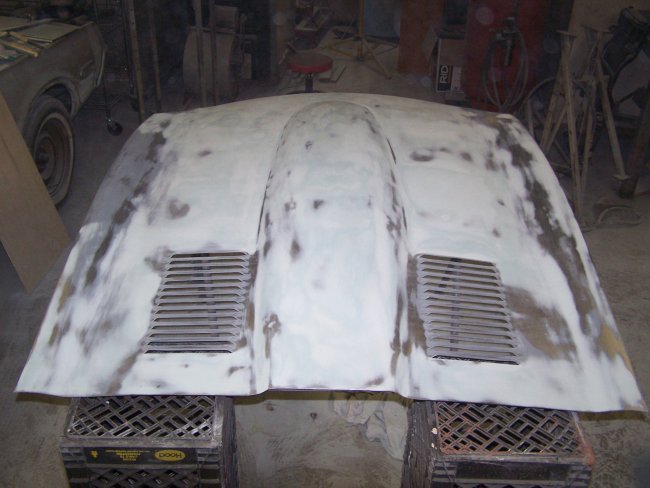
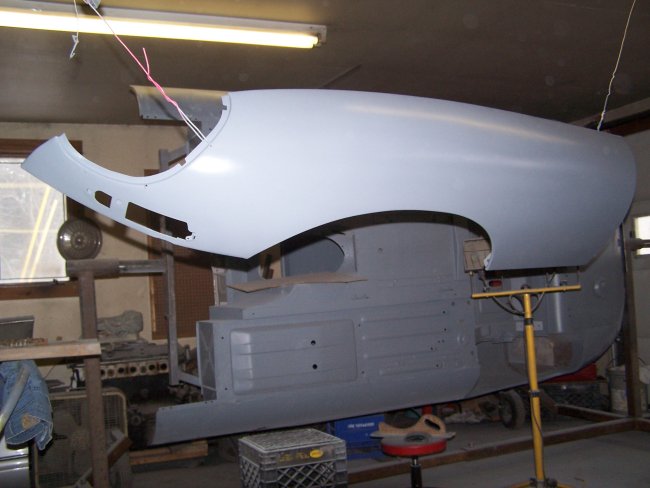
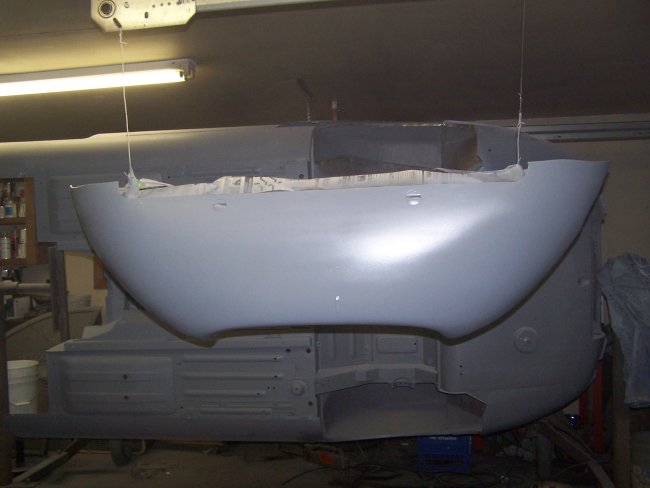
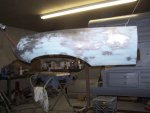
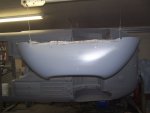
After a few touch up coats and sandings I turned to the rest of the bonnet center section. It looks like a lot of filler was used in the above pictures, but it was quite thin.
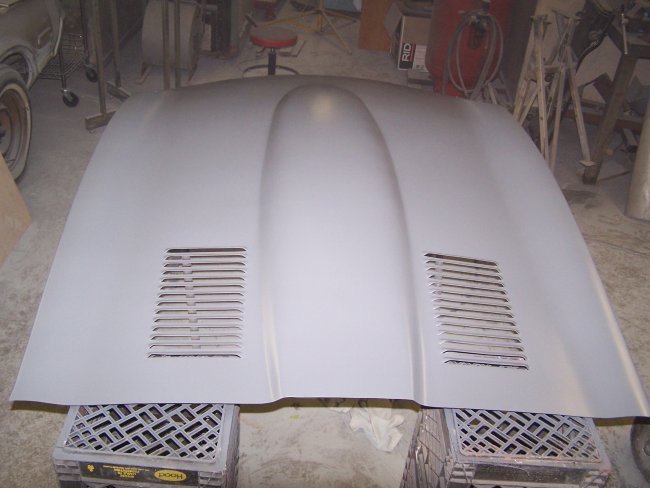
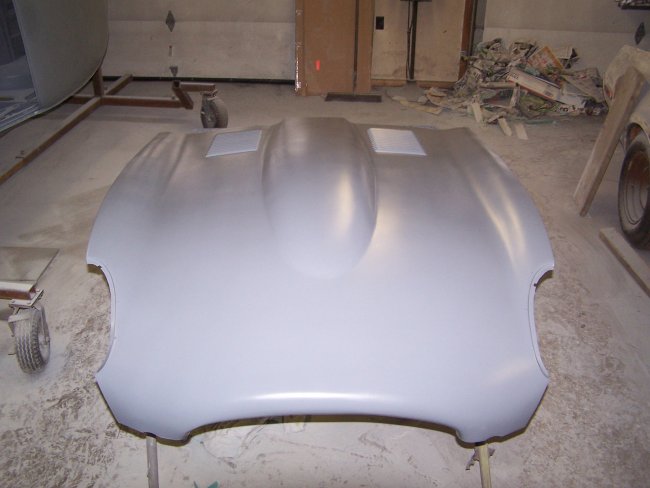
Once I was satisifed with the filler work I primed the whole thing with DF50LF Epoxy Primer. I think it turned out quite well.
|
|
|
|
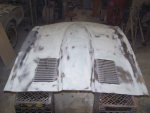
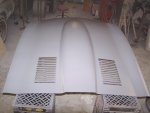
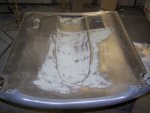
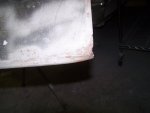
The underside of the bonnet center section was stripped to bare metal and repaired. I only repaired the areas that would be seen when the bonnet is opened. I also made sure
that I did not apply any filler to the areas where the inner brackets will be bonded to the underside. I did not want to risk having the brackets pull free since I suspect
that epoxy primer does not bond as strongly to filler as it does bare steel.
|
|

 
|
|
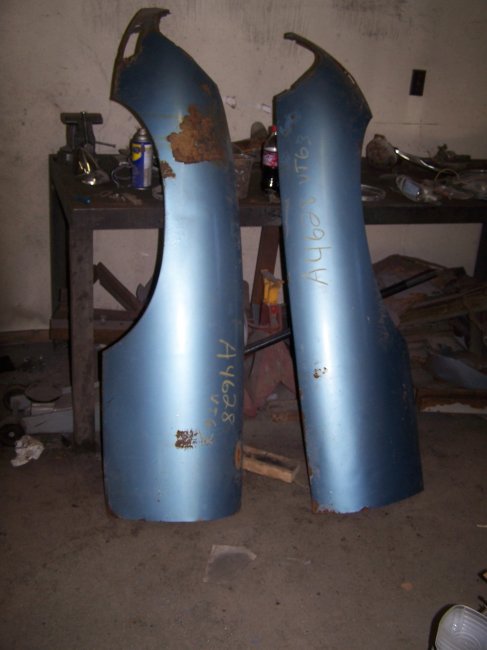
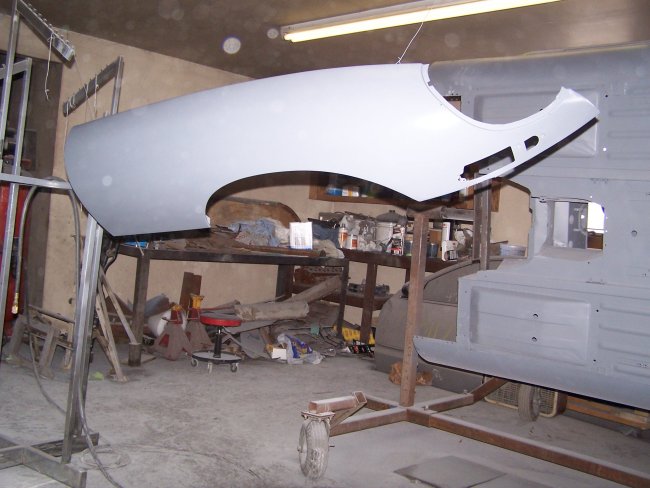
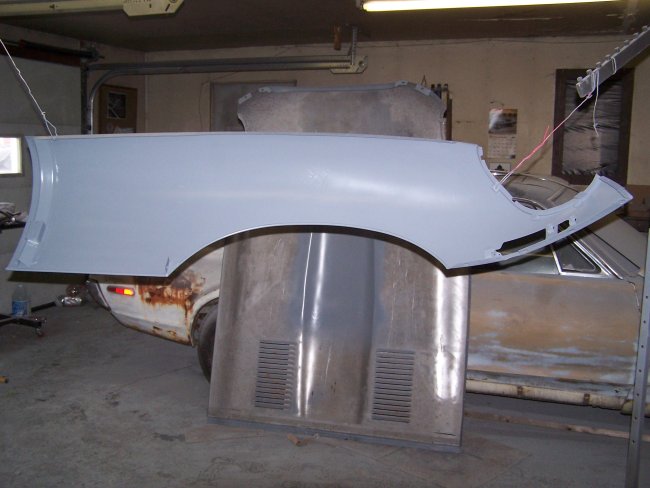
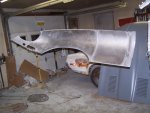
Next came the front wings. I had a light crease to fix on the right one at the bottom and a few light jambs. The front inner brace had come unglued, so I left it off to
be glued when the bonnet is reassembled.
|
|
|
|
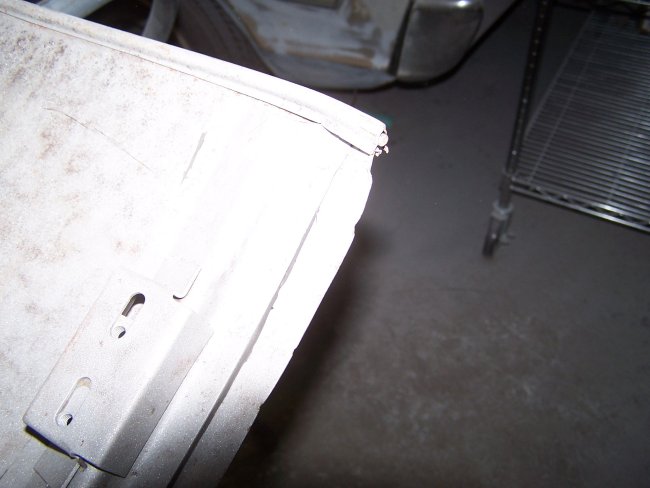
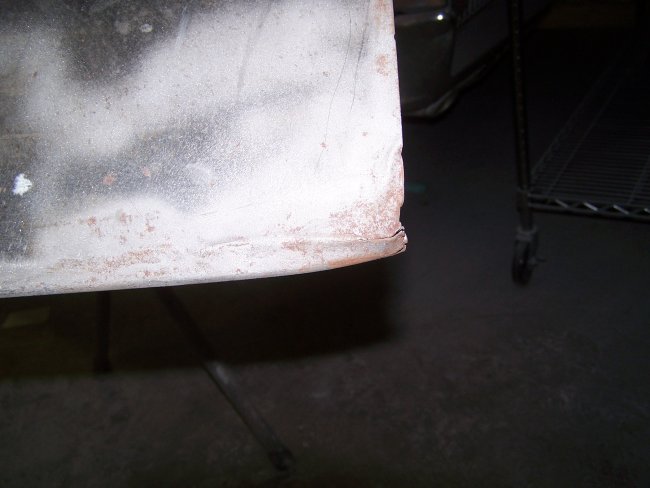
The left wing had some damage at the bottom right corner. This actually comes from the previous owner who had removed the bonnet and temporatily installed it without
the shimms or the springs. The damage comes from repeatedly dropping the bonnet closed on the stopper that is mounted to the bulkhead. I heated up the metal to straighten it
out and then mig-welded the tare closed.
A previous owner had mounted a mirror to the left wing, so I had mounting holes to weld closed as well.
|
|
|
|
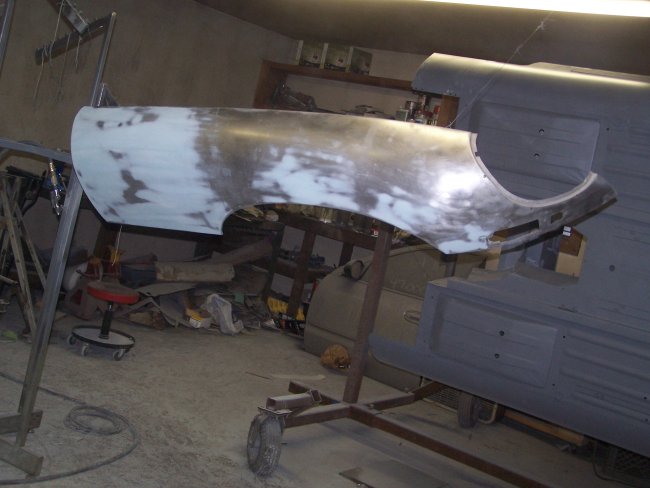
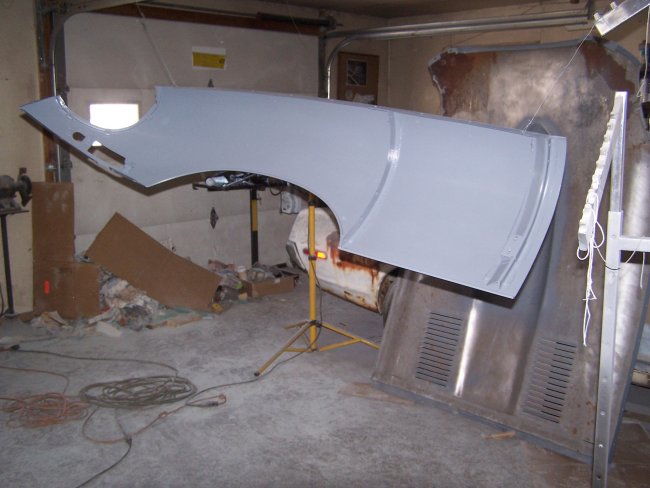
The left wing also had a few jambs to take care of. Both of the inner braces had also come unglued, which I left off until the bonnet is reassembled as well.
|
|
 
|
|
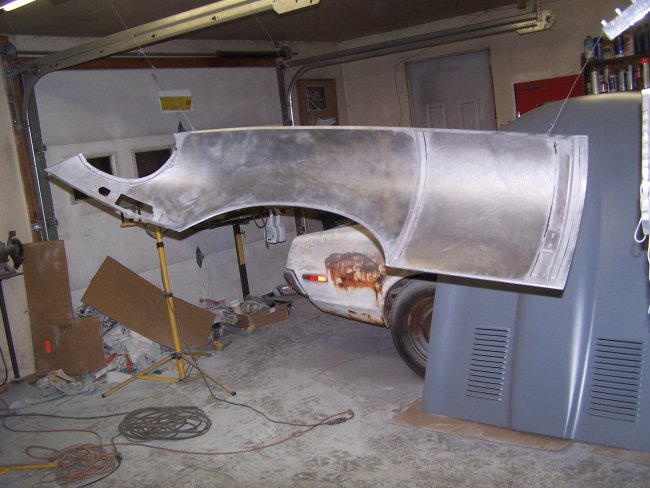
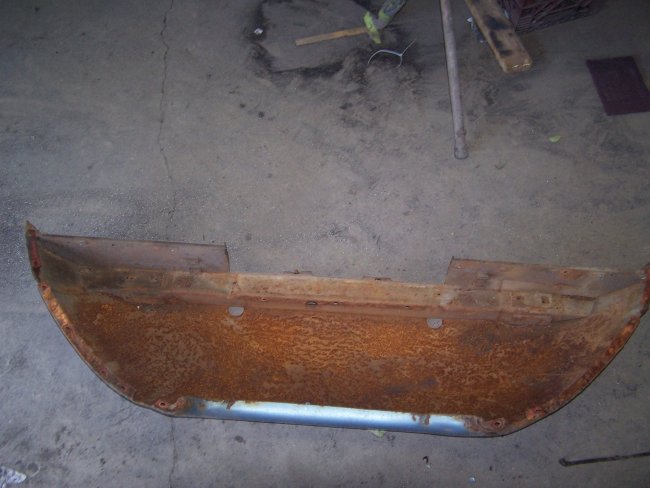
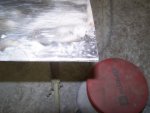
The lower pan was quite rusty, but luckily the rust had not eaten through the panel. Becasue of the rust in the seams, I had to take the lower pan apart by drilling out the spot welds.
I sandblasted the pieces and welded it back together. Weld-thru primer was used to protect the joints prior to welding. There were lots of little jambs on the pan which I had to fix. Most of
the work I did with a hammer and a body file, but I still needed a skim coat of filler to make it perfect. Again I suppose the I could have used high-build primer for this. Maybe on the next one.
With the pan block sanded I gave it a good 3 coats of DP50LF epoxy primer to seal it.
|
|