
|
|
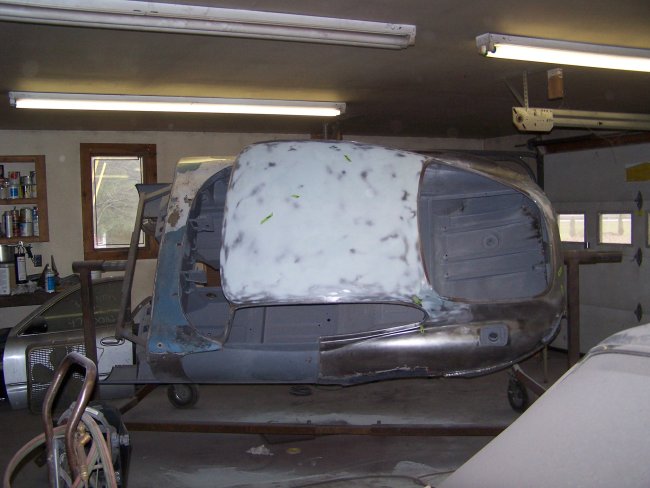
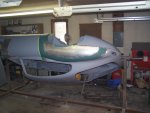
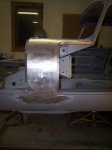
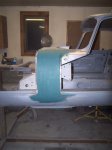
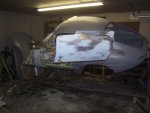
Next on the agenda was the filler work on the roof. There were quite a few little jambs on it when I got it. I fxed the worst of it with a pick hammer and a body file.
I suppose the rest of the work could have been done using SlickSand, but I decided to use filler and save the SlickSand until I was ready to do the entire car at once.
Basically what I did was to coated the entire roof with a thin coat of Evercoat Rage Extreme and block sand it with 120 grit paper on a 16 inch sanding board. In the first
picture you can see a couple pieces of tape that I used to mark the low spots.
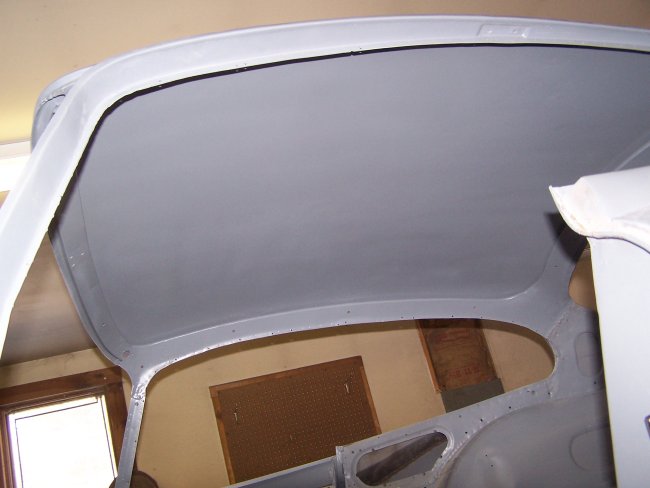
It was only an afternoon's work to get the roof in primer. For the underside of the roof, I had to treat with a rust converter prior to priming.
|
|

|
|
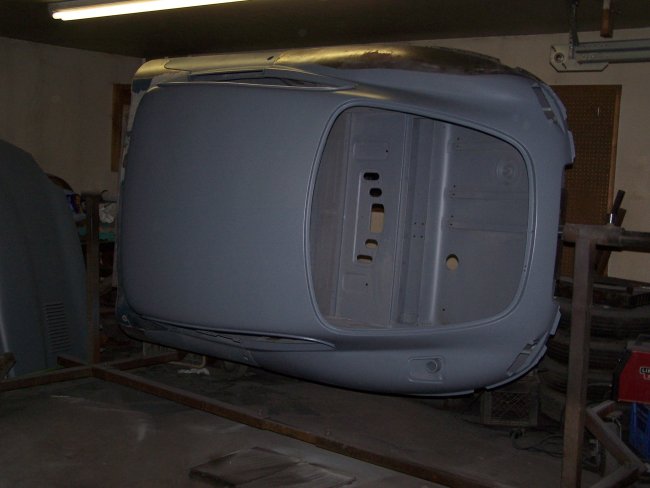
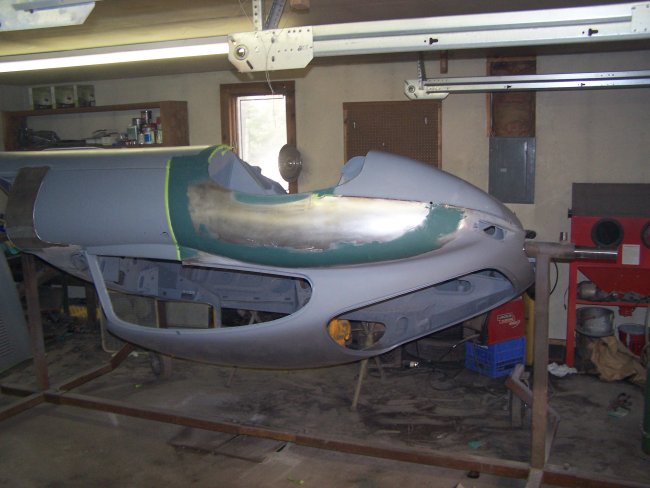
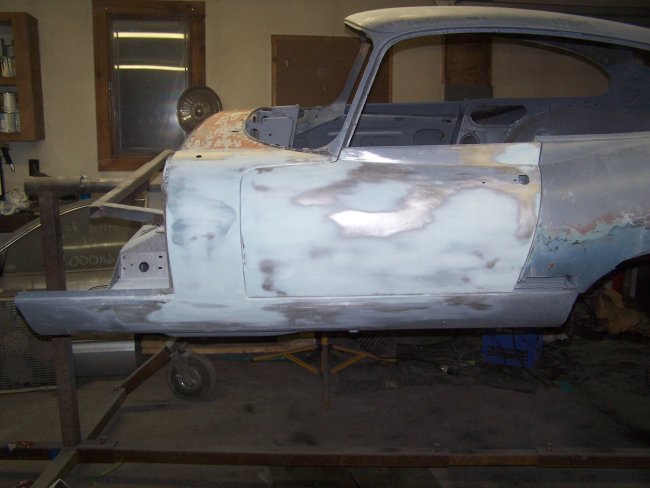
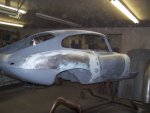
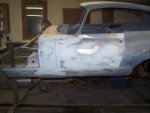
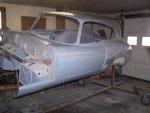
I worked on the entire right side at once. I used lead to fill the gaps where the rear wing and front filler panel meet the rocker panel. I also used lead to detail the top inside of the door shut face.
I then switched to Evercoat chopped fiberglass filler to detail the butt-weld joint and the lead work. For final detailing I used Evercoat Rage Extreme.
The process I used for the right side is what I typically used on my other projects. Hopefully I'll get better with lead and rely less on other fillers.
|
|
|
|
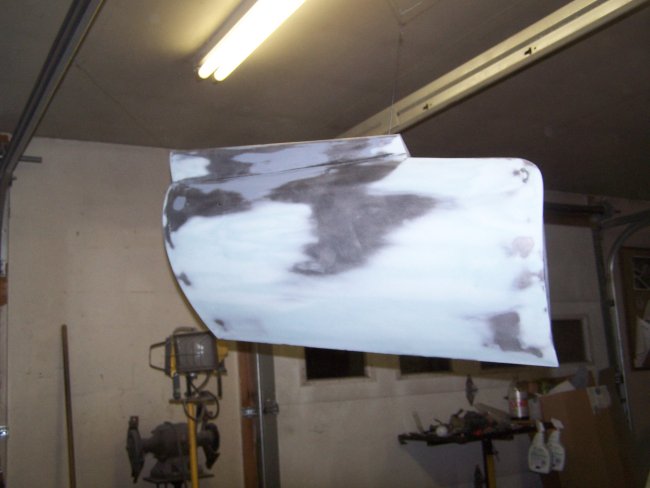
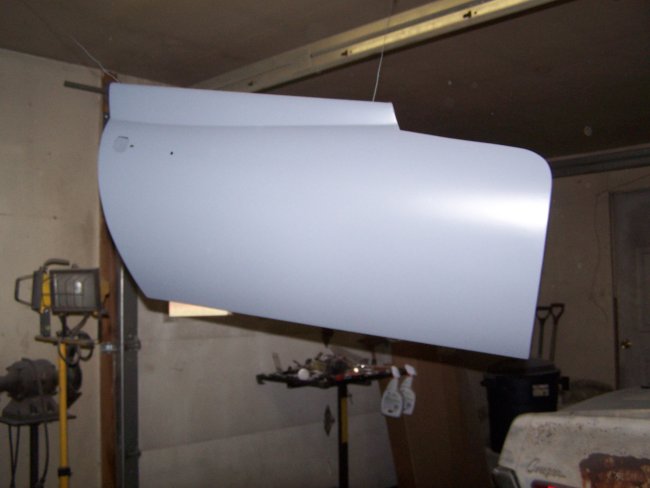
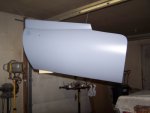
The door was blocked on the car, but was primed seperately. Even with a great door reskinning job, filler still had to be used so that the gaps were even around the doors and the contour of
the doors matched the contours of the body.
|
|
|
|
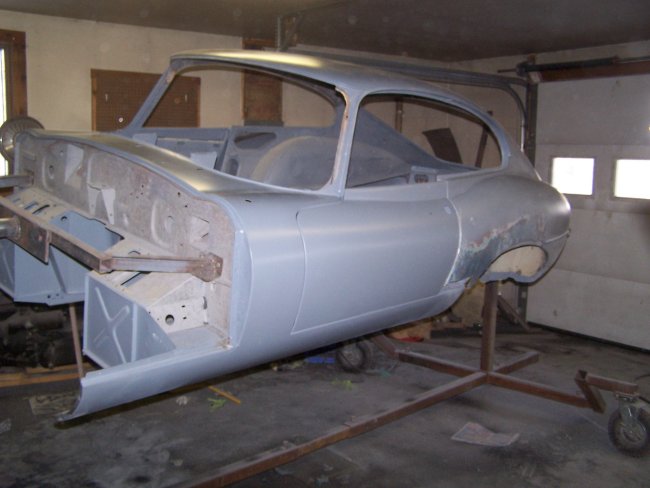
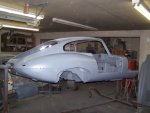
The process for the left side was the same as the right. Since I did not have a new rear wing for the left side, I was taking a chance that I would have to redo some of the blocking on the door
once the new wing is installed.
At this time I fixed the upper panel which had been damaged when the barn collapsed on it.
|
|
|
|
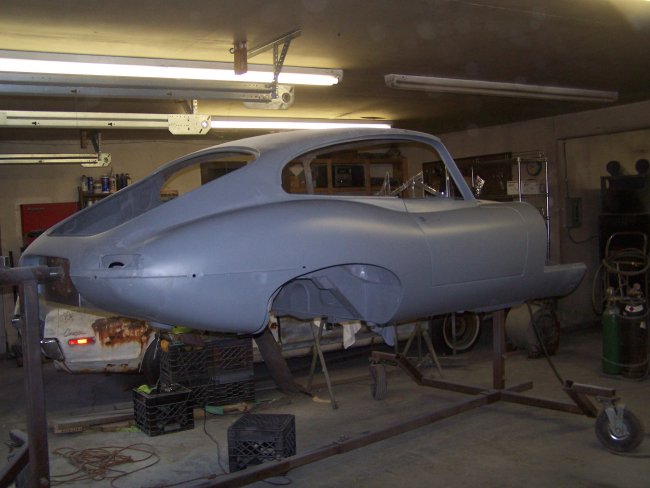
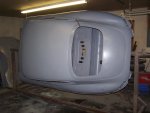
With everthing primed I installed the bootlid to examine the fit. I had to do a little tweeking of the opening at the very bottom to prevent chipping once the car has been painted. I've seen several
cars that have this problem at shows.
With the bootlid installed all of the body work has been completed on the shell except for the left rear wing which I will need to locate either NOS or inevitably pay big dollars for a new one.
|
|