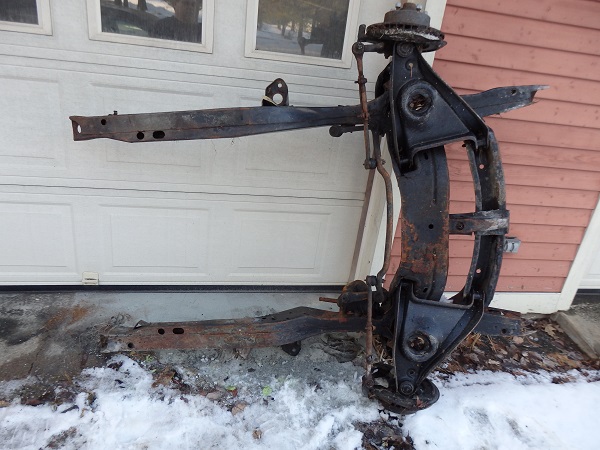
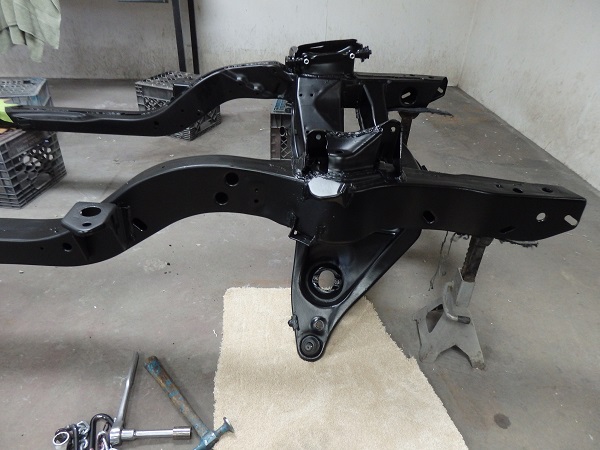
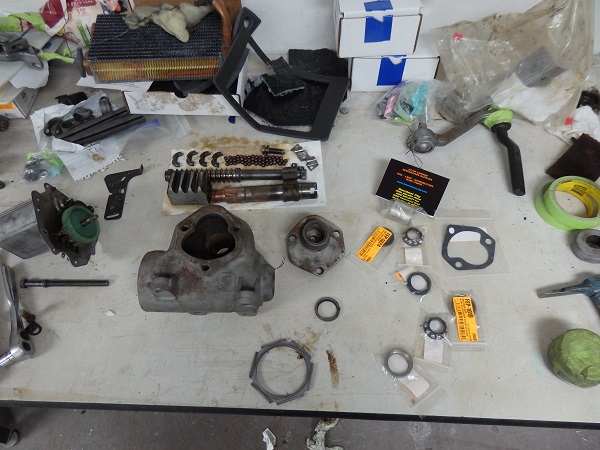
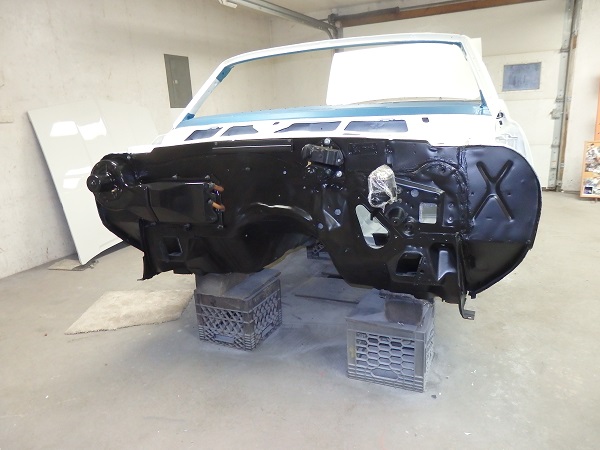
When the car was converted for drag racing, the rubber bodymounts were replaced with metal spacers that were tack welded to the subframe. The front brakes were also converted to disc brakes, but the car retained its original manual steering gear box. The first picture shows what I started with.
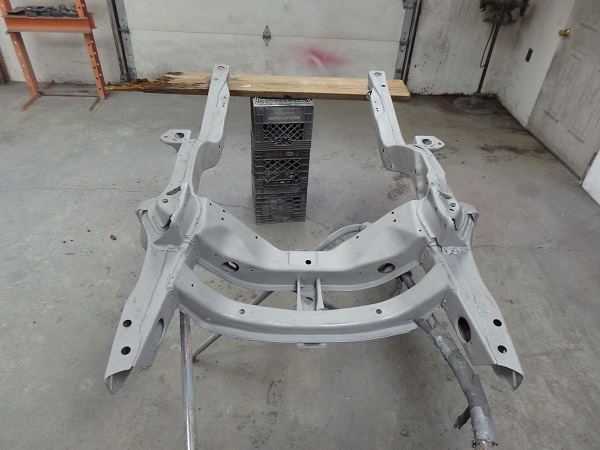
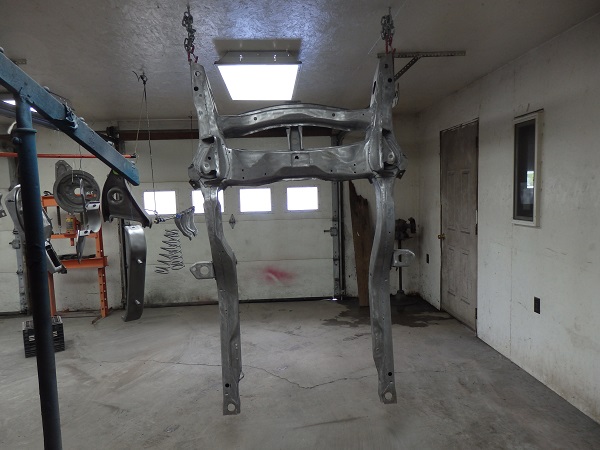
I tore the components off the subframe mid-winter and had Dexter's sandblast everything in the spring. The subframe needed a little work. The welds that held the bodymount spacers had to be cleaned away and there were a few extra holes that needed to be filled. After that the subframe and components were cleaned up more with a wire wheel in preparation for painting.
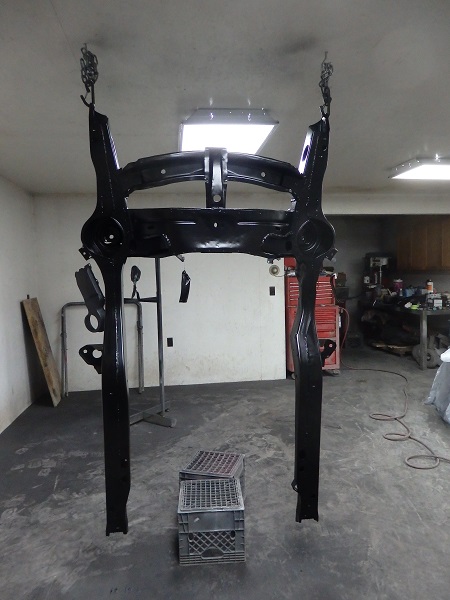
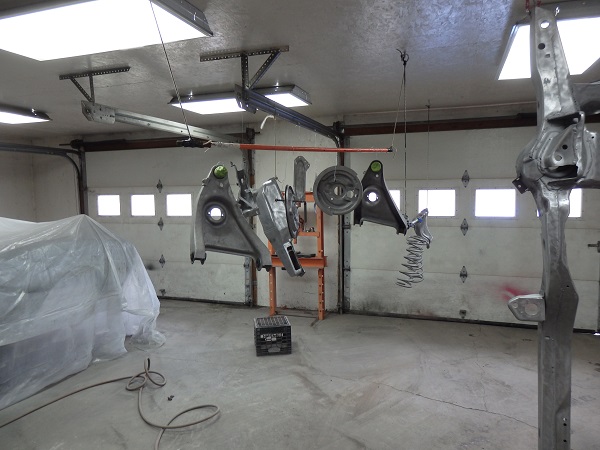
The parts were hung from the garage ceiling and coated with DP90LF epoxy primer followed by SEMS HR010 Hot Rod Black.

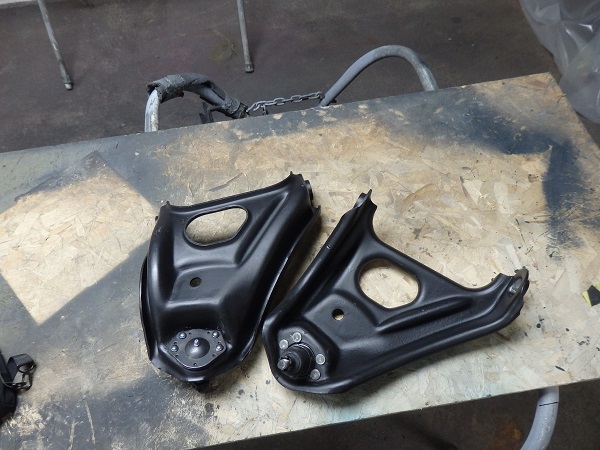

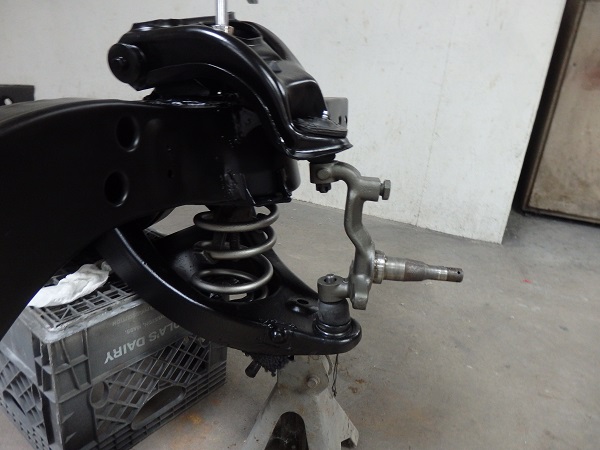
I replaced the balljoints in the lower control arms before painting them. I left the upper control arms in primer and painted them after they came back from having the balljoints installed.
I had the upper balljoints rivetted in by Bair's Corvettes in Linesville, PA. Send them the parts and they will install the balljoints for $25 each. Took about a week. Once they came back, I pressed the assembly. It should be noted, that the factory painted the control arms assembled, but did not paint the balljoints.
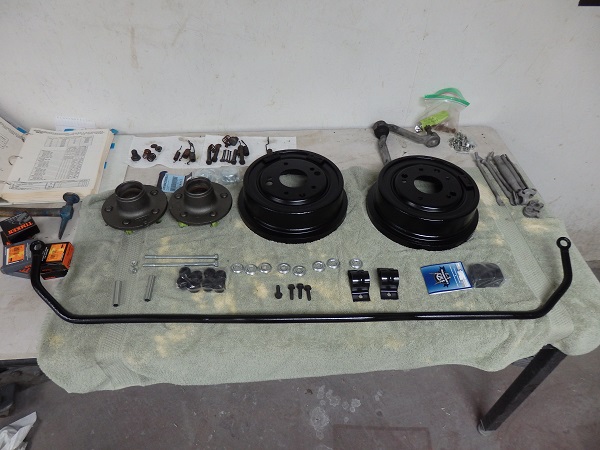
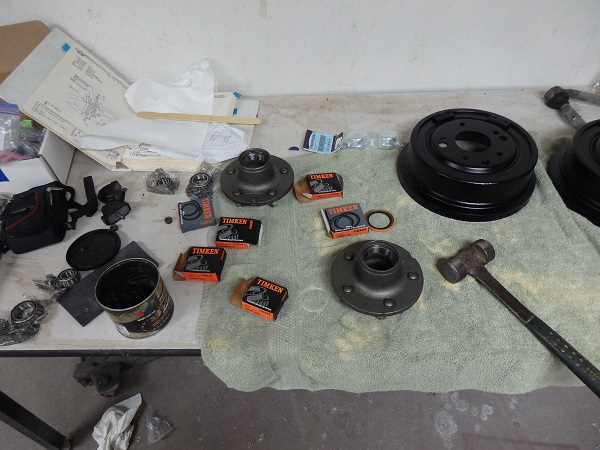
I wanted to convert the front brakes back to original, which meant I needed spindels, backing plates, hubs and drums. Not to mention the innards that would be bought new. I got really lucky. I was able to buy the entire original setup fomr a 1967 Camaro on ebay for a measly $100.
Apparently the brake setup was removed from a car in Texas early in its life, for a disc brake conversion. The parts I got were prestine and the drums didn't even need turning!
I did sandblast the parts and then primed & paint the spindles & hubs cast blast and the drums SEMS Hot Rod Black. The hubs received new bearings and it was time for assembly.
.
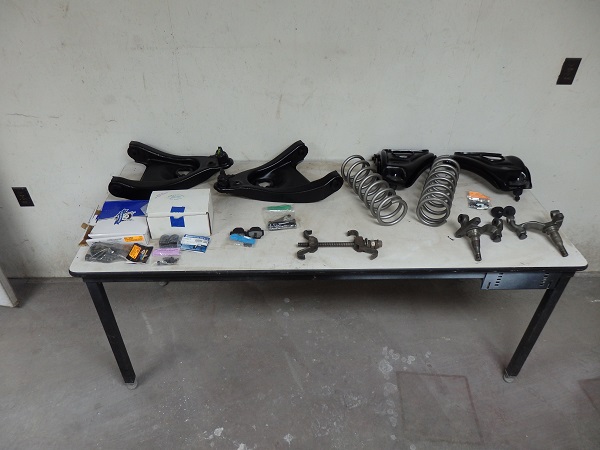
I bought a chassis hardware kit from AMK Products, which were mostly factory correct.
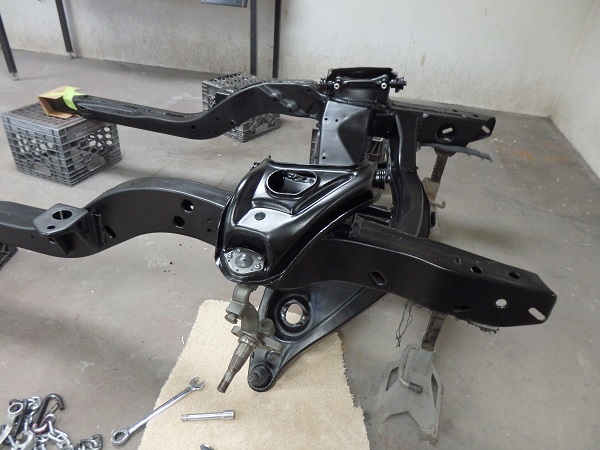
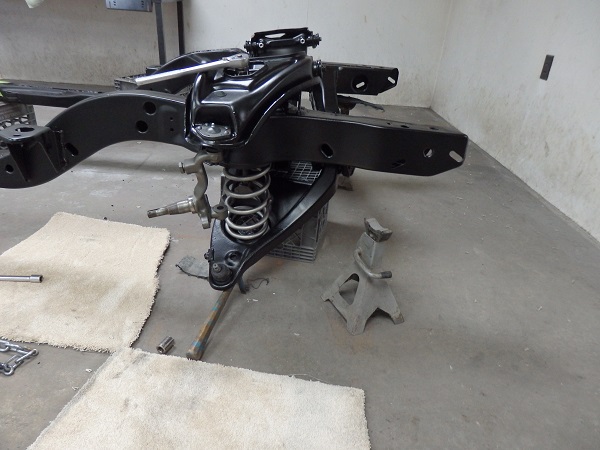
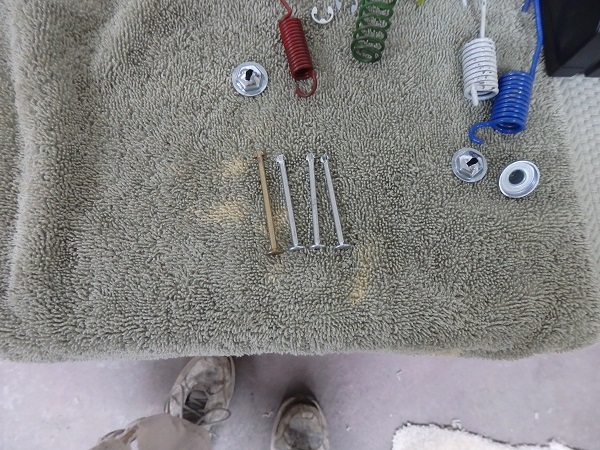
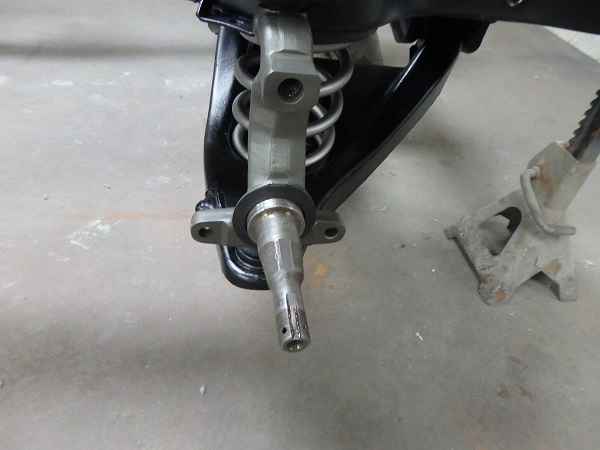
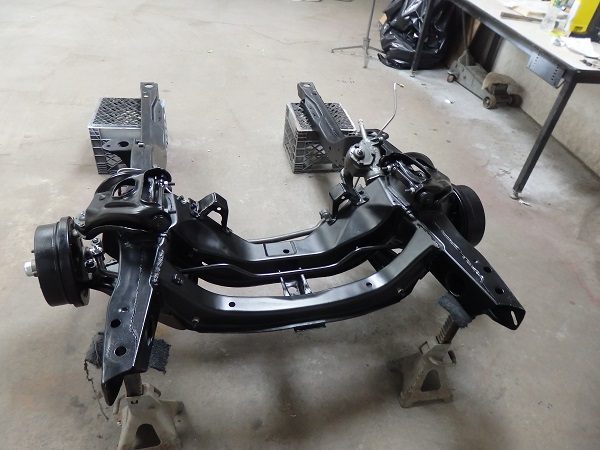
First up was the control arms. They are pretty easy to install. It's the springs that can be tricky since they need to be compressed in place. To do each side I bolted on the control arms and was able to wedge the spring in place. I propped the lower control arm up, a hammer in this case (refer to the third picture from the left), and installed an internal spring compressor. With the spindle bolted in place (but not fully tightened), it was a matter of tightening the compressor until the lower end of the spindle could be installed. I know I made it sound easy, but it can be a dangerous operation. So that needs to be kept in mind at every second.
One note on springs: They originally would be natural treated steel in appearance, which means they would start looking rusty pretty fast. I primed mine and painted them with Seymours Stainless Steel paint with a slight mist of black paint to achieve the original look. Many restorers paint the springs gray which is not correct.

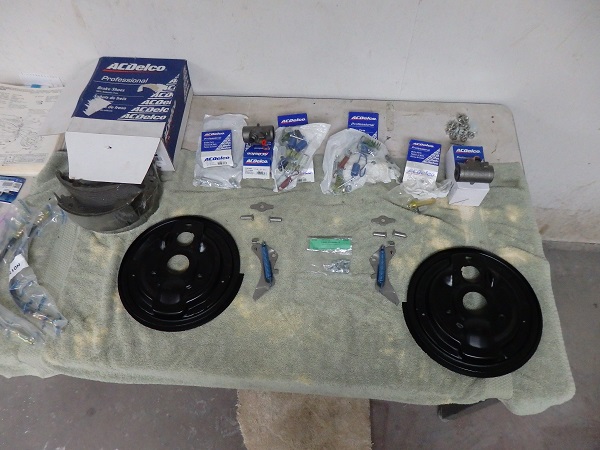
With the control arms done, it was time for the brakes. The first picture shows what I got off ebay. I bead blasted and kept the parts that wouldn't be replaced with new parts. All of the new parts were AC Delco from Rock Auto. The pins that came in the spring kit were just too short however, the correct ones (gold one), had to be sourced online.
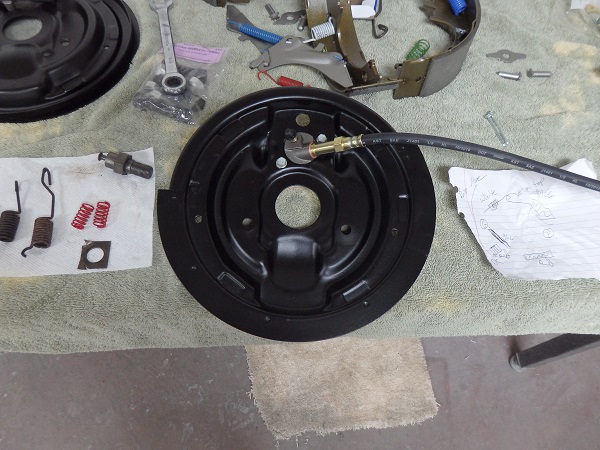
The brakes were assembled on the subframe. First thing to go on is this rubber gasket.
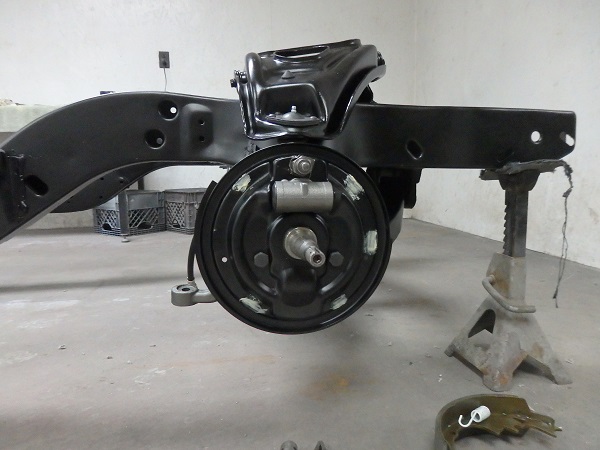
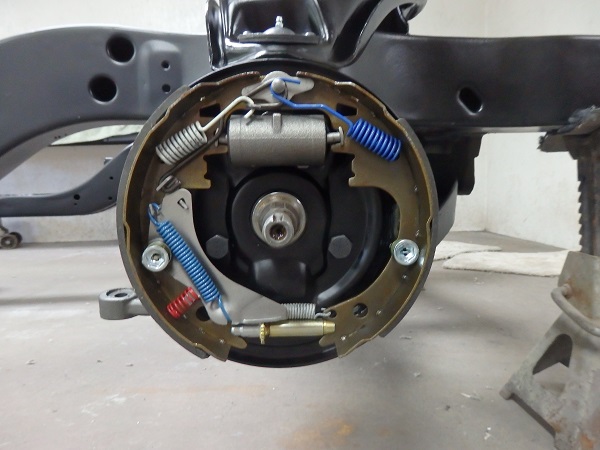
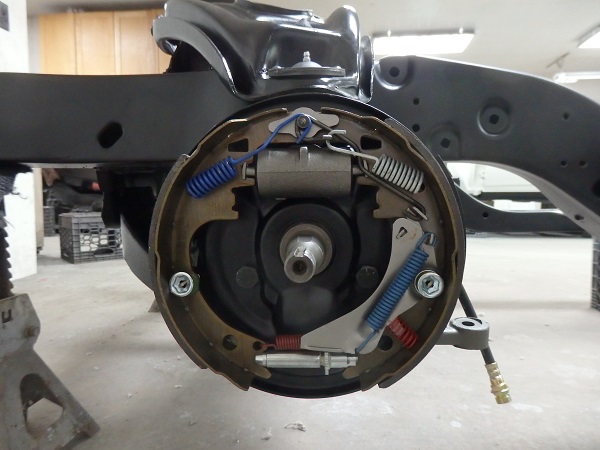
The brake cylinders and hoses were bolted to the backing plates (using AMK hardware) before install the backing plates. Once installed lithium grease was applied to the bosses on the backing plates before installing the shoes.
Front drum brakes are pretty easy to assemble as long as you have the right tools to install the springs. I would like to note that Chevy, Ford and Chrysler drum brakes all look and assemble the same....
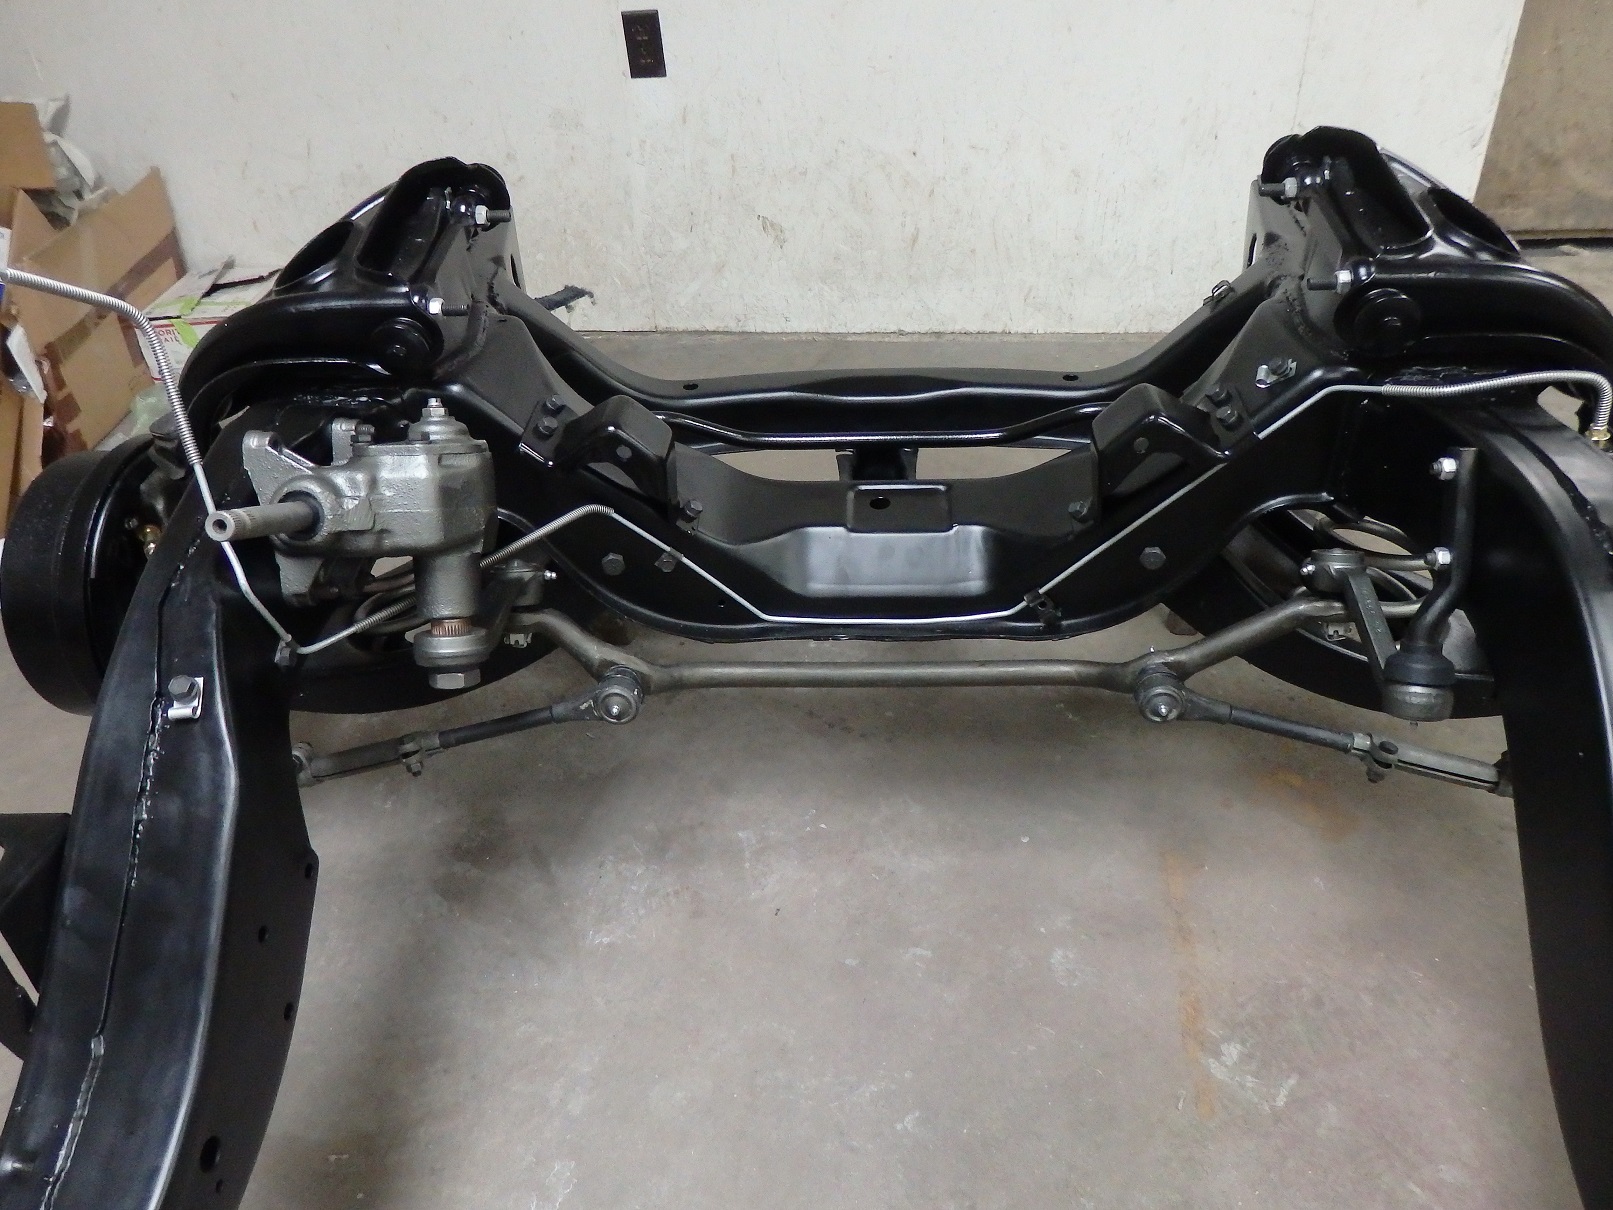
Rebuilding a manual steering gearbox is pretty simple. The ballbearings were still good so all I needed was shaft bearings and a gasket. Not much talk about on this, just follow the instructions in the service manaul for setting the backlash and you're all set.
The idler arm and pitman arm are not reproduced correctly, so I stuck with the originals since the appeared to be not worn out. The pitman arm was painted cast blast. The idler arm was painted cast blast and coated with gun bluing for the piece that bolts to the frame. The gun bluing section was additionally treated with RPM magic to hold back corrosion.
The tierods were replaced with new MOOG parts, which closely resemble the originals. The links and center link were bead basted and coated with RPM magic. I hope it holds out as advertised.
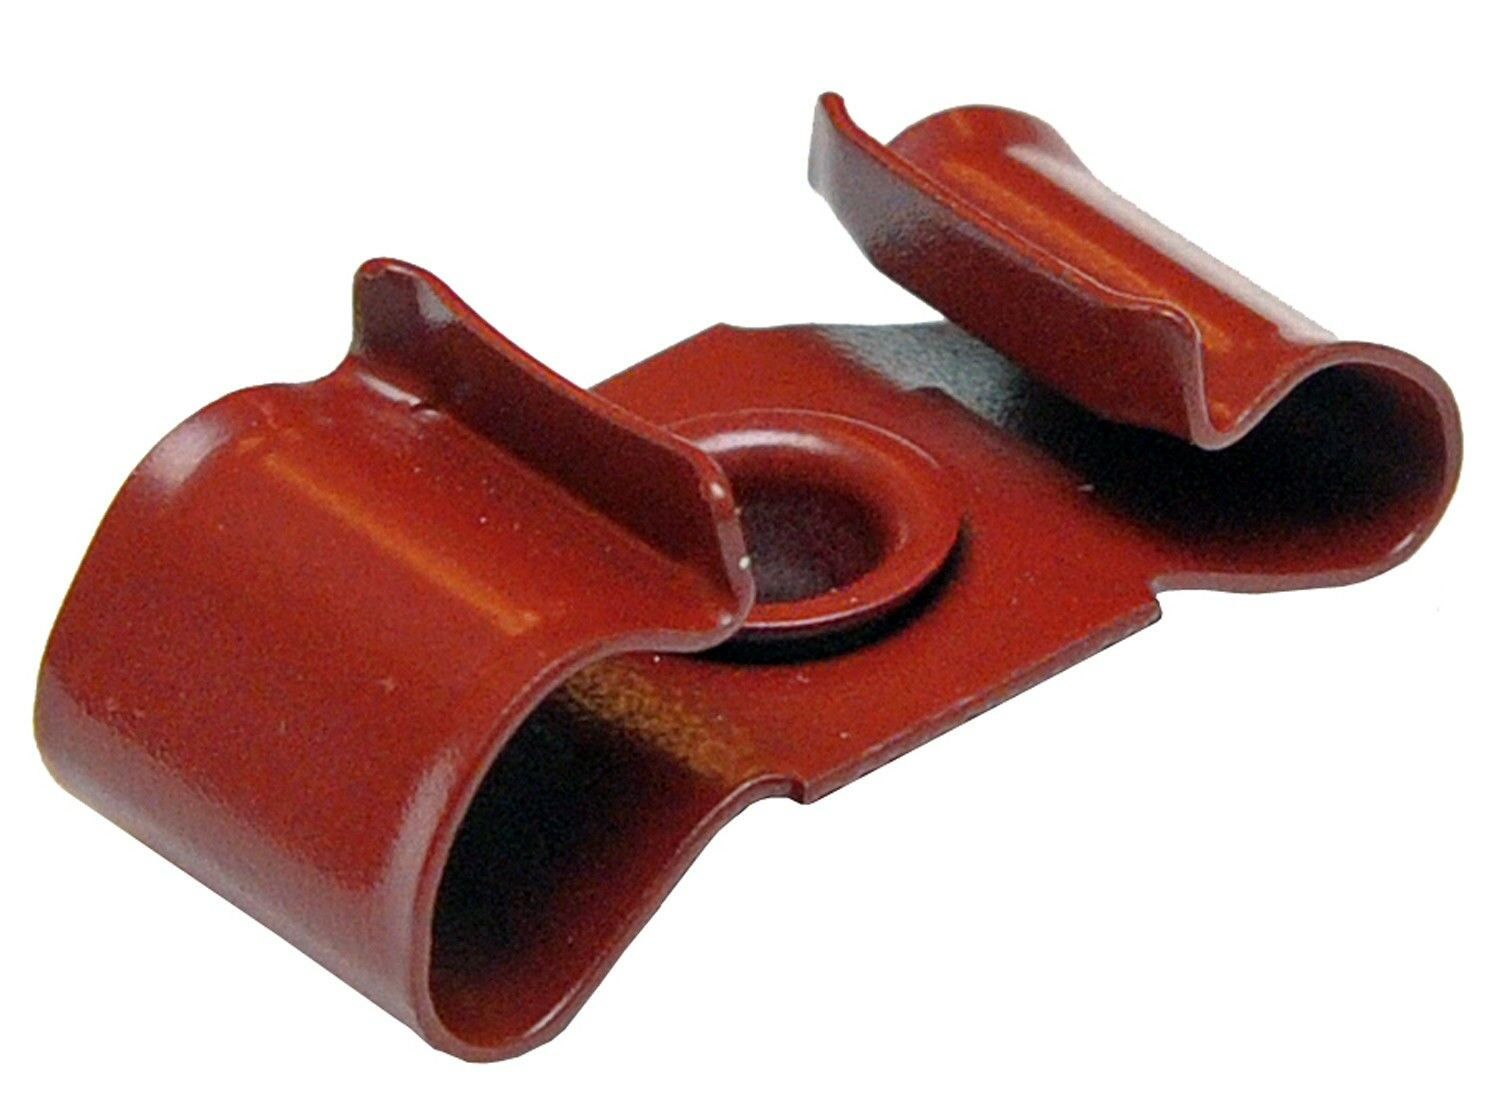
Last to be installed were the brake and fuel line clips followed by the front brake line. Special dual line clips were used to hold the brake and fuel lines. The one pictured in red is a repo part, which looks very similar to the orignals, but would not be red on original cars. I soak these clips in paint stripper, clean them off and paint them with Eastwoods, phosphate gray paint. To install them, you align them in their mounting holes and drive the rivet center with a punch which is about the same size diameter of the hole.
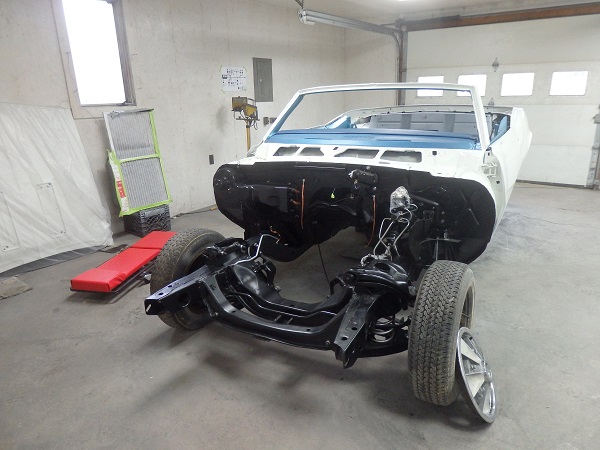
Since the engine wasn't ready to be installed, mostly due to the fact that I was missing the correct transmission, I decided to install the subframe and assemble the nose. Installing the subframe was pretty easy to do. With the body raised up to the correct height, I wheeled the subframe in place and bolted it up. I made 2 alignment pins to aligne the subframe as this is how the factory did it. Refer to UP2 sheet A1 of the 1967 Camaro Assembly manual.