 37) Consoles changed a lot for the Series I. This one is an example of the first ones produced with the cross-hatch pattern, which
isn't being reproduced. However you can purchase sheets of the prestamped aluminum with the cross-hatch pattern from
Astin-Martin since the same pattern was used inside the door jambs on the DB5. Bond, James, Bond.
37) Consoles changed a lot for the Series I. This one is an example of the first ones produced with the cross-hatch pattern, which
isn't being reproduced. However you can purchase sheets of the prestamped aluminum with the cross-hatch pattern from
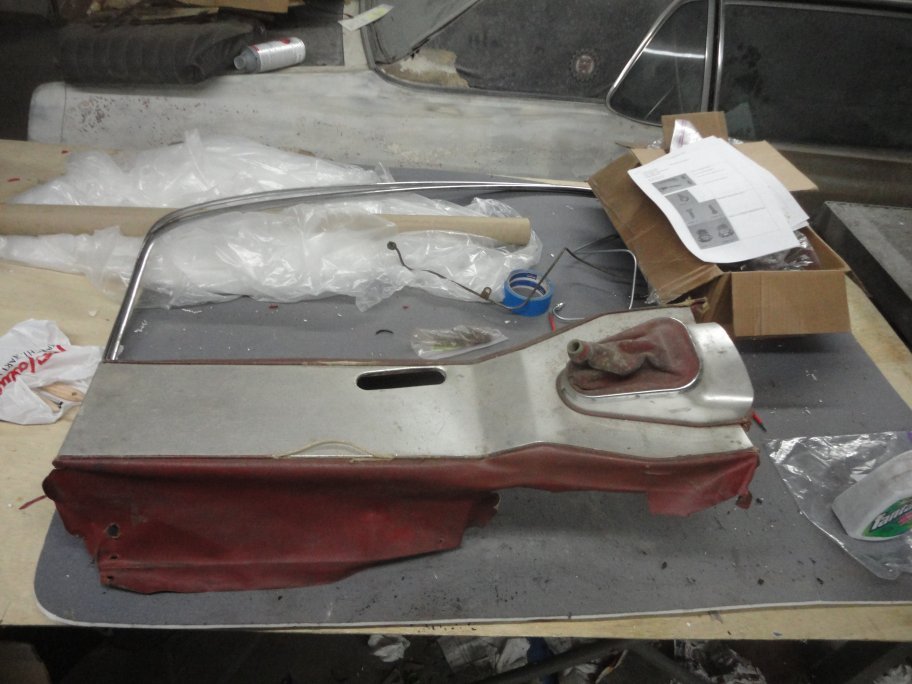
Astin-Martin since the same pattern was used inside the door jambs on the DB5. Bond, James, Bond.Since the earlier style aluminum panels with the circle pattern are reproduced, many restorers opt to use the new panels even if they are not correct, just to achieve the clean new look for their interior. |
 38) The shift boot screws in place from below. The center panel with the precious cross-hatch aluminum is held in with just tabs that are
part of the aluminum panel. Care must be taken as to not break the tabs off since they will be needed to hold the panel back in.
38) The shift boot screws in place from below. The center panel with the precious cross-hatch aluminum is held in with just tabs that are
part of the aluminum panel. Care must be taken as to not break the tabs off since they will be needed to hold the panel back in.The vinyl is just glued in place and can be easily peeled away. Notice that there isn't any foam padding under the vinyl? Padding was not added until later on in production. |
 39) The remaining metal frame of the console is easly straighten, sandblasted, primed and painted. It should be noted that what appears to be kinks/ bulges
in the metal on the sides by the up sloped section, are actually needed so that the console fits under the radio console.
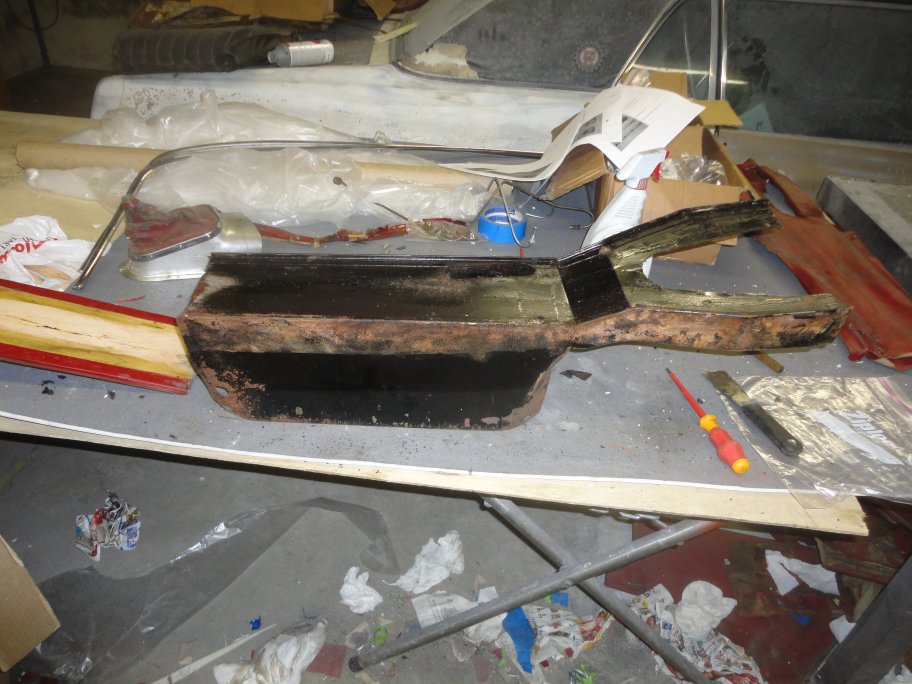
39) The remaining metal frame of the console is easly straighten, sandblasted, primed and painted. It should be noted that what appears to be kinks/ bulges
in the metal on the sides by the up sloped section, are actually needed so that the console fits under the radio console.The vinyl is glued along the perimeter except at the center on the sides. (sorry no pictures were taken during the heat of the battle). |
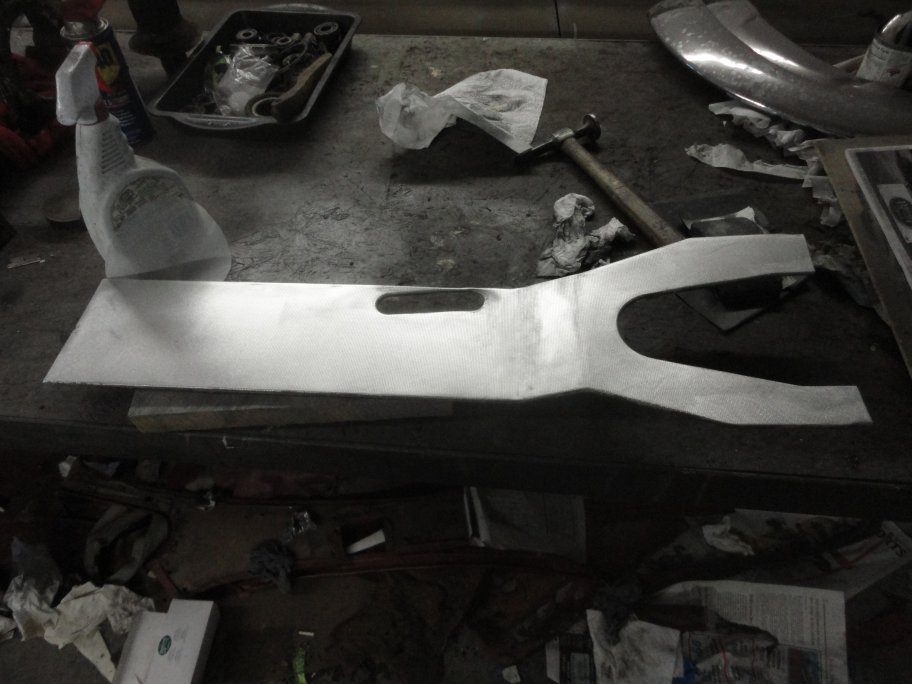
 40) Here is the beat-up precious cross-hatch patterned aluminum center section ready for repair. The first step is to identify any dings in the metal, which requires
removing the aluminum from its plywood backer.
40) Here is the beat-up precious cross-hatch patterned aluminum center section ready for repair. The first step is to identify any dings in the metal, which requires
removing the aluminum from its plywood backer. |
 41) Dings are easier to identify from the underside which should still appear new and shiney. Sometimes it's helpful to mark the locations of the dings with a sharpe.
To take out thei dings just lay the piece on flat piece of metal or a dolley and tap it flat with a flat hammer. Not TOO hard or you will stretch the metal. Tap it
down like it is made of clay.
41) Dings are easier to identify from the underside which should still appear new and shiney. Sometimes it's helpful to mark the locations of the dings with a sharpe.
To take out thei dings just lay the piece on flat piece of metal or a dolley and tap it flat with a flat hammer. Not TOO hard or you will stretch the metal. Tap it
down like it is made of clay. |
 42) Originally the aluminum was clear anodized for protection and to maintain the shine. Majority of the scratches will actually be in the anodize layer. Anodize can be
removed using a reverse anodize process (at home using a Caswell Plating kit, or by a local platers). In my case I used and orbital sander to take the anodize off.
42) Originally the aluminum was clear anodized for protection and to maintain the shine. Majority of the scratches will actually be in the anodize layer. Anodize can be
removed using a reverse anodize process (at home using a Caswell Plating kit, or by a local platers). In my case I used and orbital sander to take the anodize off. The deeper scratches can only be removed by block sanding. I usually start with 220 wet, then 400 wet, then 600 wet then 800 wet and finally with 1200 wet. I light polish will then bring the shine back. At that point it is a matter od deciding whether to have the part clear anodized again or just protected with a clear coat or just wax. A word of warning about sanding: The more you sand the more you take away the cross-hatch pattern. |
 43) The vinyl beading detail on the console is glued to the back and sides of the center section. The center section is simply pressed snuggly into the console and the 8 aluminum tabs are bent
over firmly on the udner side of the console.
43) The vinyl beading detail on the console is glued to the back and sides of the center section. The center section is simply pressed snuggly into the console and the 8 aluminum tabs are bent
over firmly on the udner side of the console. |
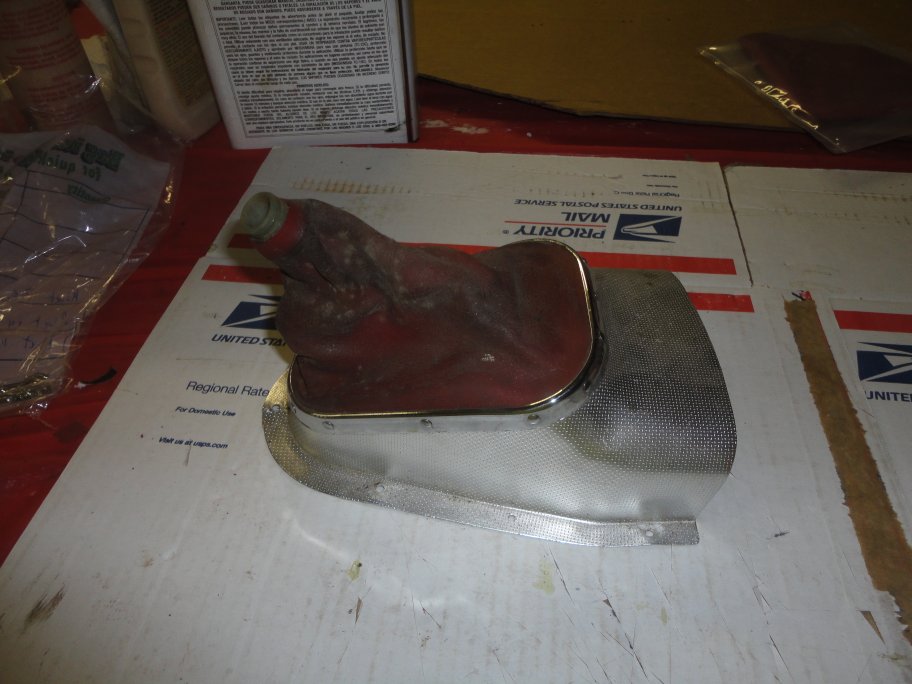 44) The shift boot is held in place with chrome rivets which needs to be drilled out. I matched the rivets up with some stainless steel ones I found at a local Ace hardware store. I did have
to drill the holes a tad larger to get them to fit though.
44) The shift boot is held in place with chrome rivets which needs to be drilled out. I matched the rivets up with some stainless steel ones I found at a local Ace hardware store. I did have
to drill the holes a tad larger to get them to fit though. |
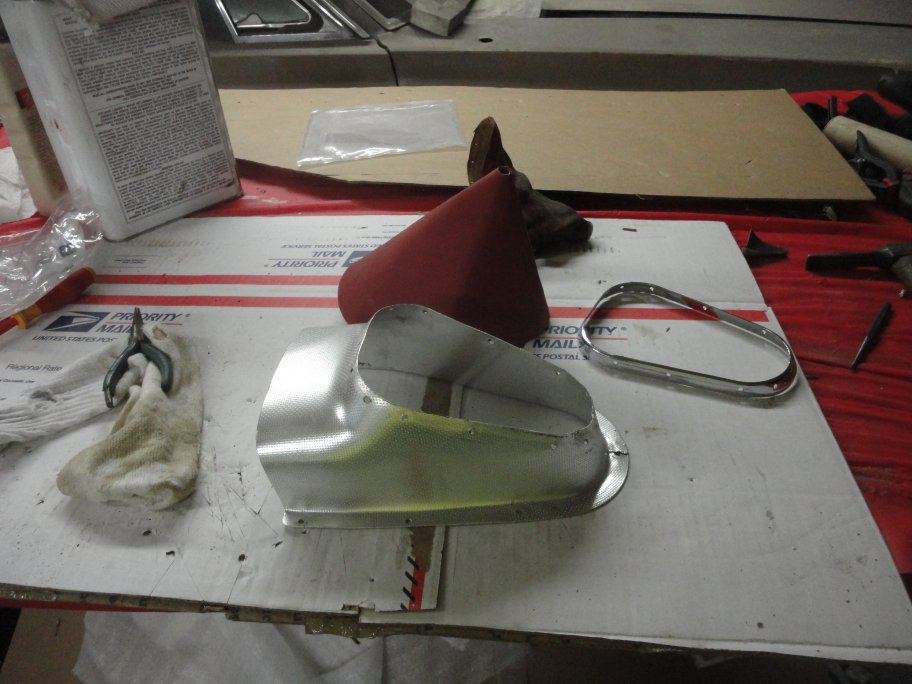 45) The boot comes as a cone of leather with no reference as to how it is supposed to be installed. It's best to keep the original one handy for figuring out the placement.
 |
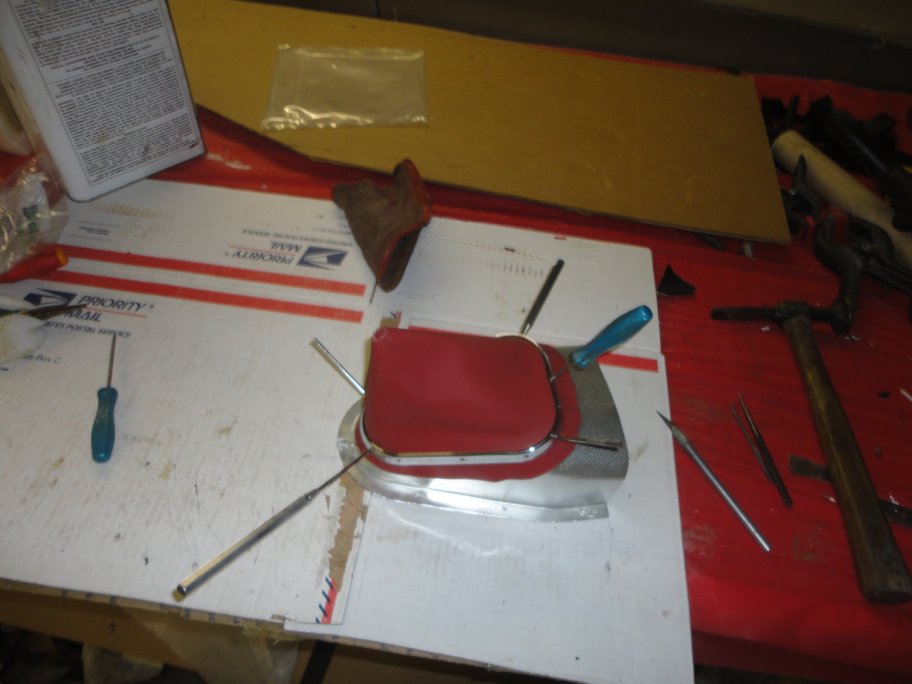 46) The boot is placed over the base and is retained with a bezel. Small sharp line-up tools should be used for locating and making the holes in the leather. Once at a time, solid rivets can be
inserted in the holes and crimped down. In my case I used a big C-shaped pair of visegrips to crimp the rivet down. It's a good idea to practice crimping without the boot before attemping to do it for real.
46) The boot is placed over the base and is retained with a bezel. Small sharp line-up tools should be used for locating and making the holes in the leather. Once at a time, solid rivets can be
inserted in the holes and crimped down. In my case I used a big C-shaped pair of visegrips to crimp the rivet down. It's a good idea to practice crimping without the boot before attemping to do it for real. |
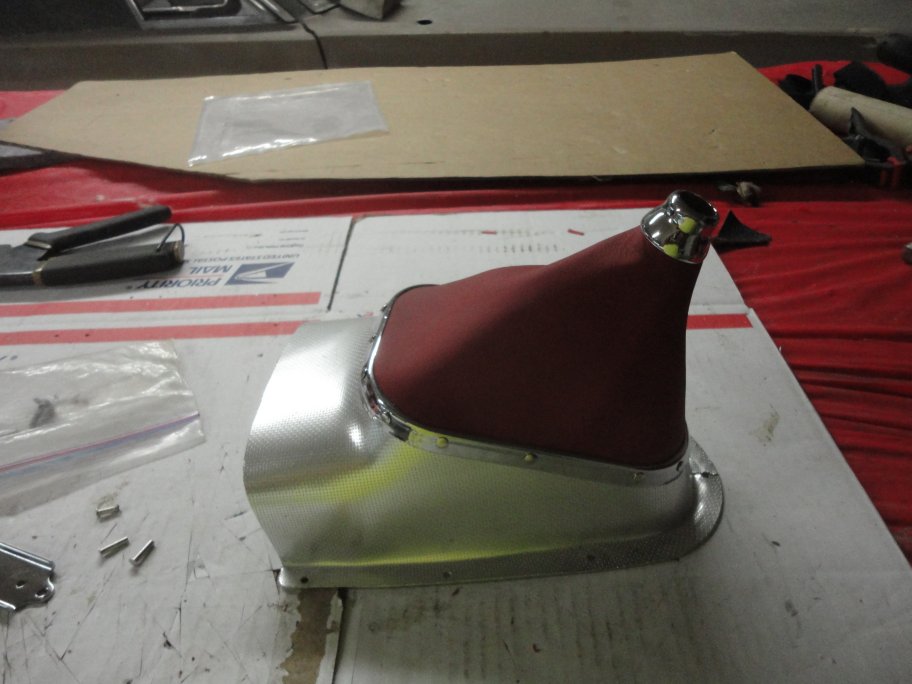 47) The excess material can easily be trimmed away by following the bezel with a sharp exacto knife. Then the chrome escutcheon can be treaded on for the final touch. The boot assembly can then
be simply installed into the console and attached using 6 small screws from underneath.
47) The excess material can easily be trimmed away by following the bezel with a sharp exacto knife. Then the chrome escutcheon can be treaded on for the final touch. The boot assembly can then
be simply installed into the console and attached using 6 small screws from underneath. |
 48) The radio console for this project suffered from years if refitting radios and other abuses.
 |
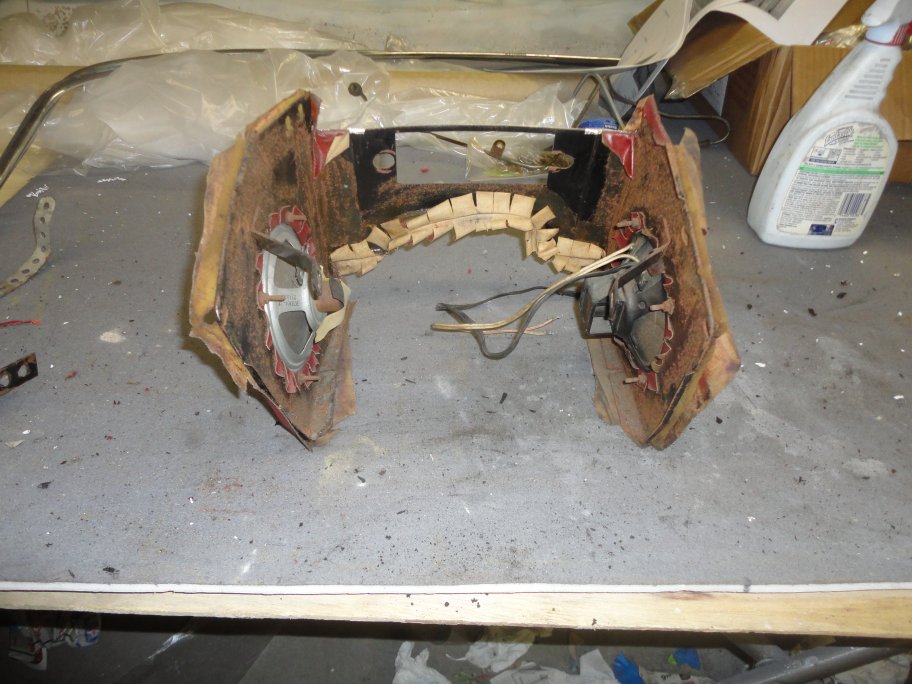 49) This console had period speakers in it, but were not matching. By the nature of the leads, I suspect that the car originally came with one speaker for an AM radio, but was
upgraded to AM/FM early on. Perhaps by the original dealer.
49) This console had period speakers in it, but were not matching. By the nature of the leads, I suspect that the car originally came with one speaker for an AM radio, but was
upgraded to AM/FM early on. Perhaps by the original dealer. |
 50) The frame for the radio console and the ash tray can be easily straighted, sandblsted, primed and painted.
 |
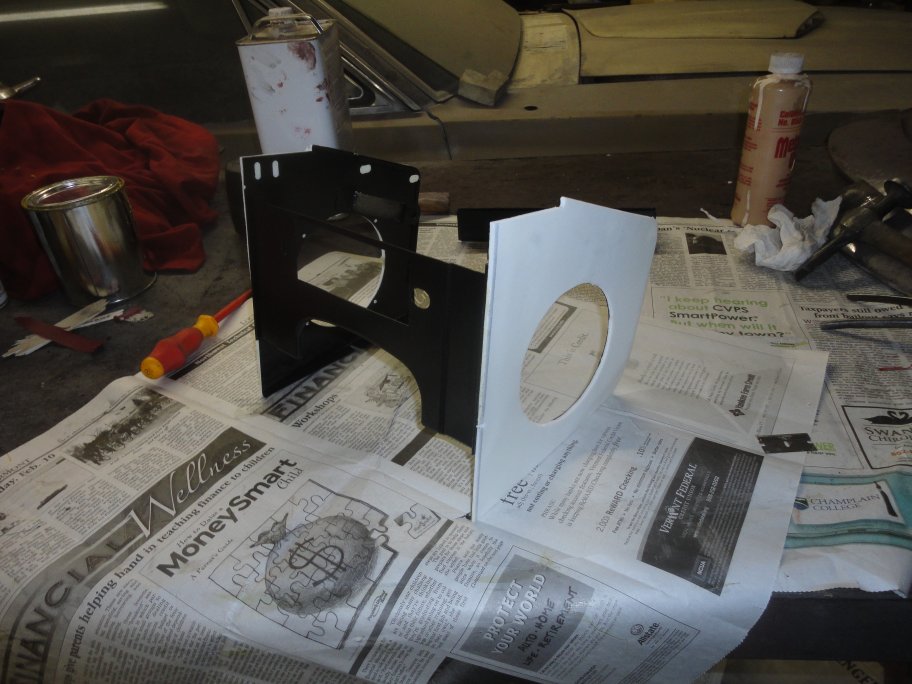 51) Only the sides of the radio console recieve foam padding, which is glued in place.
 |
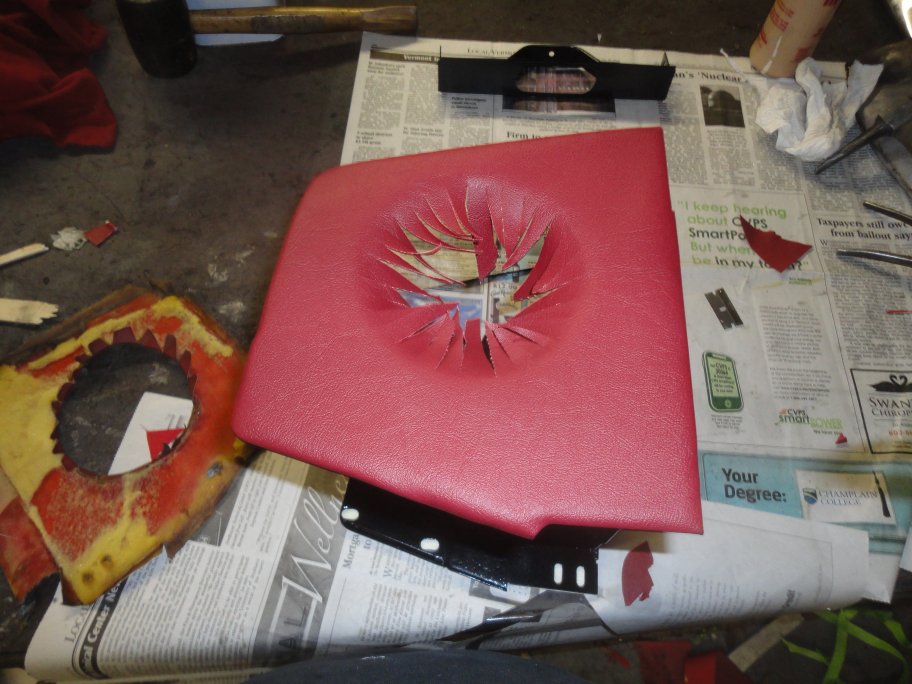 52) The vinyl trim is glued in place only around the outer edges.The vinyl is cut into little wedges around the inside of the speaker hole and it too is glued from
behind.
52) The vinyl trim is glued in place only around the outer edges.The vinyl is cut into little wedges around the inside of the speaker hole and it too is glued from
behind. |
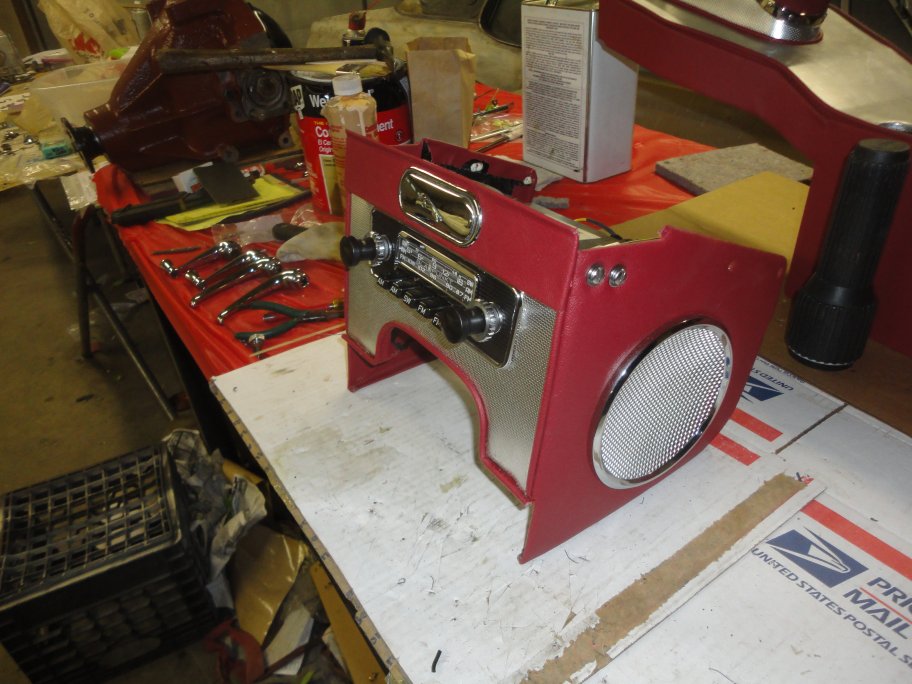 53) Here is the console fully restored. The radio is a restored period correct Blaupunkt AM/FM radio built to American Specs (has AM/FM/SW buttons) by Matthias Klassen
of Old-Timer Radio in Germany. He has a full guarantee on his work. It was well worth the price.
53) Here is the console fully restored. The radio is a restored period correct Blaupunkt AM/FM radio built to American Specs (has AM/FM/SW buttons) by Matthias Klassen
of Old-Timer Radio in Germany. He has a full guarantee on his work. It was well worth the price. |
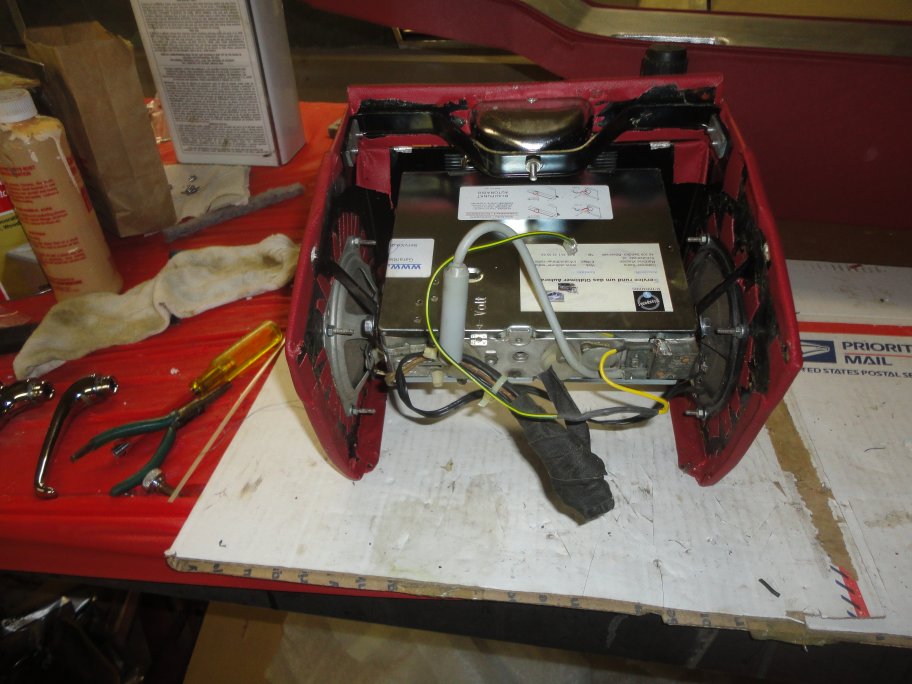 54) The radio fit pretty well in the fully assembled console.
 |