 25) Only Coupes had these side pockets behind the B-pillars. They only came in one color, camel. Essentially they are made from folded cardboard and
were coated with flocking. Being 50 years old the flocking tends to get worn off. I couldn't find repos, so I reflocked them myself. Since me headliner was
gray and not quite the correct gray, I decided to flock them with gray flocking so that they matched the headliner.
25) Only Coupes had these side pockets behind the B-pillars. They only came in one color, camel. Essentially they are made from folded cardboard and
were coated with flocking. Being 50 years old the flocking tends to get worn off. I couldn't find repos, so I reflocked them myself. Since me headliner was
gray and not quite the correct gray, I decided to flock them with gray flocking so that they matched the headliner.
|
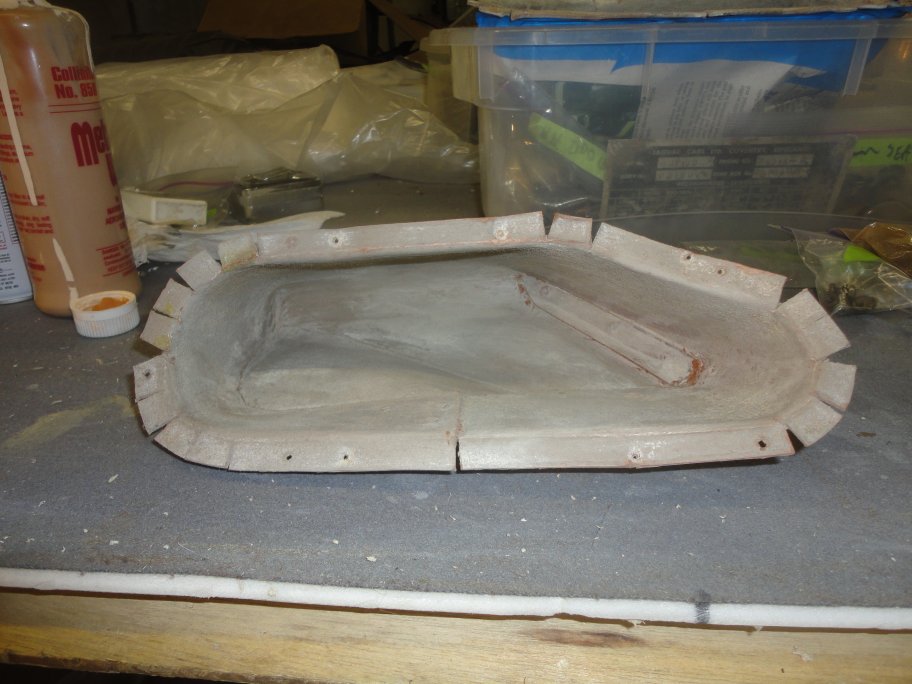 26) The process is simple. The first thing I did was to removed the old flocking. I did this by applying lacquer thinner to the inside with a brush and scrapped all of the
old flocking out. This is what one looks like with the flocking removed.
26) The process is simple. The first thing I did was to removed the old flocking. I did this by applying lacquer thinner to the inside with a brush and scrapped all of the
old flocking out. This is what one looks like with the flocking removed.
|
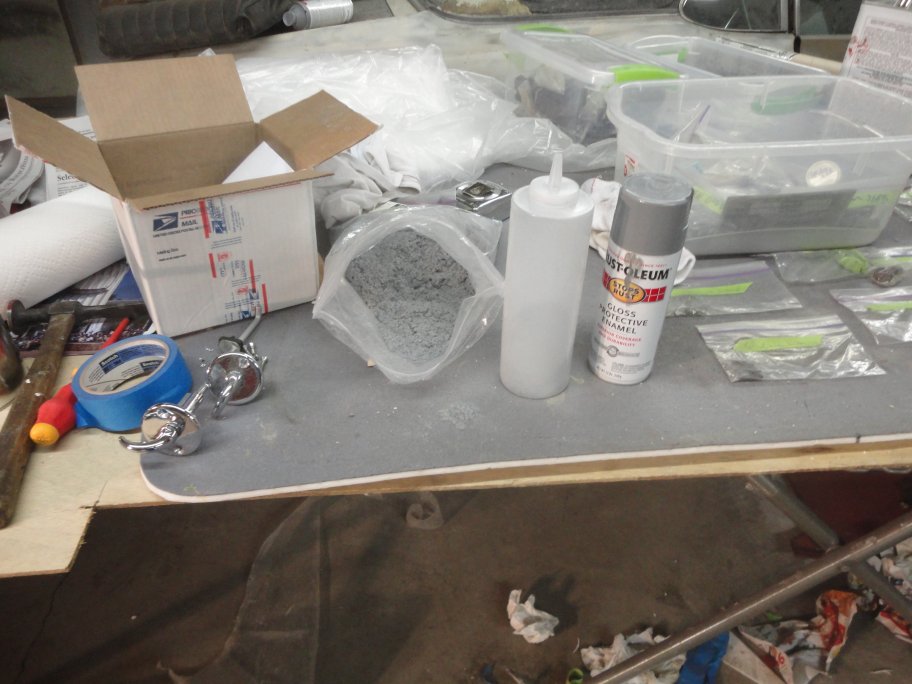 27) The pockets were then painted with paint that closely matches the color of the flocking. I used Rustoleum which stays tacky for a very long time. You can use an adhesive, but the paint
works as an adhesive. The flocking, which I bought from www.decoyflocking.net , was heavily puffed into the pockets (starting from the deepest part outwards)
using the plastic bottle that I also bought from them. Refer to picture.
27) The pockets were then painted with paint that closely matches the color of the flocking. I used Rustoleum which stays tacky for a very long time. You can use an adhesive, but the paint
works as an adhesive. The flocking, which I bought from www.decoyflocking.net , was heavily puffed into the pockets (starting from the deepest part outwards)
using the plastic bottle that I also bought from them. Refer to picture.
|
 28) No attempt was made to blow out the excess flocking. The pockets were left to dry for 24 hours. After 24 hours the excess flockng was poured out and the pockets were lightly blown out. This picture shows
the result. I was pretty amazed at how well they turned out.
28) No attempt was made to blow out the excess flocking. The pockets were left to dry for 24 hours. After 24 hours the excess flockng was poured out and the pockets were lightly blown out. This picture shows
the result. I was pretty amazed at how well they turned out.
|
 29) The picture shows the cover that is used to hide the main engine harness under the left side of the dash. It is simply a piece of aluminum wrapped in vinyl.
|
 30) It was simply a matter of stripping of the old vinyl and glue and then glueing on a piece of new vinyl. I didn't get carried away like the factory did and leave a large tail of excess vinyl.
|
|
|
|
 31) Here is the trim piece that is used as a filler at the inside rear of the boot. It is nothing more than a piece of aluminum sheetmetal with vinyl glued to it.
|
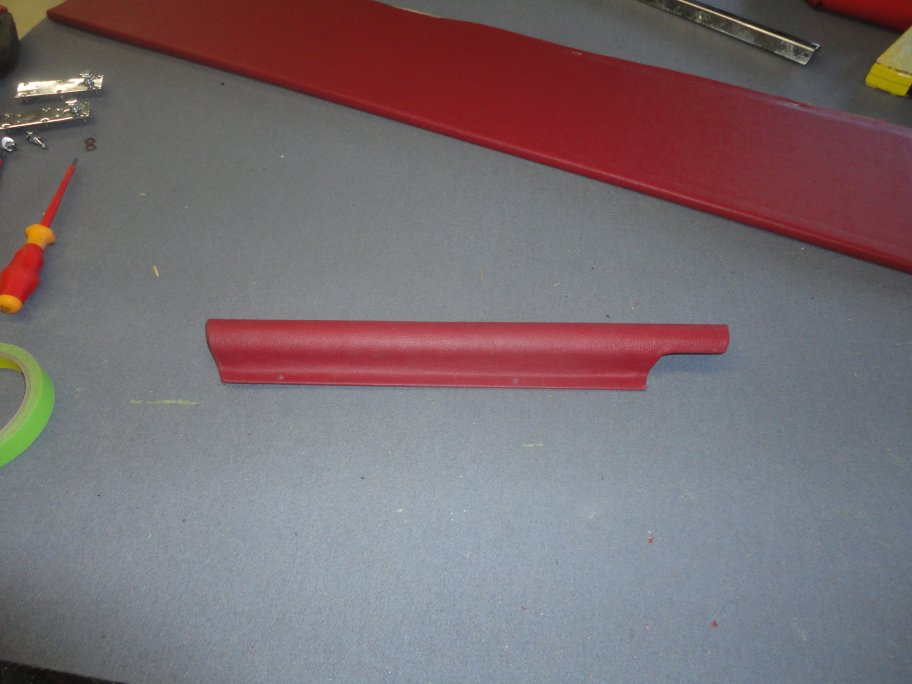
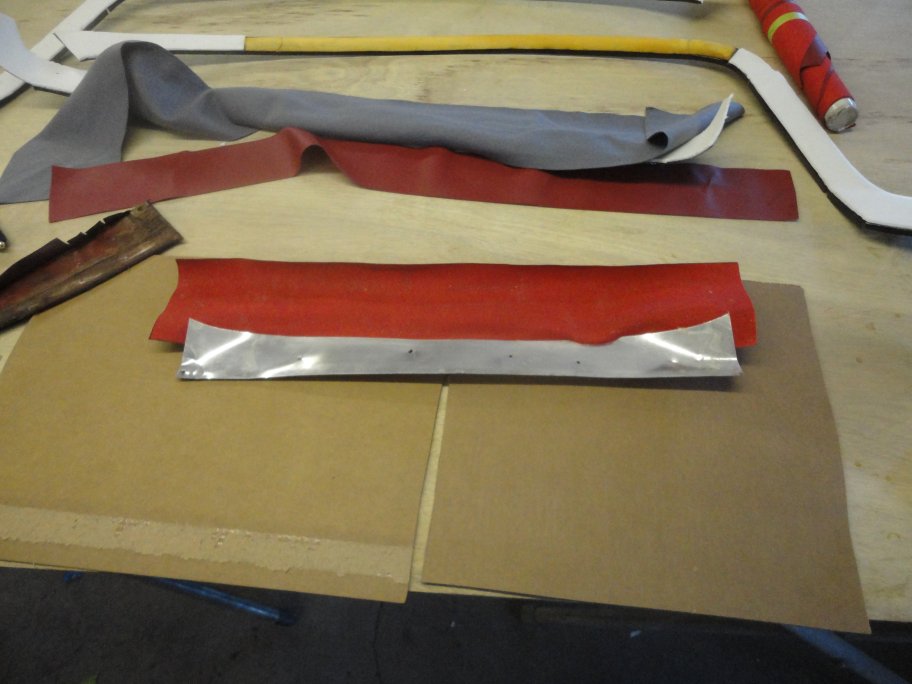 32) The trim piece gets pop-riveted to the car, so the vinyl was to be glued at the top prior to installation as shown here.
|
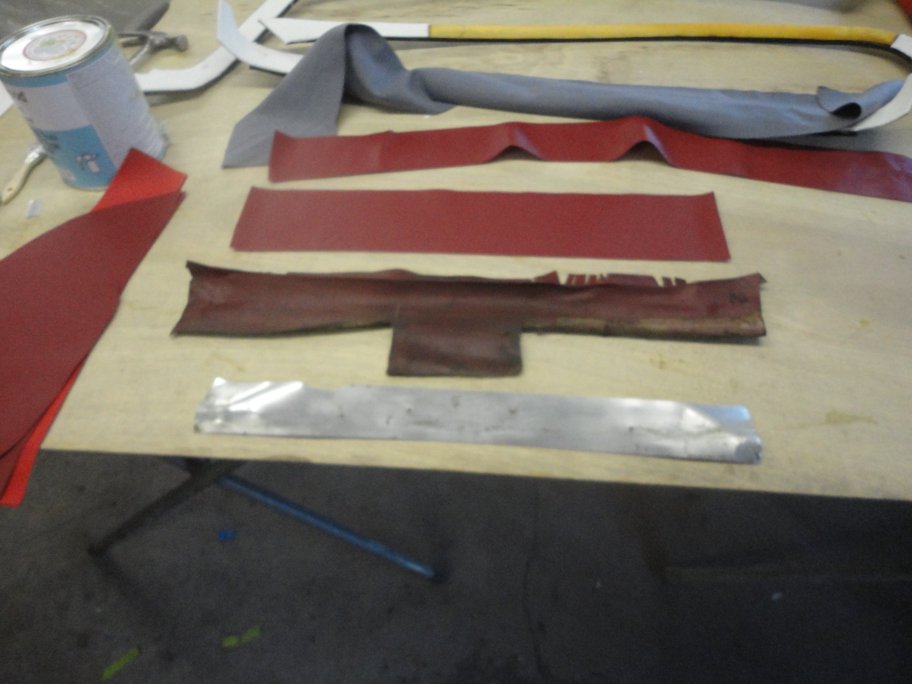
 33) There is the access plate/cover that covers the access hole for the fuel tank filler hoses. It is nothing more than a piece of plywood wrapped
in mocquette. This picture shows the newly covered cover with the old mocquette covering.
33) There is the access plate/cover that covers the access hole for the fuel tank filler hoses. It is nothing more than a piece of plywood wrapped
in mocquette. This picture shows the newly covered cover with the old mocquette covering.
|
 34) Here are the trim brackets that go inside the B-pillars. They are vinyl cover steel. I removed the old vinyl, sandblasted them and painted them black prior to
recovering them.
34) Here are the trim brackets that go inside the B-pillars. They are vinyl cover steel. I removed the old vinyl, sandblasted them and painted them black prior to
recovering them.
|
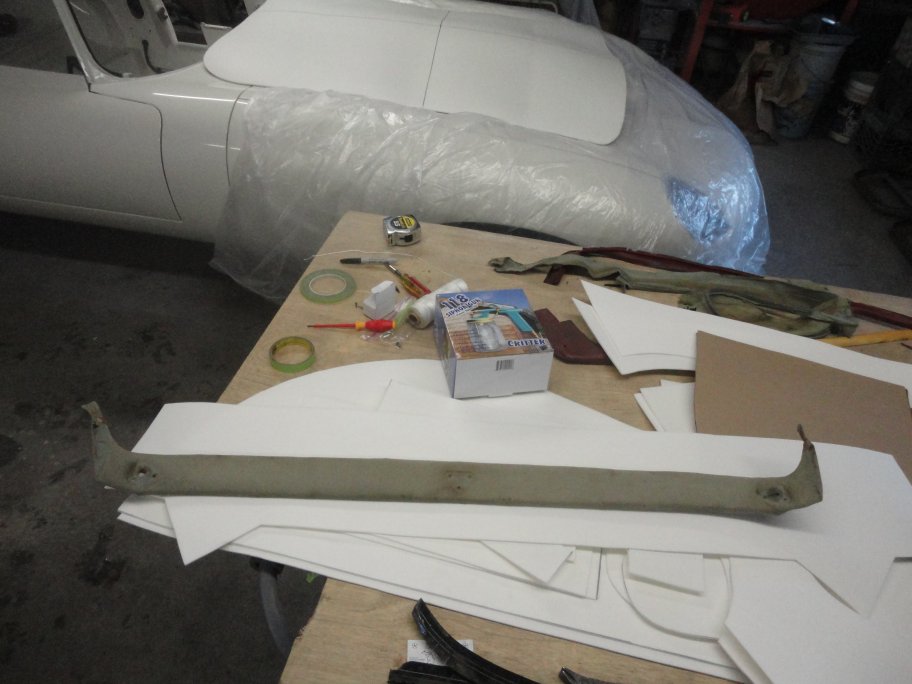 35) Here is the upper windshield trim. It is covered with cloth the matches the headliner material. There is a layer of padding that goes underneath. I didn't take any pictures of what I did to it,
so I have to descibe what I did. I removed the cloth and padding. I had to straightened it since it was damaged when the roof was crushed. I then sandblasted it and painted it black.
foam padding was glued to it prior to the installation of new cloth.
35) Here is the upper windshield trim. It is covered with cloth the matches the headliner material. There is a layer of padding that goes underneath. I didn't take any pictures of what I did to it,
so I have to descibe what I did. I removed the cloth and padding. I had to straightened it since it was damaged when the roof was crushed. I then sandblasted it and painted it black.
foam padding was glued to it prior to the installation of new cloth.
|
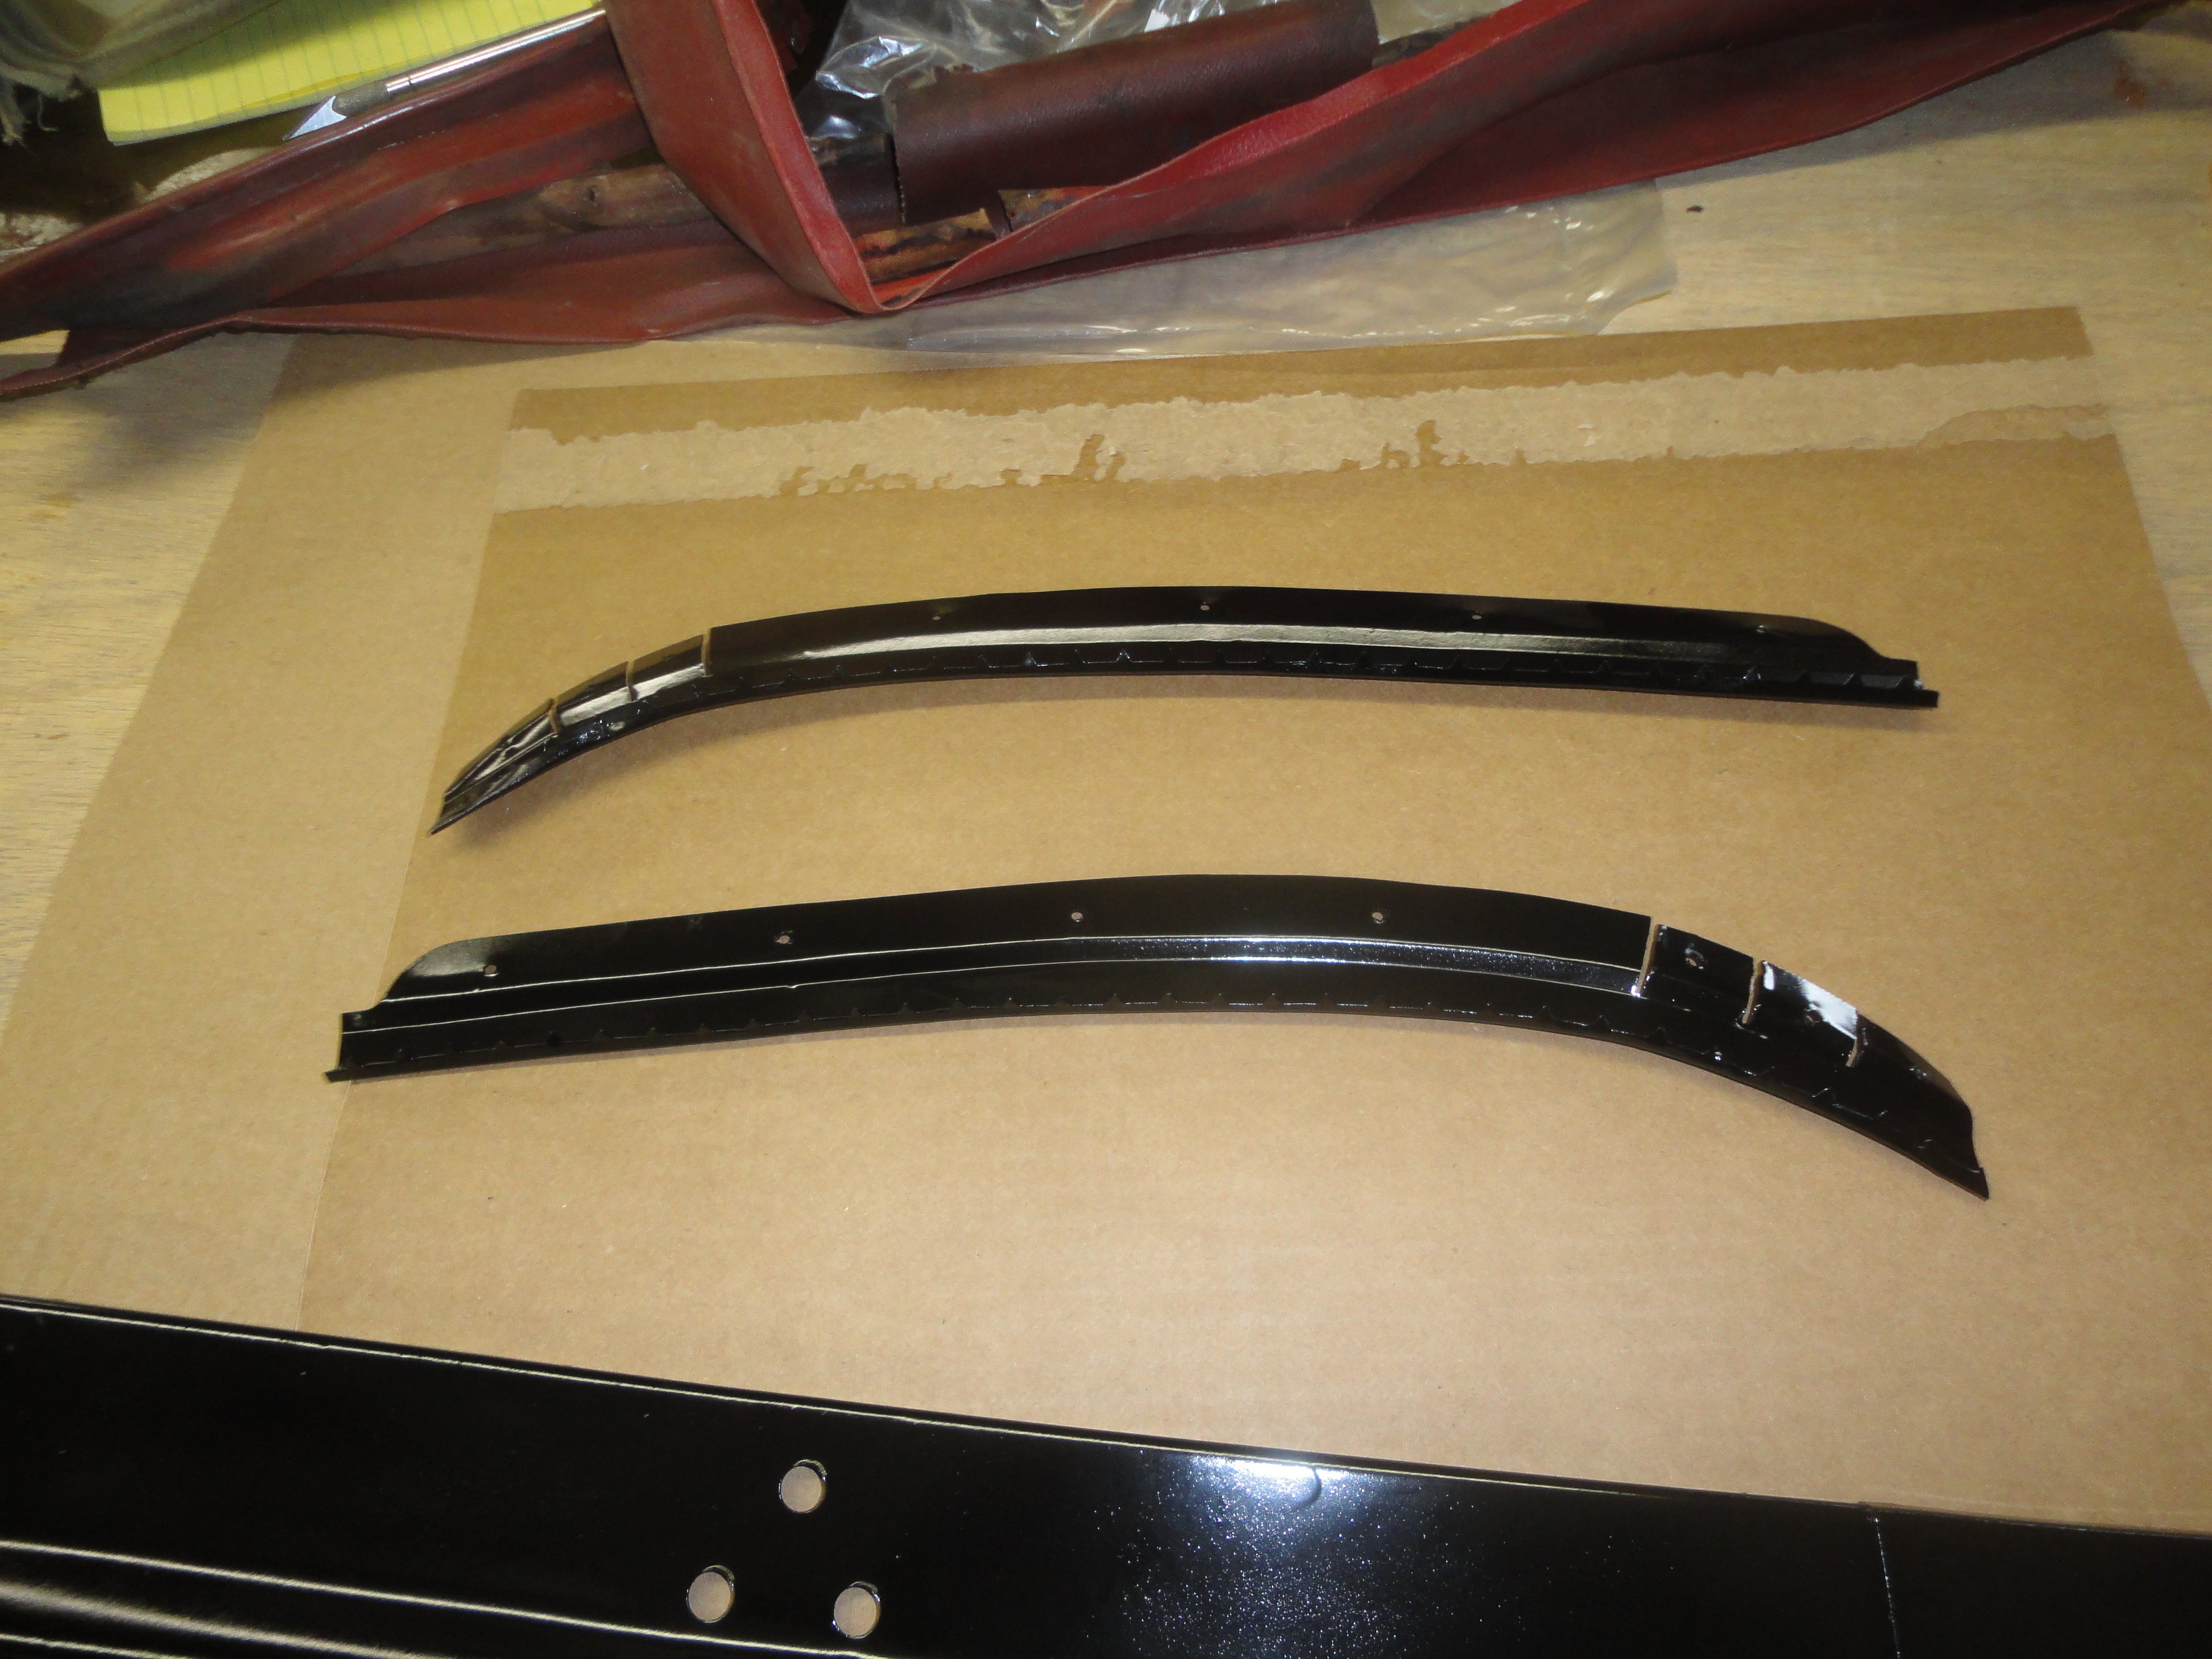 36) The last pieces to get done prior to the interior installion were these two brackets that go along the rear roof rails. They hold the hatch PVC trim in place and the roof rail trim cloth in place.
All I did to these was sandblast them and paint them black.
36) The last pieces to get done prior to the interior installion were these two brackets that go along the rear roof rails. They hold the hatch PVC trim in place and the roof rail trim cloth in place.
All I did to these was sandblast them and paint them black.
With all of that done, it was time to install the interior, YAH BABY!
|
|