I'm guilty of not taking a lot of pictures of the transmission rebuild, which makes its hard to write a blog about it. There is a ton of videos
out there on how to rebuild a Chrysler A904 transmission (AKA: Torque Flight 6, TF6), so a quick search on google will get you what you need. Doing just that,
I found a video series on YouTube that was very helpful, Mopar A904 overhaul for rookies. If the video doesn't load, just click on one of the
videos on the right hand column for the same series. There are 16 in the series right now.
|
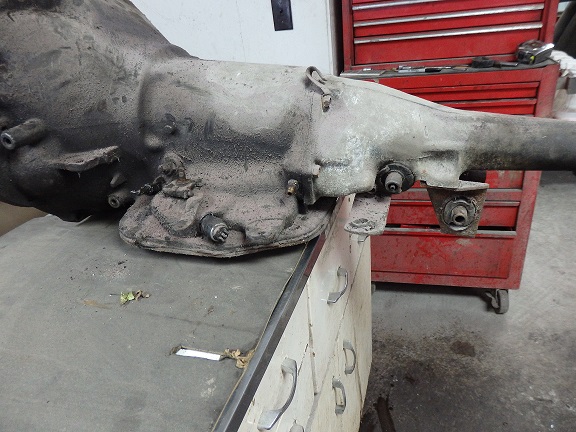 329) Here's what the transmission looked like when I started.
|
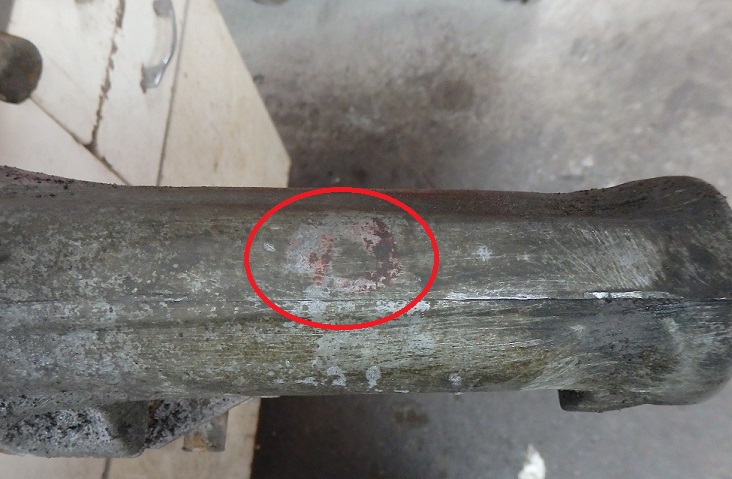
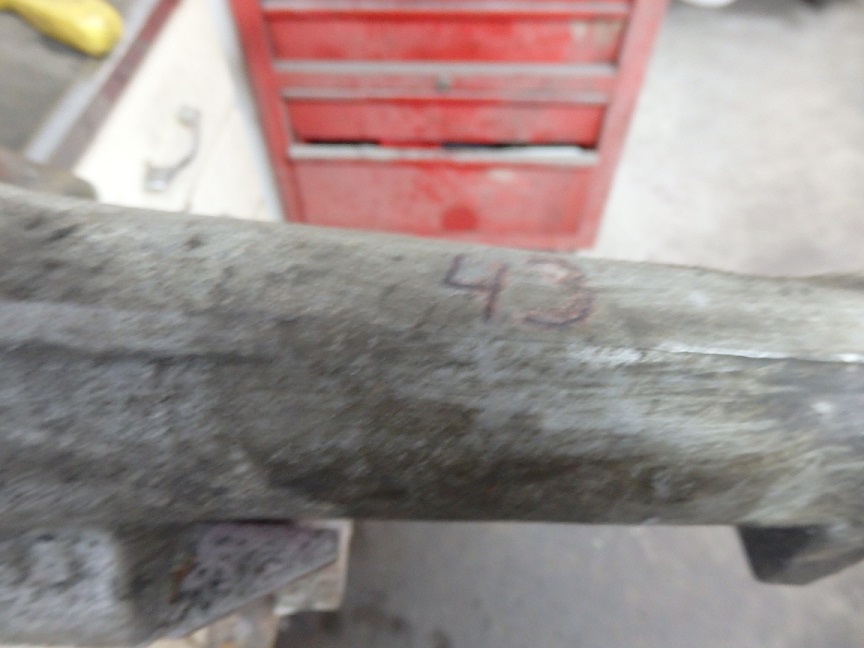 330) Manual transmissions have lots of markings, but automatics don't seem to have much if any. On this one, all I found was the number "43" in red on the tail housing. Richard Petty fan ?
|
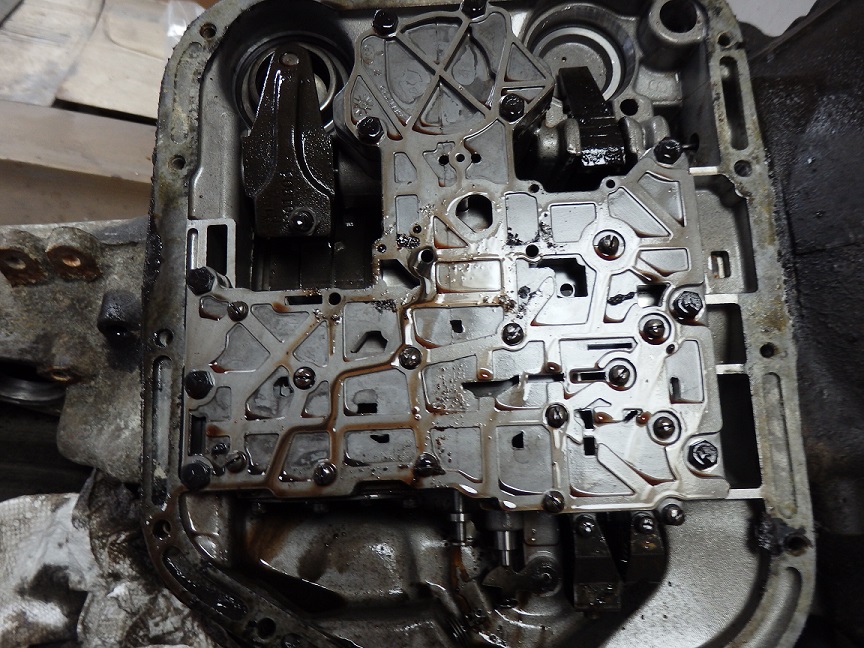
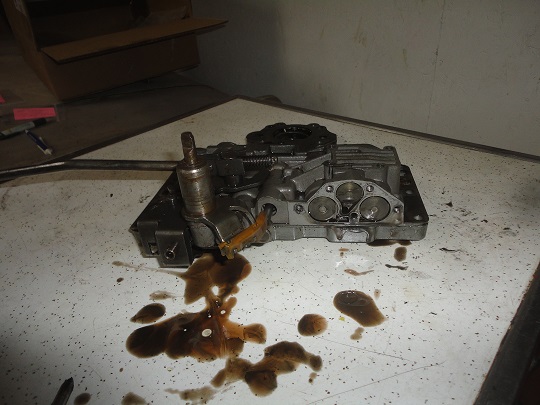 331) On cars this old, rebuilding the transmission is a must. In the first picture you can see some metal filings, which were prevented from entering the fluid path by the transmission
fluid filter. The fluid itself was not the healthy red that you would see in a clean, well-behaved transmission.
|
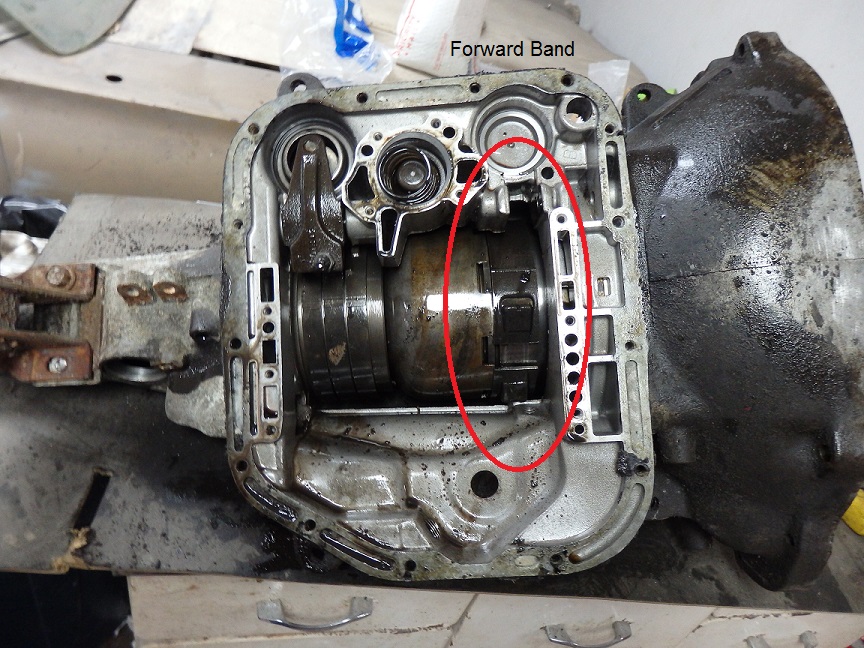
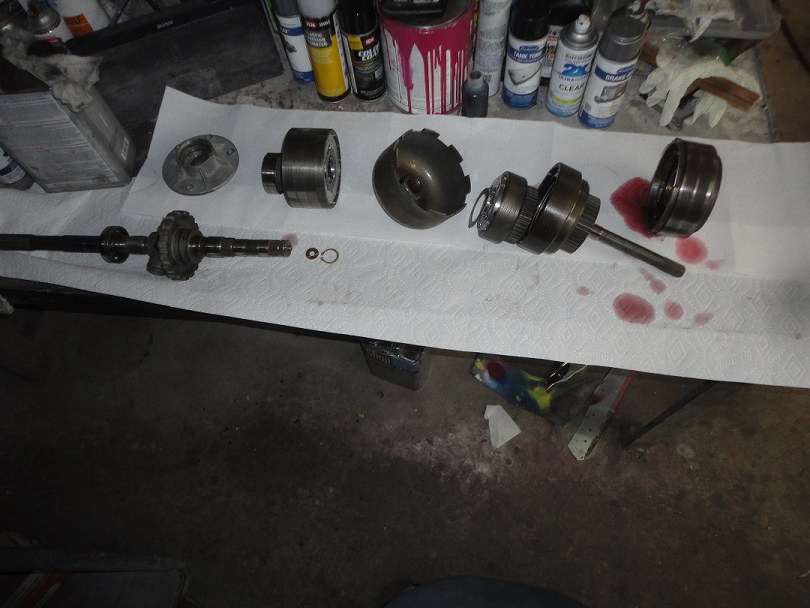 332) The transmission was fully dismantled and cleaned. I bought all of the parts that I needed to rebuild from www.transpartsonline.com, including the neutral safety switch which was
fried.
One item of note in the first picture is that both original bands are cast bands. It seems that all the kits I found come with a flex band for the forward band, but the reverse
band is still of the cast variety.
|
|
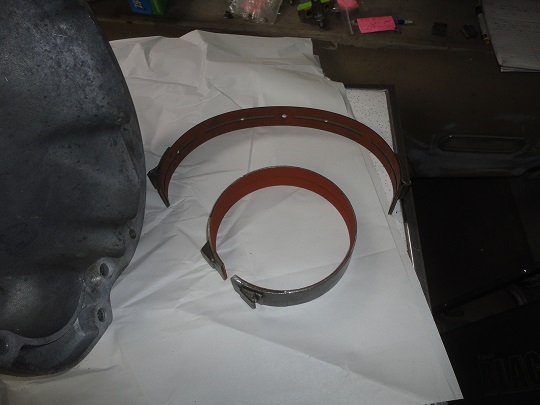
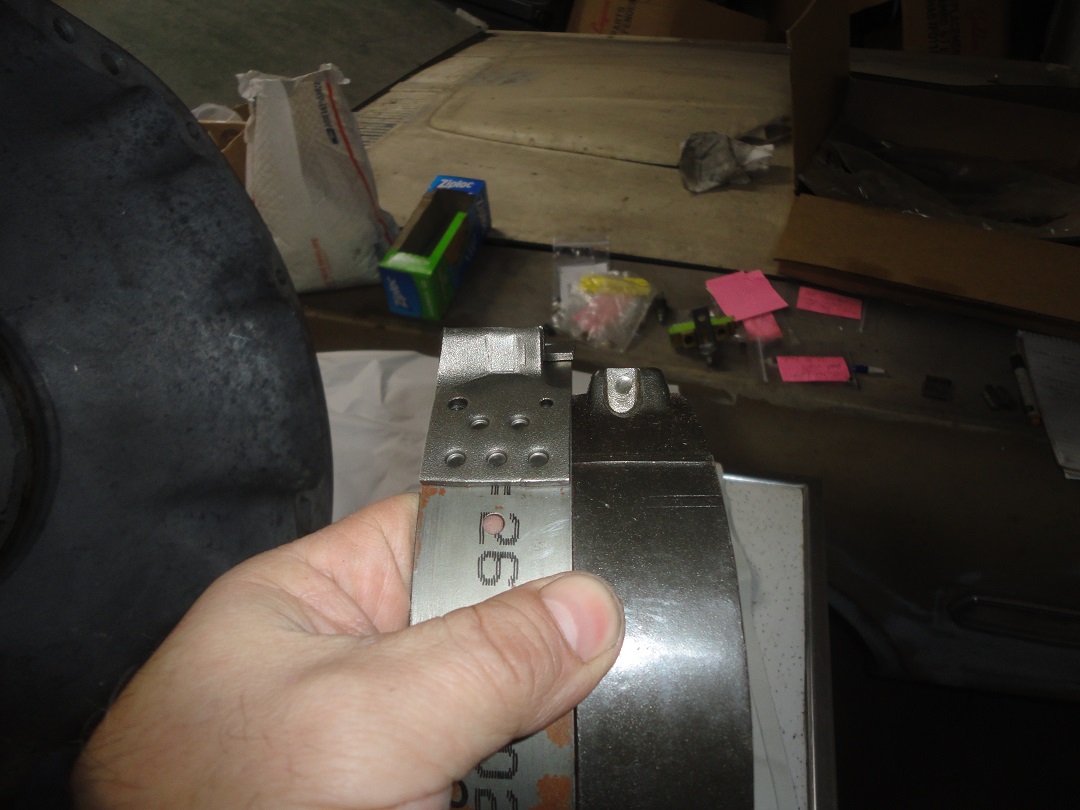 333) The YouTube video, previously mentioned, talked about the bands. The author of the video ended-up buying a relined band from Alabama Bands for only $3. I took his advise and ordered
one myself. Alabama Bands does great work, but they only sell/send everything COD. So in the end I spent $3 + $30 shipping.
Here is the new relined band and the one from the kit. Which one would you put in your transmission ?
|
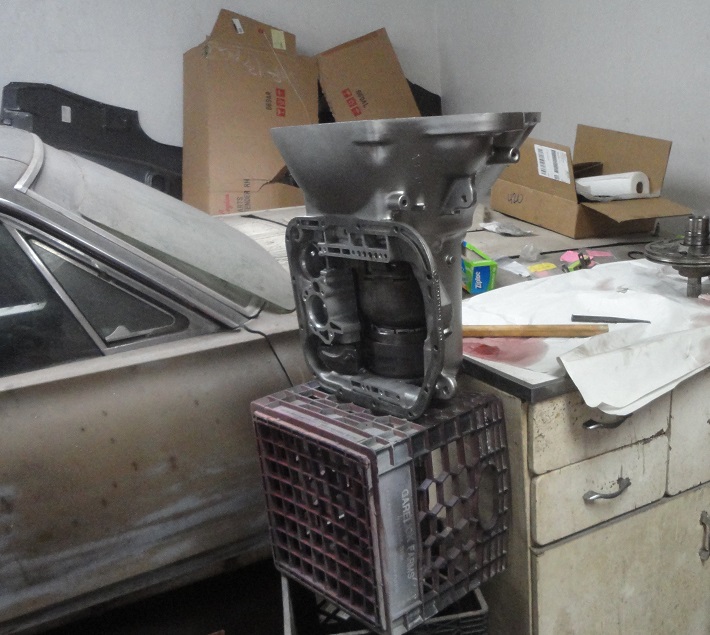 334) I painted the transmission housing and assembled it in an afternoon. One very important trick I learned online, was after installing the seals on the pistons, was to wrap masking tape around
the seals to hold them tight to the piston and stick them in the freezer overnight. This causes the seals to shrink enough so that the pistons drop right in.
Here it is in my elaborate assembly stand.....
|
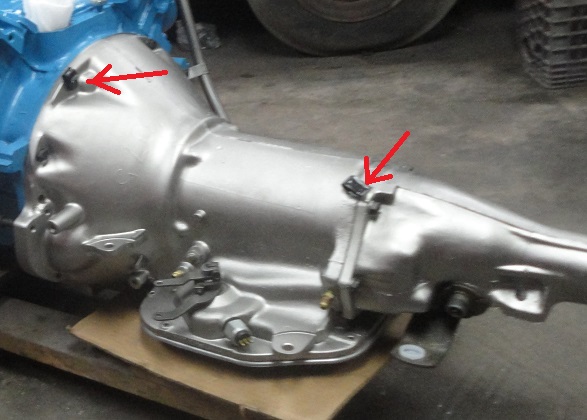 335) Once assembled it was attached to the engine. Note the correct wire retainers.
|
|