 377) I learned a lot about original headlight bulbs, just so that I could get the original look for this car. Classic GM cars used "T-3" bulbs, while Ford used
bulbs with the Ford logo either molded into the glass or etched into the bulb. Chrysler used more of a generic bulb that was available at that time. The bulbs that Chrylser used from 61-73 were
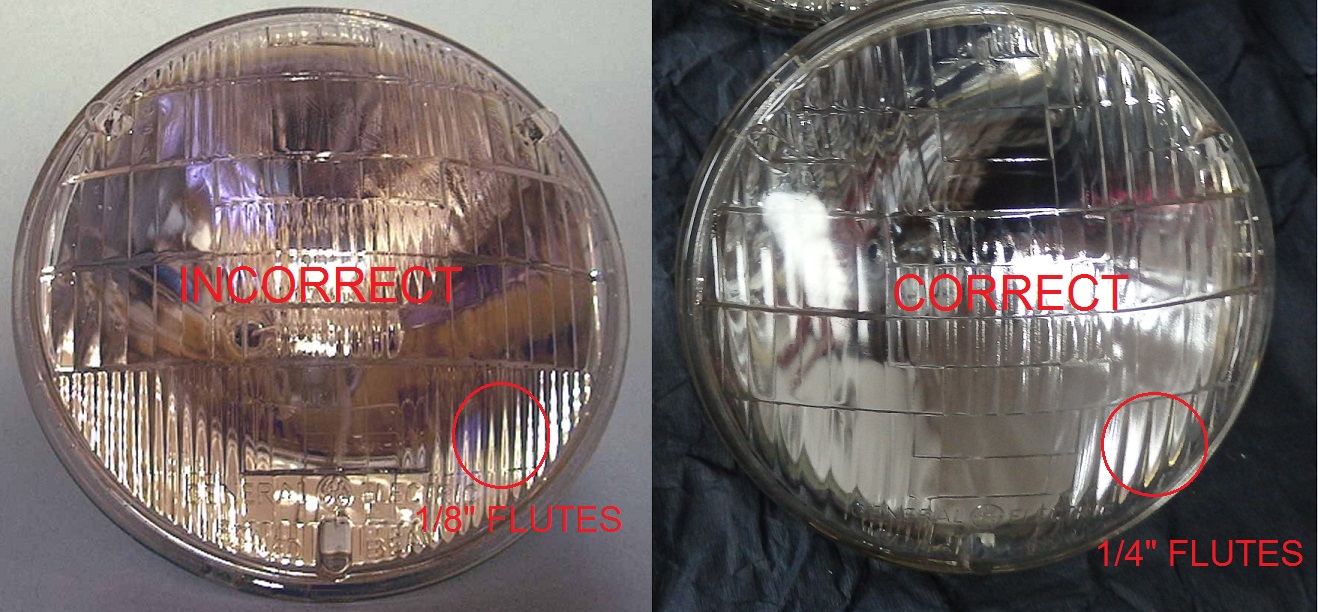
General Electric (50%), Tung-Sol (25%) and Westinghouse (25%). All of the bulbs had 1/4" flutes (grids lines). Bulbs with 1/8" flutes were used from 1974 and up. There are other
specific details, but the flute lines are the main difference. There were no specialized markings for Chrysler.
377) I learned a lot about original headlight bulbs, just so that I could get the original look for this car. Classic GM cars used "T-3" bulbs, while Ford used
bulbs with the Ford logo either molded into the glass or etched into the bulb. Chrysler used more of a generic bulb that was available at that time. The bulbs that Chrylser used from 61-73 were
General Electric (50%), Tung-Sol (25%) and Westinghouse (25%). All of the bulbs had 1/4" flutes (grids lines). Bulbs with 1/8" flutes were used from 1974 and up. There are other
specific details, but the flute lines are the main difference. There were no specialized markings for Chrysler. |
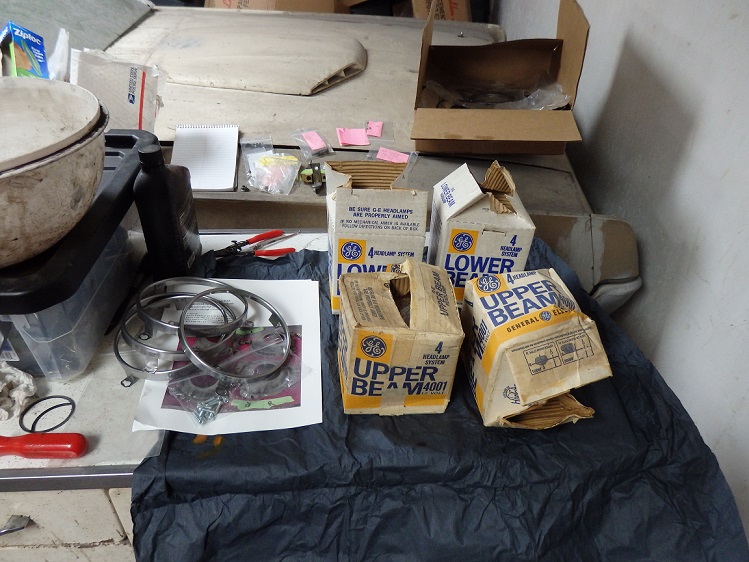
 378) I was able to find a set of NOS GE bulbs on Ebay. They did not come cheap. You can expect to pay $50 each.
 |
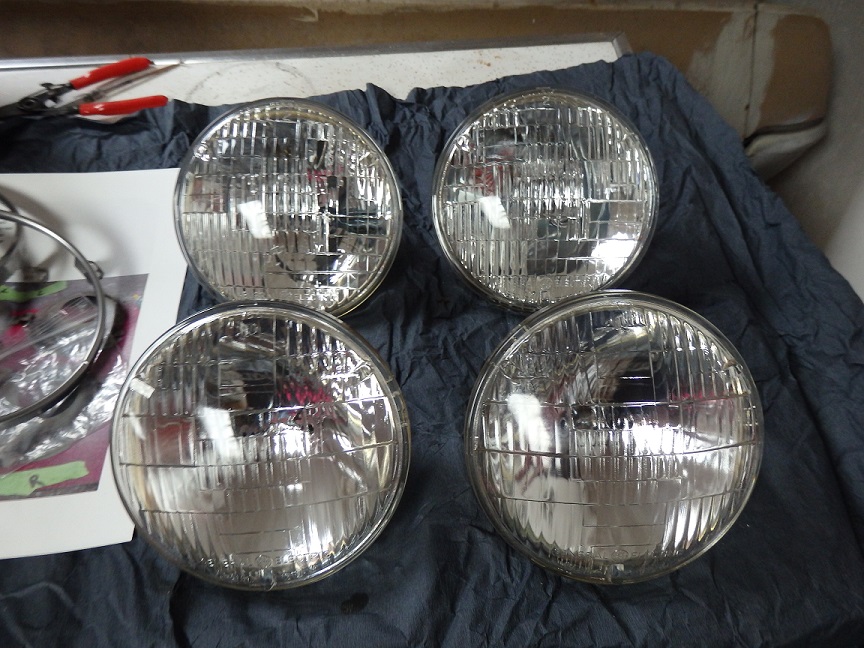
 379) The date codes ran from 1963-1965 for the ones I bought. This one was made in 1963. The date codes cannot be seen unless you remove the bulbs, so I didn' really care
that the bulbs were a little older.
379) The date codes ran from 1963-1965 for the ones I bought. This one was made in 1963. The date codes cannot be seen unless you remove the bulbs, so I didn' really care
that the bulbs were a little older. |
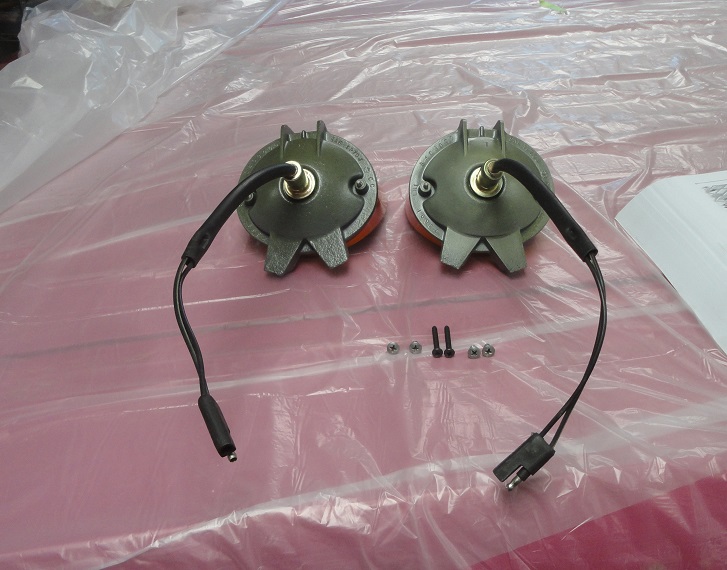
 380) I had Stephan replate my headlight buckets in zinc.
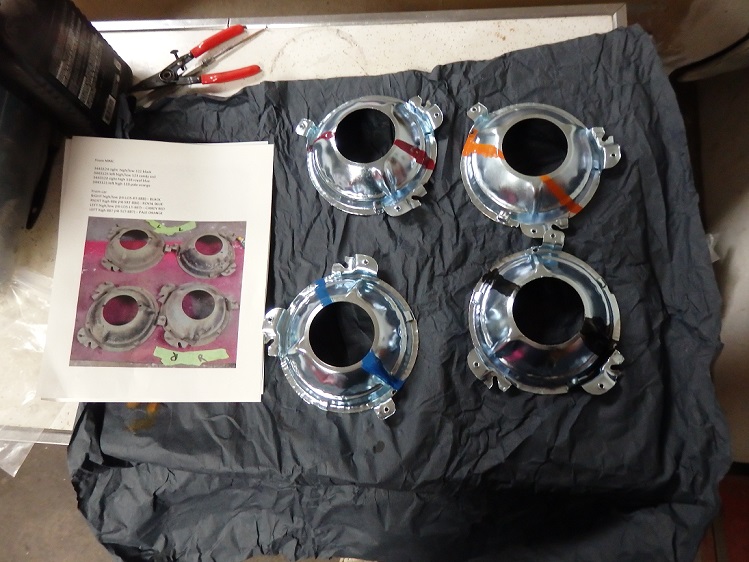
 The factory originally applied color codes to them to identify the mounting locations quickly. I faithfully reproduced the markings that were on them before I sent them out for plating. Even without the color coding, you can tell which goes where since the location is stamped into them. This one is the Hi/Low beam bucket for the Right side. |

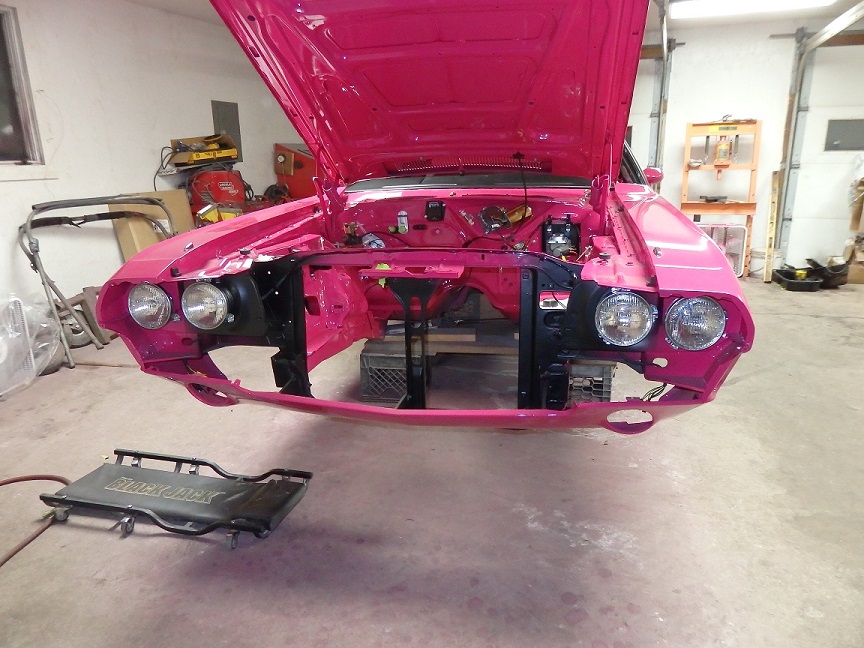 381) I found it easier to install the buckets without the bulbs first.
 |
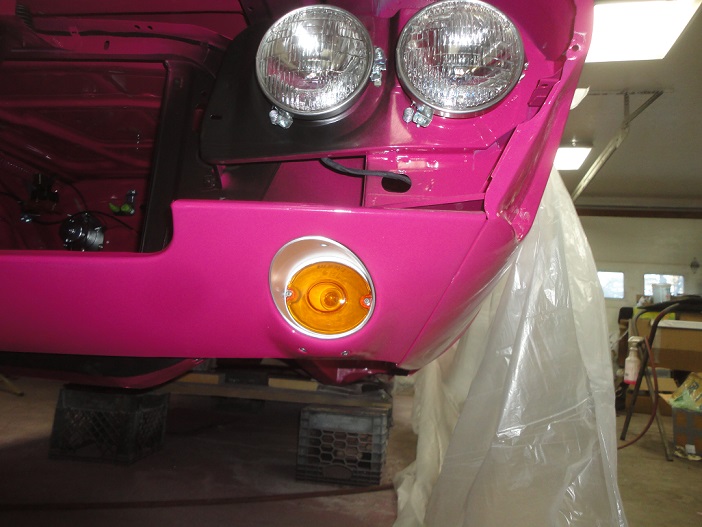 382) The parking lamps needed new pigtails and some freshening up. I bead blasted the housings and painted them. To get the original yellow chromate look I just misted on some of the leftover Quasmoline that I used
on the lower control arms and then satin clear coated them. The new pigtails came from PG Reproduction Parts (pn: 218-W). The parts are more correct then the picture on their website.
382) The parking lamps needed new pigtails and some freshening up. I bead blasted the housings and painted them. To get the original yellow chromate look I just misted on some of the leftover Quasmoline that I used
on the lower control arms and then satin clear coated them. The new pigtails came from PG Reproduction Parts (pn: 218-W). The parts are more correct then the picture on their website.I used original hardware to install them with. I used repo lenses, which were a perfect match to the originals. |
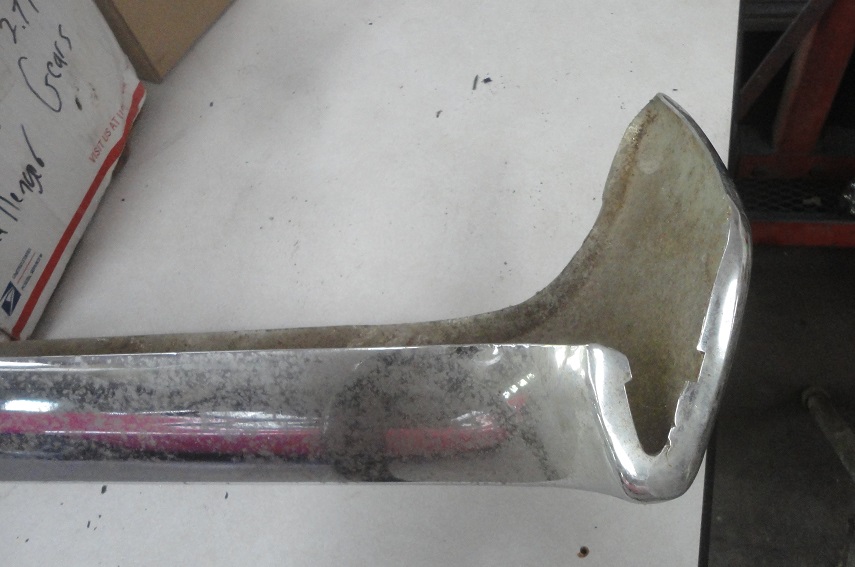
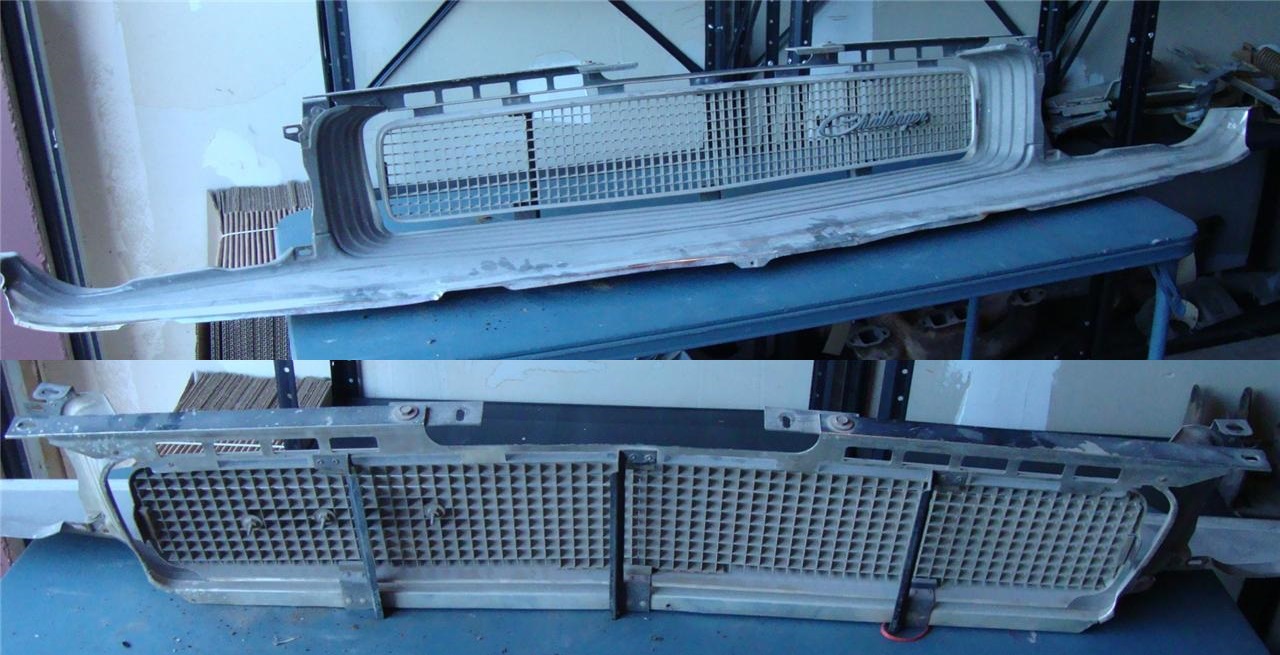 383) I bought a used grill around the time that I purchased the car. I didn't notice that the surround was damaged or that the bracket that connects it to the hood latch support was broken off at the time I bought It.
You got to watch out for those sneaky parts sellers on E-bay.
383) I bought a used grill around the time that I purchased the car. I didn't notice that the surround was damaged or that the bracket that connects it to the hood latch support was broken off at the time I bought It.
You got to watch out for those sneaky parts sellers on E-bay. |
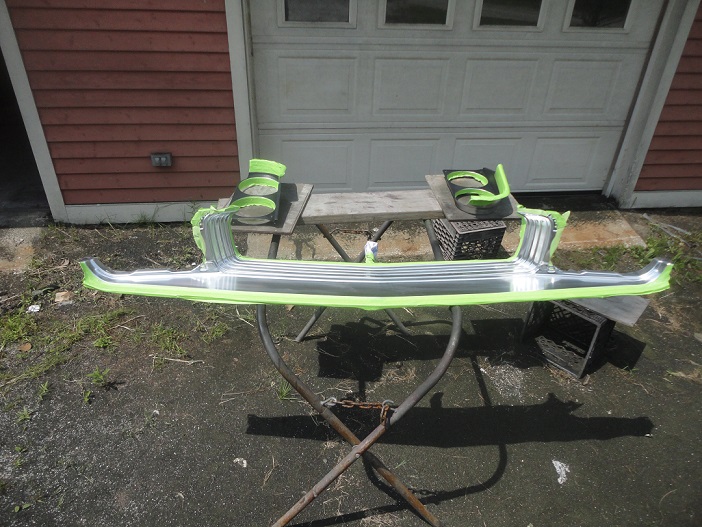
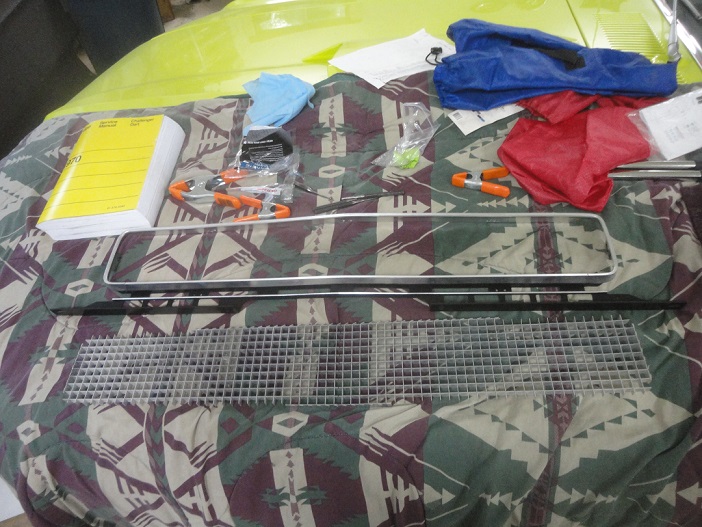 384) I was able to rebuild the grill with new repo pieces that I got from Roseville Moparts. Luckily I had the missing bracket on the original hood latch support.
Non-performance cars have textured argent grills (vs black for performance cars). Roseville also sells a argent textured spray paint, which is a perfect match to the original paint. In the first picture you can see the grill surround and the new repo headlight bezels prep'd for painting. I fully dismantled, cleaned and painted the grill pieces that I was going to keep. The whole thing is held together with tubular rivets. |
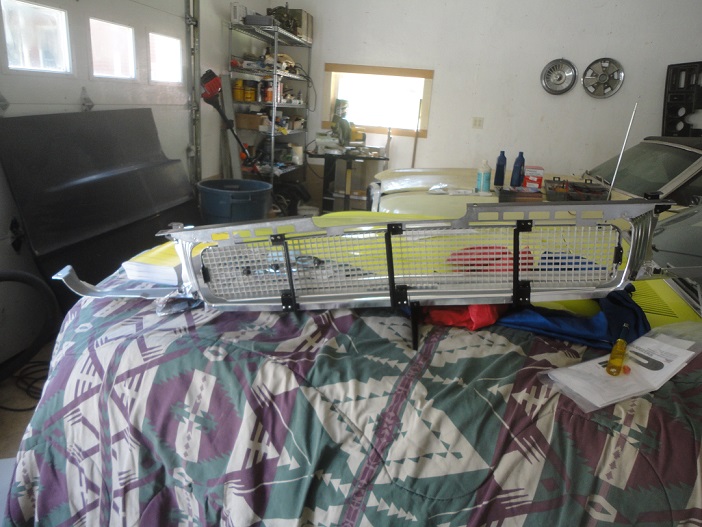
 385) To put the grill together I bought new tubular rivets and a rivet clinching tool. It was pricy, but necessary.
 |
 386) The grill fit with very little trouble. I did have to shop around to get the correct hardware. Seems like there are lots of places selling "correct" grill hardware, that is not correct at all. I was able to find the best match from
Hoover Auto Parts.
386) The grill fit with very little trouble. I did have to shop around to get the correct hardware. Seems like there are lots of places selling "correct" grill hardware, that is not correct at all. I was able to find the best match from
Hoover Auto Parts. |
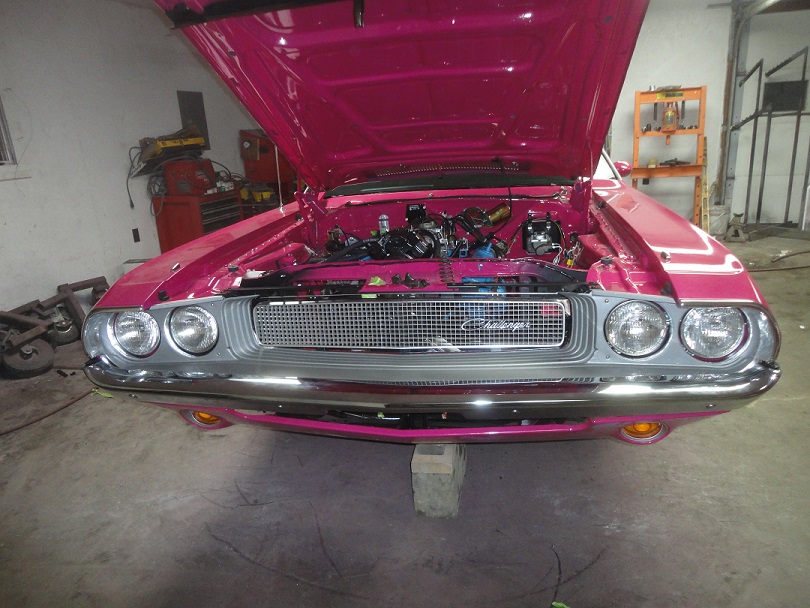
 387) I purchased a repo AMD front bumper, since the car didn't come with one. I was lucky enough to buy some restored bumper brackets on ebay several years prior, so it didn't take long to get the bumper on. The original style bolts all came from
Roseville.
387) I purchased a repo AMD front bumper, since the car didn't come with one. I was lucky enough to buy some restored bumper brackets on ebay several years prior, so it didn't take long to get the bumper on. The original style bolts all came from
Roseville.One of the things I noticed about the repo bumper is that the "V" shape as seen from the top is a little to open. This seems to be a common thing I've seen on other repo bumpers on other cars, like my 69 Mustang). Also repo bumper did not have the correct opening for fitting the rubber end caps. The bump out and knotch was missing on the repo. So I was forced to wedge the bumper in tight to the fenders to keep the caps from sliding out. |

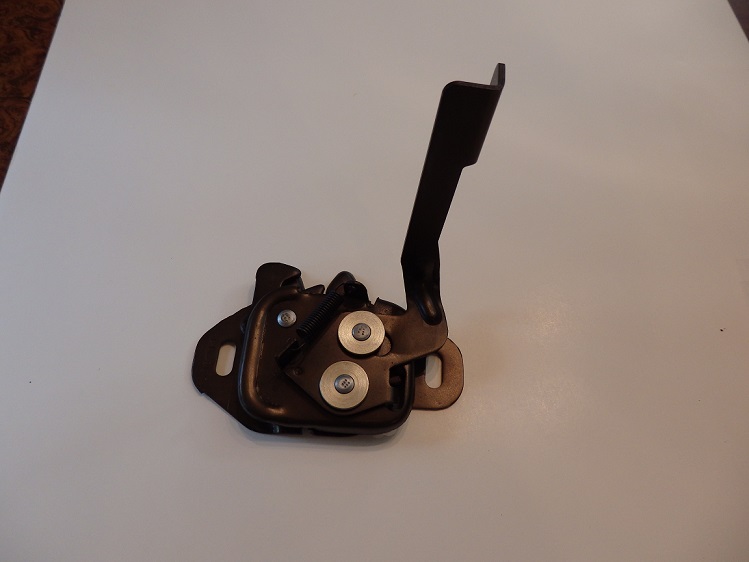
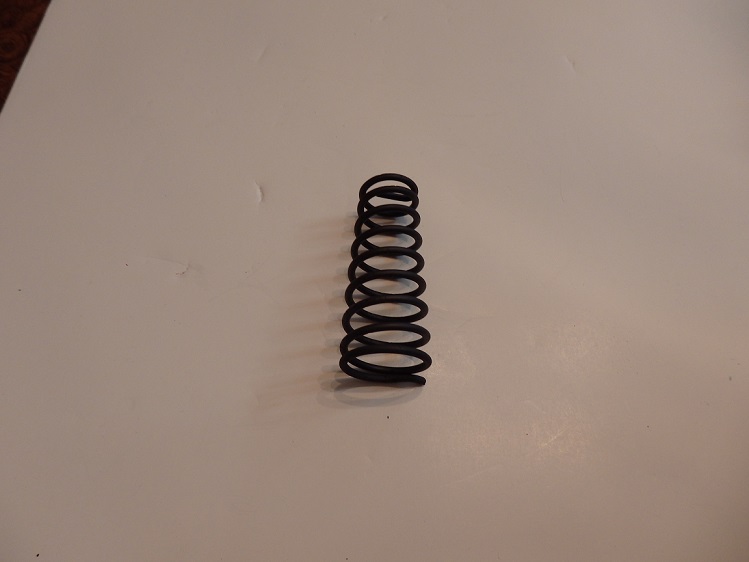 388) One last detail to mention here is the hood latch and hood safety catch, which were restored by Stephan Founier. They are the correct brown zinc finish. The hood spring that he also did for me is the proper
dark gray phosphate.
388) One last detail to mention here is the hood latch and hood safety catch, which were restored by Stephan Founier. They are the correct brown zinc finish. The hood spring that he also did for me is the proper
dark gray phosphate. |
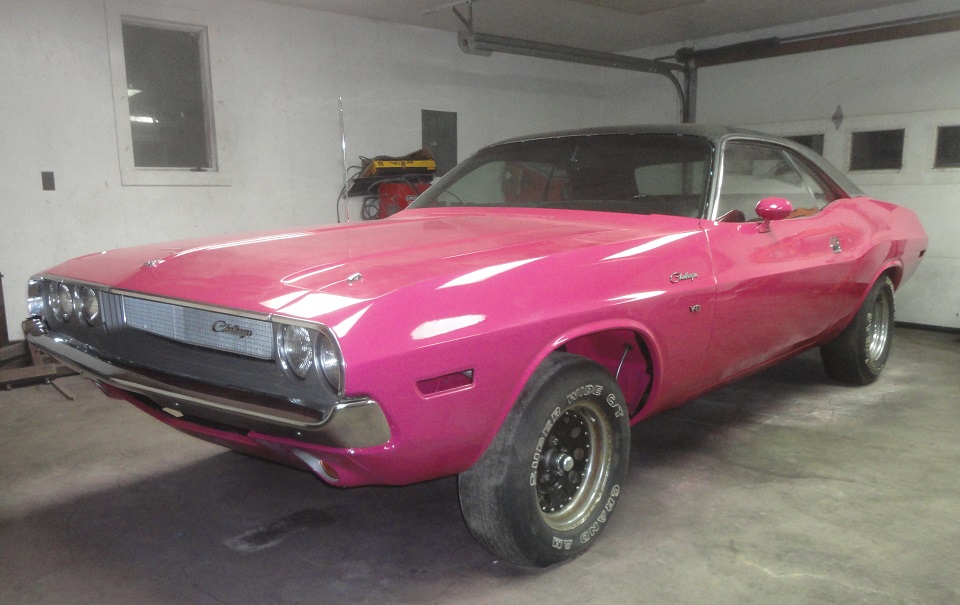 389) And finally after 3 & 3/4 years she is back on all four wheels.
 |