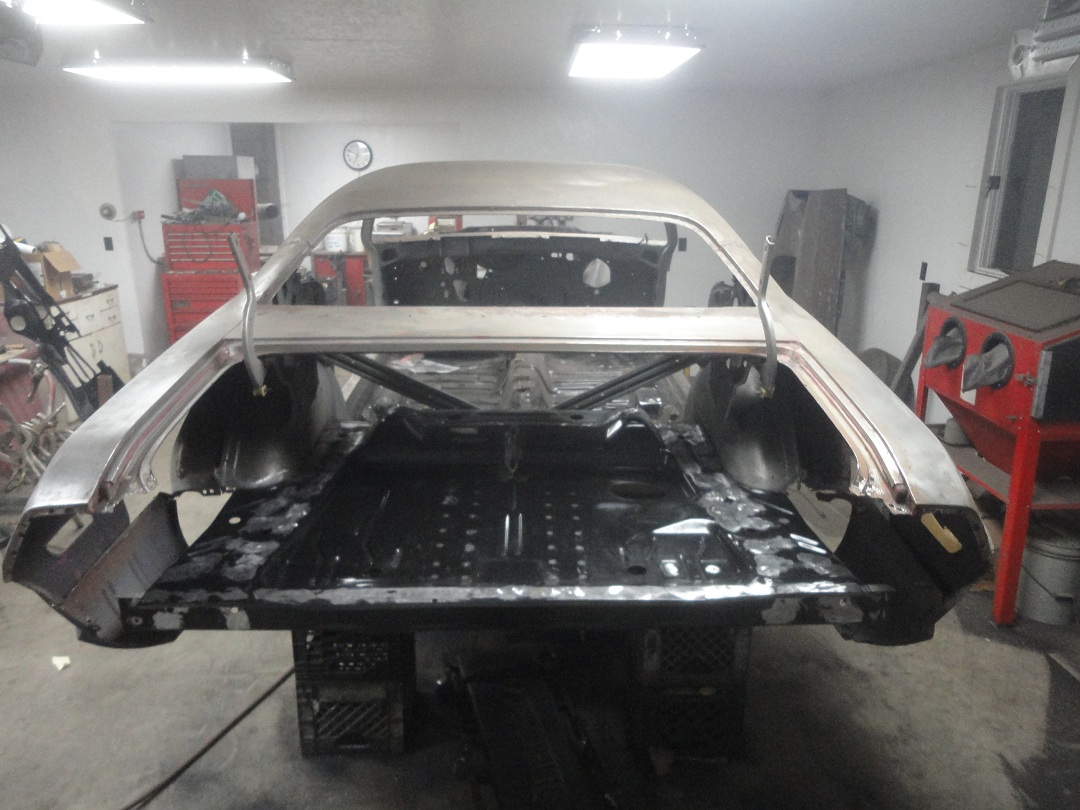
 63) Here is the trunk pan all welded in with the welds ground down. The only real difficulty was getting the front
of the trunk pan to fit to the rear of the rear seat floor pan. The humps above the shocks were about an 1/4 higher on
the trunk pan, which left a gap that had to be delt with. All I really did was cut a slit near the top of the hump
and screwed it down to the rear seat pan before welding. Otherwise the install was pretty painless.
|
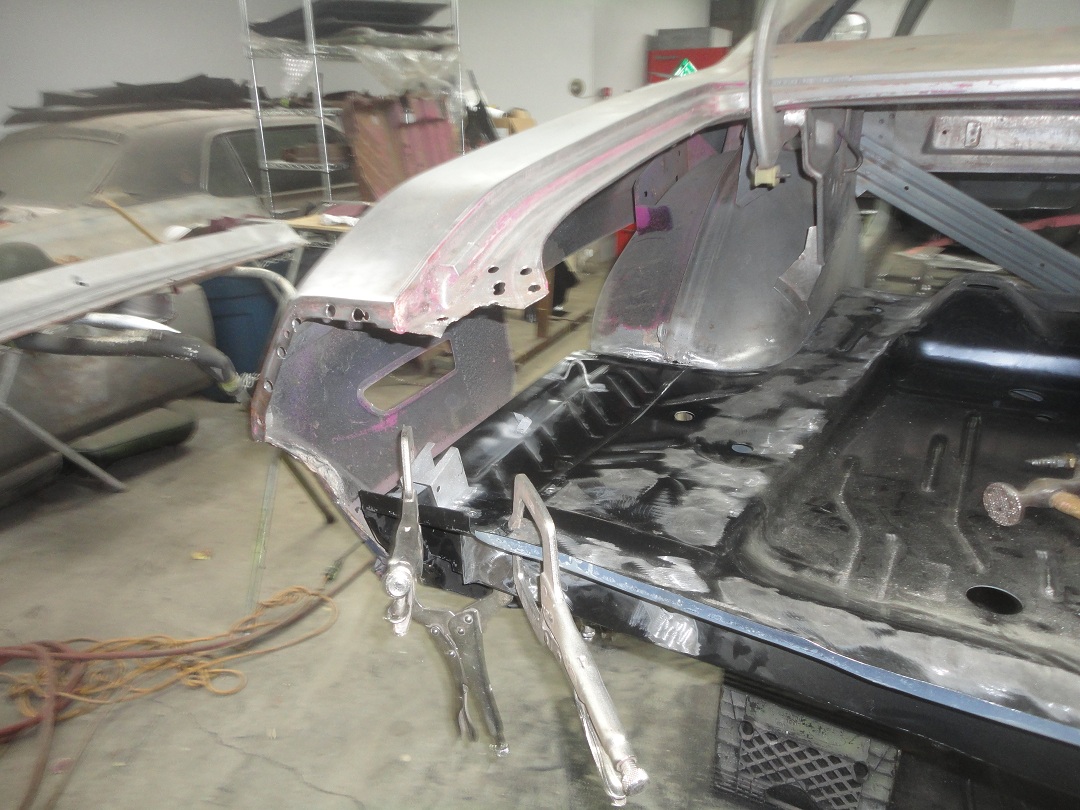 64) The next pieces to be fitted were the trunk dropoffs. On the left side, the jack bracket, jack retainer spring
bracket and wiring harness tiedown had to be salvaged from the original dropoff.
The dropoffs were pretty easy to install at this point. They are just plug-welded to the rear crossmember and pinch-welded
to the trunk pan from underneath. Since the outer wheel wells needed to be repaired, I chose not to weld them to the trunkpan
and dropoff yet.
|
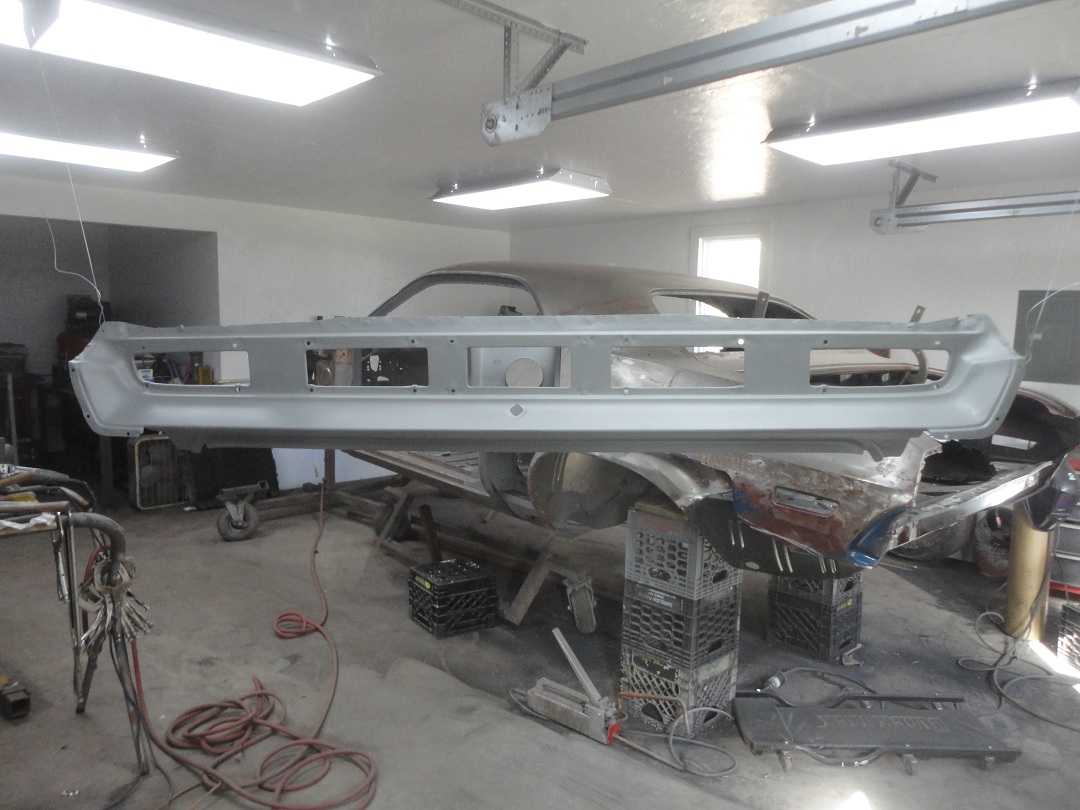 65) With the tail panel off, I took the opertunity to sandblast it and put it in primer (both sides). The tail panel should be fitted
to the car using the trunk lid to set the gaps around the trunk lid. It should be noted that I was planning on using quarter skins
instead of full quarter panels. If I were to install full quarters, the tail panel would need to be installed at the same time as the quarters.
|
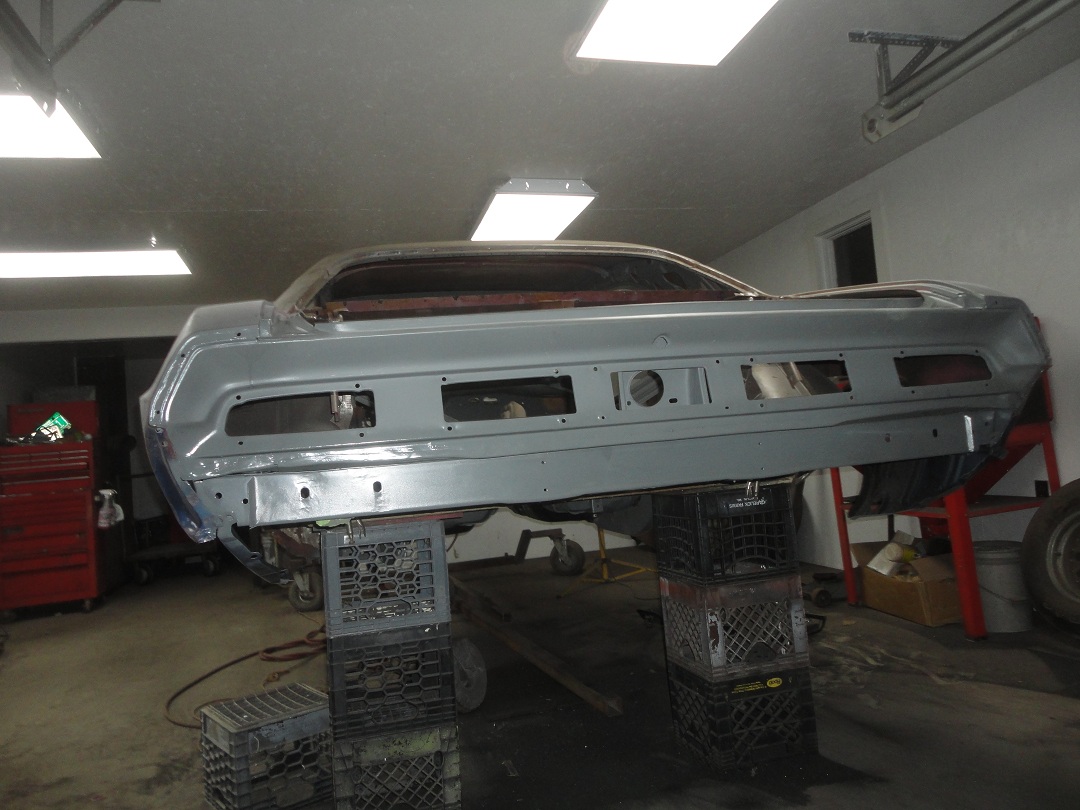 66) With the tail panel installed I primed the area below the tail panel so that it would be all done before I reattached the back
end to the rotisserie.
|
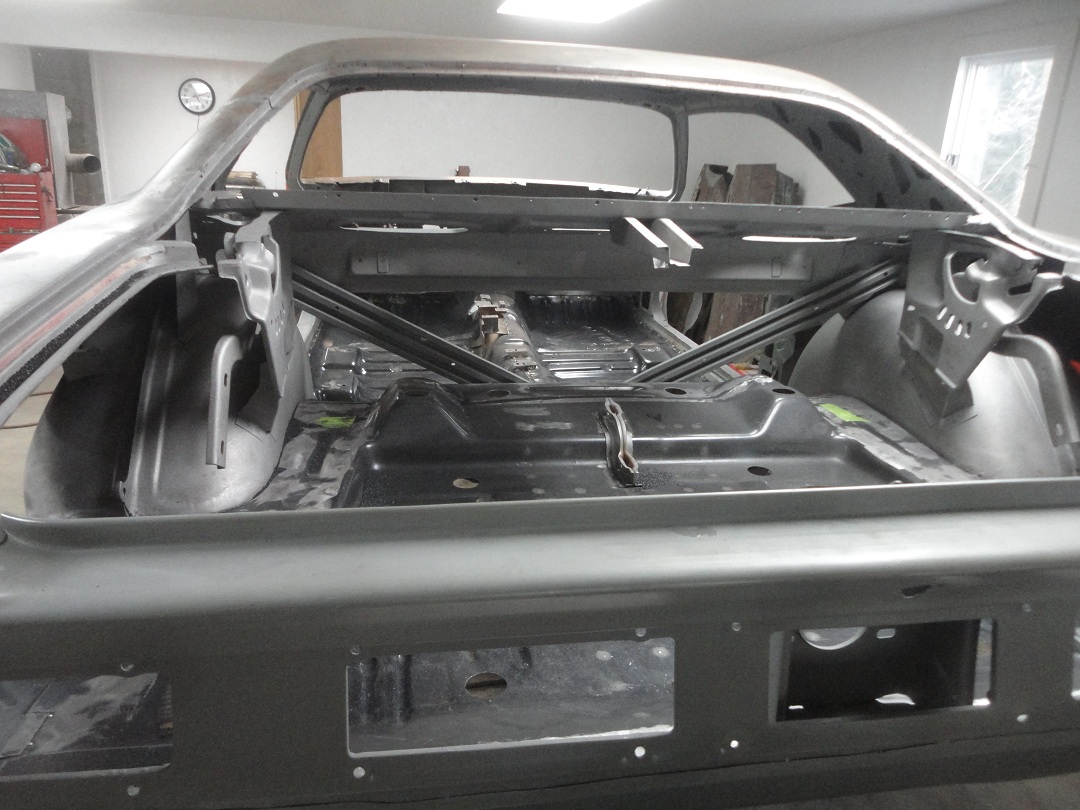 67) The next area to tackle was the rear deck filler panel. The rear window opening is notoriously famous for rusting out on these cars.
Especially if the car was equiped with a vinyl top. Luckily new panels can be had for $140.
Here the rear deck filler panel has been cut out. This makes it easy to get inside with the sandblaster.
|
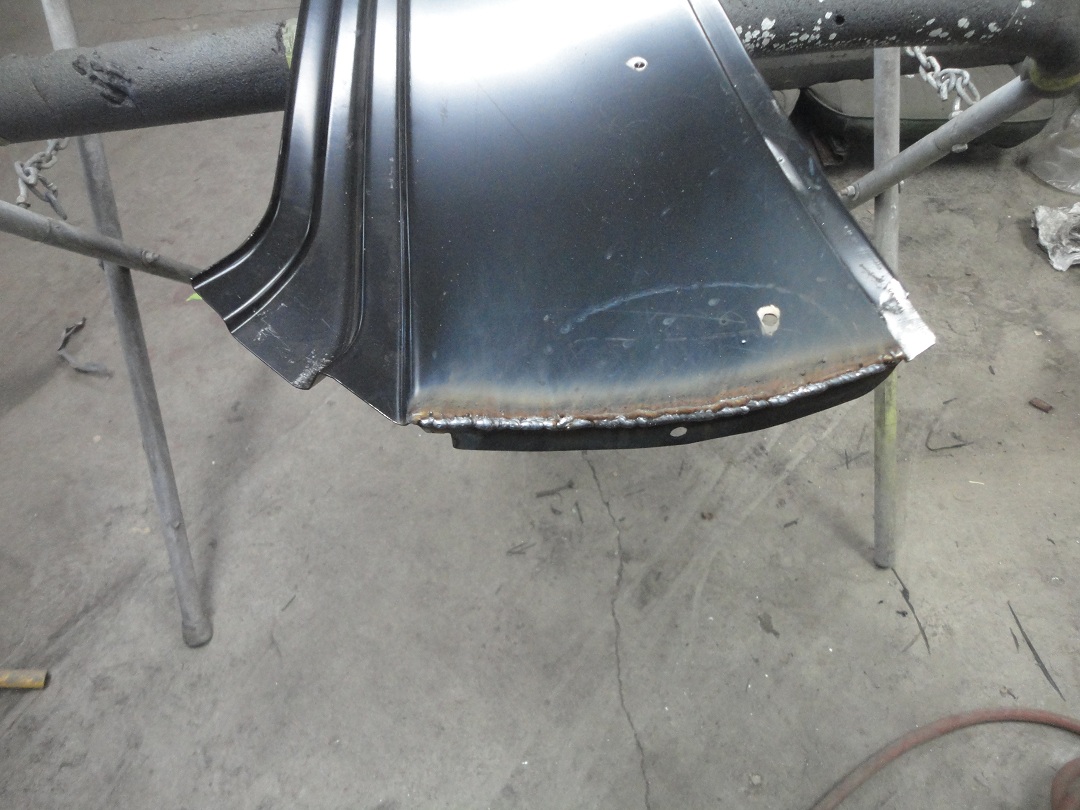 68) There always seems to be a price to pay when you buy repo sheetmetal. The rear deck filler panel was about 1/4" too short. I've
read that a bunch of people have experienced this problem on the web forums. (just ignore what you may see on those TV shows). I
added a bead of weld on each side of the panel to get it to fit in the original opening. I suppose if I were to install full quarter
panels, the gap would be hidden by bring the quarter panels closer together. Then I bet I would have trouble fitting the rear glass
and perhaps the moldings well?
|
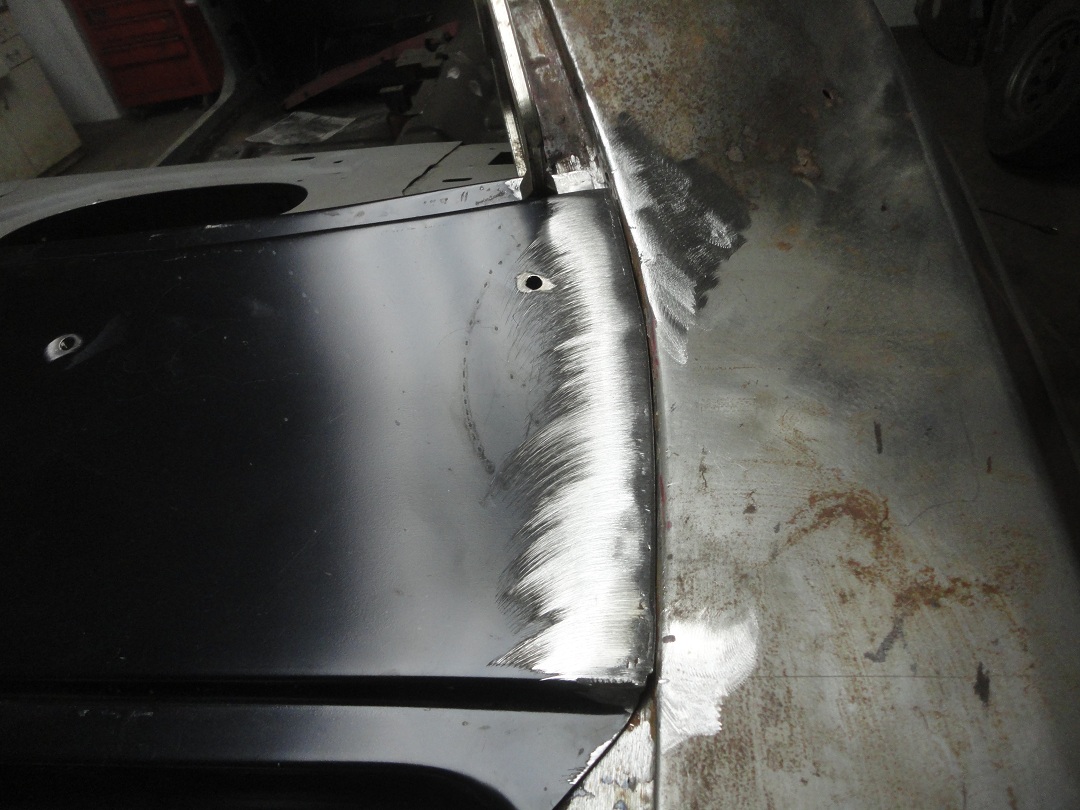 69) The bead gets welded down to produce a good fit to the quarter panels. Looking pretty close to finished in this picture.
|
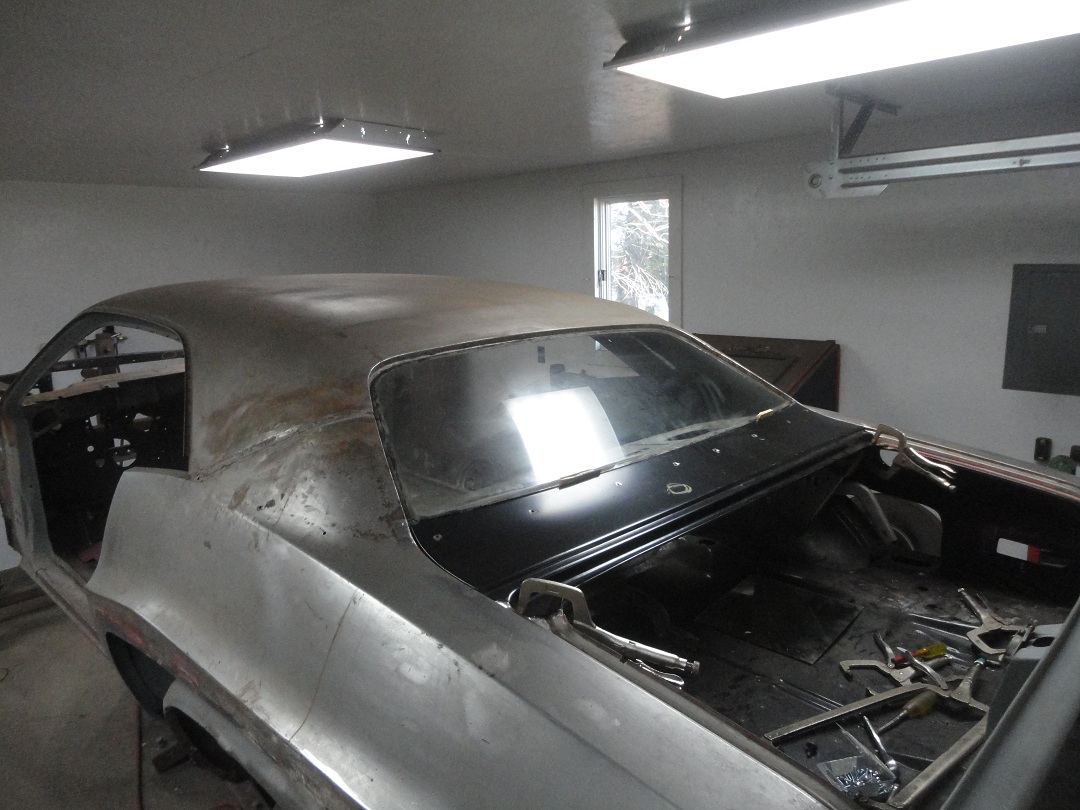 70) The panel was fitting clamped in place and the rear glass was placed in the opening. I also installed the trunk lid to verify all
of the gaps before welding the panel in.
|
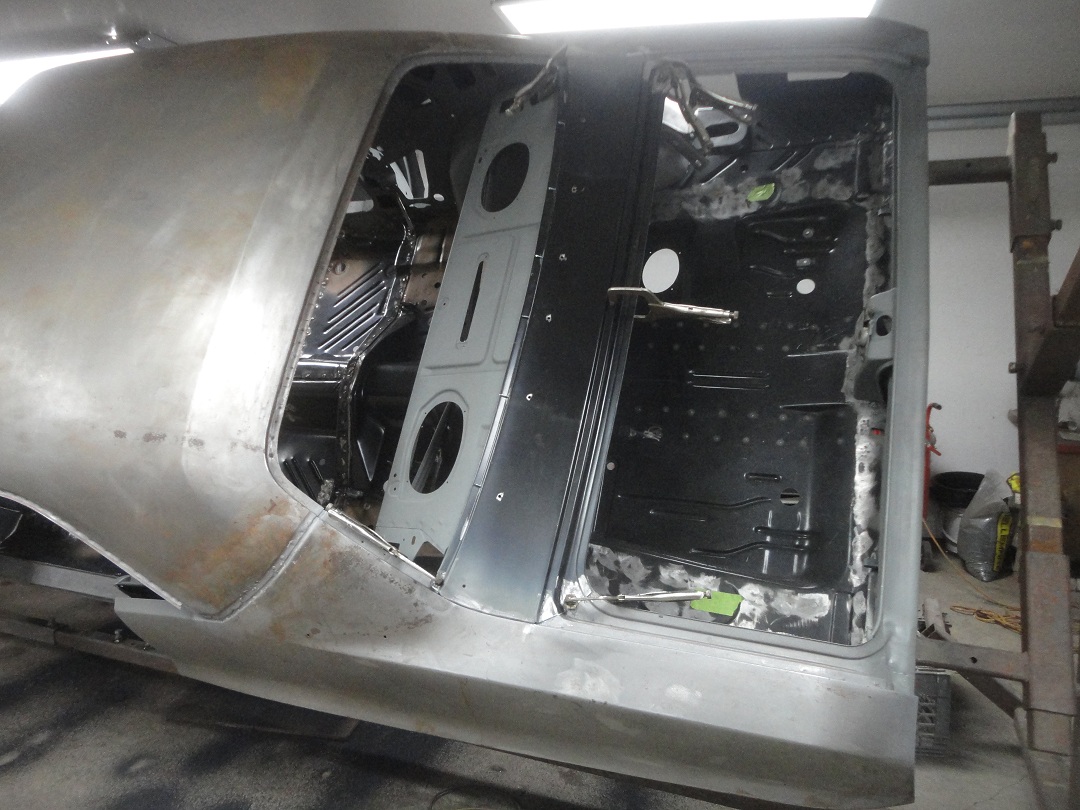 71) Also prior to welding I predilled all of the holes for the rear window moulding clips and for the vinyl top molding. Having the holes
for the window moulding clips made it possible to screw the rear deck filler panel to rear of the package tray panel for welding.
|
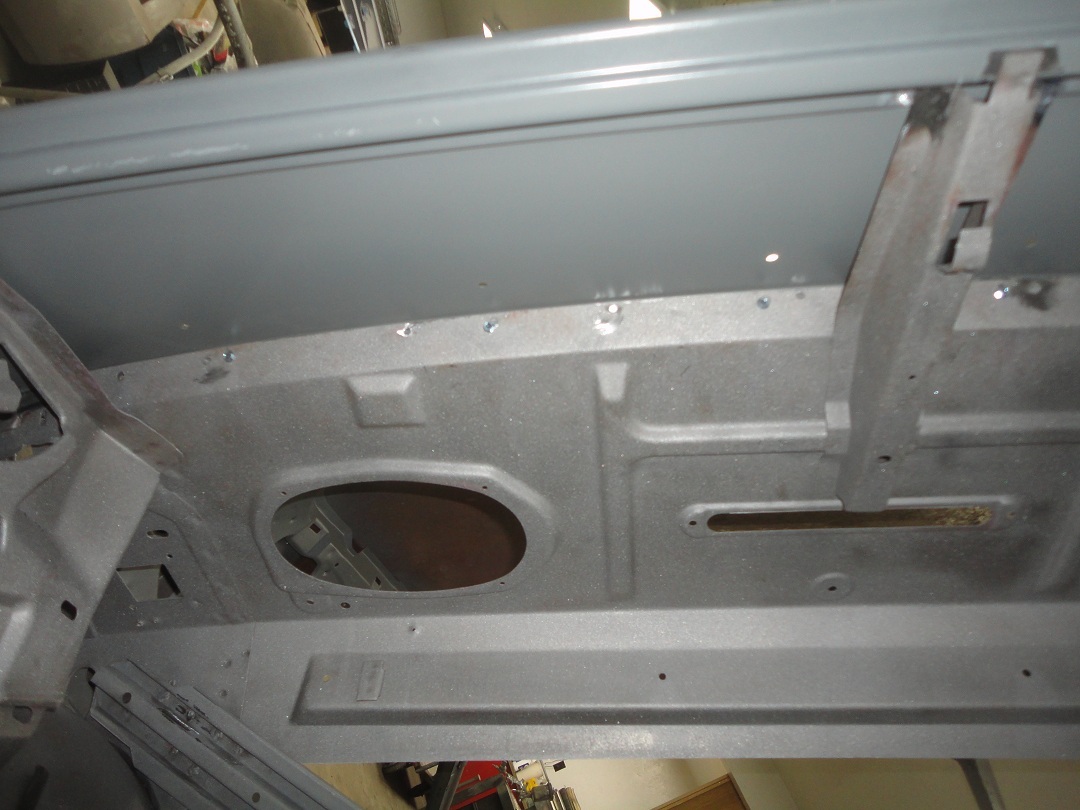 72) Here is a shot from the under side. You can see the heads of the screws that were temporarily holding the panels together. Normally I
would just drill some holes for the plug-welds, but someone had drilled new holes to pop-rivette new window clips in place. All I had to do
was drill the holes larger and add a couple more near the ends.11/25/2014
|