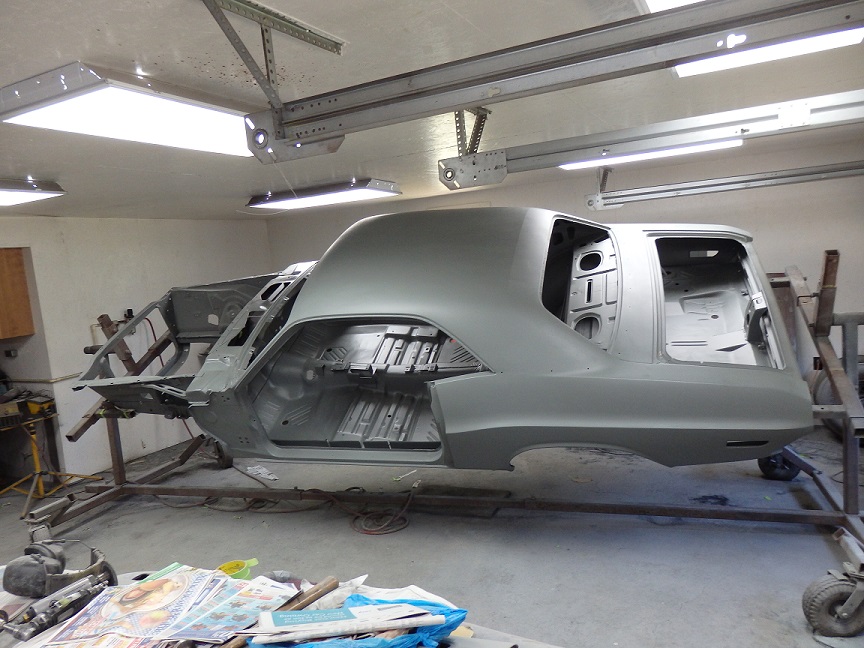
 155) Here is the completed shell, ready to come off from the rotisserie. I primed the shell in four different stages. In order: Engine Compartment, Interior, Exterior and undercarriage.
|
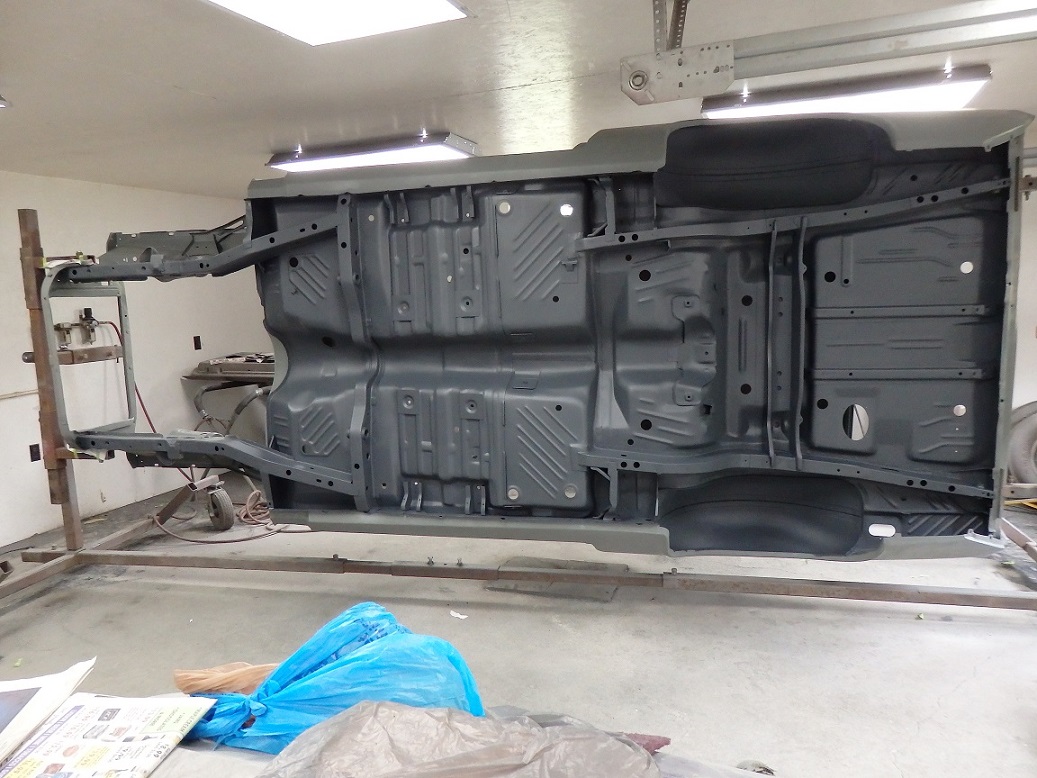 156) Originally the undercarriage of the car was left in gray primer from the factory. The undercarraige also had body color overspray and some blackout overspray from the blackout of the rocker pinch welds (very similar to what Ford did). In the case of Chrysler, the body was dipped in a water soluable primer to about halfway up the car. The primer was hosed off the exterior of the car to prevent the primer line from showing through the paint.
There are several fomulas for the gray primer in magazine articles and on the web. They are all basically a mixture of PPG DP90 Black & DP50 Gray Epoxy primers. As a test I sprayed the undercarriage of this car with the most popular formulas. Neither of them resulted in correct color. It may be because the formulas were for the older versions of the primers before they were replaced with the Lead Free kind.
Resto Rick offers a single stage urethane paint that replicates the original color. I will probably just buy the color from him.
|
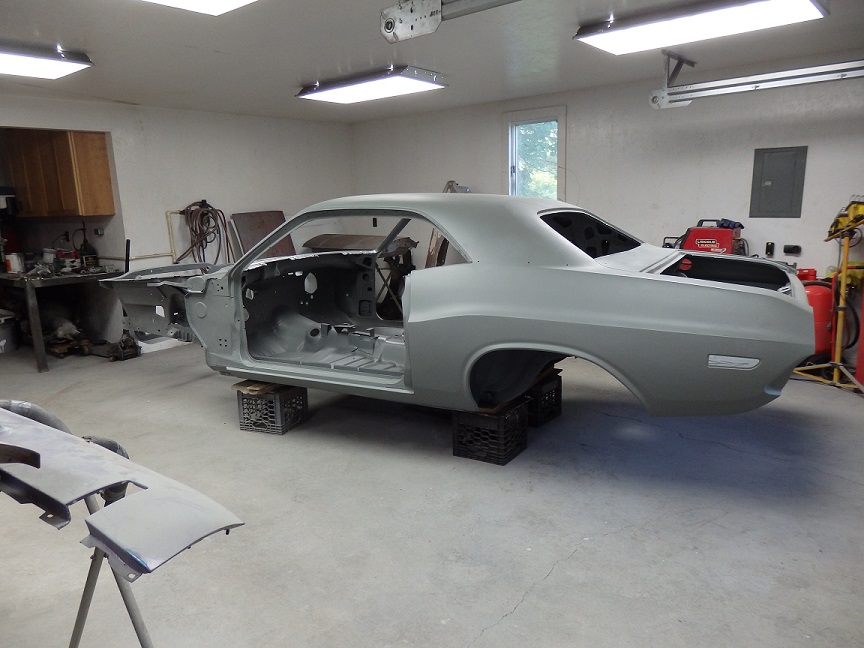 157) Here is the shell taken off the rotisserie. People just love to comment on my use of milk crates.
|
|
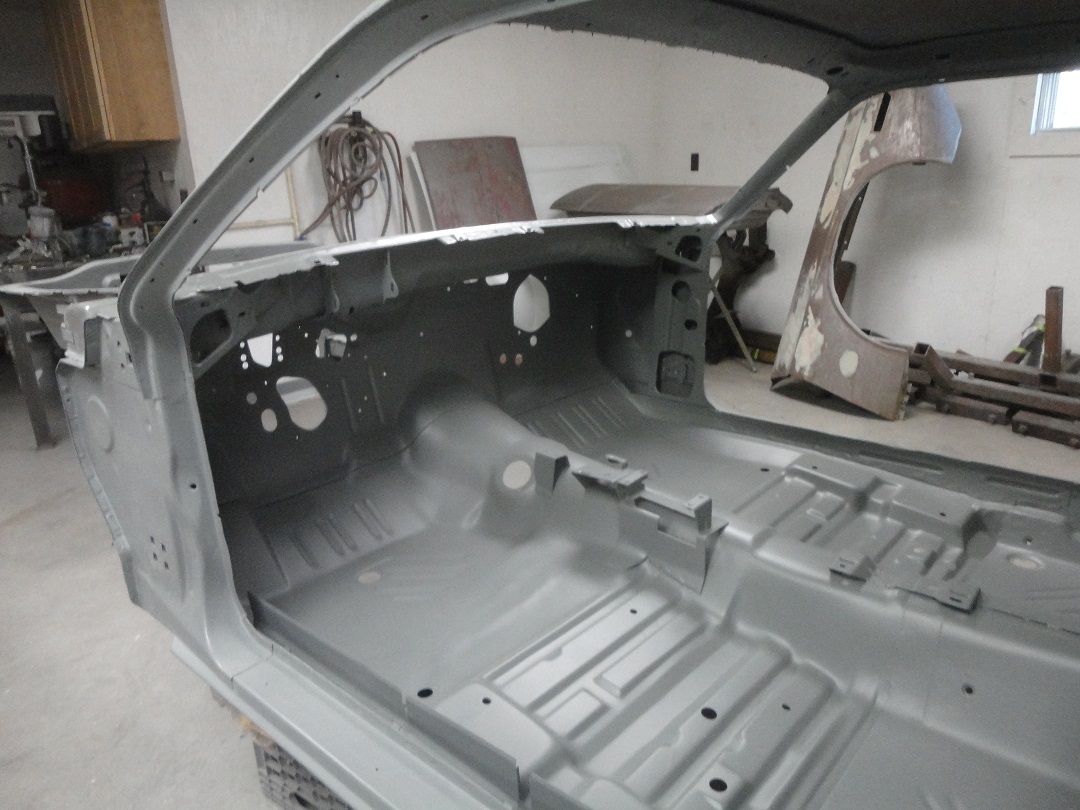 158) Here is a shot of the firewall from the inside.
|
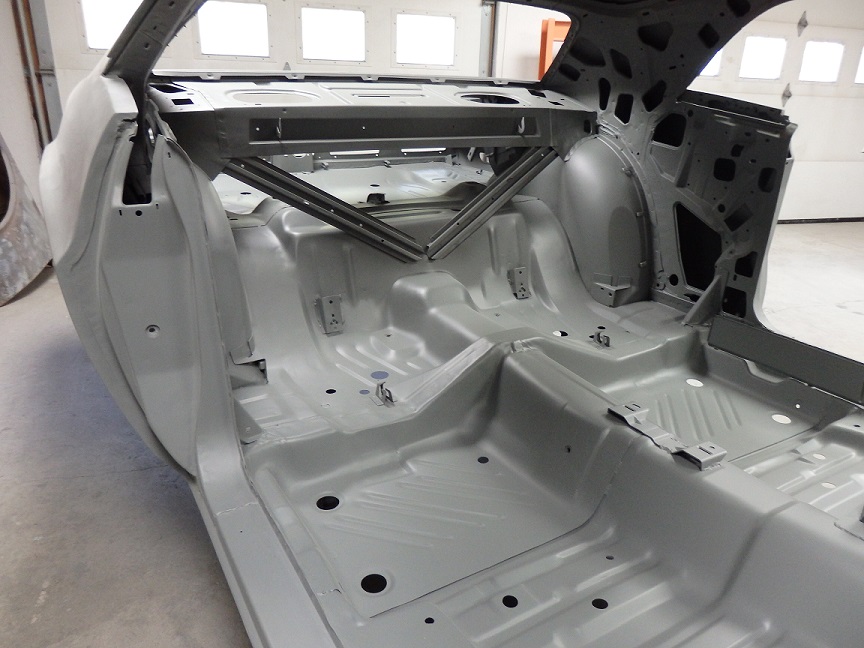 159) And here is one of the rear passenger area. The plan is to sand the primer, apply seam sealer prior to final primer and paint.
|
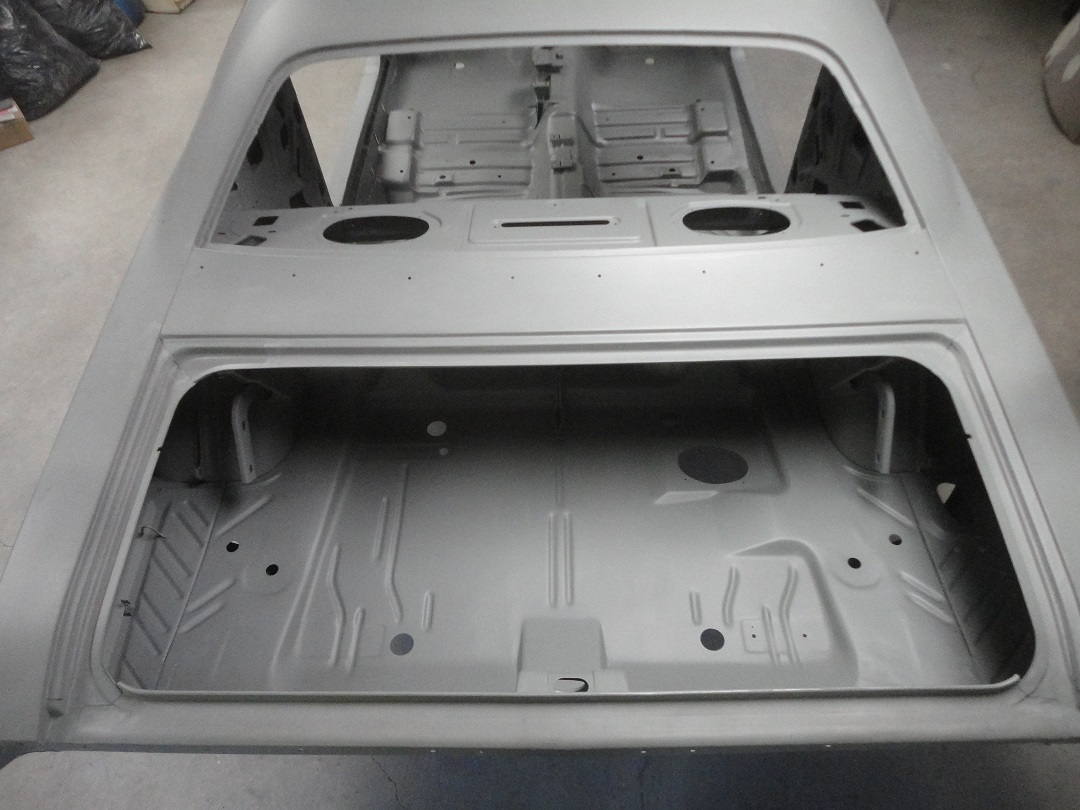 160) Here is a final shot showing the trunk. I made sure to drill the trunk hanger holes and fit the trunk hanger plate prior to priming. Since the car is single exhuast I only had to do one side.
|
|
Getting a car to this point is a majot milestone in a project. There is a significant amount of work left to do. However, summer in Vermont is short and there is plenty of other things to do outside that is not car related. With that being said, work was suspended on the project until the fall.
|
|