|
|
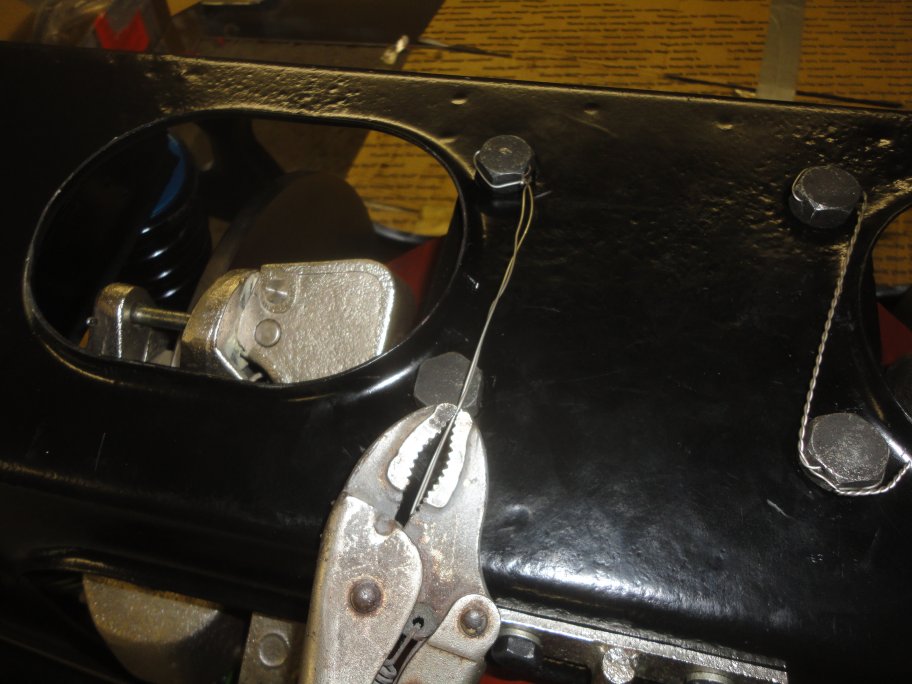 12) Satisfied that everything went together correctly, the differential mounting bolt locking wires can be installed. Wires are fed through holes on the bolt heads and are tied to opposing bolts in such a manner that if a bolt starts to loosen, tension increases on the wire which prevents the bolt from loosening. Here the wire has been threaded through the first hole and is twisted once around the bolt head. Visegrips hold the two ends of the wires together just beyond were one end will be fed through the next bolt.
|
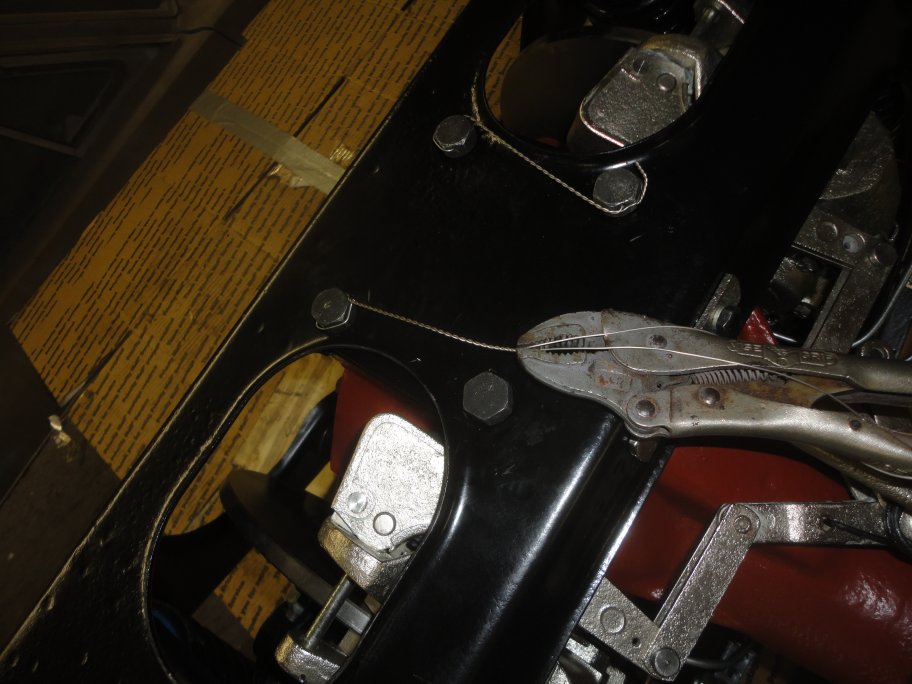 13) The vicegrips are rotated by hand until the wire can not be twisted together any further.
|
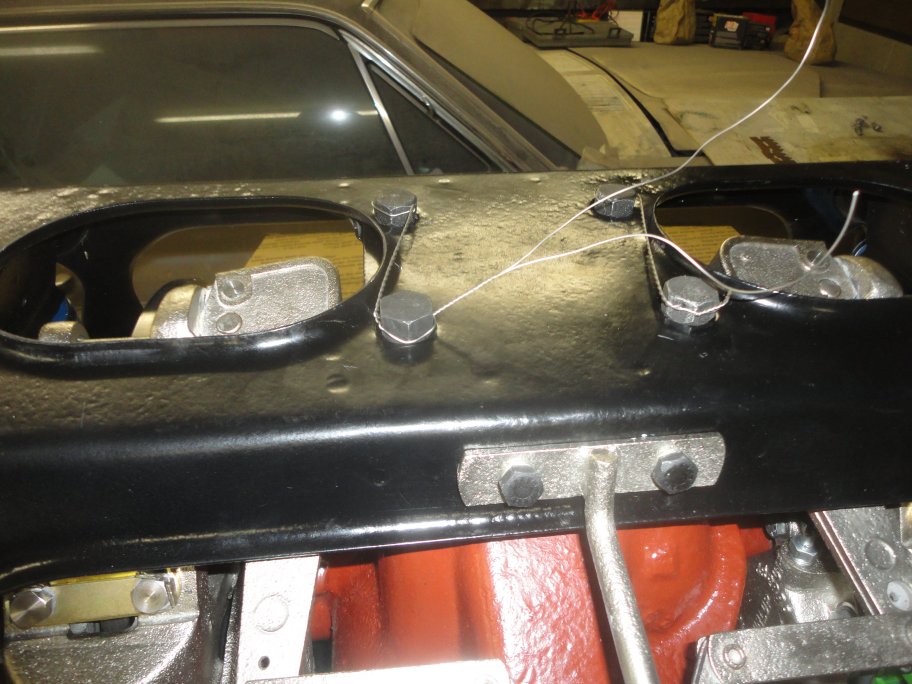 14) The vicegrips are released and one end of the wire is fed through the hole in the second bolt head. The other end is wrapped around the outside of the bolt and is twisted together with the other wire end. Again using visegrips.
|
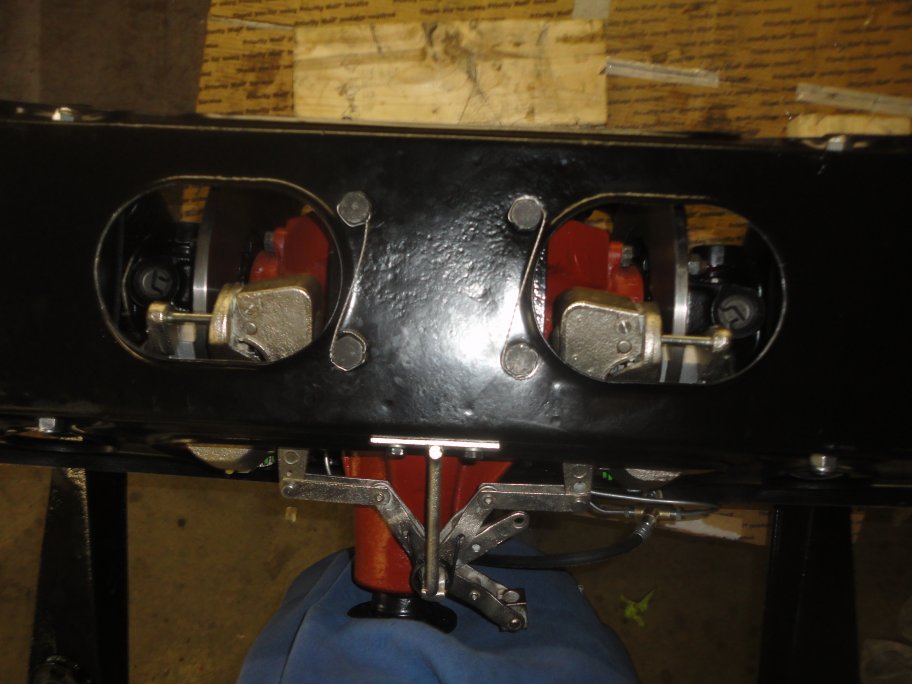 15) Here is the final result. The wires should look like a reverse "S" when properly installed.
|
 16) With the front IRS mounts installed the IRS is complete and ready to install. The total cost in new parts to get the IRS to this point was $2800. This does not include resleeving the brake calipers or the cost of stripping and painting each part.
|
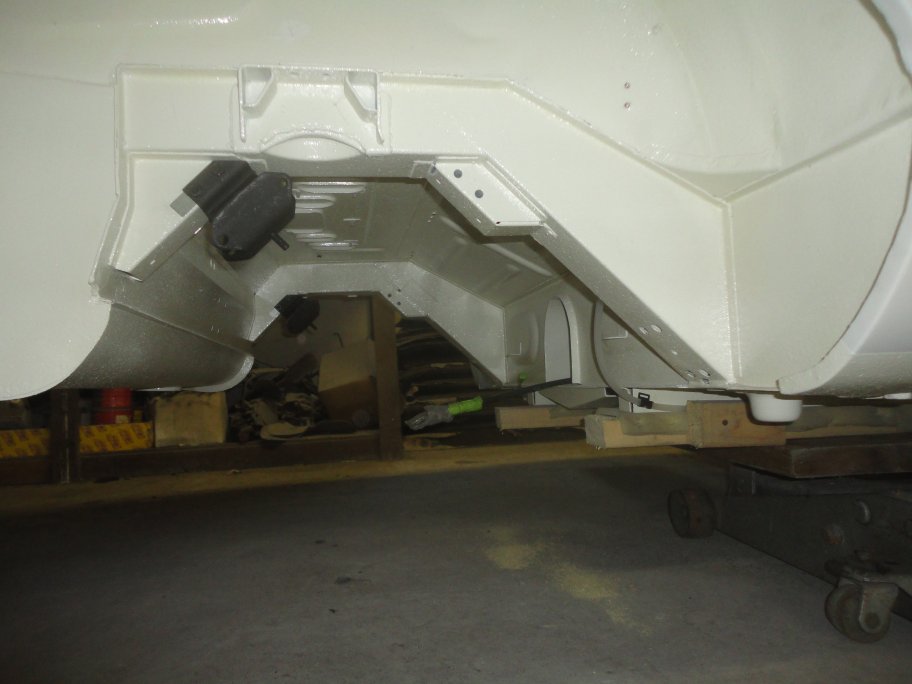 17) Finally the IRS can be installed and the car can go back on its wheel the first time in over 5 years. The first thing to do is install the rear IRS mounts to the frame. They can not be installed on the IRS first because there is no way to access the bolts on the frame. Note: It is also important to have the fuel line installed prior to installing the IRS, since the fuel line retaining clips can not be installed after the fact.
|
 18) I started by running a jack with a plank underneath the car and cutting off the end of my care dolley. I place the IRS on a small dolley cart and simply rolled the IRS under the car.
|
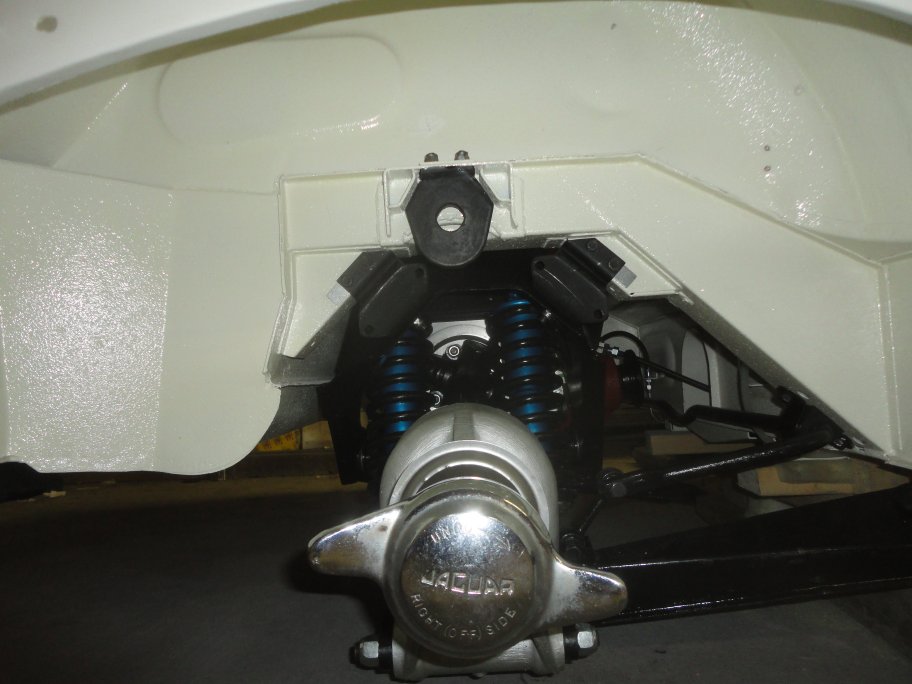 19) I then lowered the jack until and jostled the IRS in place. Here it is all bolted up except for the radius arms. Note the shims that go between the IRS mounts and the frame rails.
|
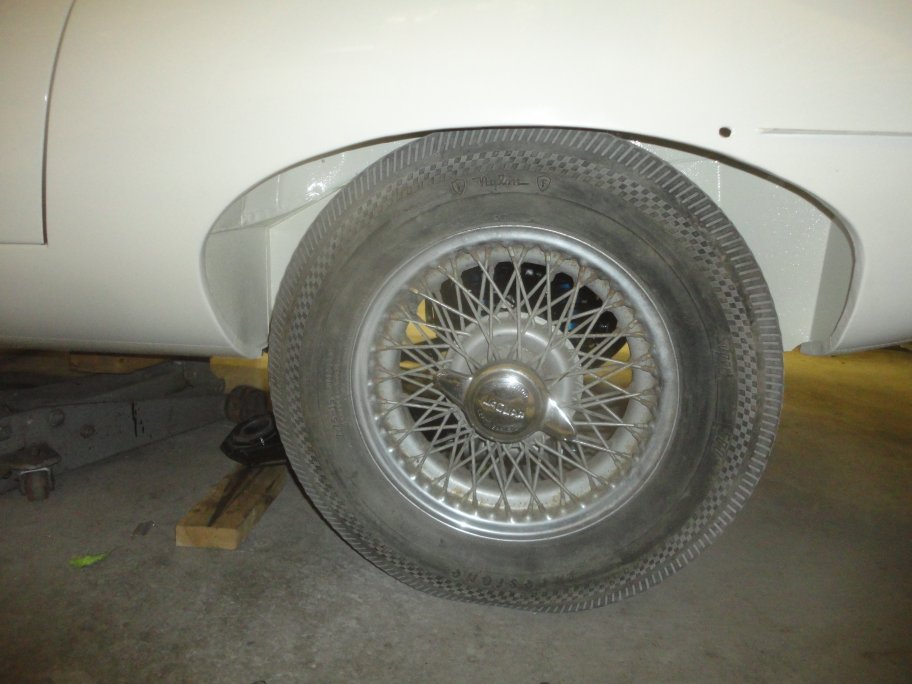 20) The wheels were installed and the jack was lowered to the ground. The full wieght of the vehicle is required to help bolt the radius arms. Note: I just love the sidewall of these vintage FiIrestone biasply tires. They have a very cool checkered flag pattern to them.
|
 21) It takes some prying to get the radius arms in place over the cups that are rivetted to the floor. The final factory touch is to run saftey wire through the bolt heads and around the retaining straps.
And with that, the IRS is installed. Later on the parking brake cable, brake hose and drive shaft will be installed. Now onto the engine!
|