|
|
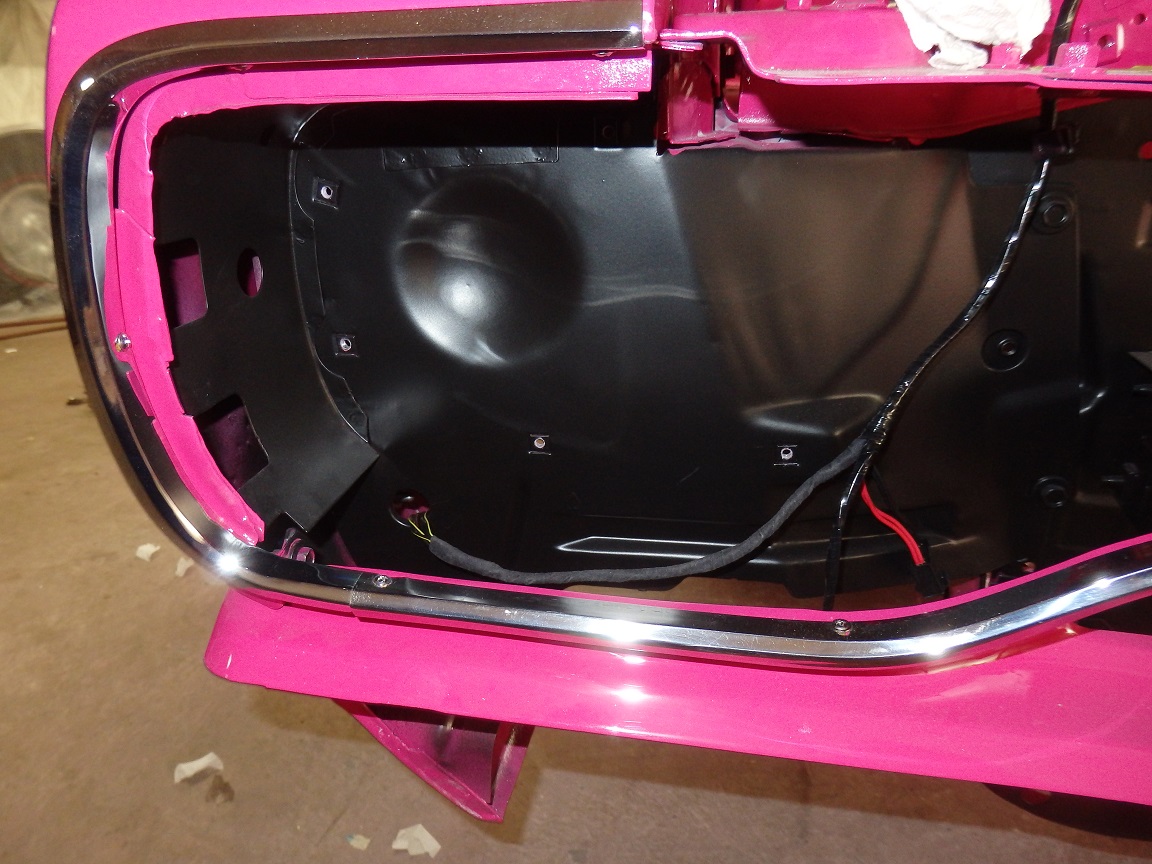
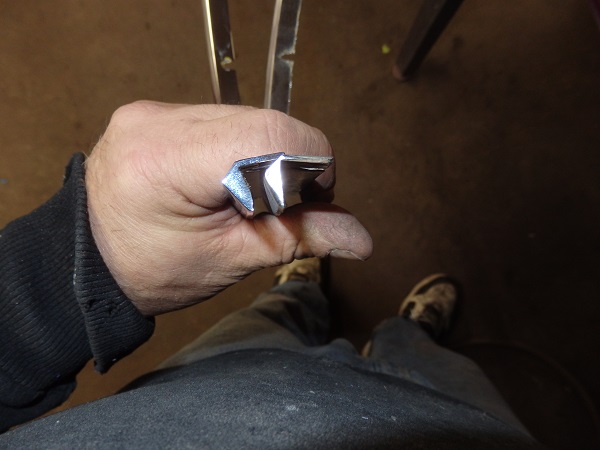
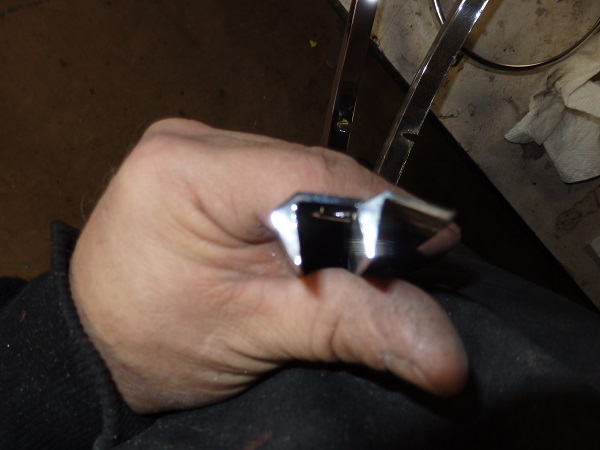
The grill surround mouldings get installed first. The lower grill moulding is stainless steel, so all it needed was to be polished befor being installed. the eyebrow mouldings are repos. The repos are actually pretty nice, but the inside edges
needed to be squared off. In the middle picture and the one on the right the repo moulding is compared to an original one. The middle picture shows the repo before it was squared off. The mouldings should be fitted to the car during the
bodywork stage to make sure everything fits. You don't want to discover nothing fits very well after the car is in paint. |
|
|
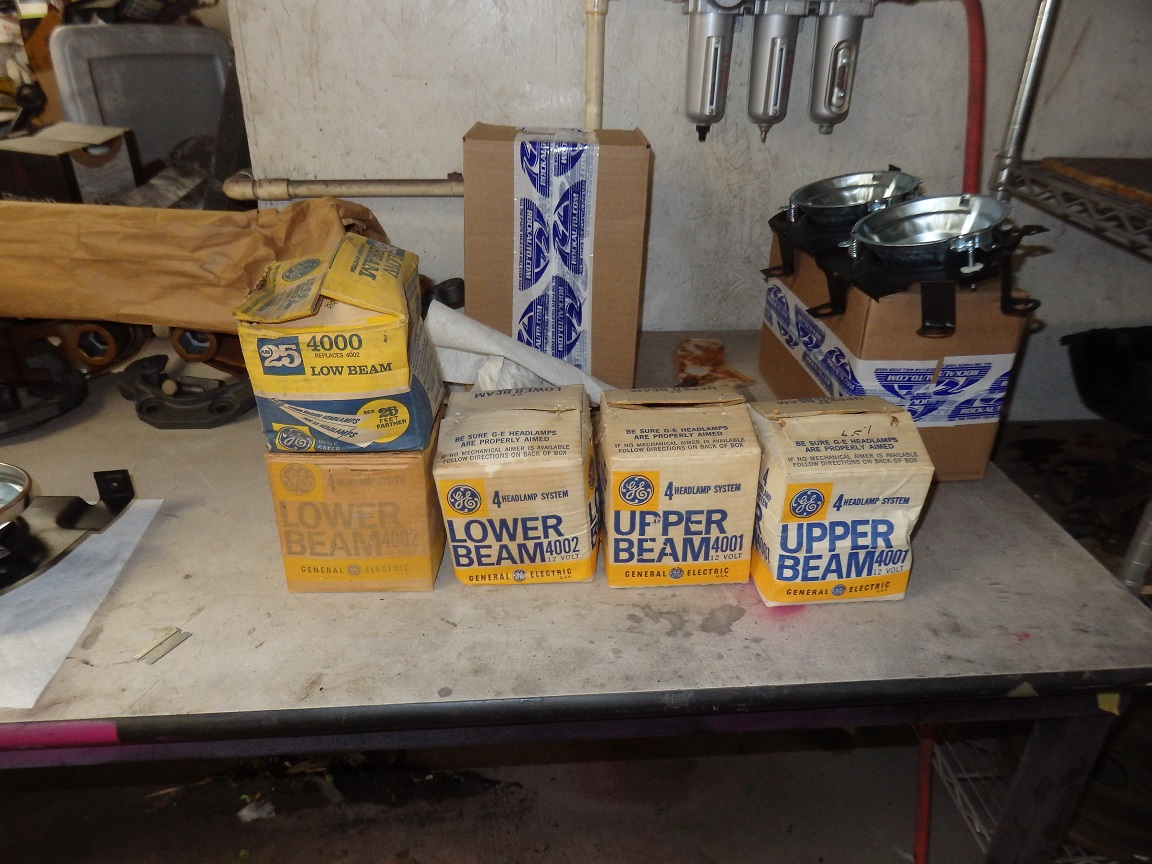
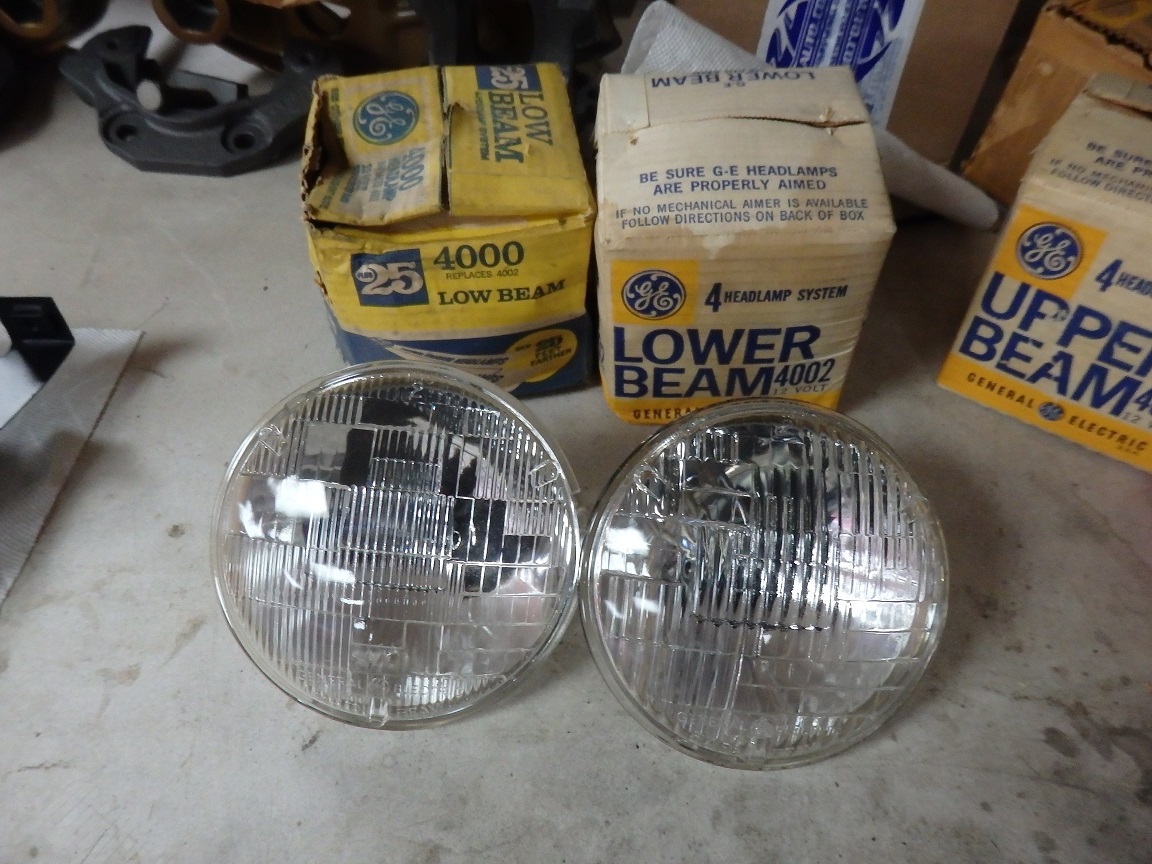
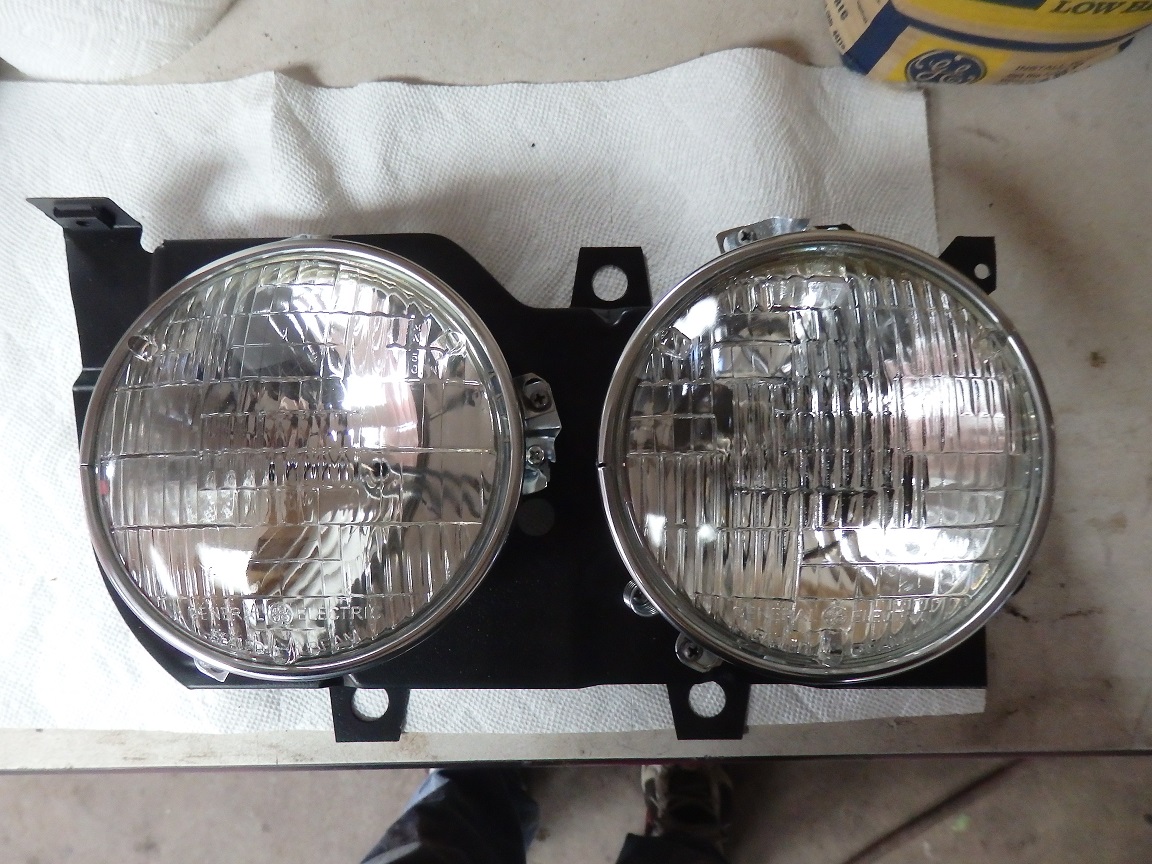
I was able to aquire an NOS set of headlights for the car. The correct ones are in the white boxes (4 shown). The newer ones come in the yellow and blue boxes (only 1 shown).
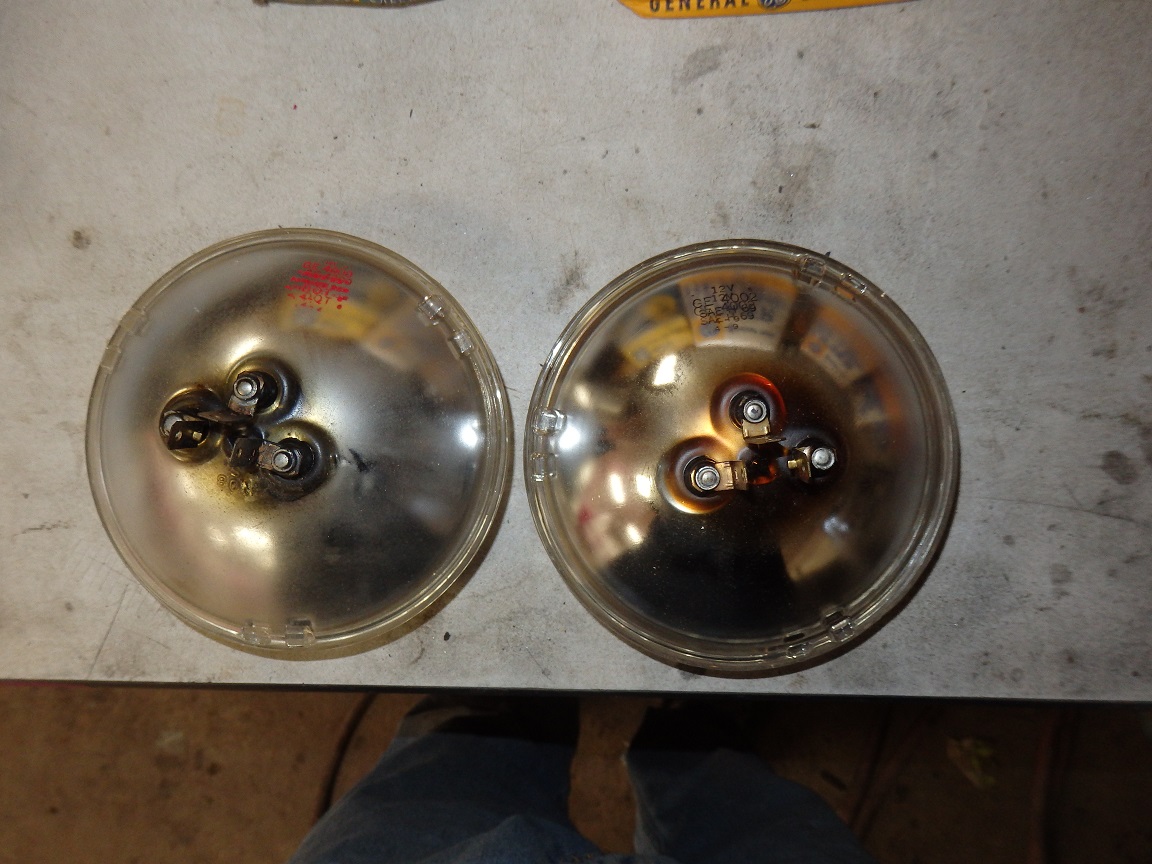
The bulbs that Chrylser used from 61-73 were General Electric (50%), Tung-Sol (25%) and Westinghouse (25%). The correct bulbs (61-73) have 1/4" flutes (grids lines). Bulbs with 1/8" flutes were used from 1974 and up. There are other specific details,
but the flute lines are the main difference. There were no specialized markings for Chrysler. The correct bulbs had black ink on the rear while the new ones are red. The set I bought were all dated 4-1969. |
|
|
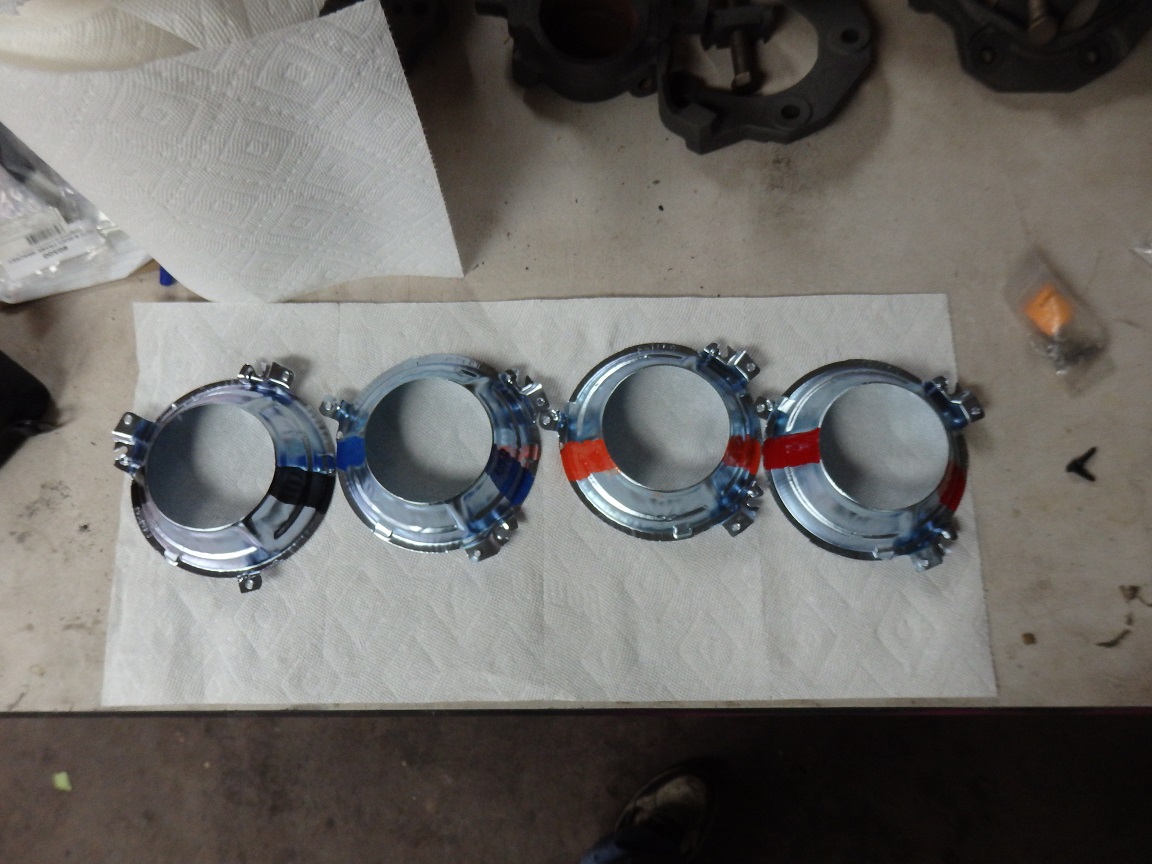
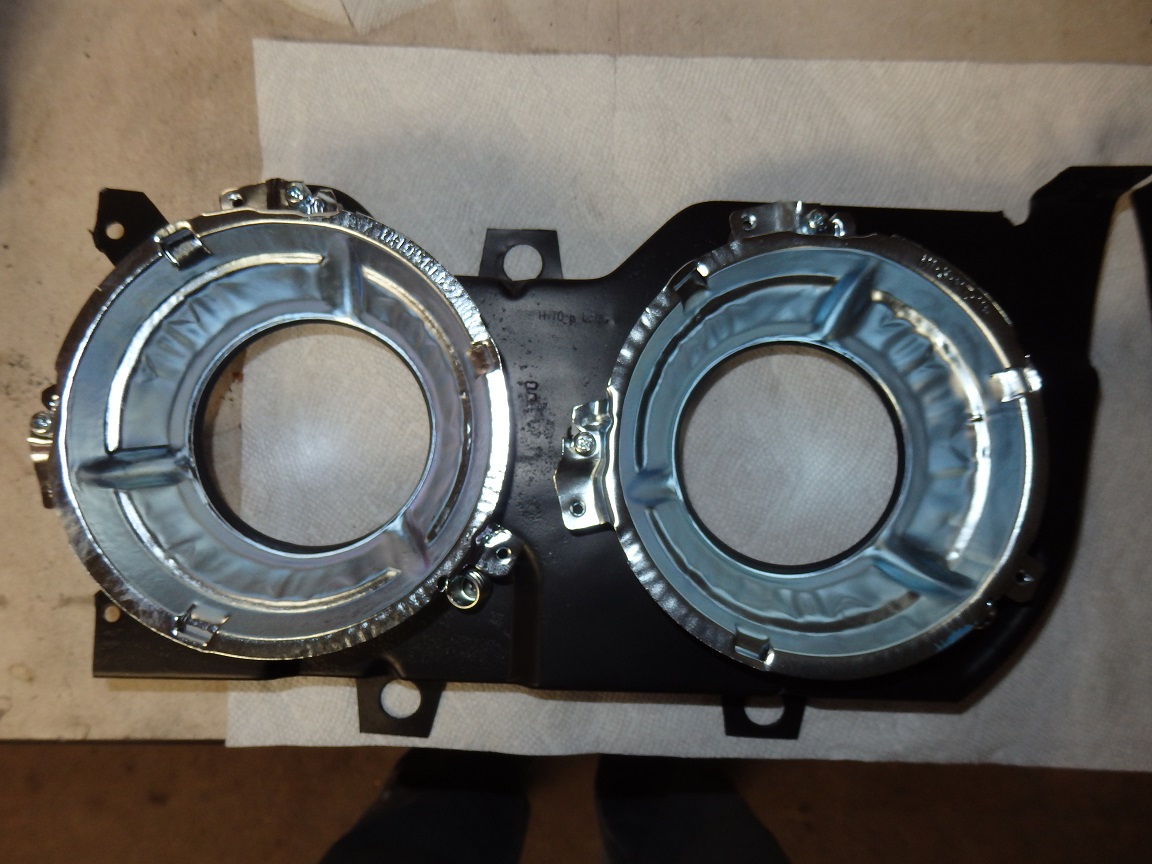
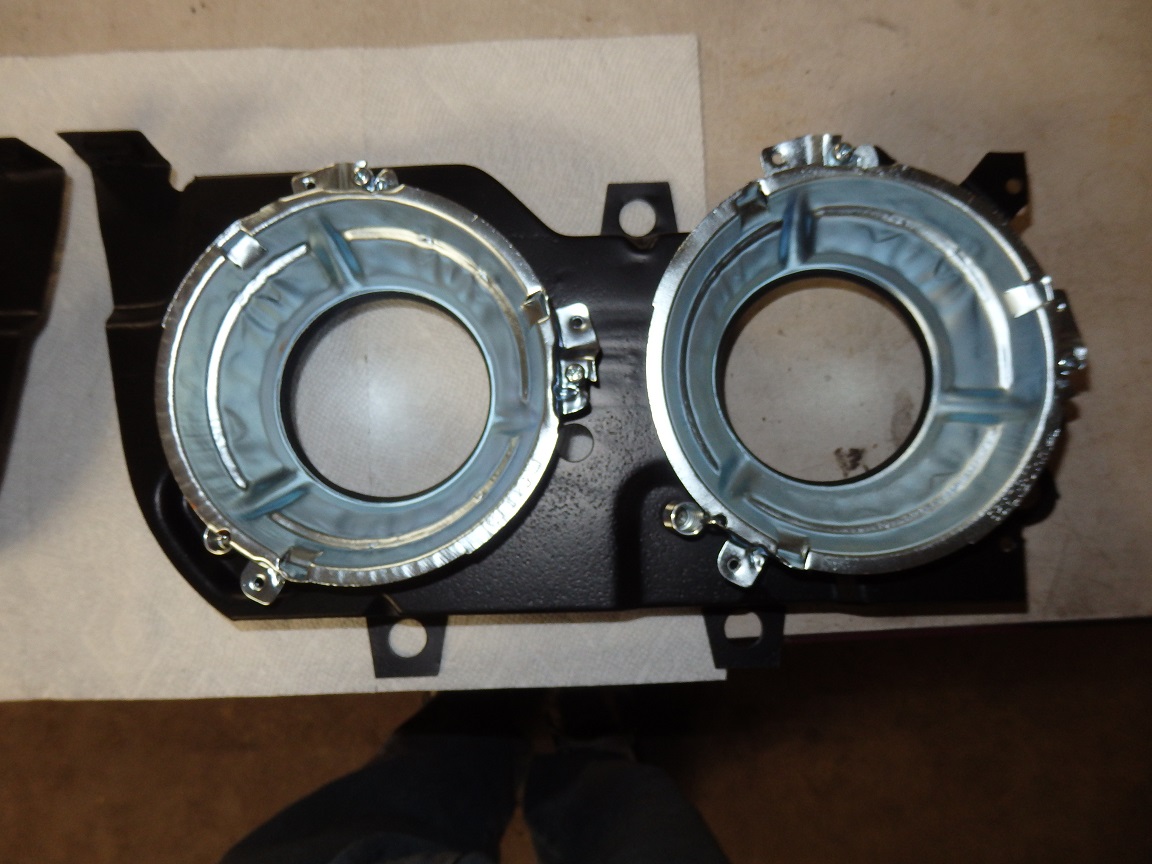
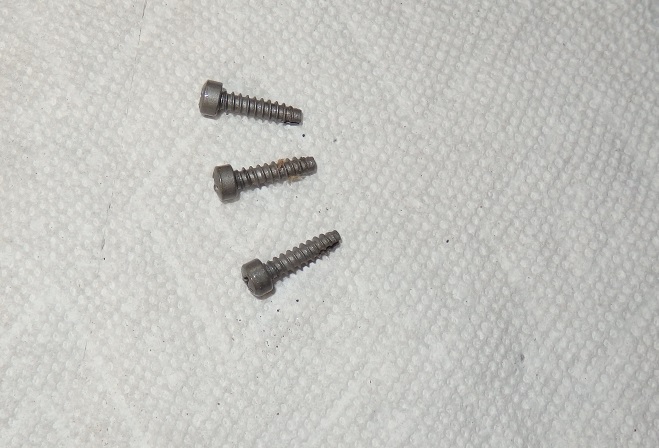
I had sent the headlight buckets out for zinc replating. They were originally galvanized, which is more of a hot zinc dip that left a crackley finish. On the bback side you may notice the colored markings. The factory color coded the buckets so that it was easy for the assembly line worker to indentify what bucket went were. The last picture shows the correct original phillister style screws that hold the retaining rings in place. Repos don't look like this. |

|
|
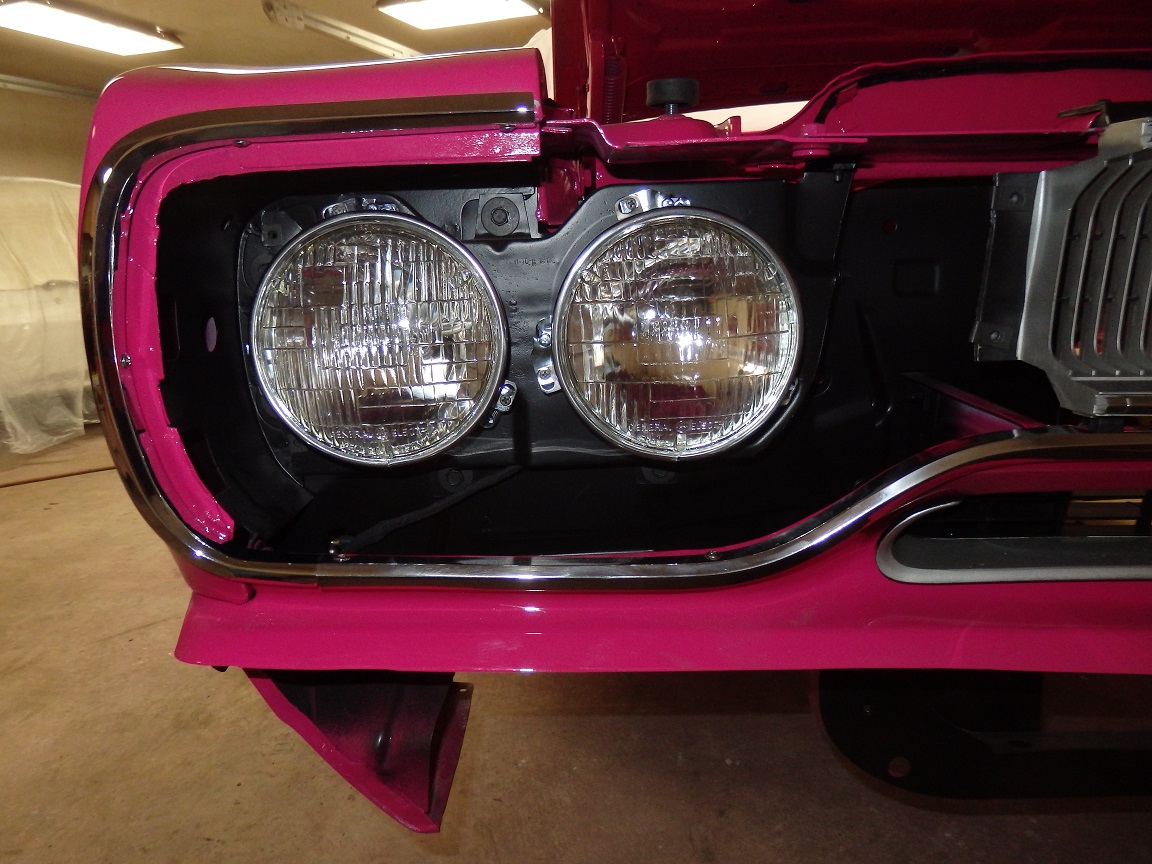
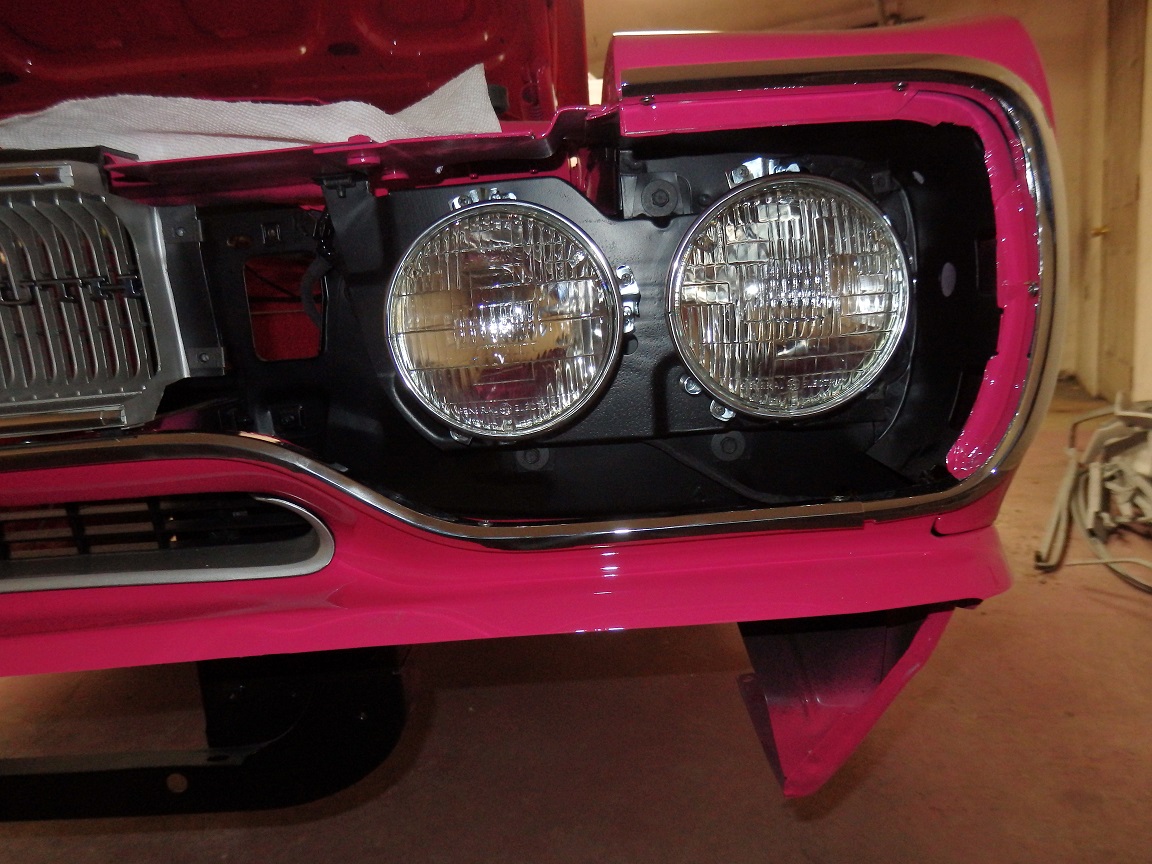
To fit the grill the headlight assenblies go in first, but are left loose. |
|
|
I was a very lucky to get my hands on an NOS set of headlight bezels. I was not so lucky on finding an NOS grill..... |
|
|
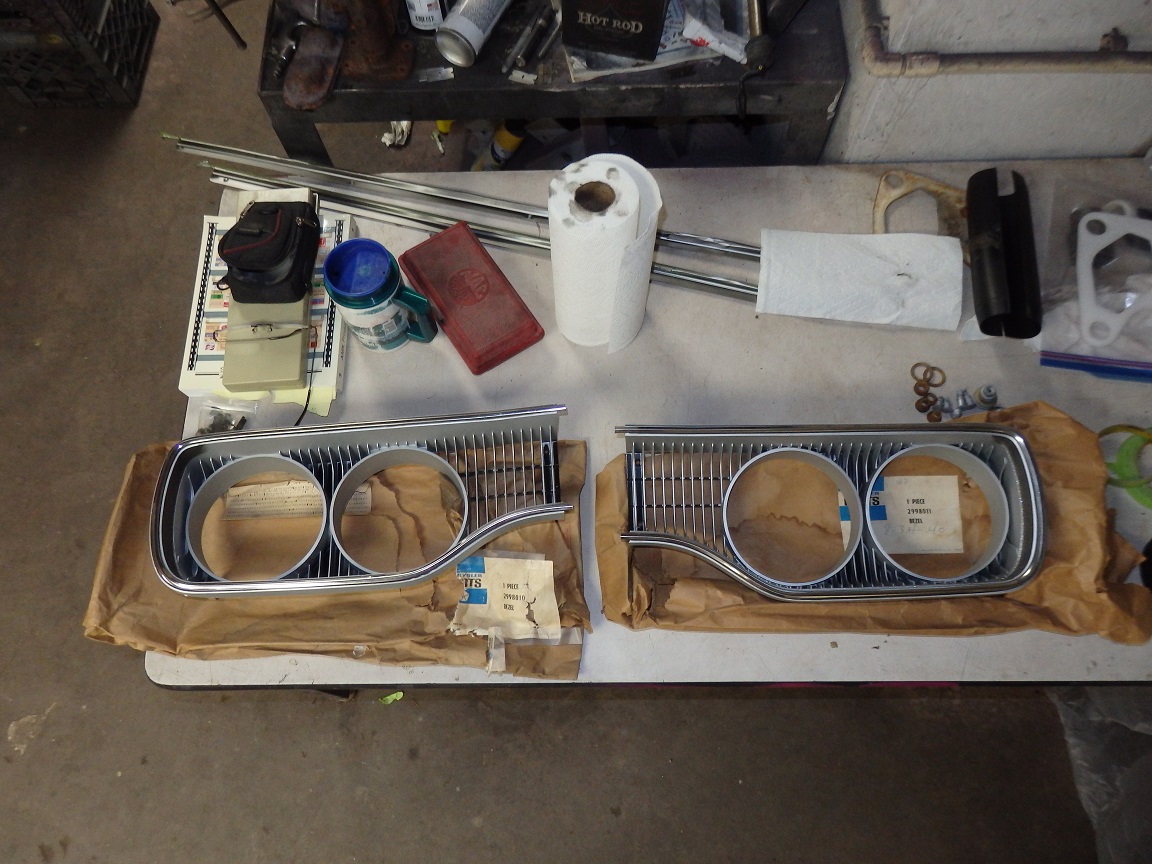
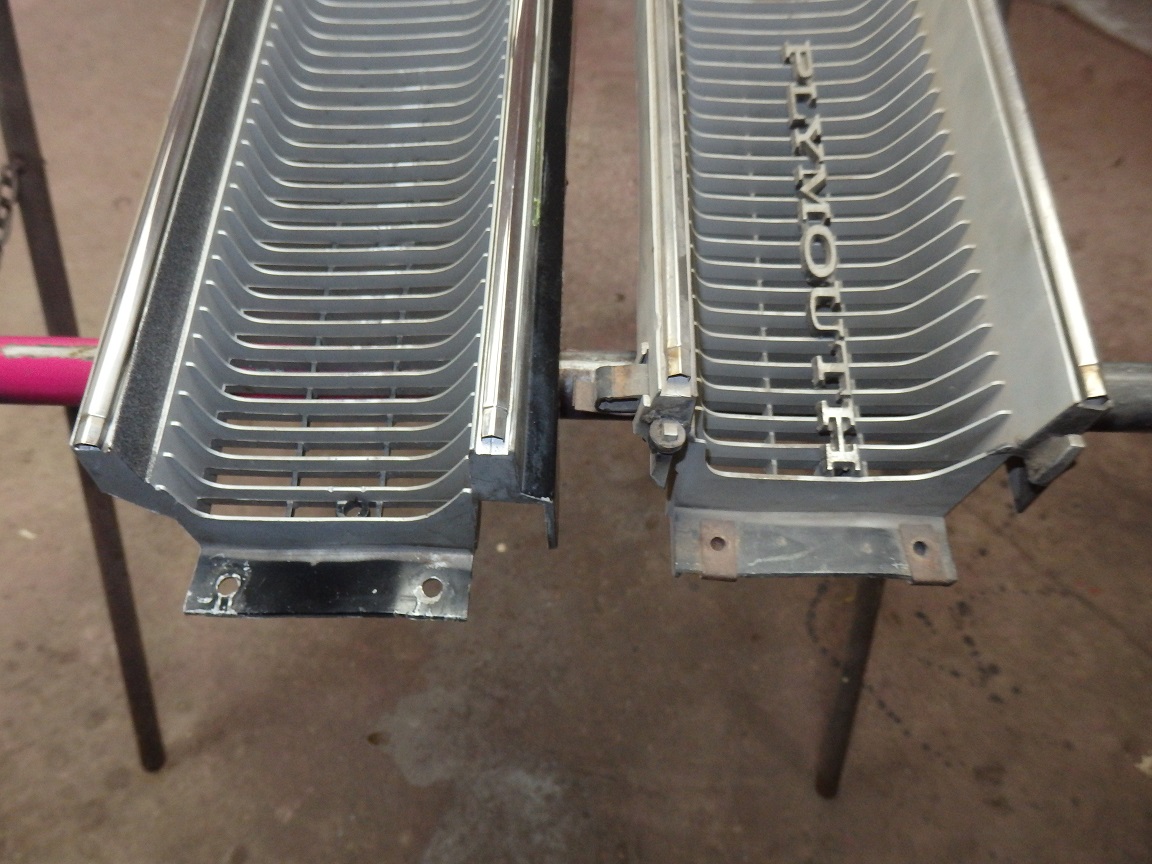
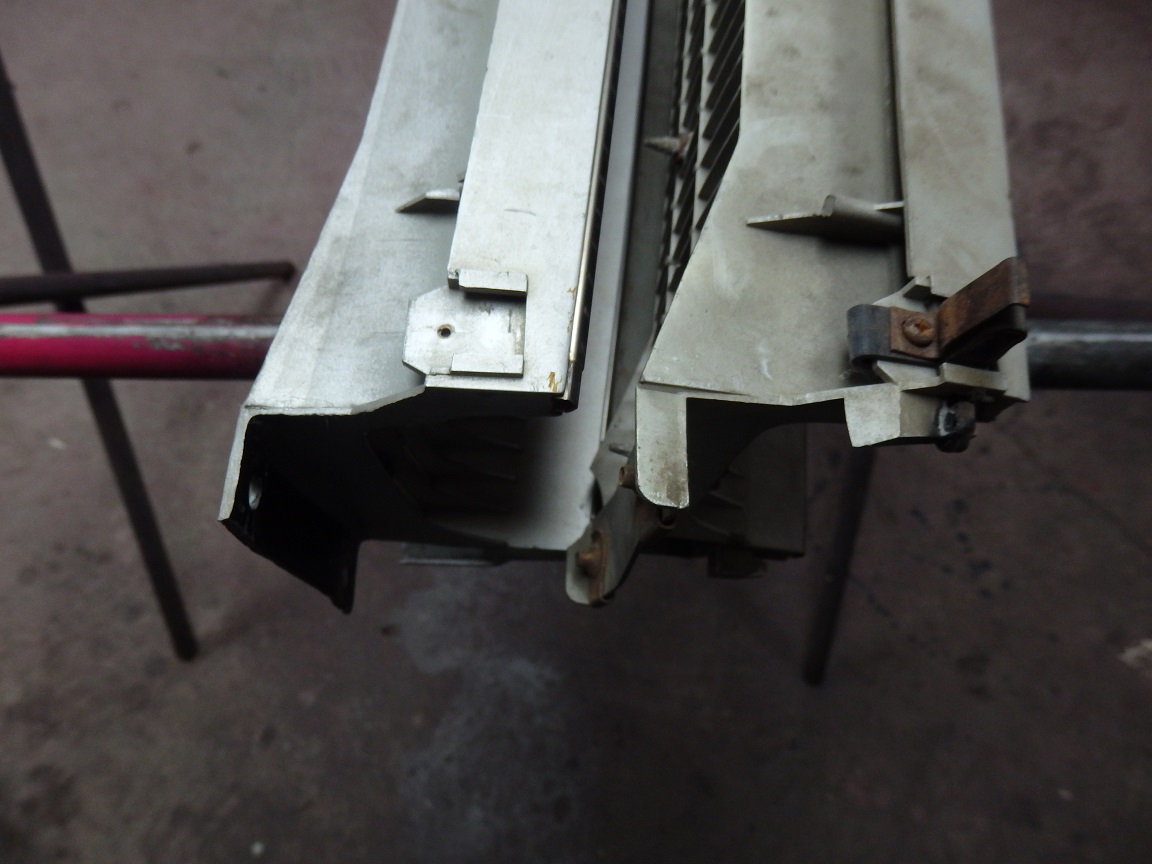
My original grill has some cracks, so I found a nice used one. So it turns out there were two versions of the grill. The one on the right in both side-by-side pictures is the newer rev. It looks like Chrysler added
hook features to the ends to better capture the headlight bezels. Yo can't tell them appart once they are installed. |
|
|
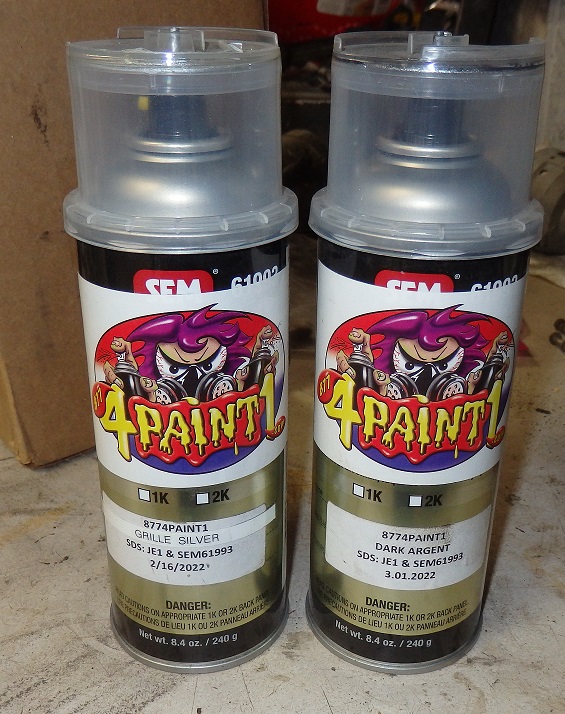
8774paint1.com makes accurate reproductions of the original argent and textured Mopar grill paints. Don't let the name fool you.
The business is just one guy who does this as a side business and enjoys supporting the hobby. |
|
|
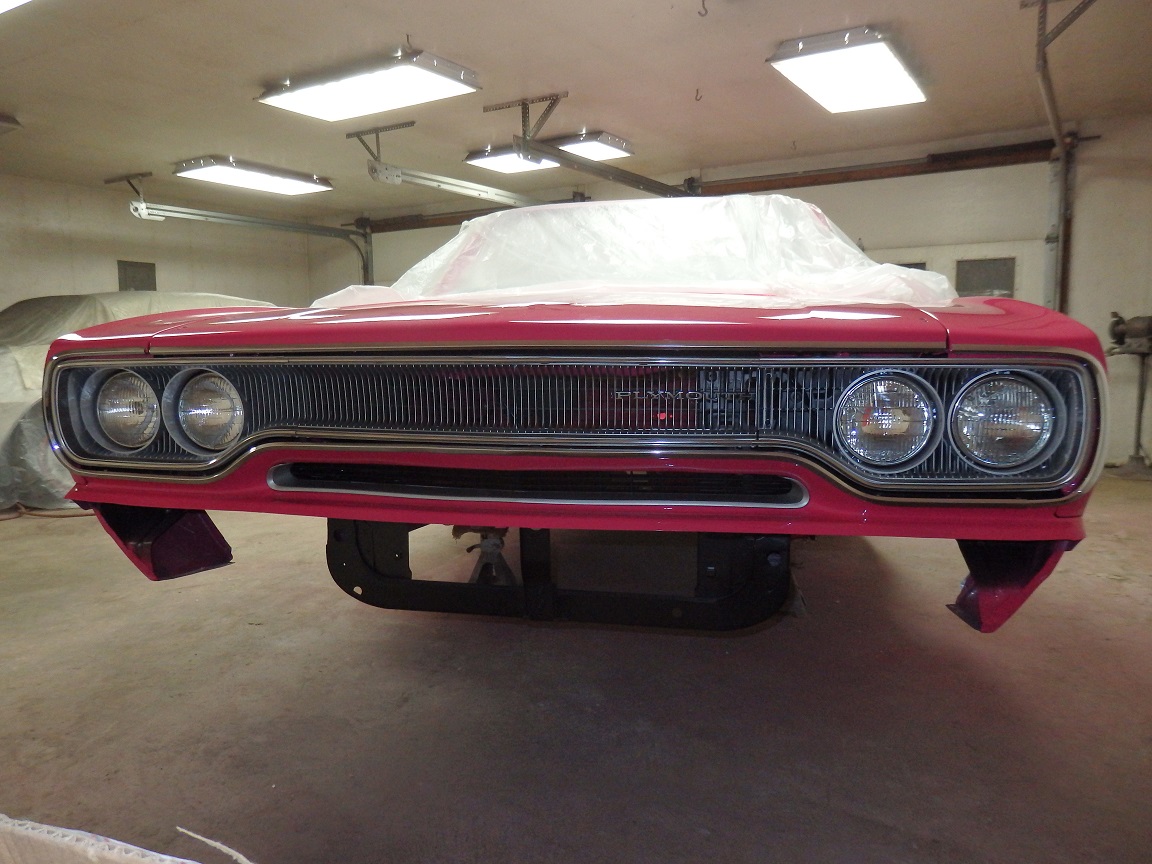
So here we have the grill fully installed. Notice how nice the grill matches the NOS pieces? TALK ABOUT TRIAL FITTING THE GRILL. Another thing to note was that the factory added 2 black phillip screws near the outer corners of the grill on the top black sections on some cars. Probably due to fitment issues with some cars. This car originally had them so I drilled holes in the new used grill and put the screws back in. |
| Side Marker Lights |
|
|
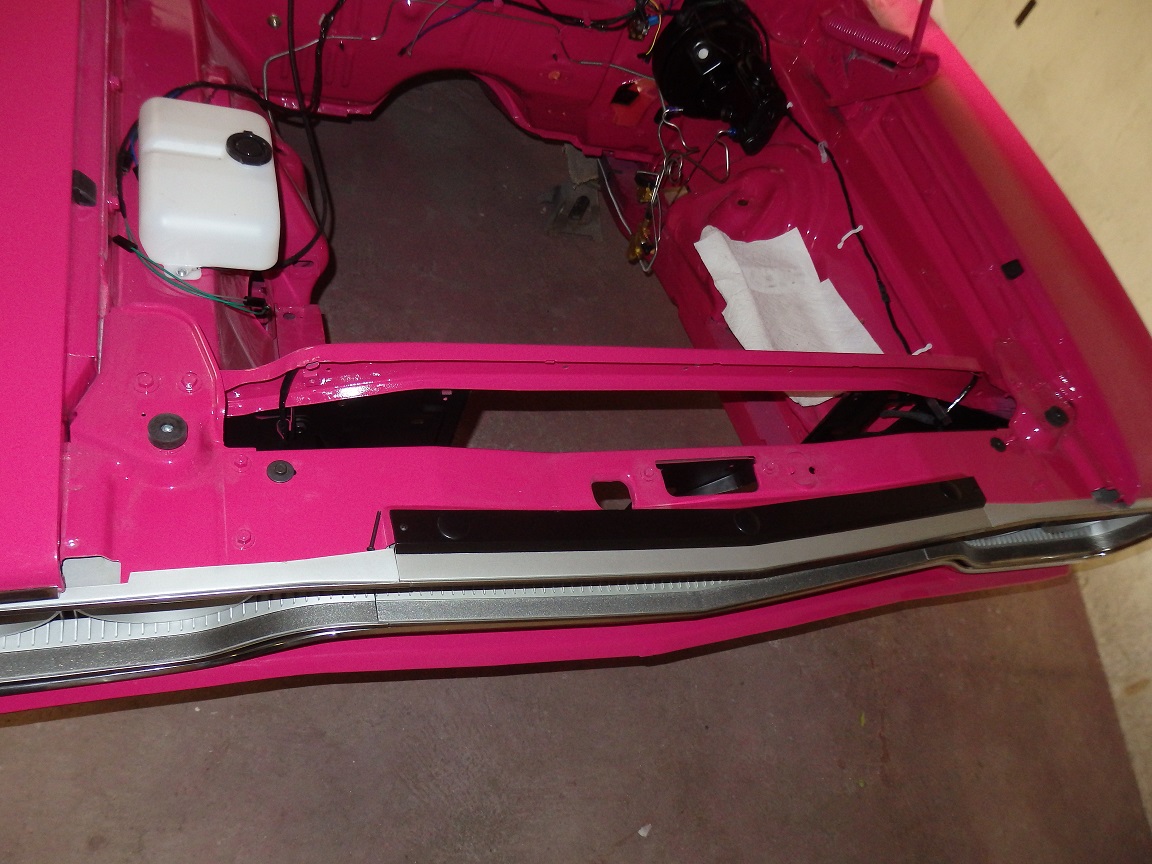
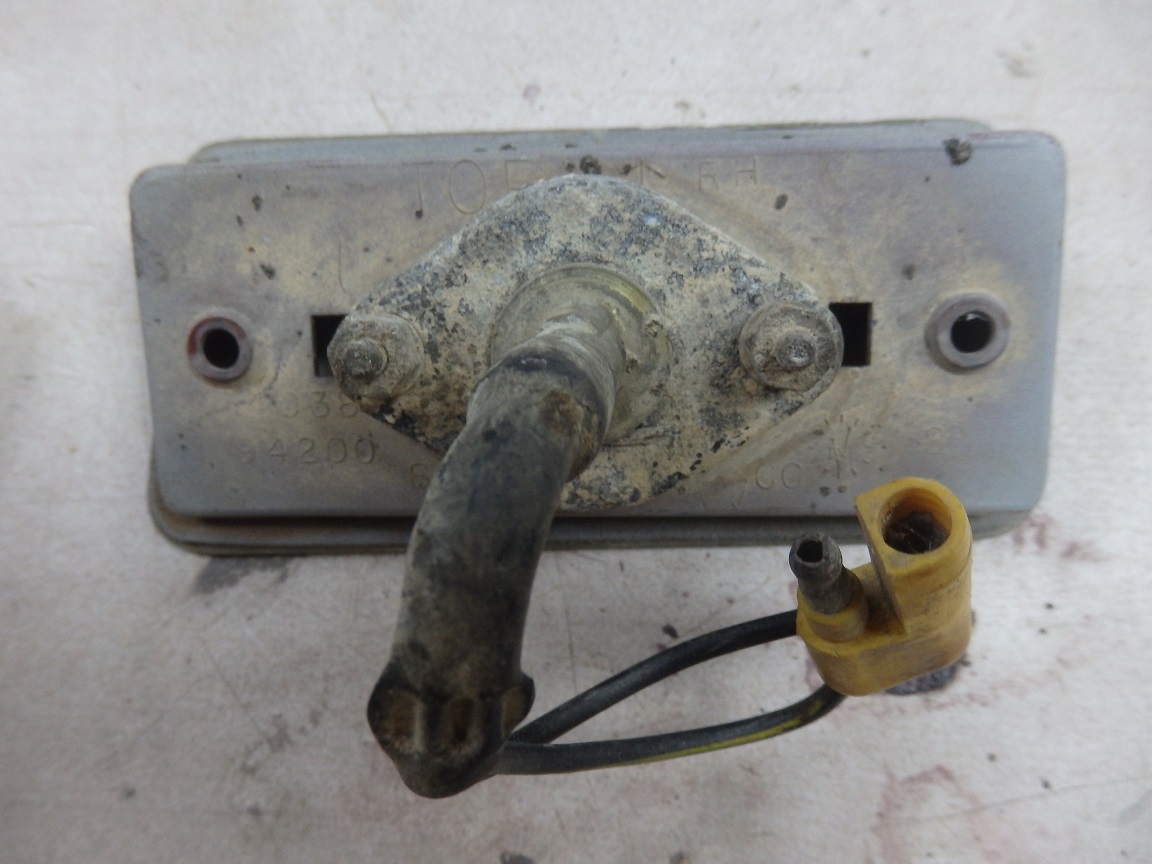
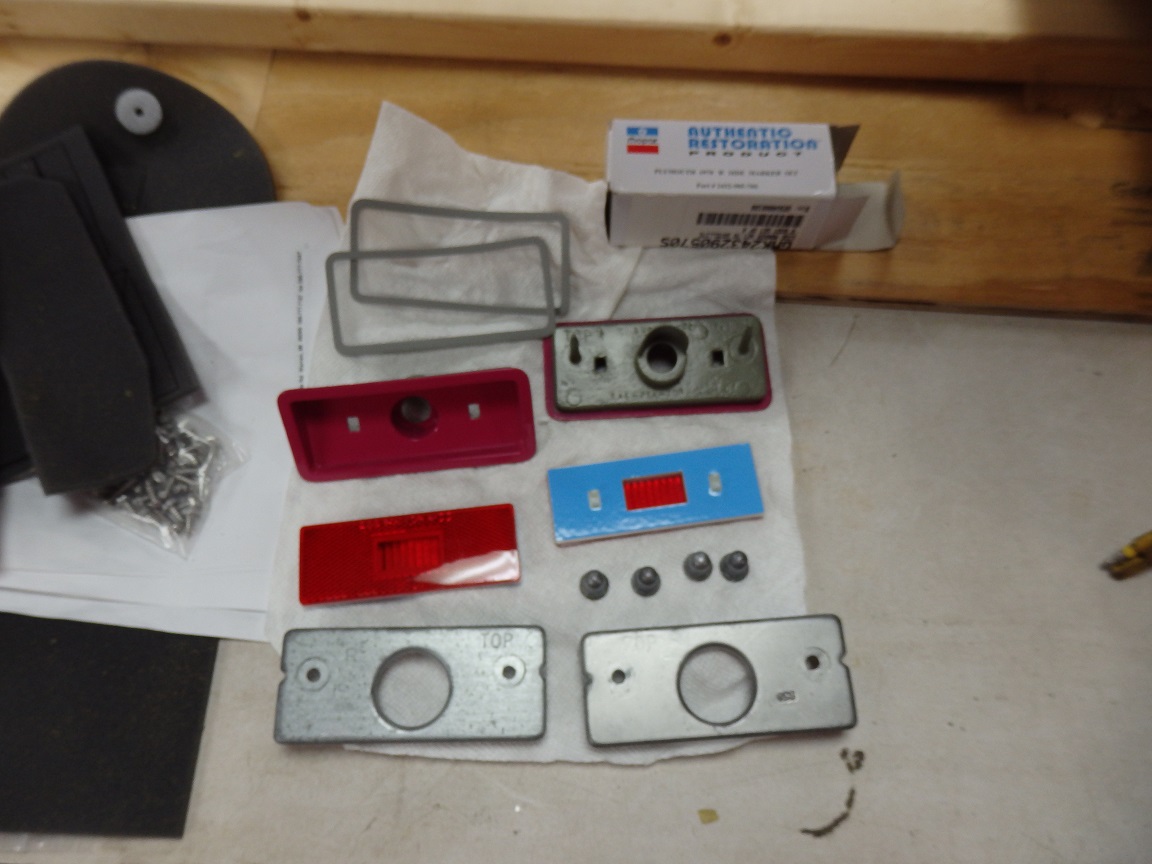
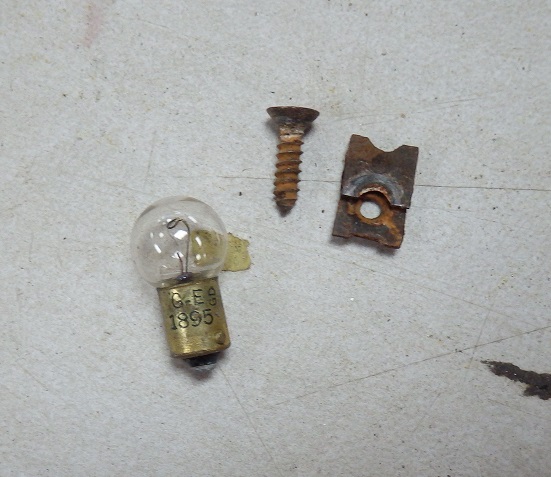
The front side markers were pretty bad and the rear ones were too corroded on the outside edge to use. The car came with a spare pair of rear side markers, but I had to buy a set of used front ones off ebay. The nuts that hold the front markers light socket in place
are supposed to be acorn style nuts. It took me a while to find the correct ones as the ebay replacements didn't have the correct ones as you can see. |
|
|
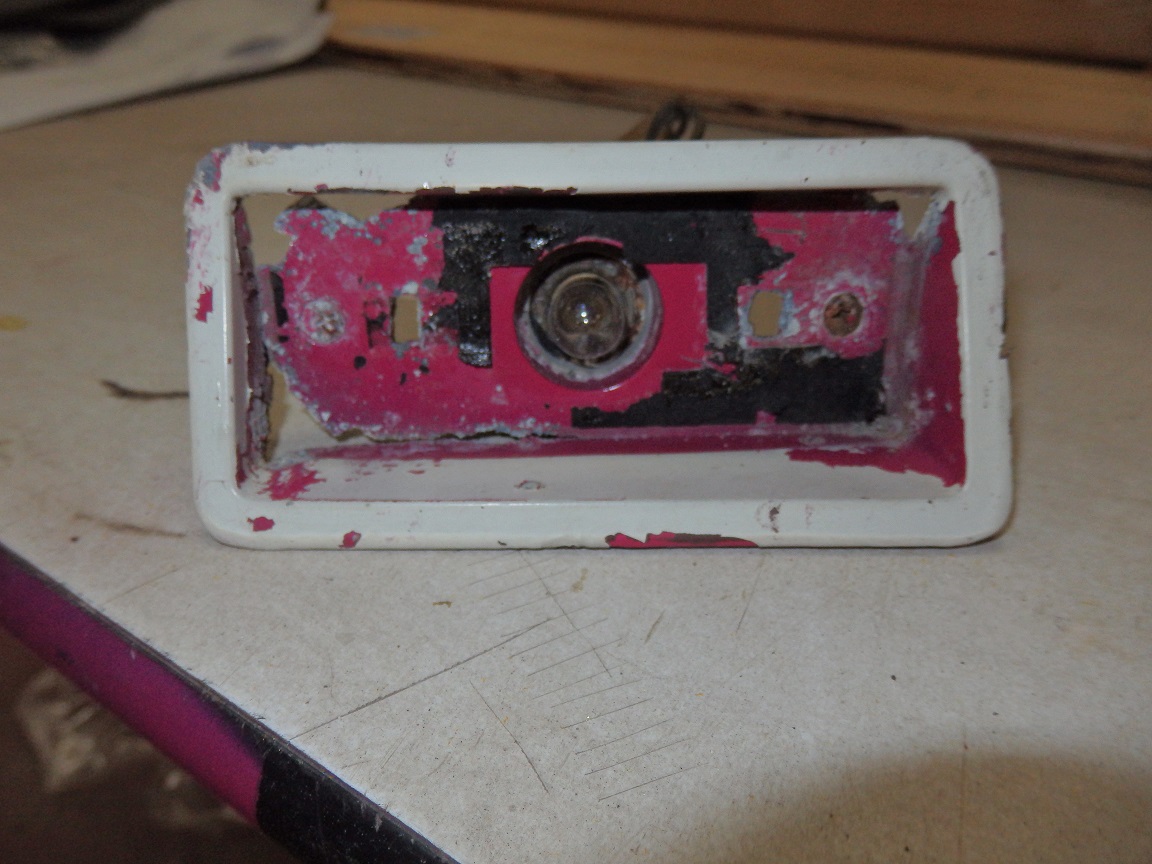
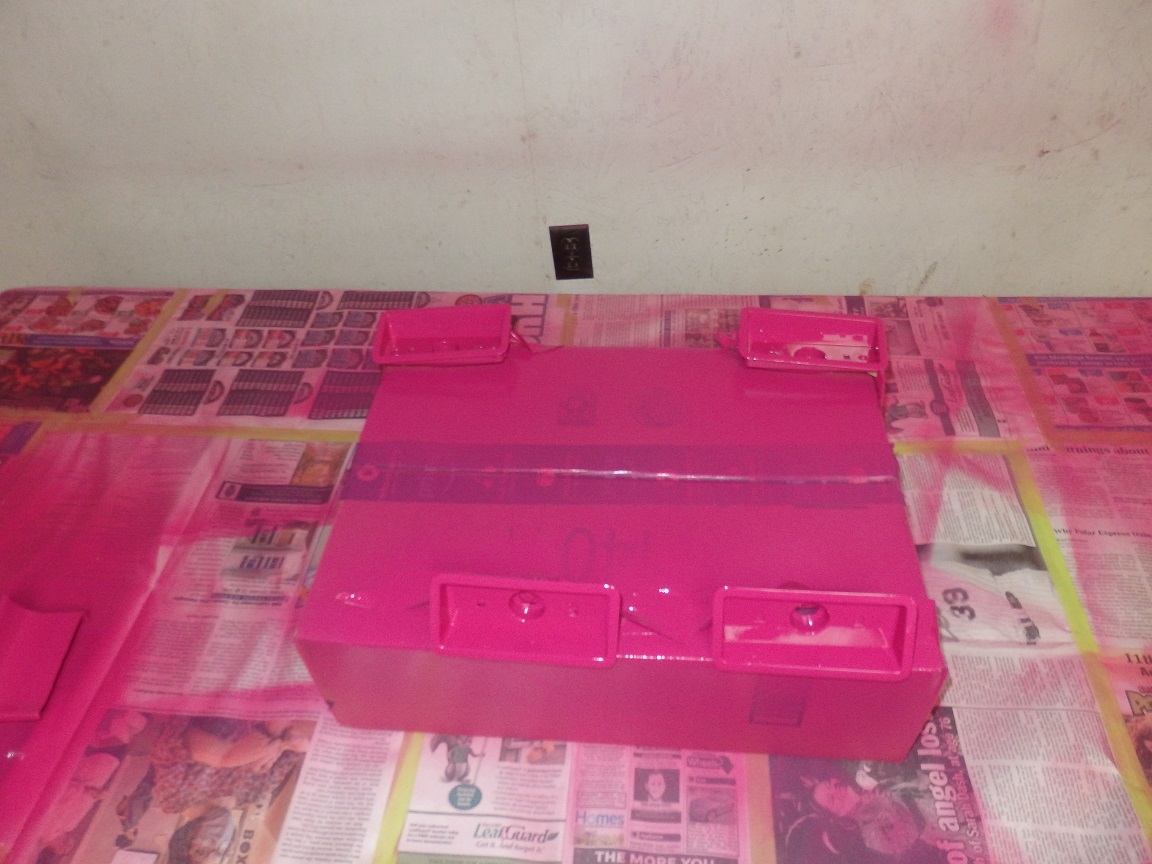
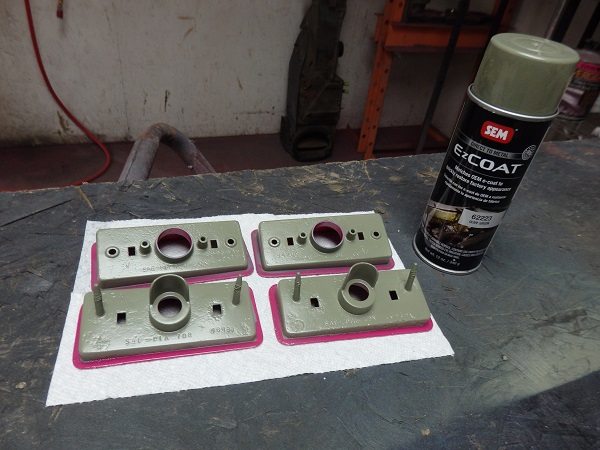
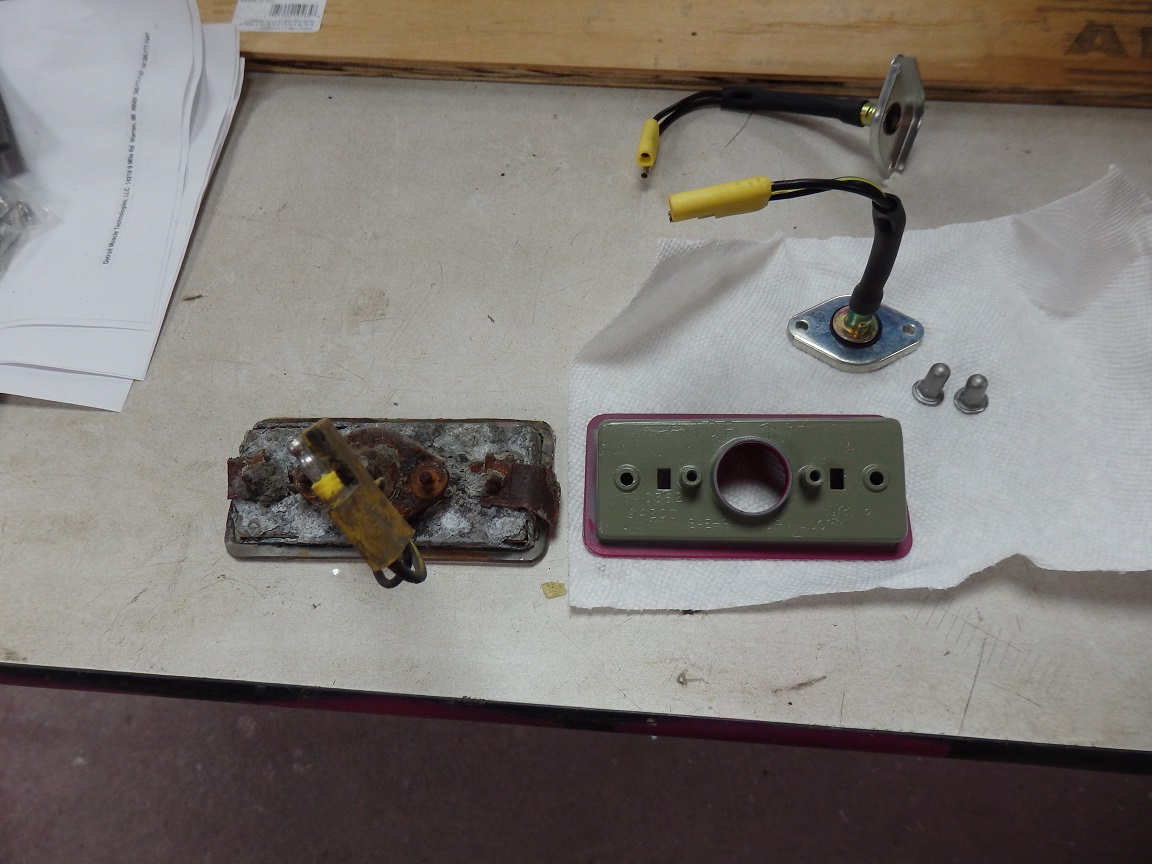
I stripped and epoxy primed the potmetal housings and painted the faces when I painted the car so that the color would match. They were originally covered in a gray-green primer before the factory painted them.
A fellow restorer had previously identified SEM Olive Green #62223 as a close match, so I used that. |
|
|
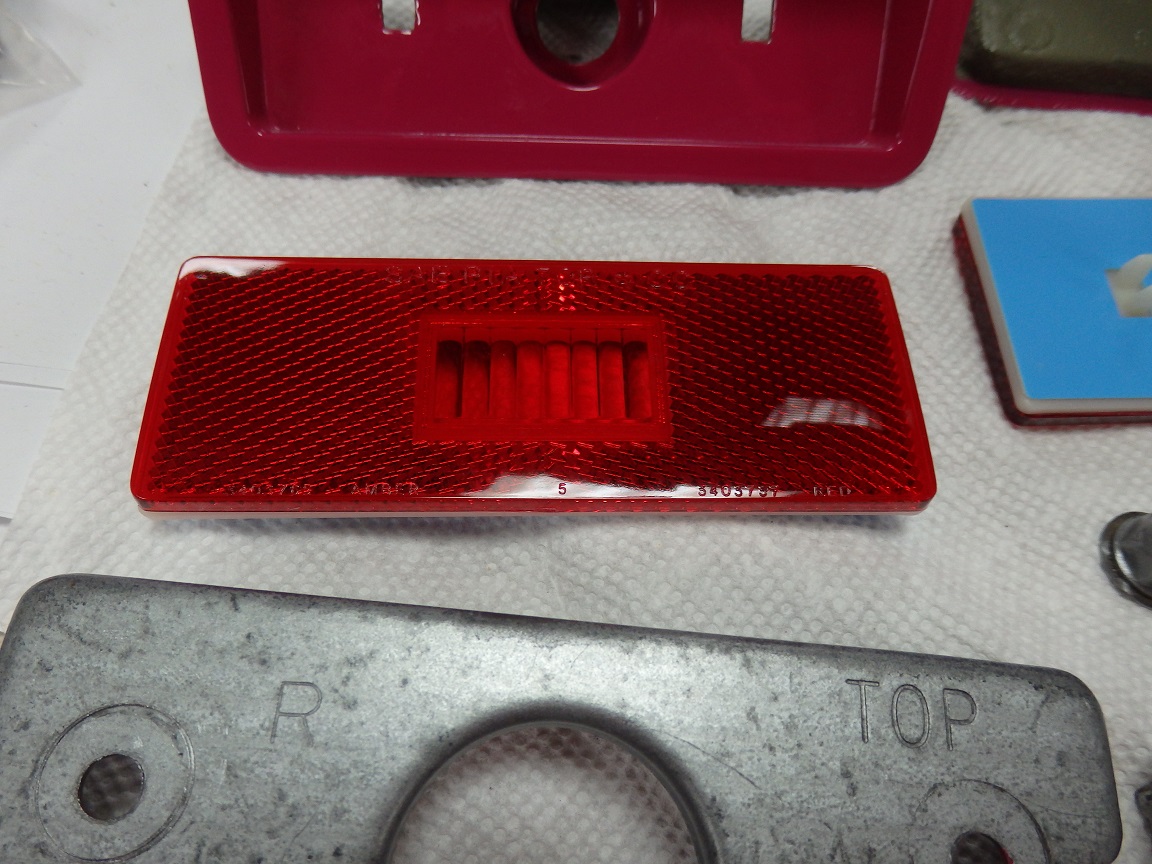
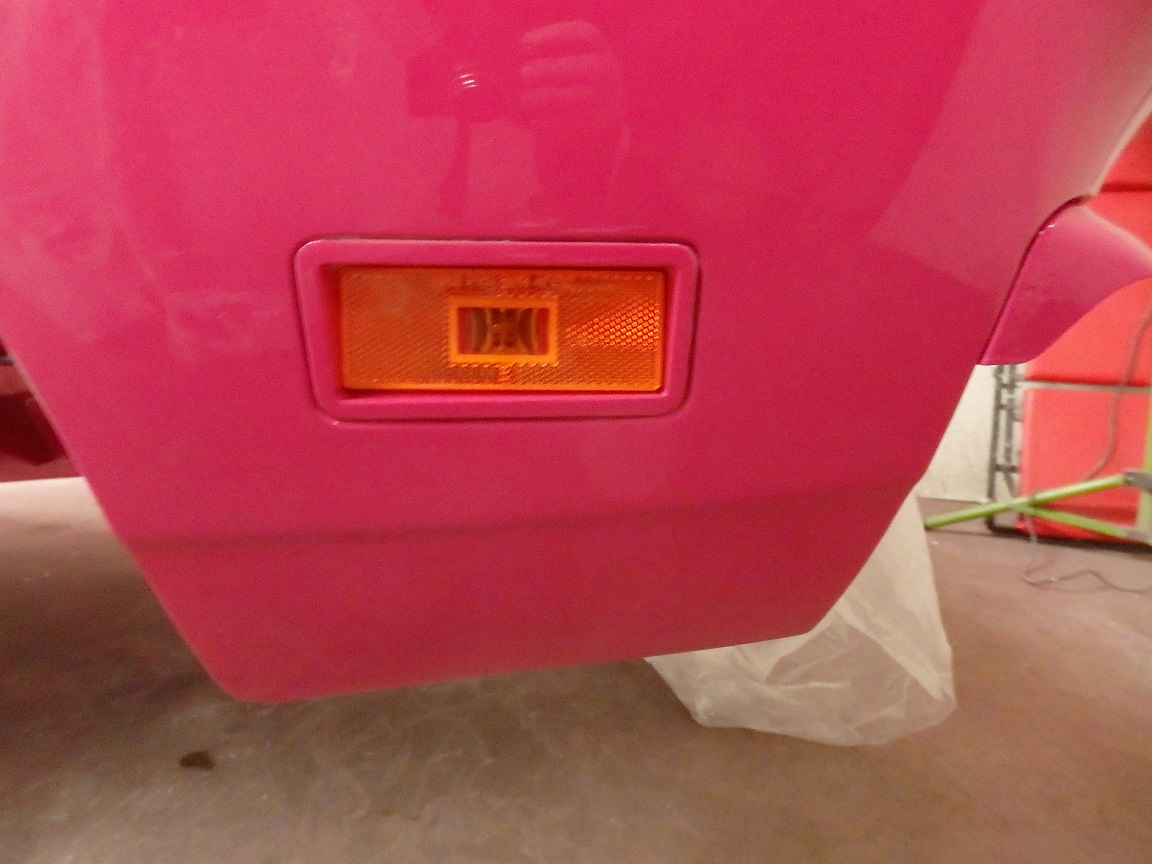
The lenses for the side markers have an adhesive backing. So once you snap them in they don't come off without breaking them. It should be noted that there are different versions of repo lenses out there. Some of them do not have all of the correct lettering/numbering and some have none at all. If you care about such things, now is the time to get the correct ones as you will most likely damage the paint removing the incorrect ones. |

|
|
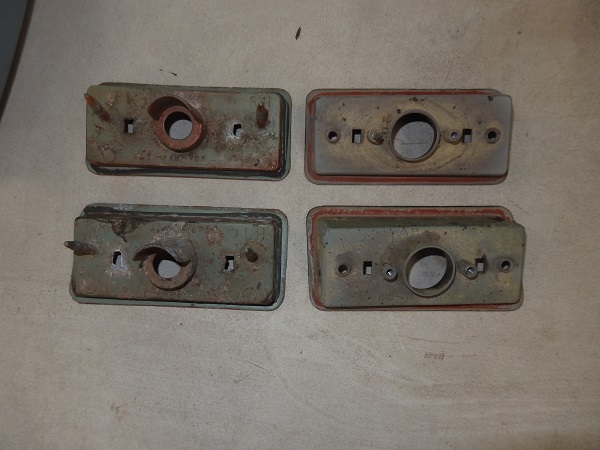
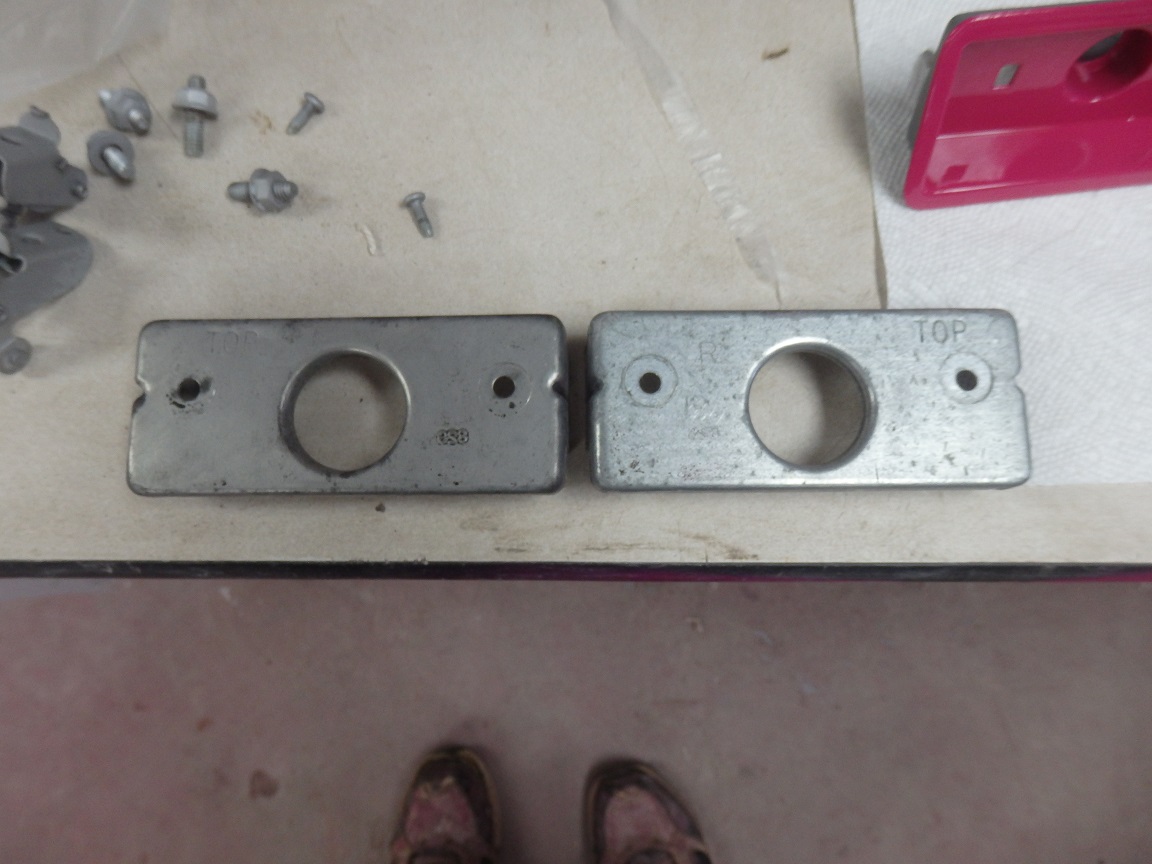
The brackets that retain the rear side markers were in great shape on this car as they were buried with undercoat early on in the car's life. One interesting thing to note is that they didn't match. Looks like the left one was
never galanized. I didn't correct it though. All I did to the brackets was clean them off and give them a coat of statin clear to protect them. |
|
|
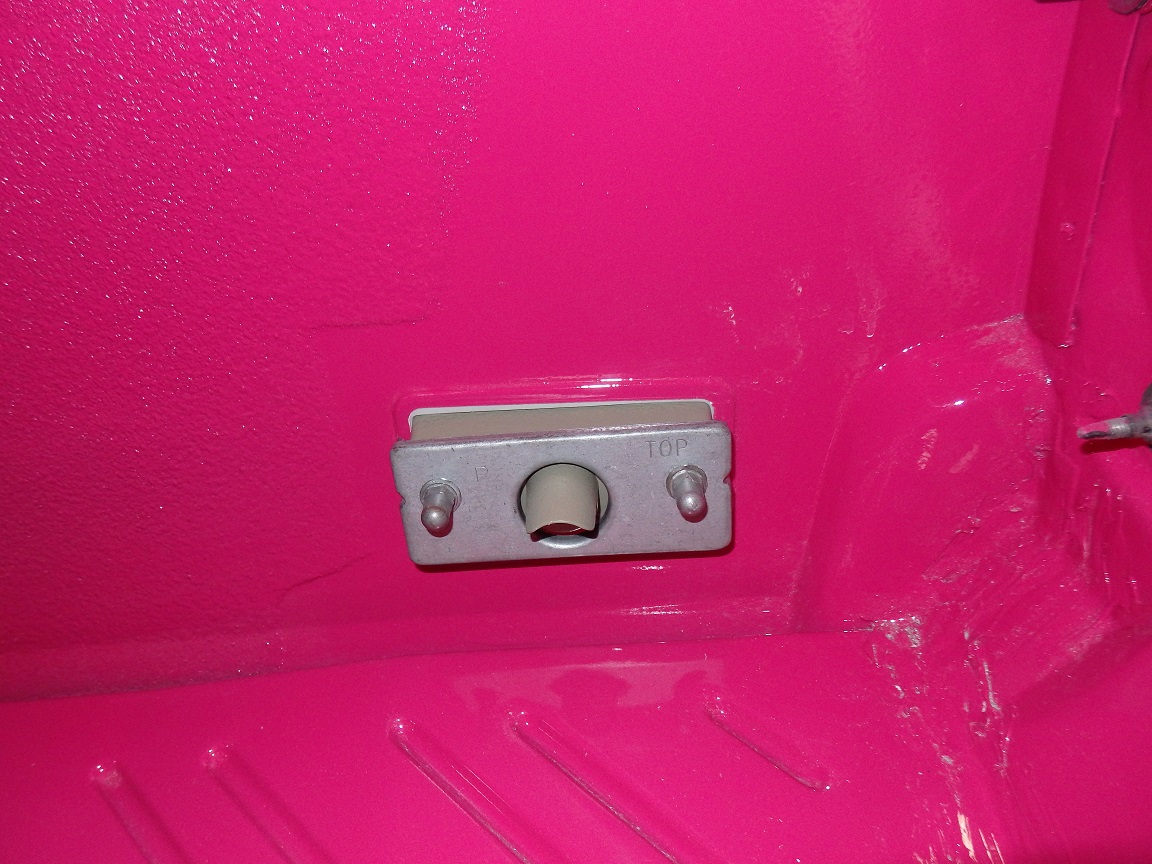
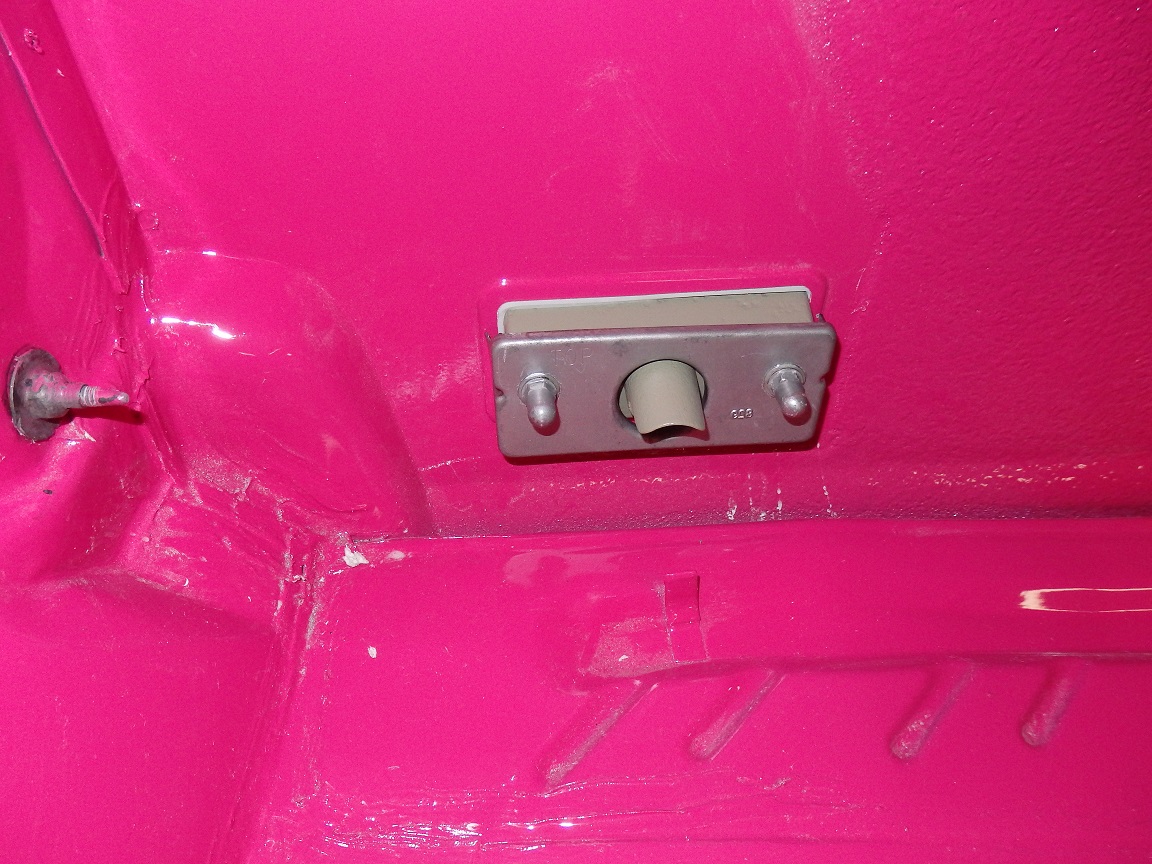
The rear side markers install easily. The are held in plate with thread cutting acorn nuts. I was able to clean and install the originals. Notice the FM3 overspray on the quarter extension stud and nut in the picture on the right? That is the original factory paint. |
|
|
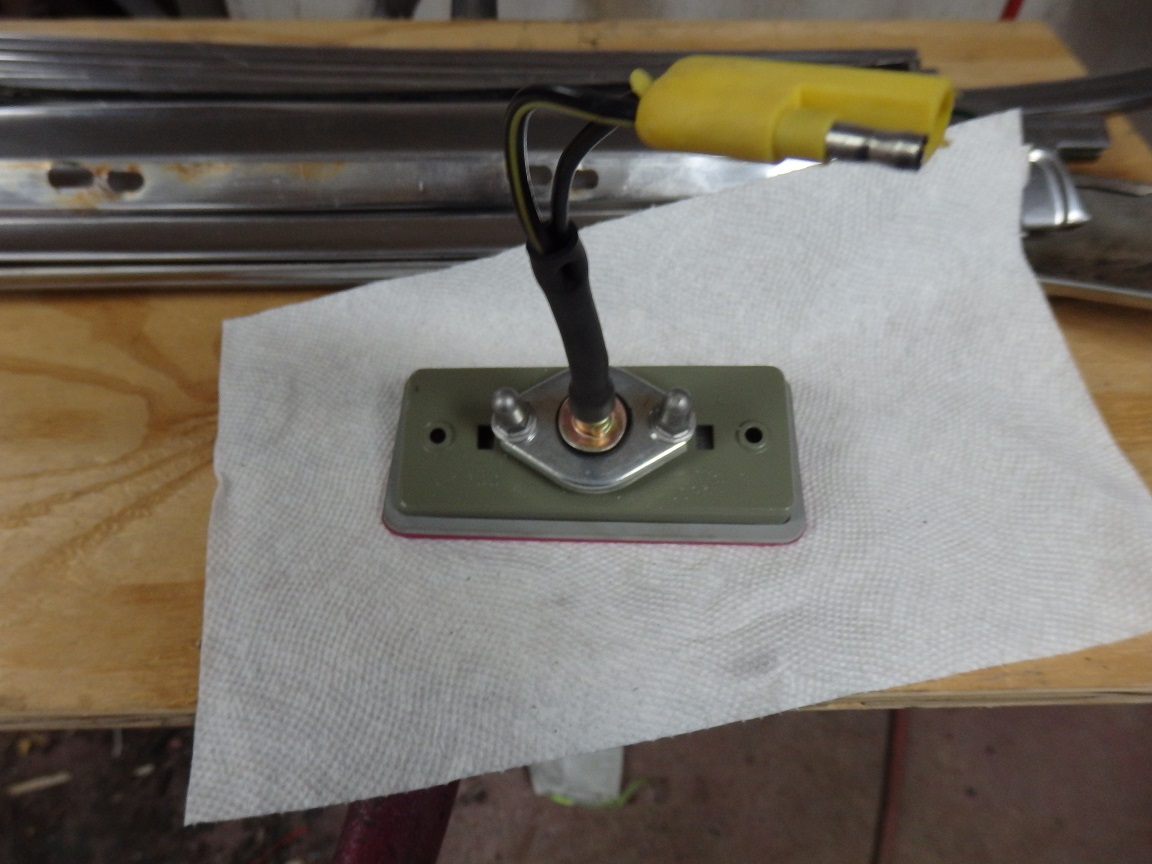
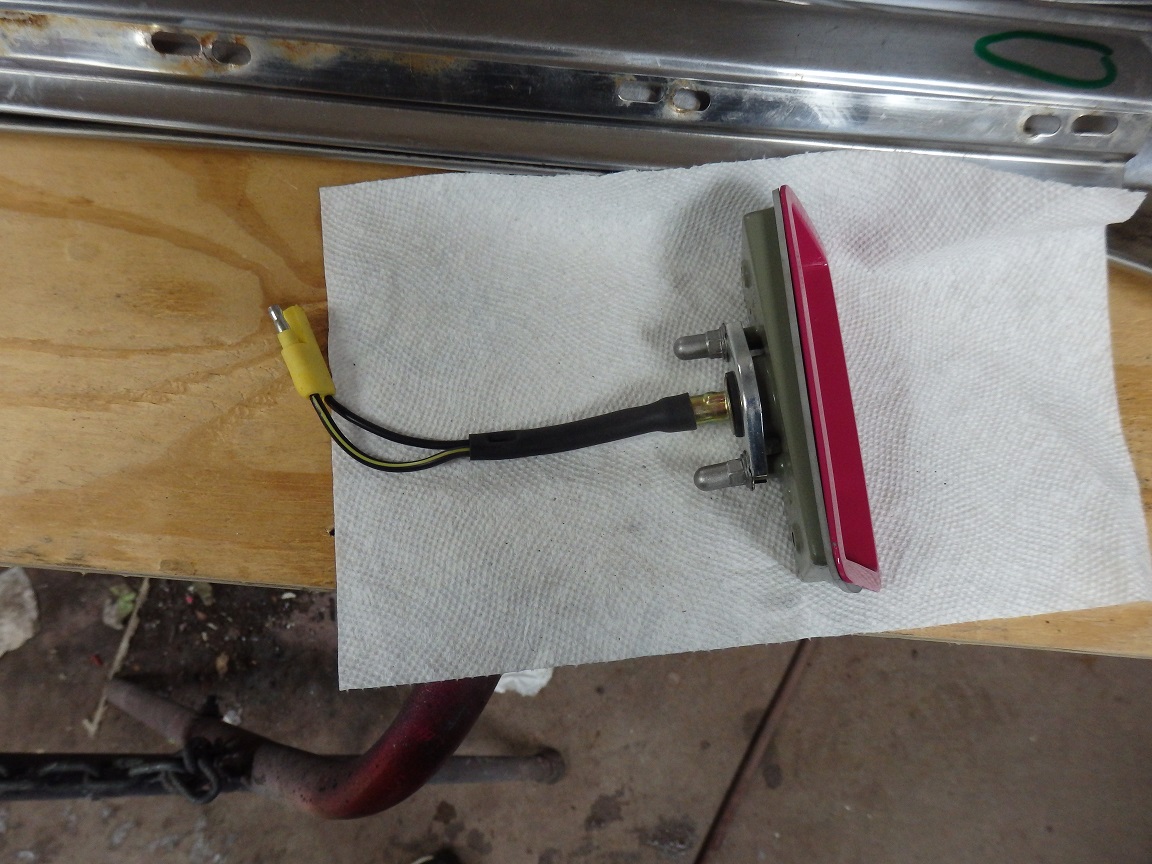
The front side markers turned out great since PG Classic sells excellent repoduction pigtails for front side mark lights. |
|
|
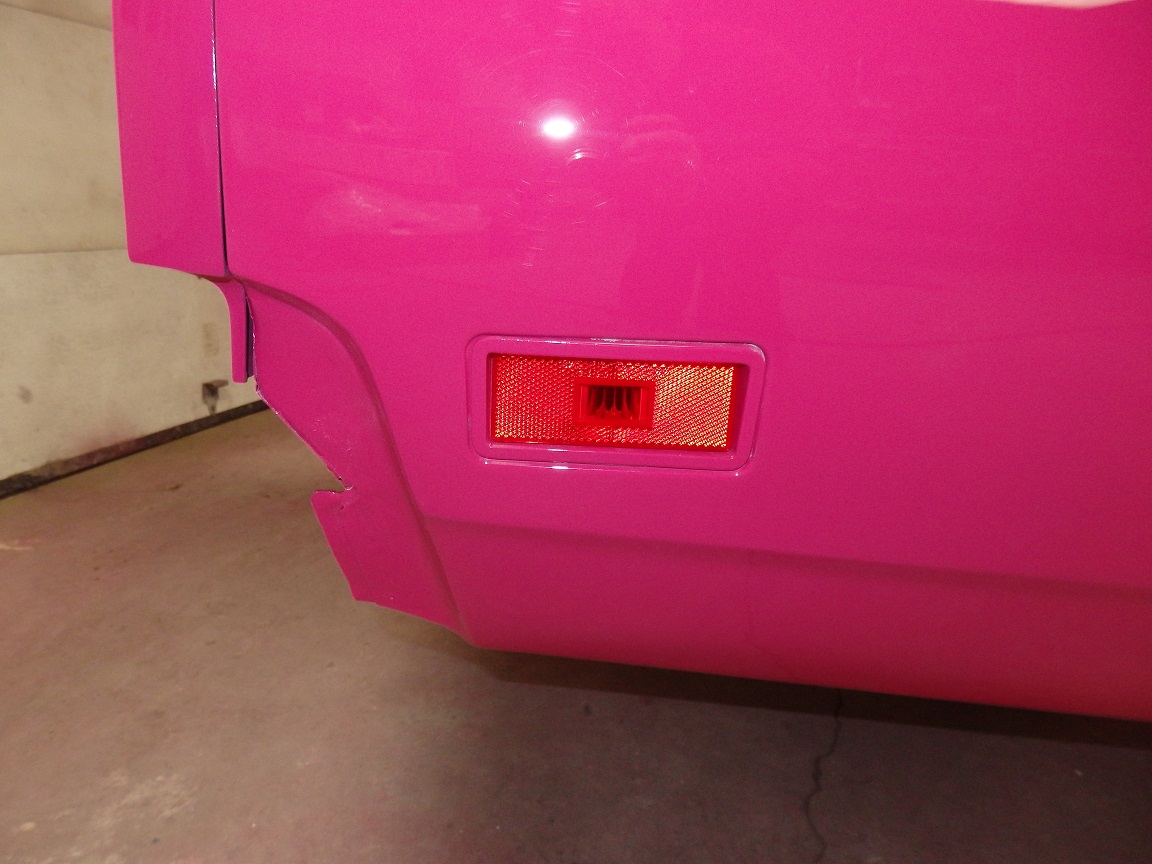
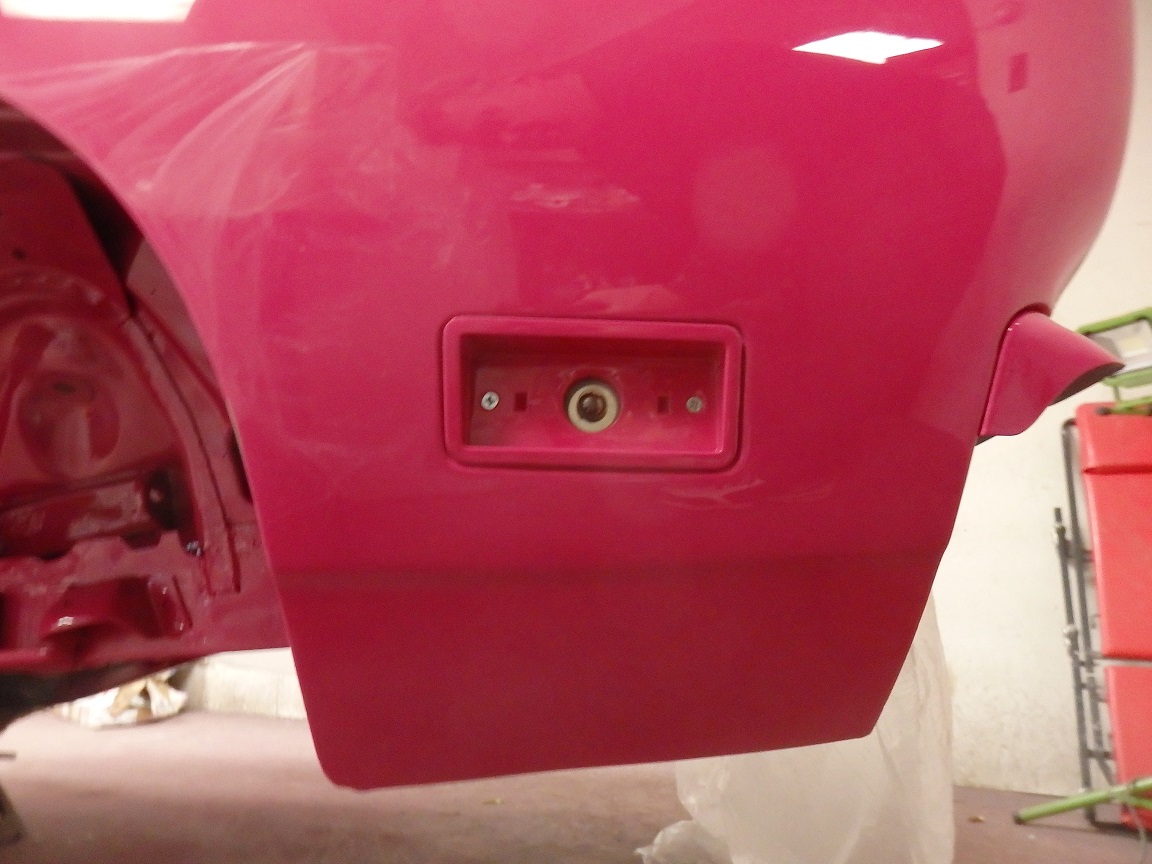
The housings for the front side markers are held in place with the hardware shown in the first picture. Once installed you remove the paper backing from the lens and snap it in. At this point you can not remove the side marker housing
without destorying the lens. |