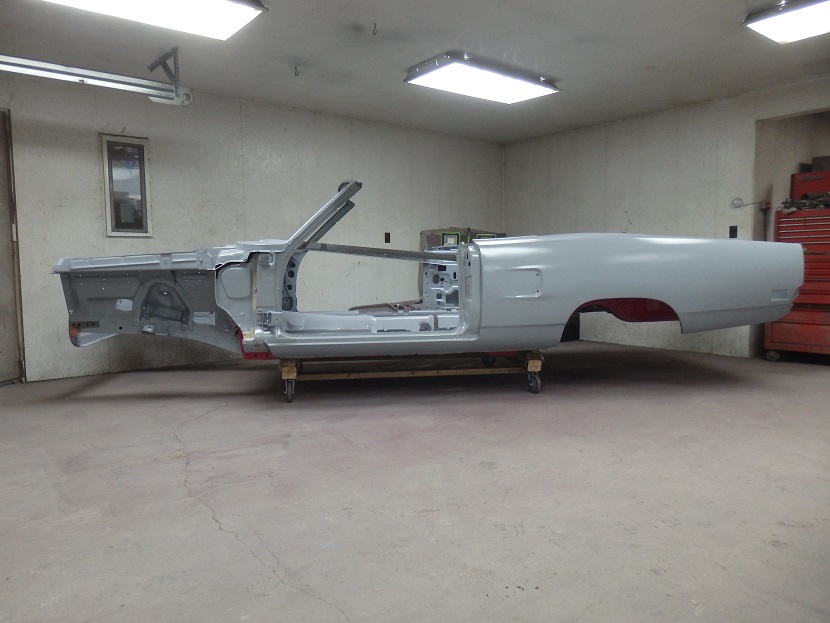
With the shell in primer and the undercarraige detailing completed, I took the shell off the rotisserie and put it on a homemade cart.
The next stage on the project was putting the panels back on.
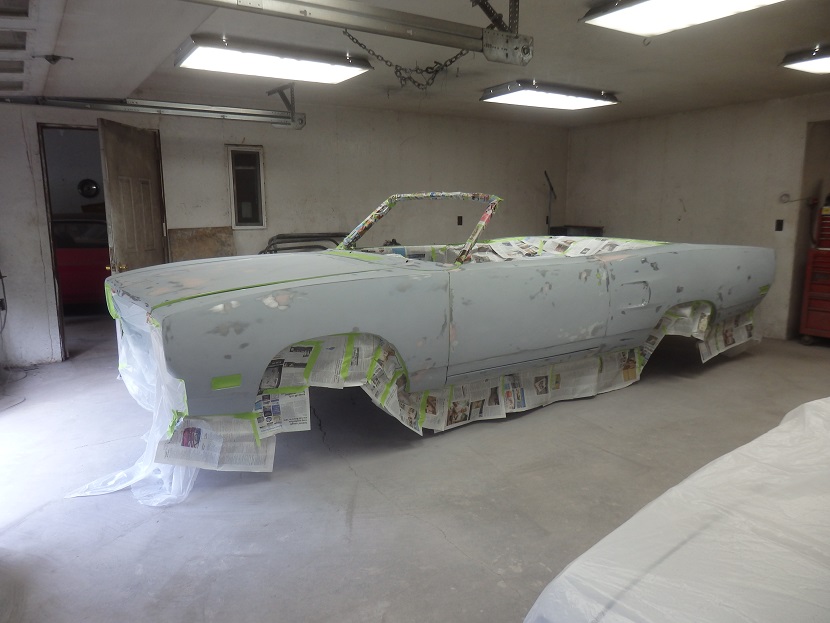
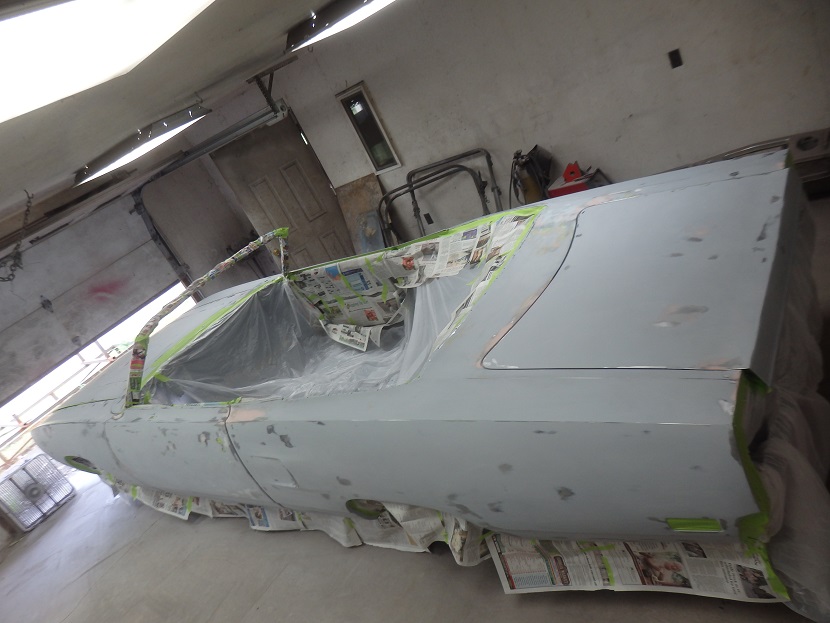
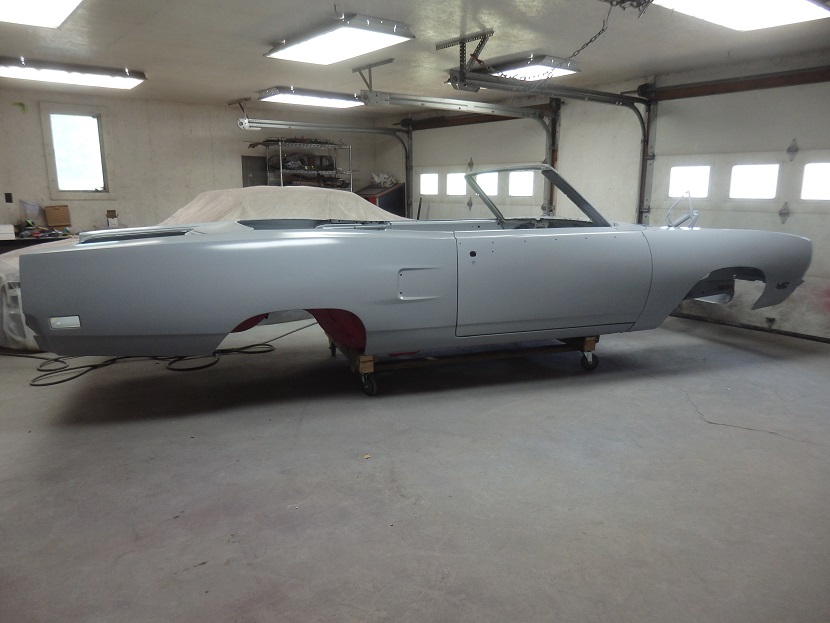
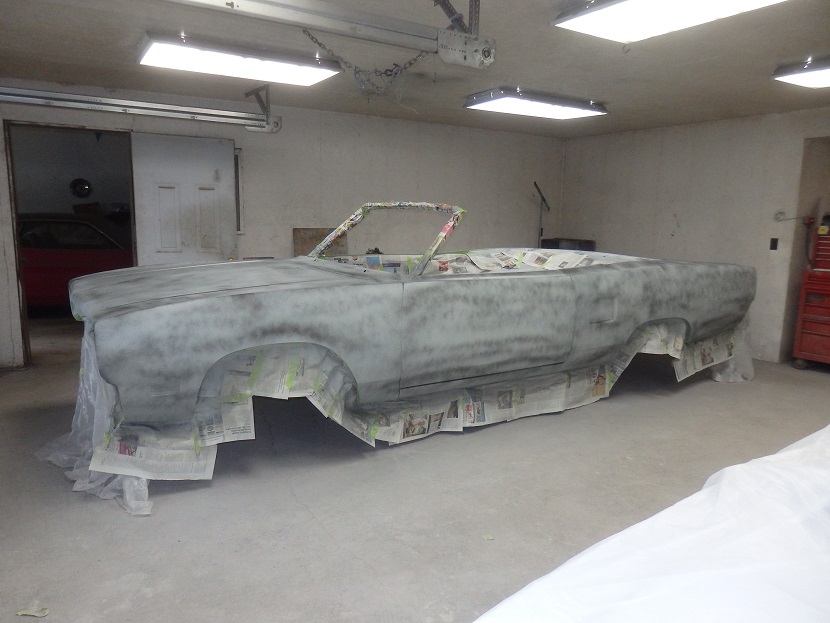
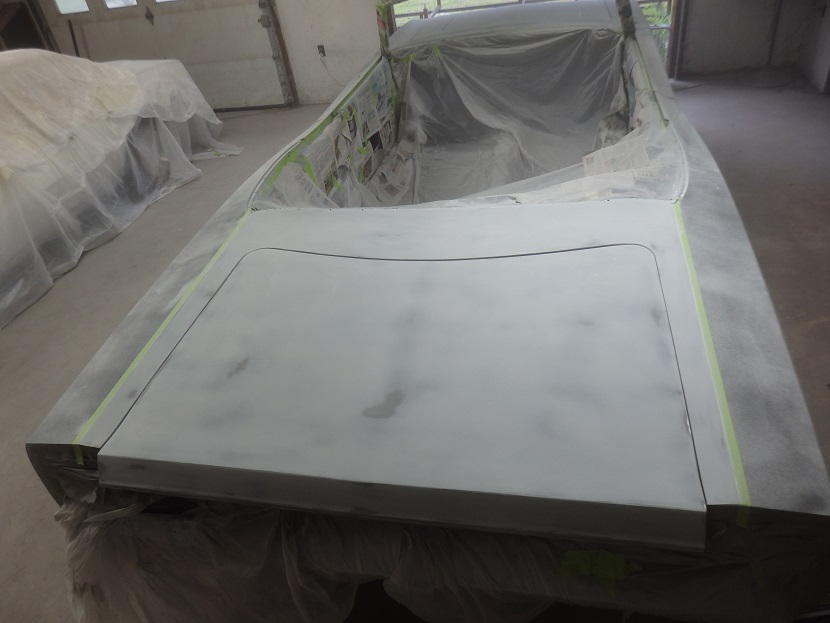
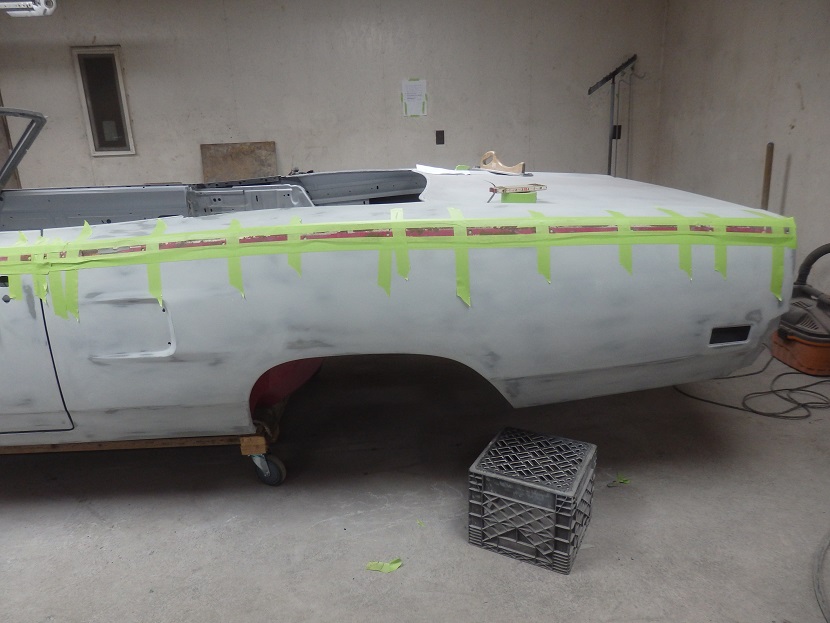
With the panels on and aligned correctly, I blocked the whole car with 180 grit paper on durablocks. There were a few small dents and dings I had to fix as well as approving the door and fender gaps.
In this series of pictures you can see where the high spots were and the repairs.
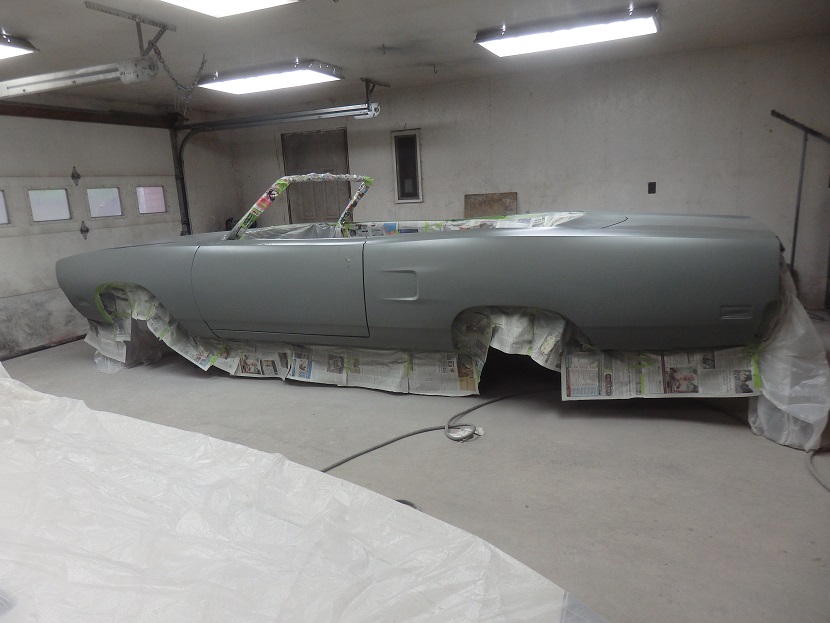
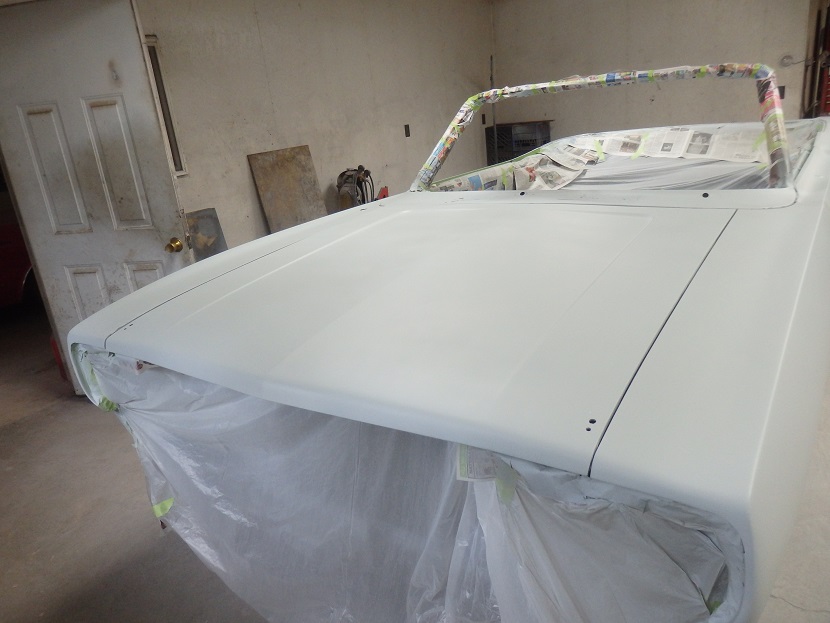
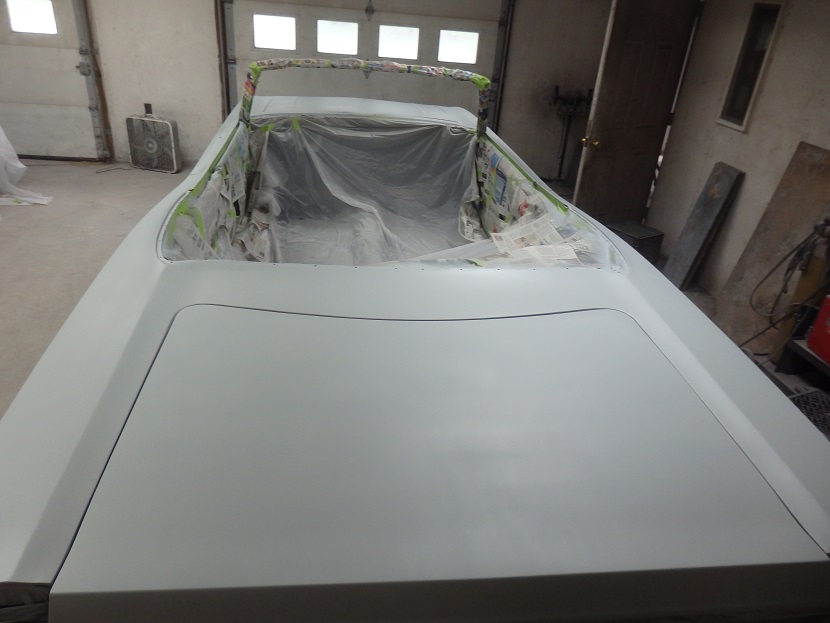
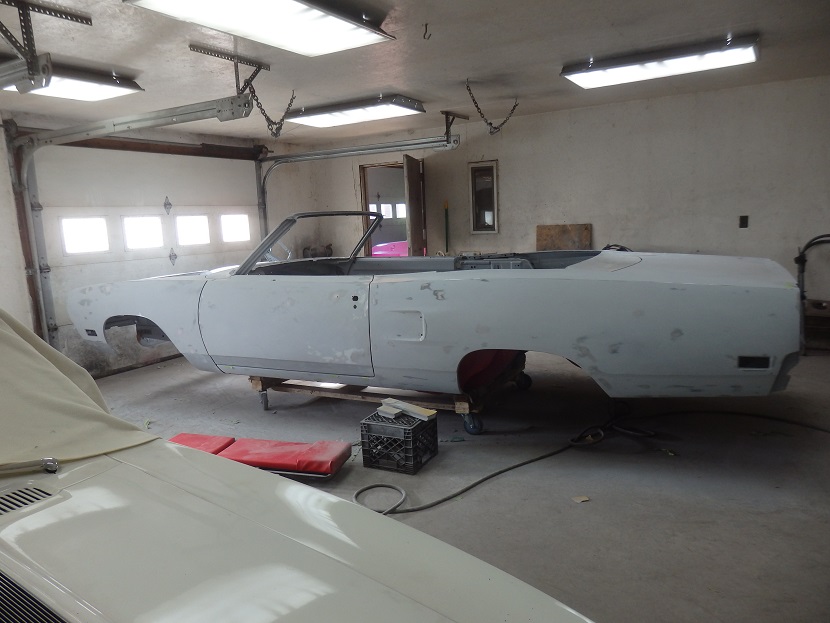
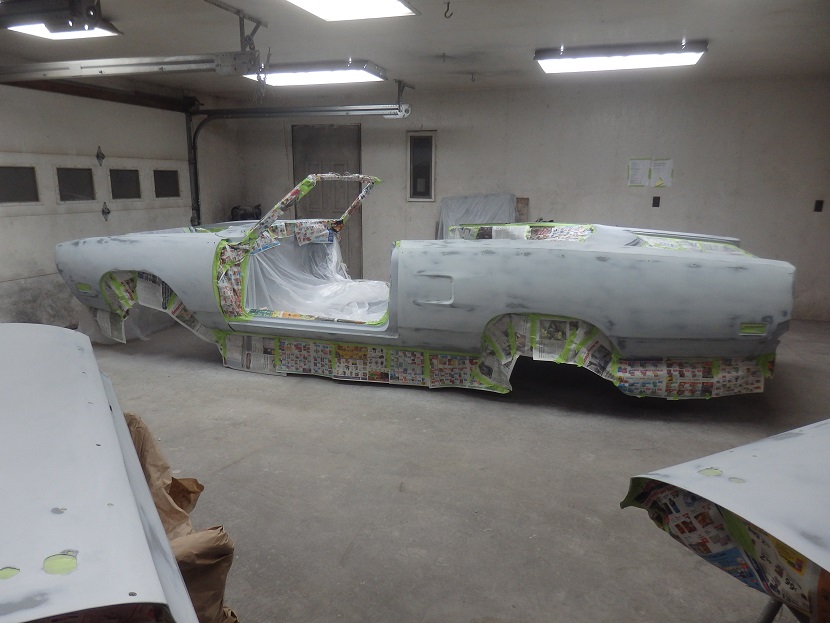
Before I applied slick sand, my prefered highbuild primer, I applied 3 coats of PPG DP40 epoxy primer. I needed to do this as slick sand doens like to stick to bare metal and a needed a contrasting color to show me where I sanded through the slick sand.
In the middle three pictures the car is in slick sand. The photo on the fire right was taken after I applied the guide coat, which is also another sanding aid.
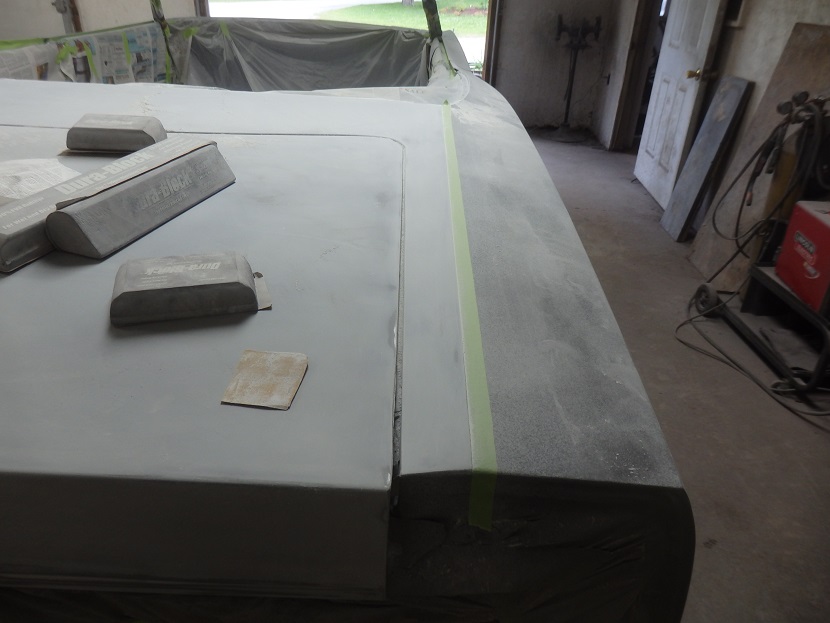
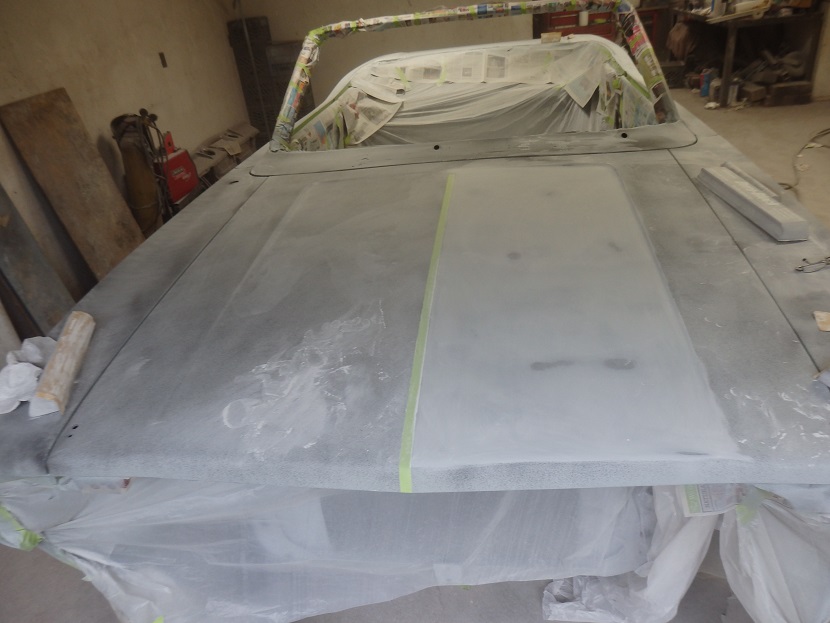
I've described the block sanding process a bunch of times on other projects. I basically apply masking tape along the body detail lines and block sand with 180 grit paper on durablocks. After I finished blocking on one side of the tape I remove it and apply tape on the sanded side of the detail line and begin sanding on the other side. This process is very dusty and takes many hours.
Technically this car was blocked twice, so I got really lucky with only needing one round of slick sand application and blocking.
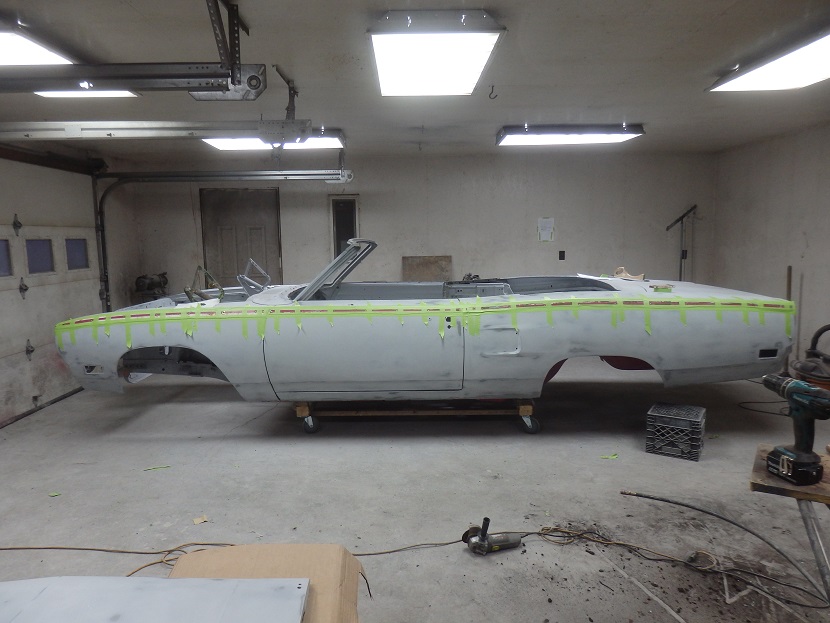

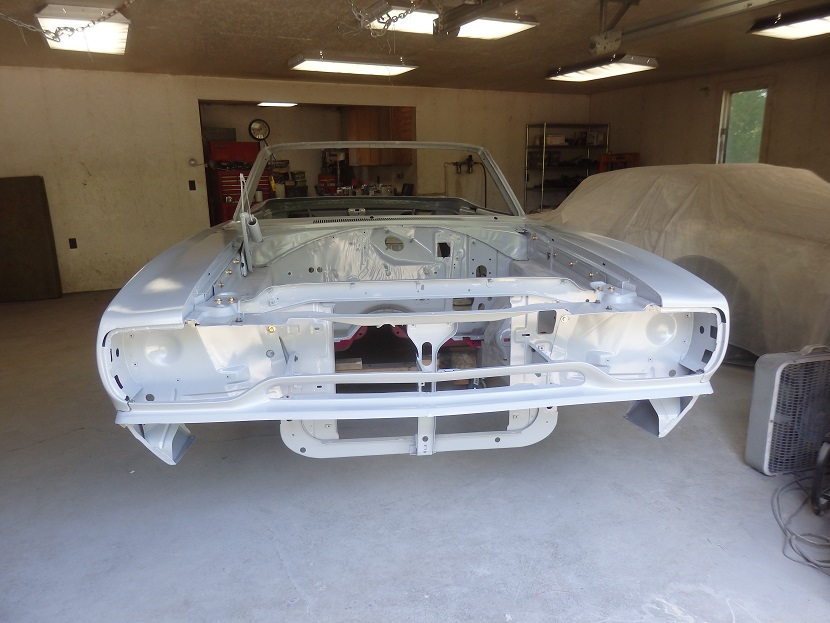
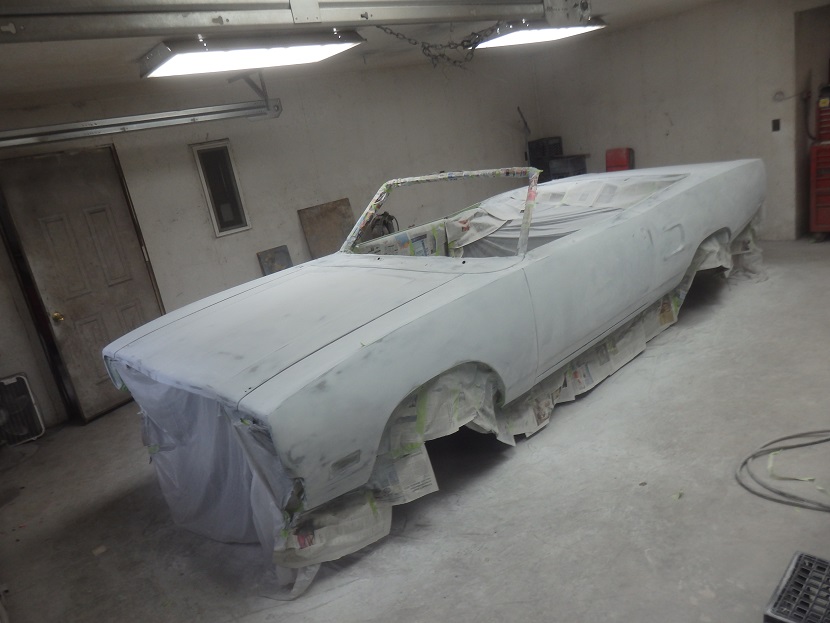
With the blocking completed successfully, I had one activity to perform before putting the car in final primer. The drilling of the holes for the side mouldings and for the Satellite emblems. Since the quarters were replaced along with the front fender and doors, the holes for the side moulding clips weren't there. It would be pretty risky to drill the holes after painting the car. What I did was to cut sections off the original quarters, fenders and doors and tape them to the body so that they could be used as templates. Note: To avoid scratching the blocked panels with the metal pieces from the old panels, I put down a layer of making tape first.

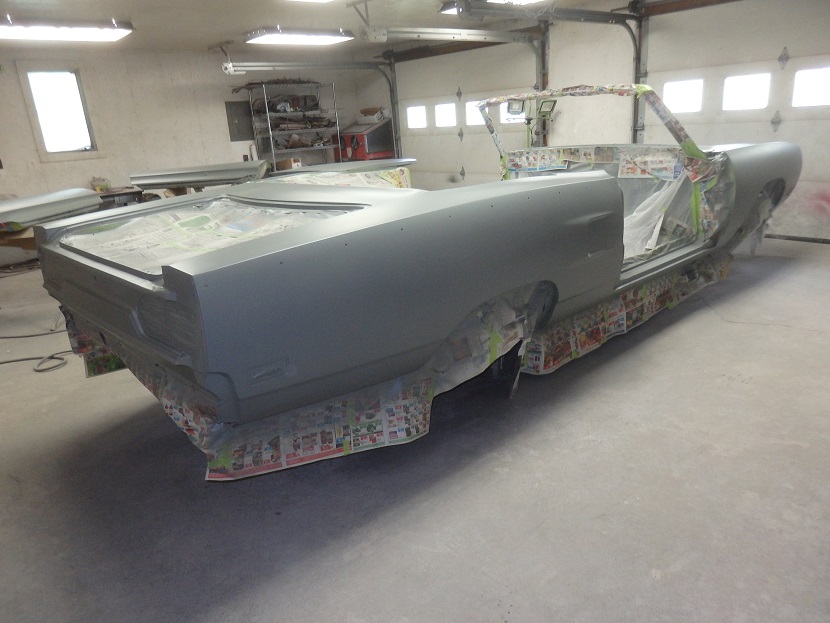
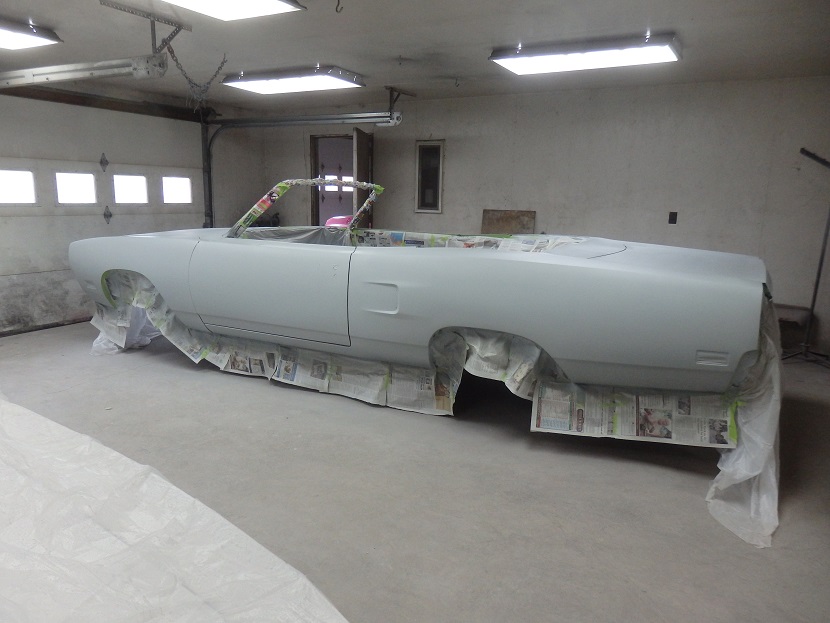
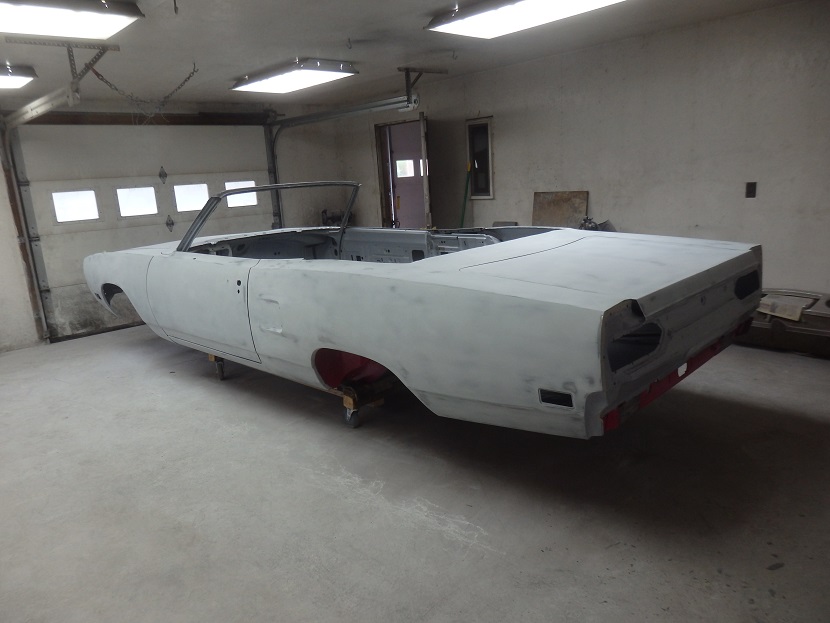
With the holes drilled, I pulled the hood, doors trunlid and front lower grill panel off the car and put everything in final primer. I used PPG DP40LF Gray Green epoxy primer for this. I chose that color as that is what I primed my FM3 Challenger with before painting it as the 2 cars will eventually be parked side by side I need to match.