|
|
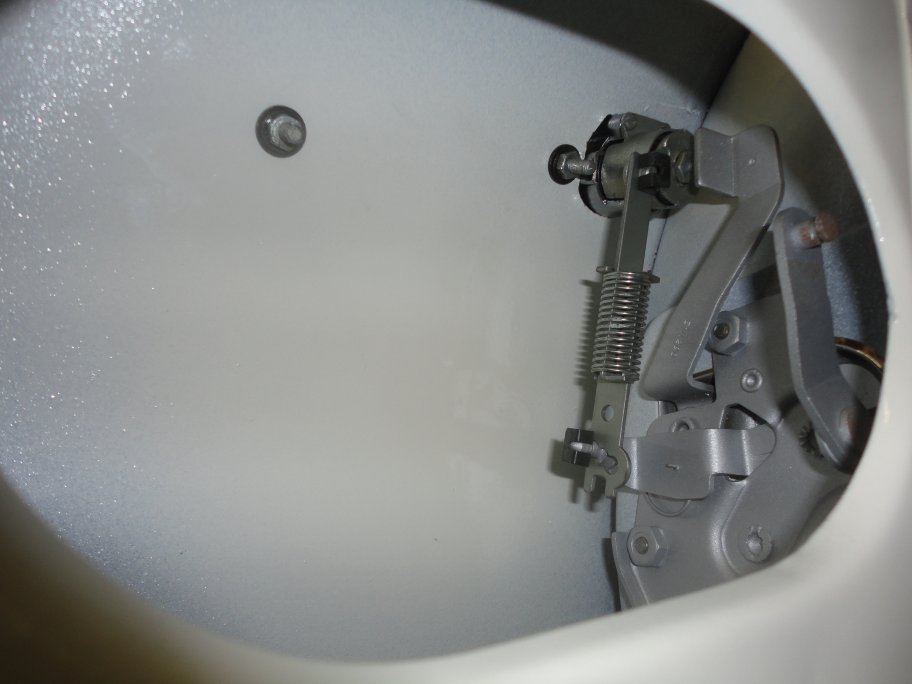 100) With the quarter windows installed the doors can be assembled.The first thing to install is the door handles. The installation is pretty straight forward. The only things to note is
1) that the door lock lever (the thing with a springs) has the adjustment side down 2) the stop on the back of the door hand push button
|
 101) The the outside window sweep (beltline molding) must be installed prior to the window. The window sweep is retainted using the U-shaped clips that are also used to retain the rubbers
on the bumpers and the dash pad. The clips are avialable from the usual suspects.
|
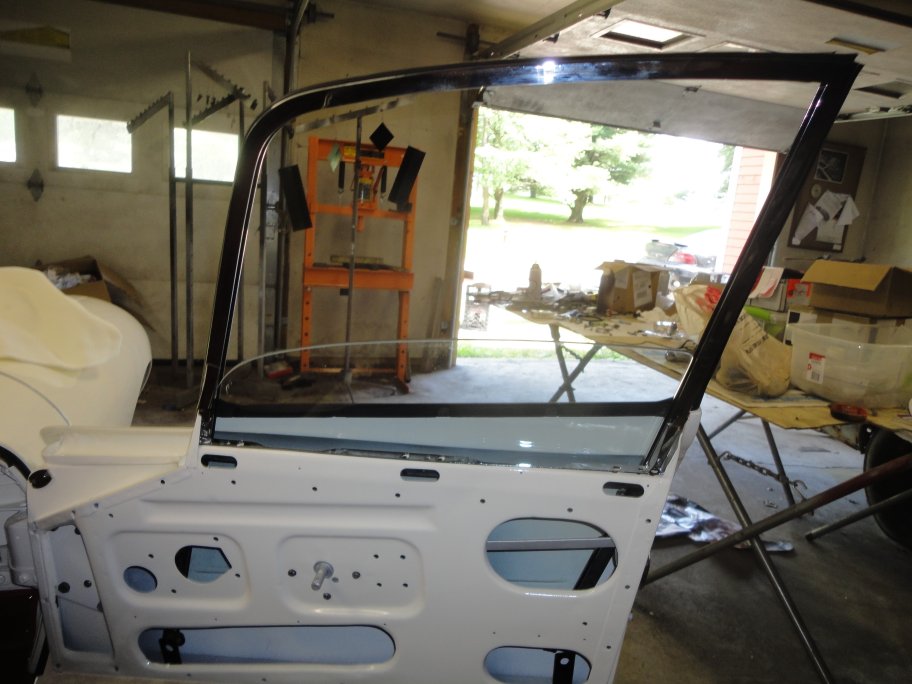 102) The glass must be installed in the frames before the frames are installed. On early Series I cars the window channel felts were made from strips of felt. Later cars were molded for a better
fit. I opted for the later style.
The frames insert into the doors pretty easily. The only point of concern is that the mounting stud on the front part of the frame which must be inserted first. Once the window frame is inserted
into the door, it is aligned to the quarter window and the roof rail. Typically shims are used to get the frame to the correct height.
|
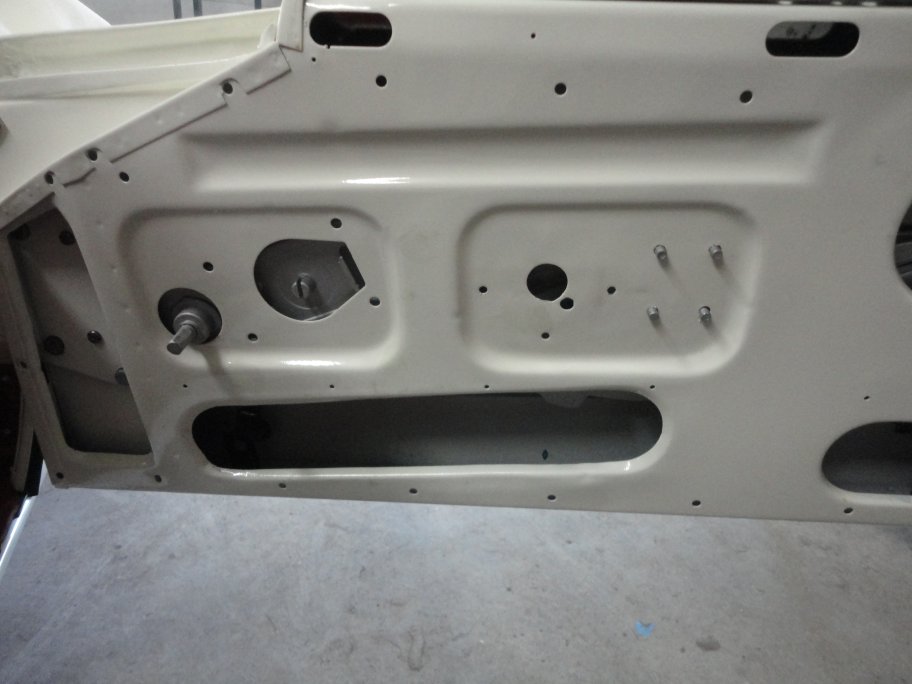 103) The window regular goes in next. It can only go in with the interior door handle release no installed. Note: It was installed when the previos picture was taken.
The best way to install the regulator is to first hook it to the window with the window up and with the regulator not bolted in place. Then bolt the regular in. The window guide can
then be greased. It is OK if the regulator spring is not installed. It can be popped in later.
|
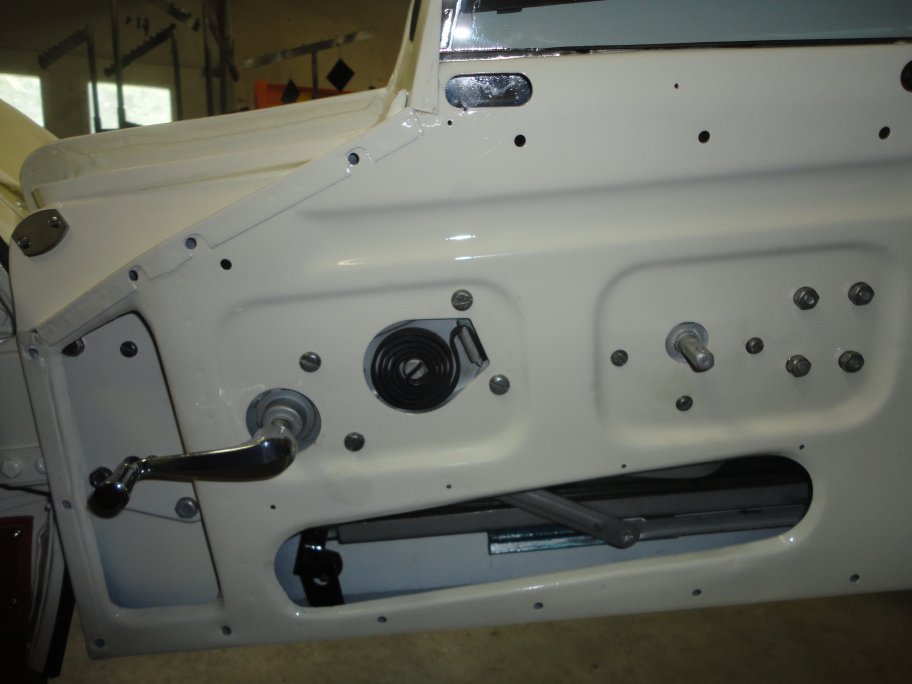 104) Once the window regulator is installed and working smoothly, the interior door handle release can be installed.
|
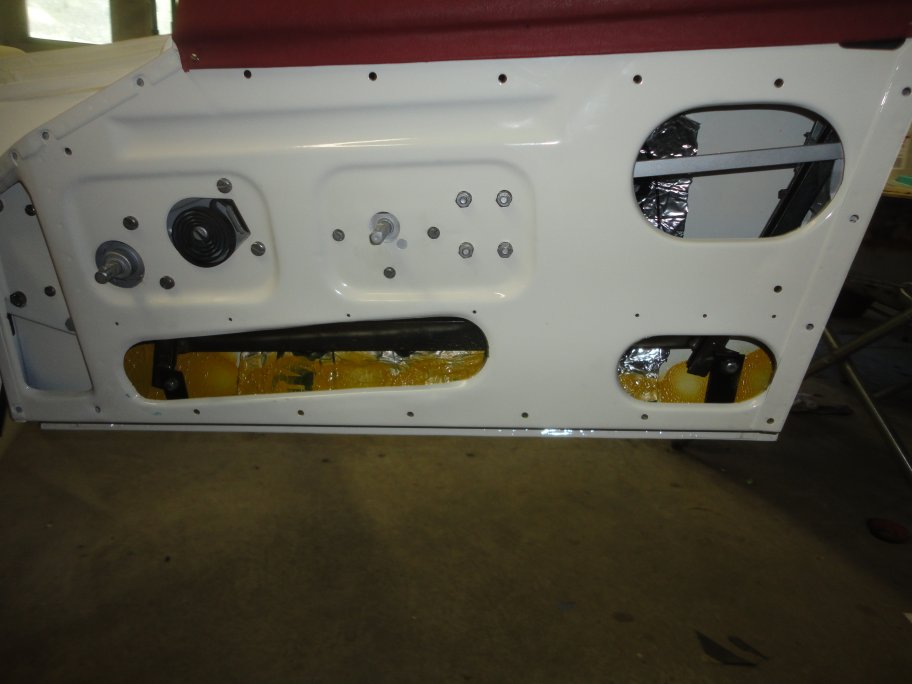 105) Before buttoning up the door the mechanisms should be greased with spray lithium grease. For extra protection the inside bottom of the doors can be coated with
Wurth Body Wax. Though not installed in previous pictures, a sheet of Dynamat was used to insulate the inside of the door.
|
 106) Access covers are then pop-riveted to the doors (the black pieces). The upper door trim just hooks in place into hooks that are part of the window frame. 2 small screws are
used to hold the bottom down.
Before the door panel is installed, the original factor padding (the black square pieces) are installed over the window crank and door handle. Then a small sheet of plastic (not shown) is applied
to act as a vapor barrier.
|
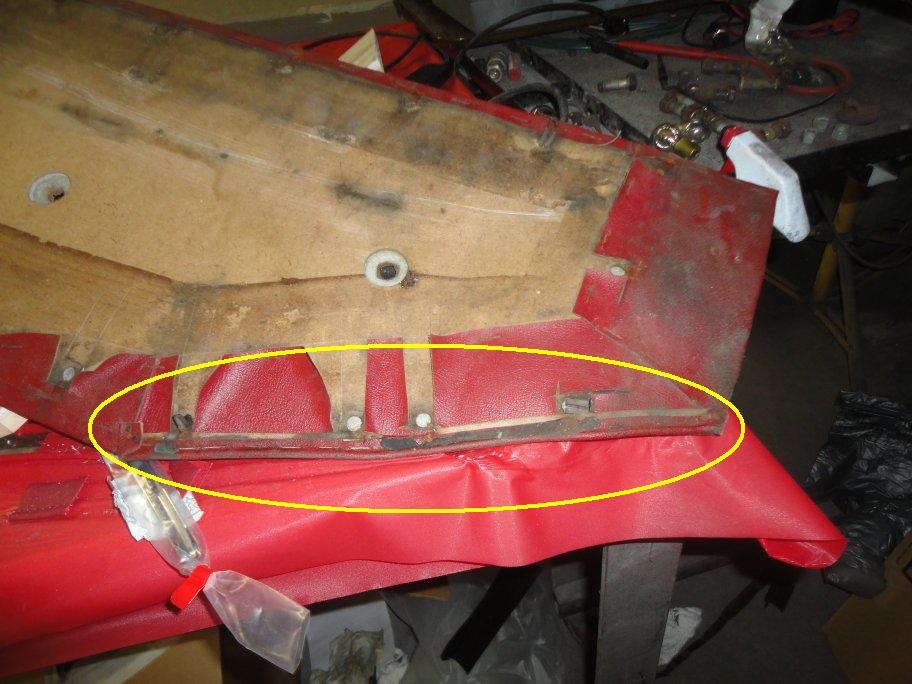 107) Door trim changed many times over the course of the Series I production. On early cars a short bead of vinyl was attached to the back side of the door panel that ran along the fron edge of the door
by the gutter. This was later place with a small panel that fitted below the door gutter.
|
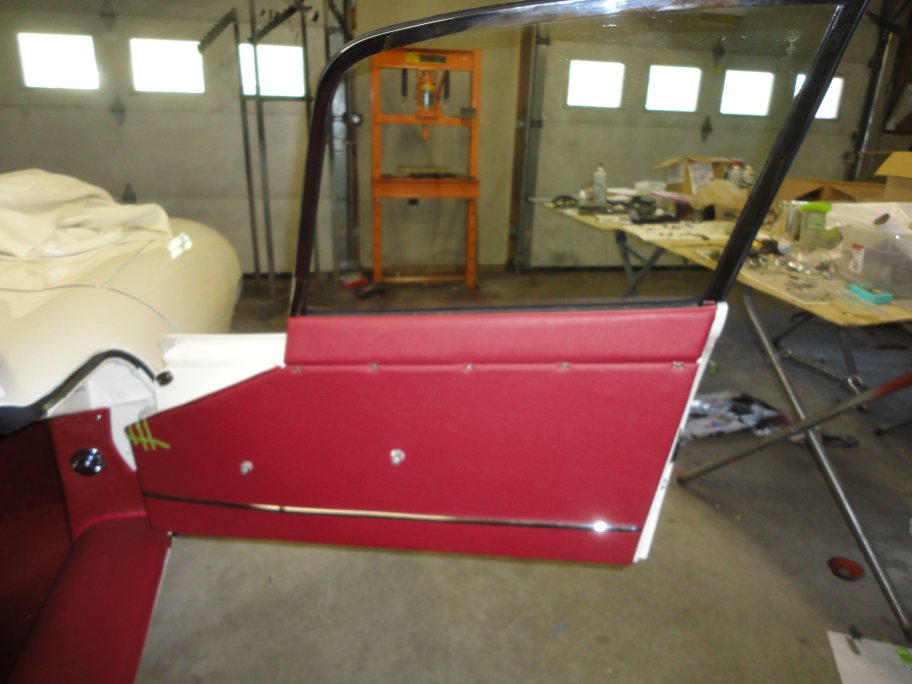 108) The door panel is held on with a bunch of clips that are mounted from the back side of the panel. At the top of the panel are a series of clips that must be fitted loosely.
they are used to retain a chrome molding that covers the seem between the door panel and upper trim. The chrome molding is tricky to install. The best way to do it is to
hook the molding into the bottom of the clips and pull it upwards while tapping the molding with with your palm.
|
 109) The door handles and window crank are retained using a pin that is inserted from the top. Behind the handles are a pair of apposing chrome pieces that are seperated with a spring. The outer piece
is pushed inwards to compress the spring while the pin is inserted.
|
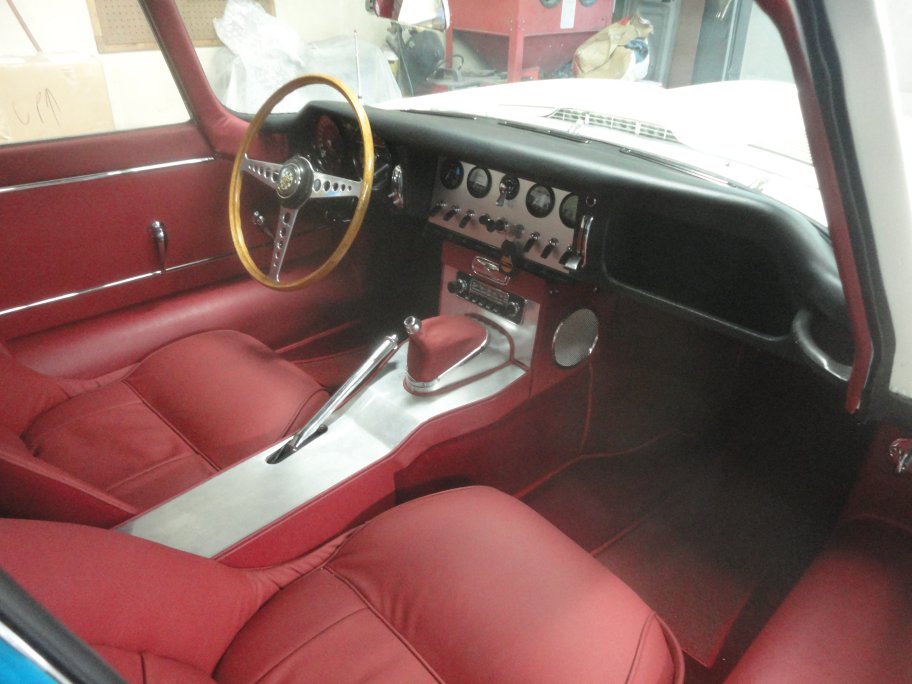 110) With the steering wheel bolted in along with the seats, the interior is just about wrapped-up.
|