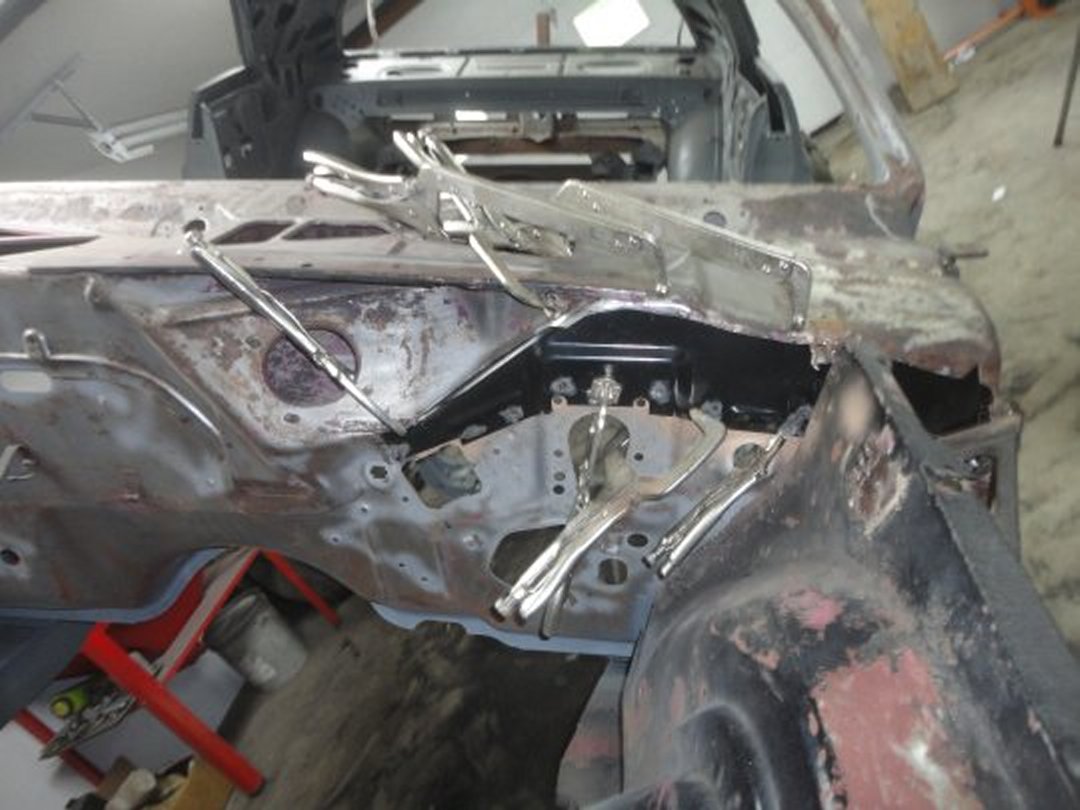
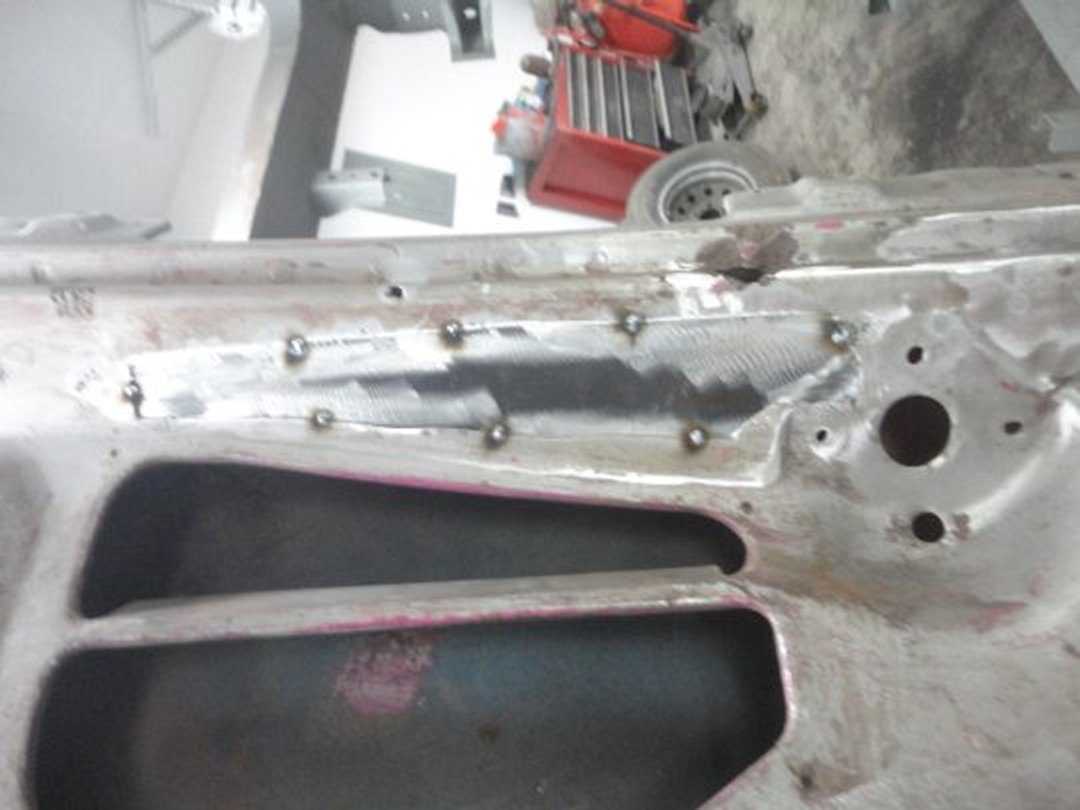
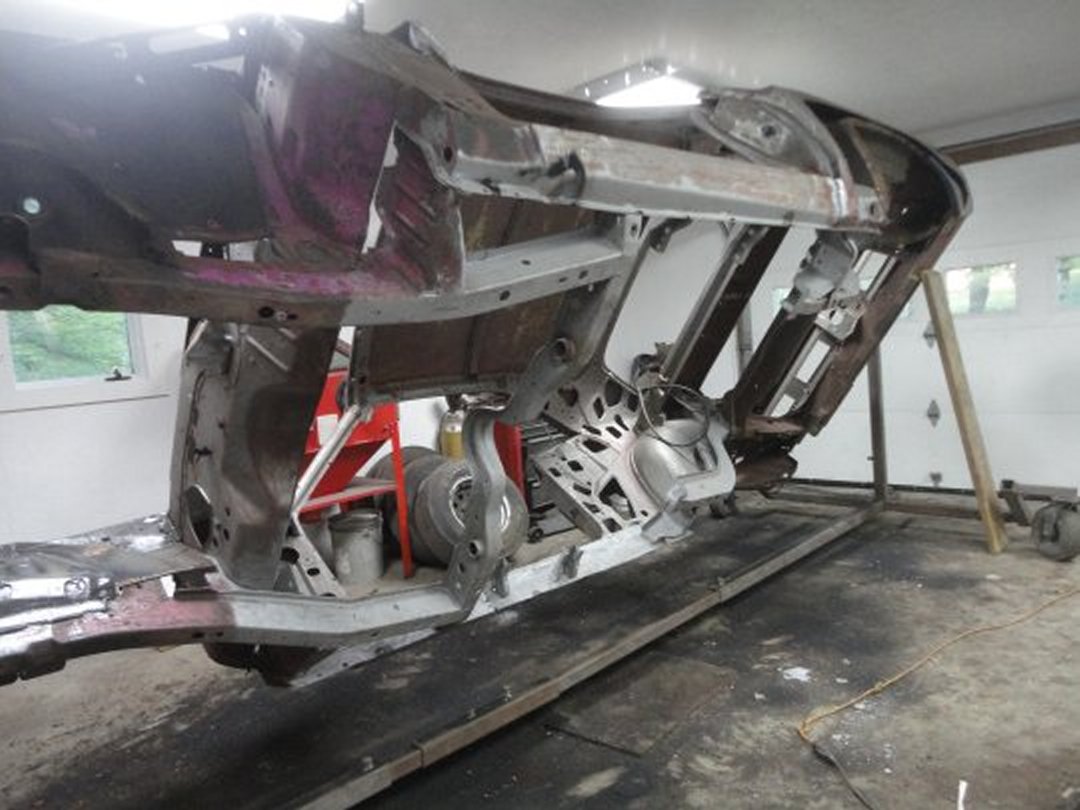
 1) I really don't have a place to bring my cars to get them sandblasted living northern Vermont, so I do them myself. I rarely have a large
enough block of time to do the entire vehicle at once. So the sandlbasting is done in stages. It took me about 8 hours to get the amount of
sandblasting done that is that is shown in this picture. By the way, I hate sandblasting. It is a time consuming messy process and I
have to travel 45 miles to get it, just because local parts stores are not wanting to carry it anymore.
1) I really don't have a place to bring my cars to get them sandblasted living northern Vermont, so I do them myself. I rarely have a large
enough block of time to do the entire vehicle at once. So the sandlbasting is done in stages. It took me about 8 hours to get the amount of
sandblasting done that is that is shown in this picture. By the way, I hate sandblasting. It is a time consuming messy process and I
have to travel 45 miles to get it, just because local parts stores are not wanting to carry it anymore.
|
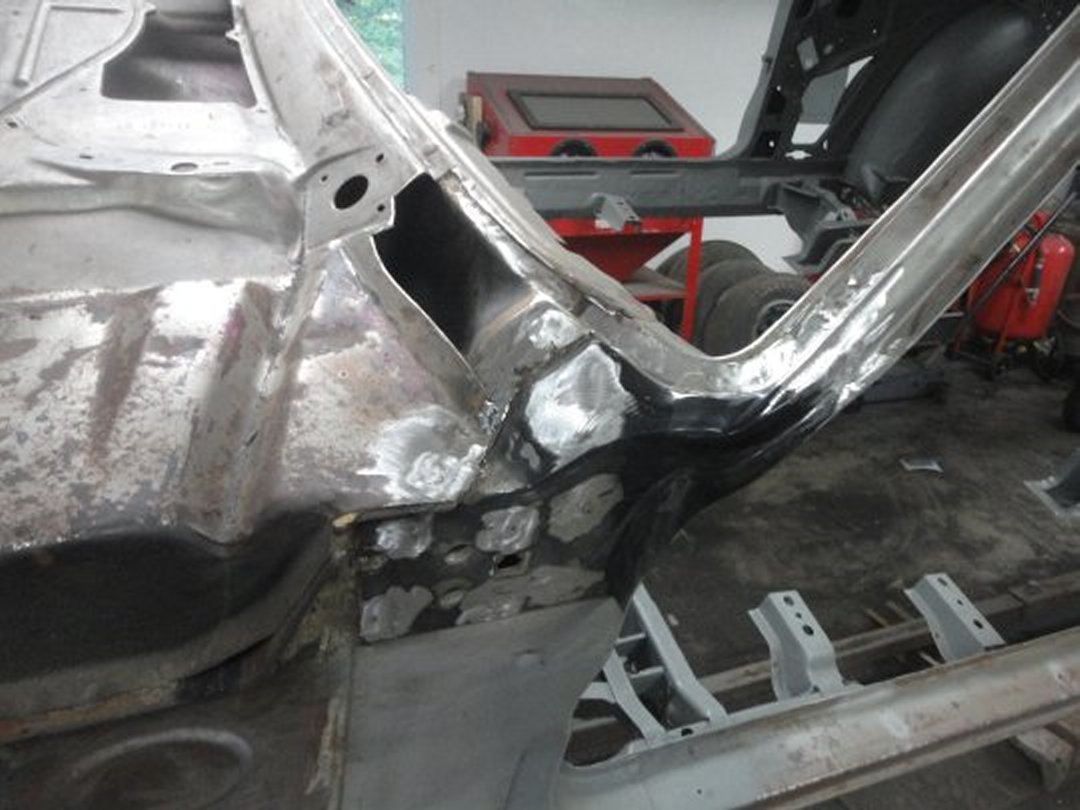
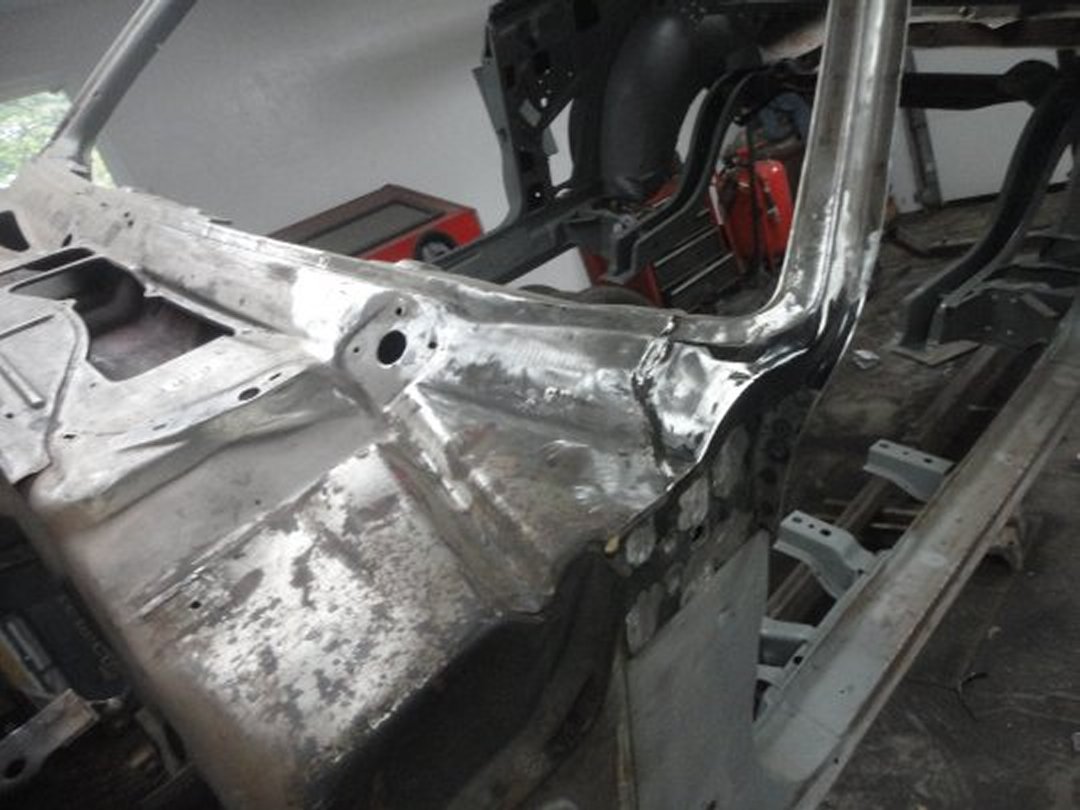
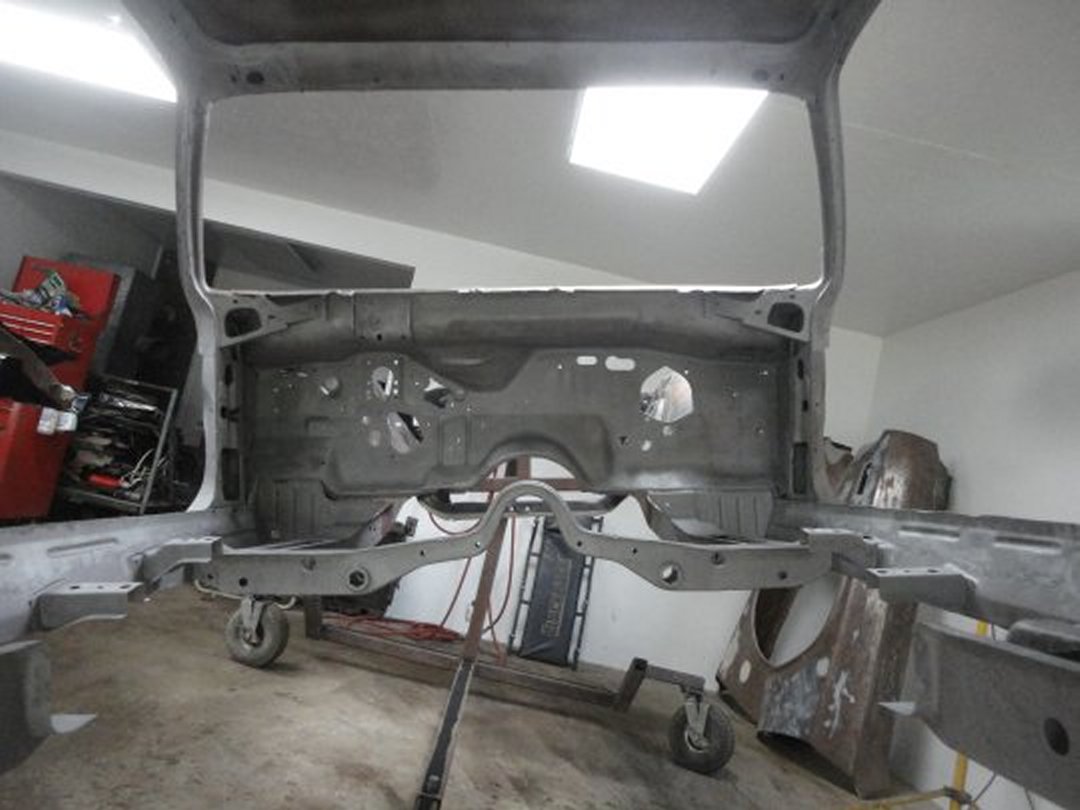 2) Though not visible in this picture, there were a few small (very small for an E-body) holes in the upper corners of the firewall, where it
it meets the upper cowl.
2) Though not visible in this picture, there were a few small (very small for an E-body) holes in the upper corners of the firewall, where it
it meets the upper cowl.
|
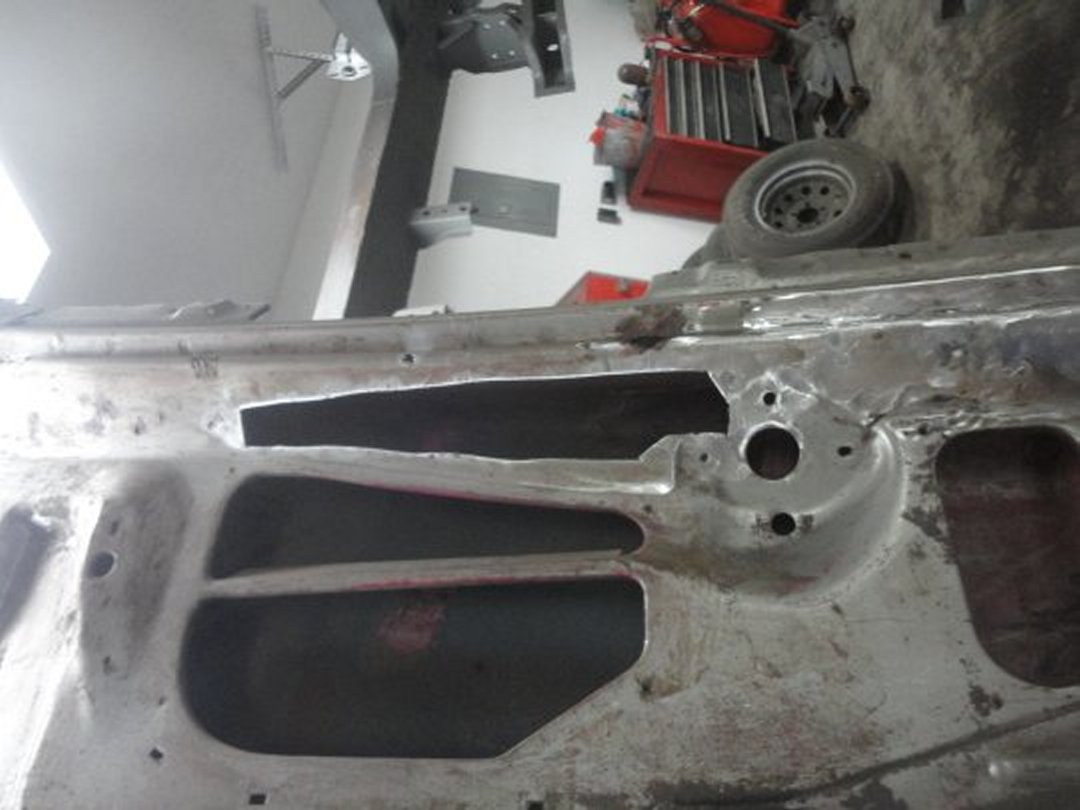
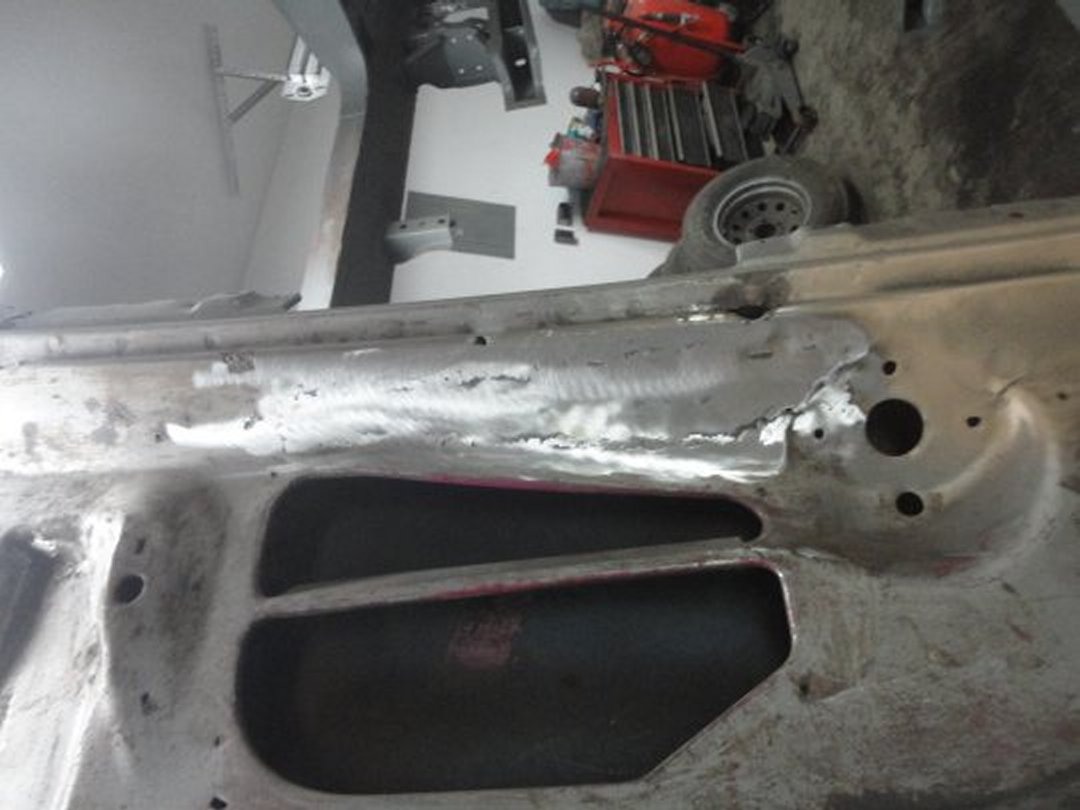
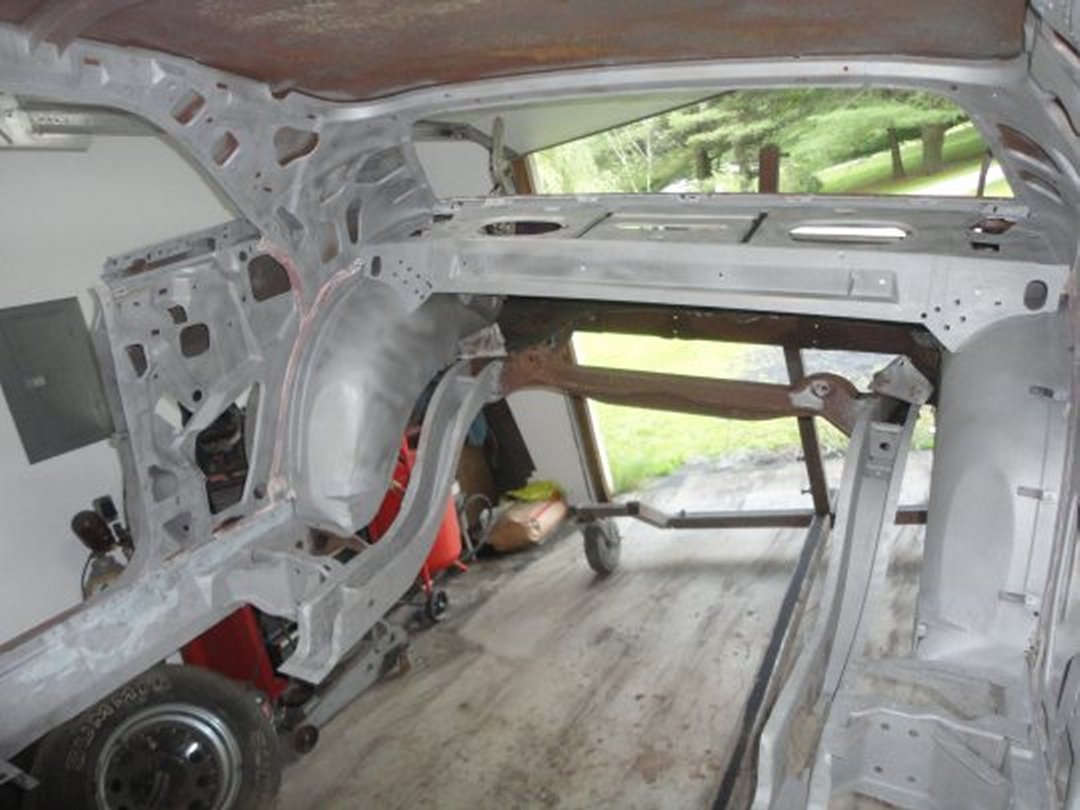 3) I stopped sandblasting at the upper rear crossmember. It is actually quicker to replace the crossmember than to sandblast, prime and fill in
the little pits.
3) I stopped sandblasting at the upper rear crossmember. It is actually quicker to replace the crossmember than to sandblast, prime and fill in
the little pits.
|
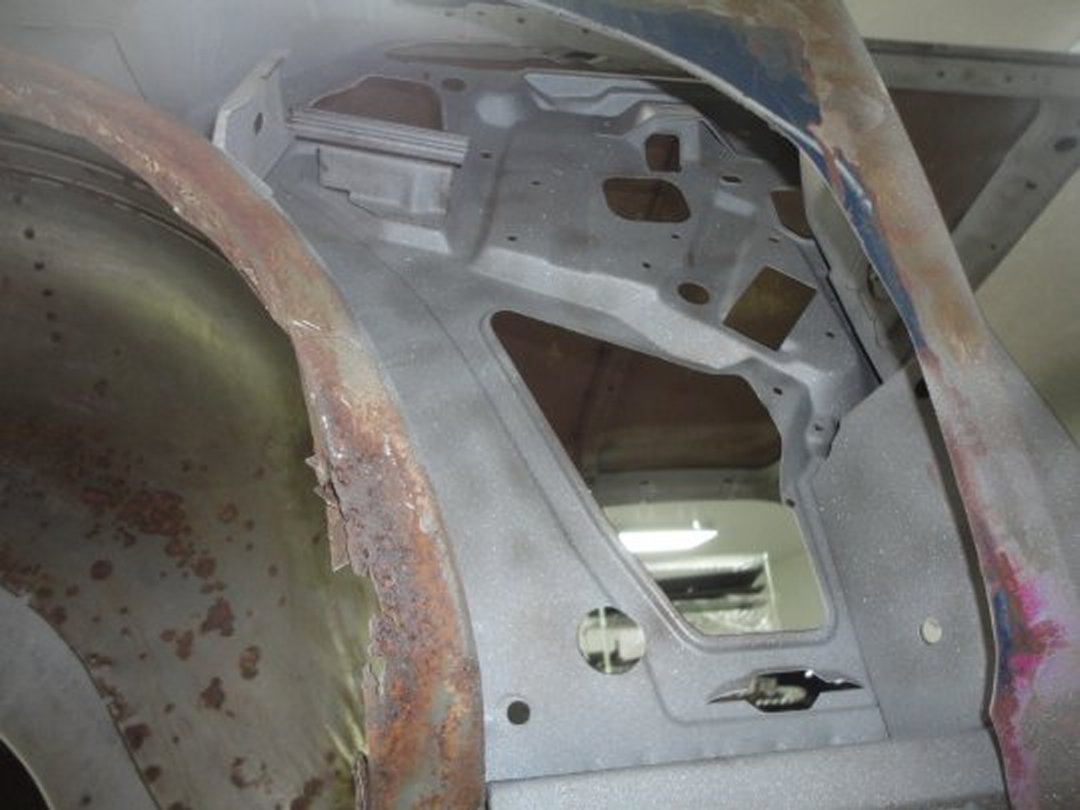 4) I like to make sure to sandblast the inner rear quarter window area. Especially on an E-body since the quarter window track is welded in
place and it's impossible to get at once the quarter panels are installed.
4) I like to make sure to sandblast the inner rear quarter window area. Especially on an E-body since the quarter window track is welded in
place and it's impossible to get at once the quarter panels are installed.
|
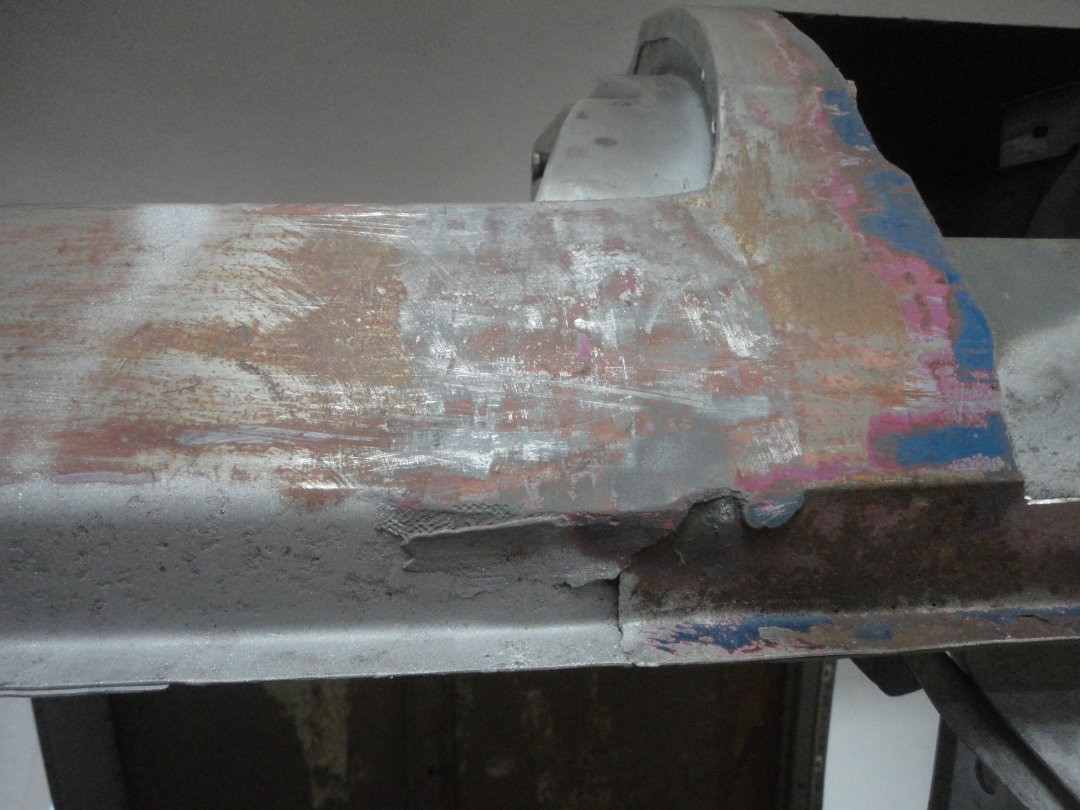 5) Here's a shot showing how poorly the factory lead work was. Pretty sloppy!
|
 6) The outer rocker panels are supposed to have 4 drain gutters in them. On this car someone had flattened one out.
|
 7) To bring back this detail, I heated the outside up cherry red, inserted a flat head screw driver and kept rotating it until I got the
shape and angle I needed. I think it turned out pretty good.
7) To bring back this detail, I heated the outside up cherry red, inserted a flat head screw driver and kept rotating it until I got the
shape and angle I needed. I think it turned out pretty good.
|
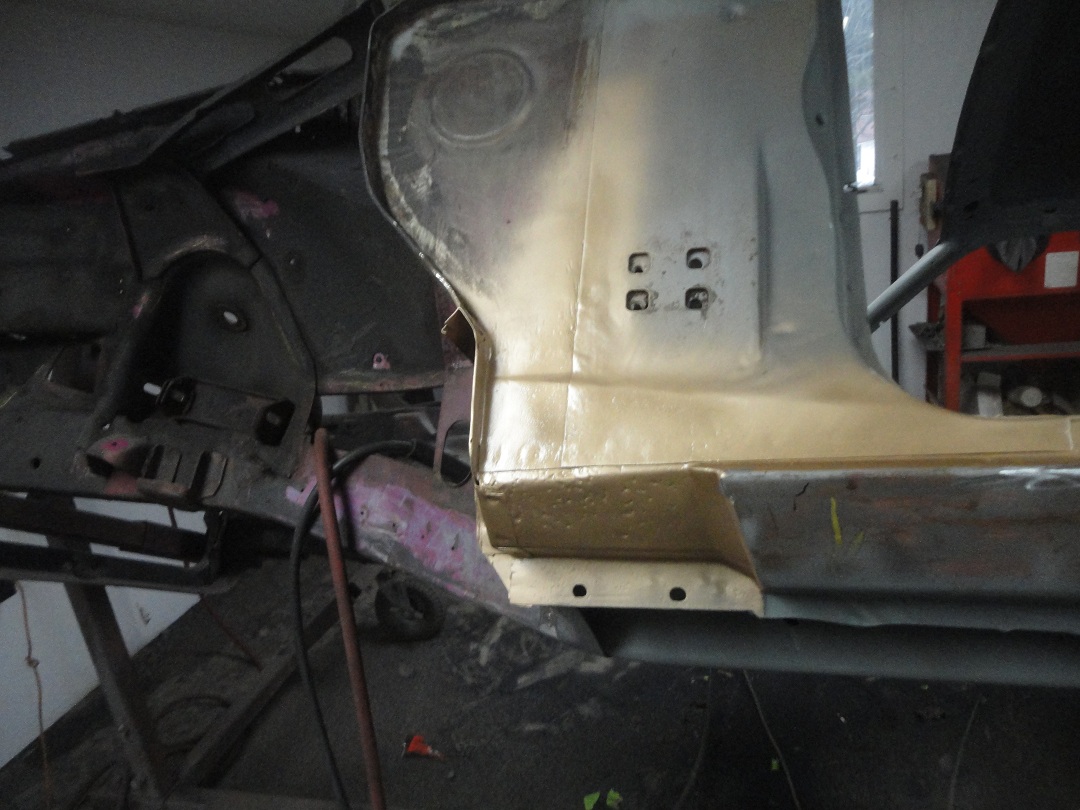
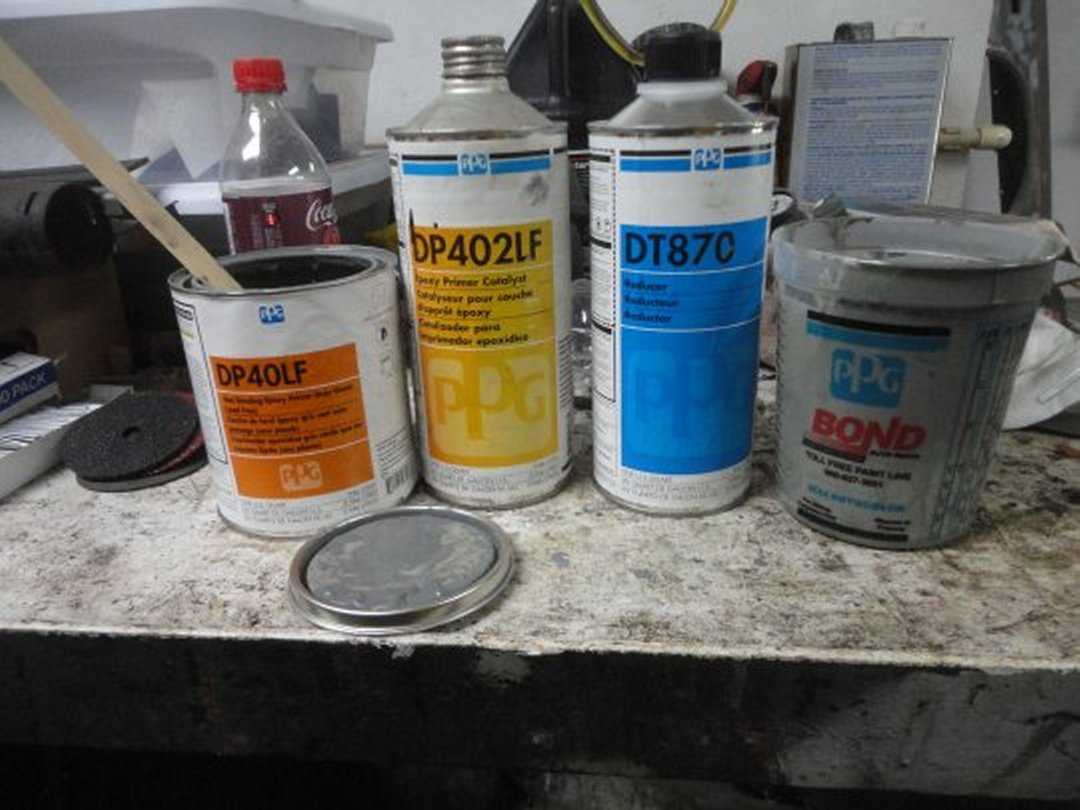 8) I primed all of the surfaces that I sandblasted to prevent them from rusting again. My primer of choice is PPG DP40LF Gray Green for this
car since the original factory primer color was similar. I always use PPG epoxy primers on my cars.
8) I primed all of the surfaces that I sandblasted to prevent them from rusting again. My primer of choice is PPG DP40LF Gray Green for this
car since the original factory primer color was similar. I always use PPG epoxy primers on my cars.
|
|
|
|
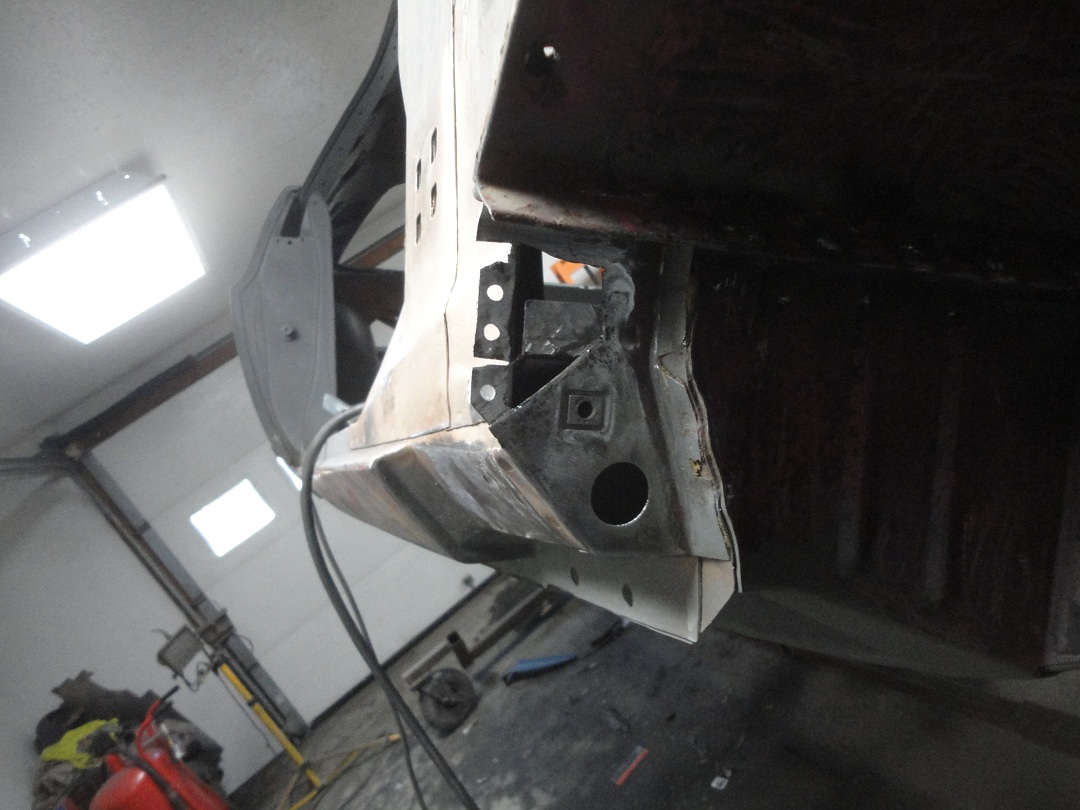
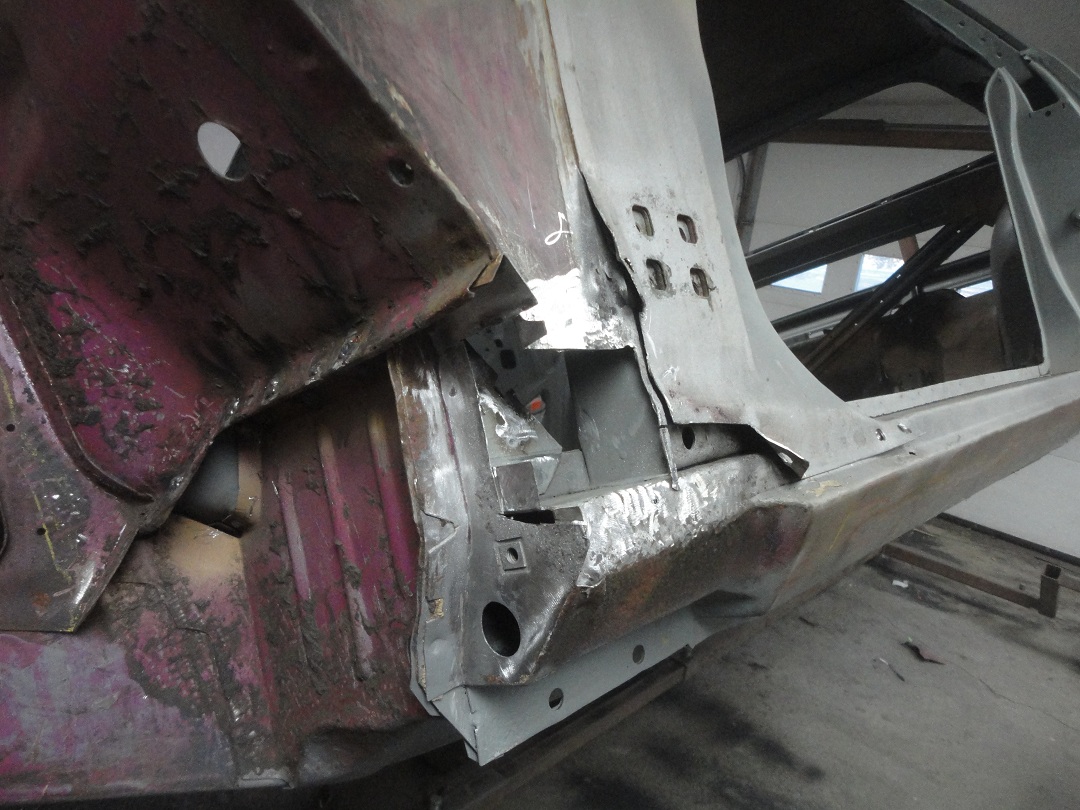
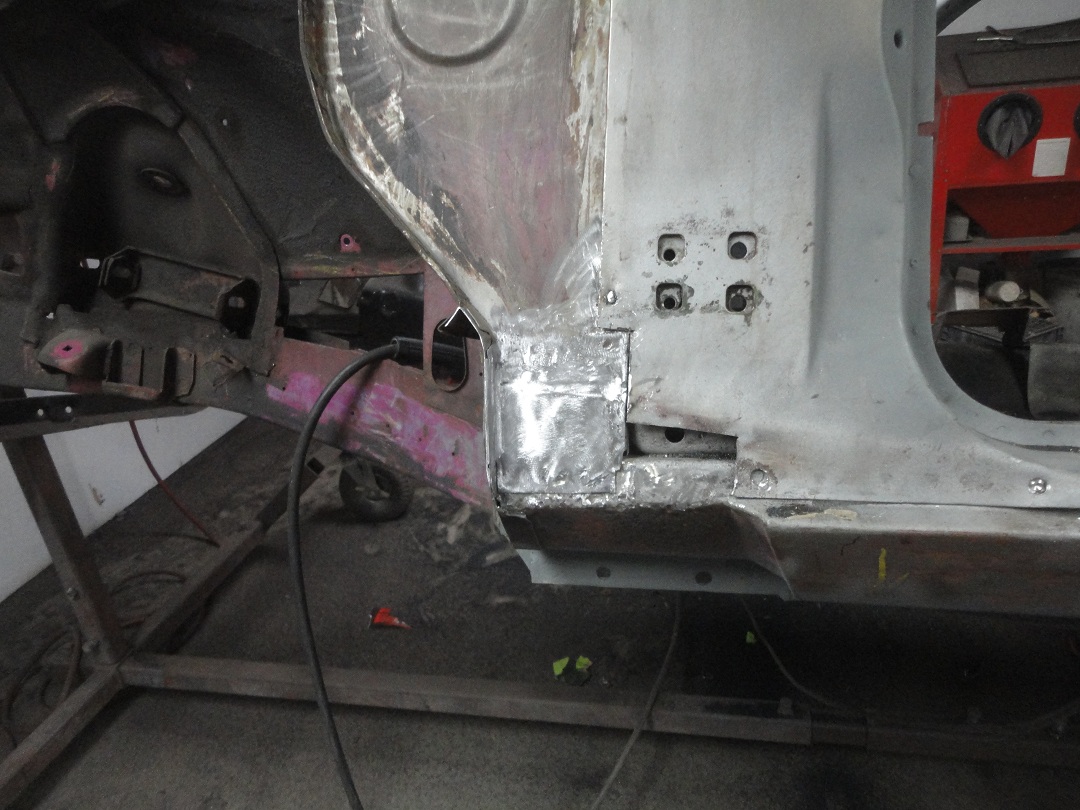
 9) The first actual repair was the area shown here on the left rear frame rail. I had to cut part of the rear reenforcement off to get to one
of the holes.
9) The first actual repair was the area shown here on the left rear frame rail. I had to cut part of the rear reenforcement off to get to one
of the holes.
|
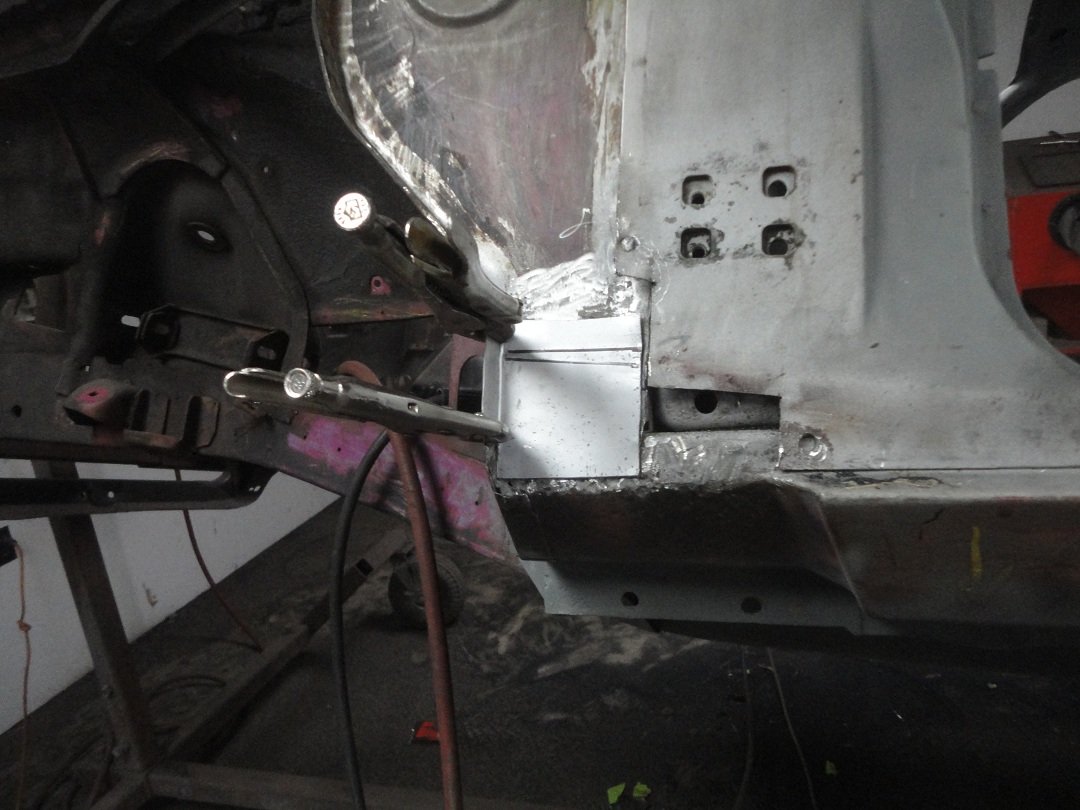
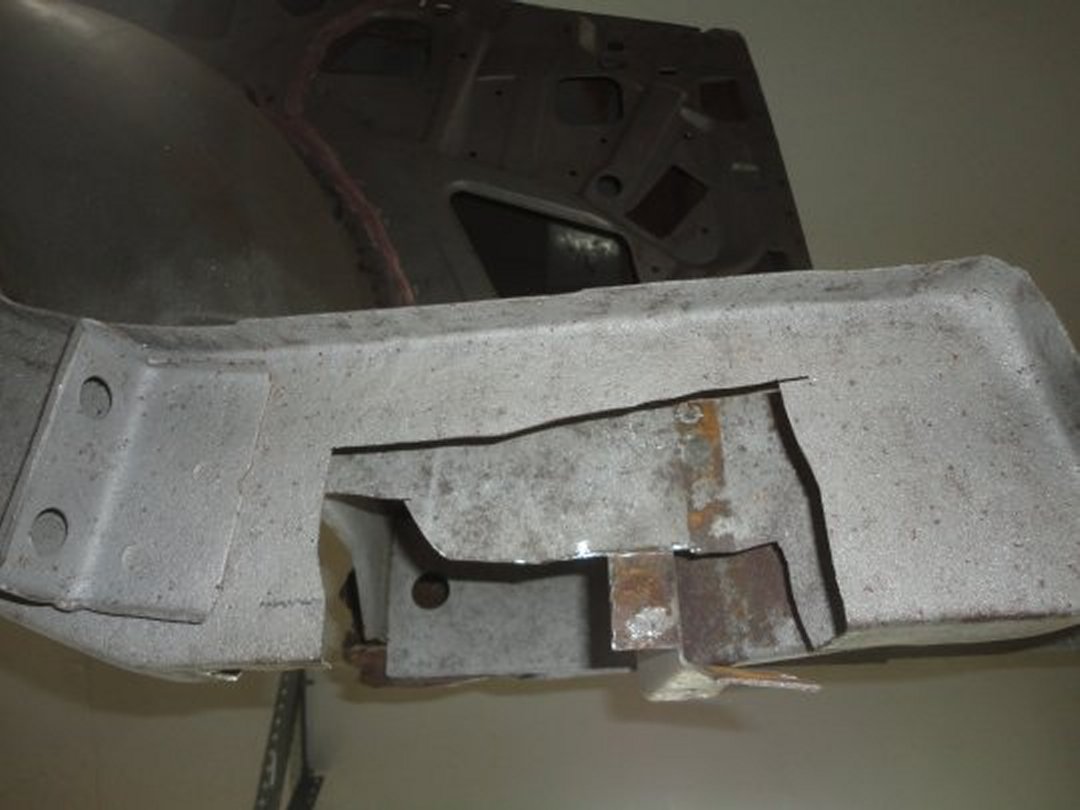 10) I also had to cut a piece out of the inboard section, just so that I could reach all of the rusted areas.
|
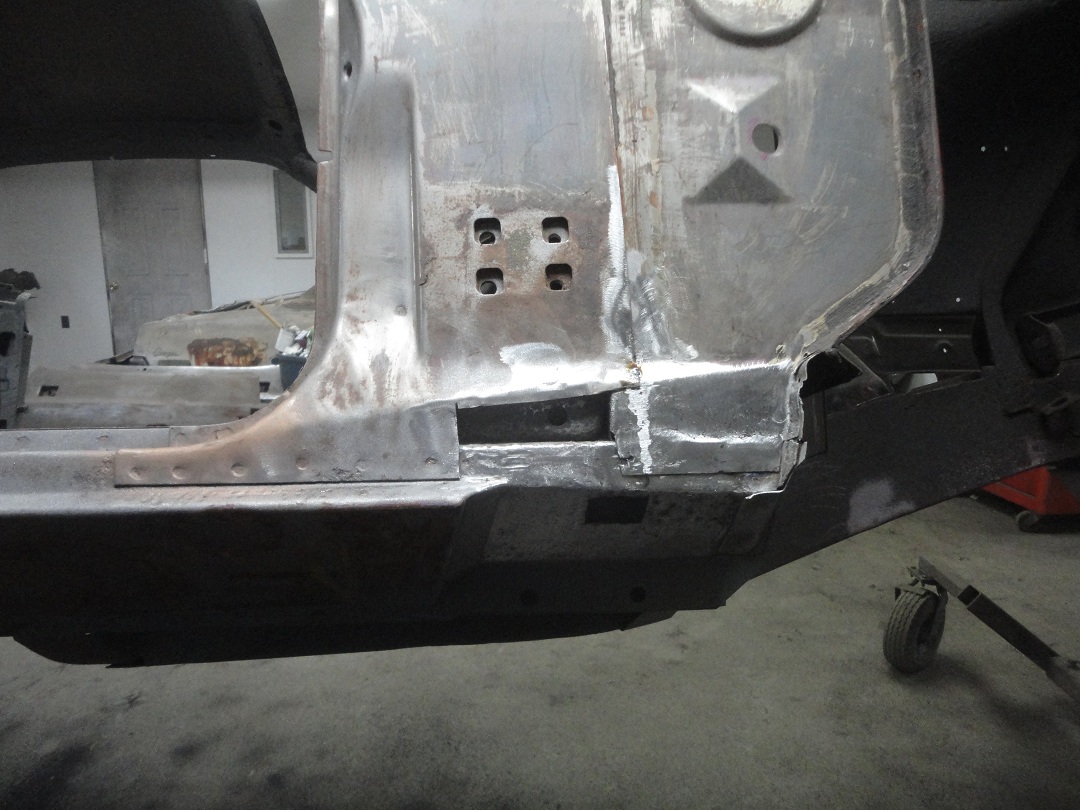
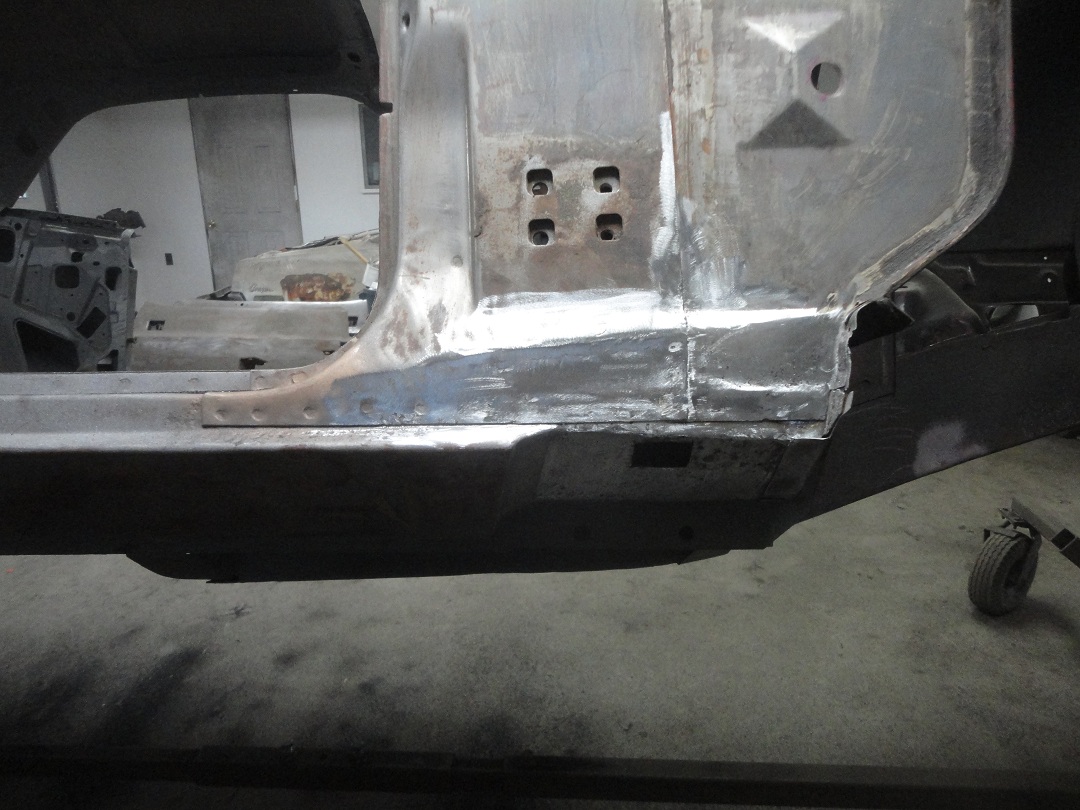
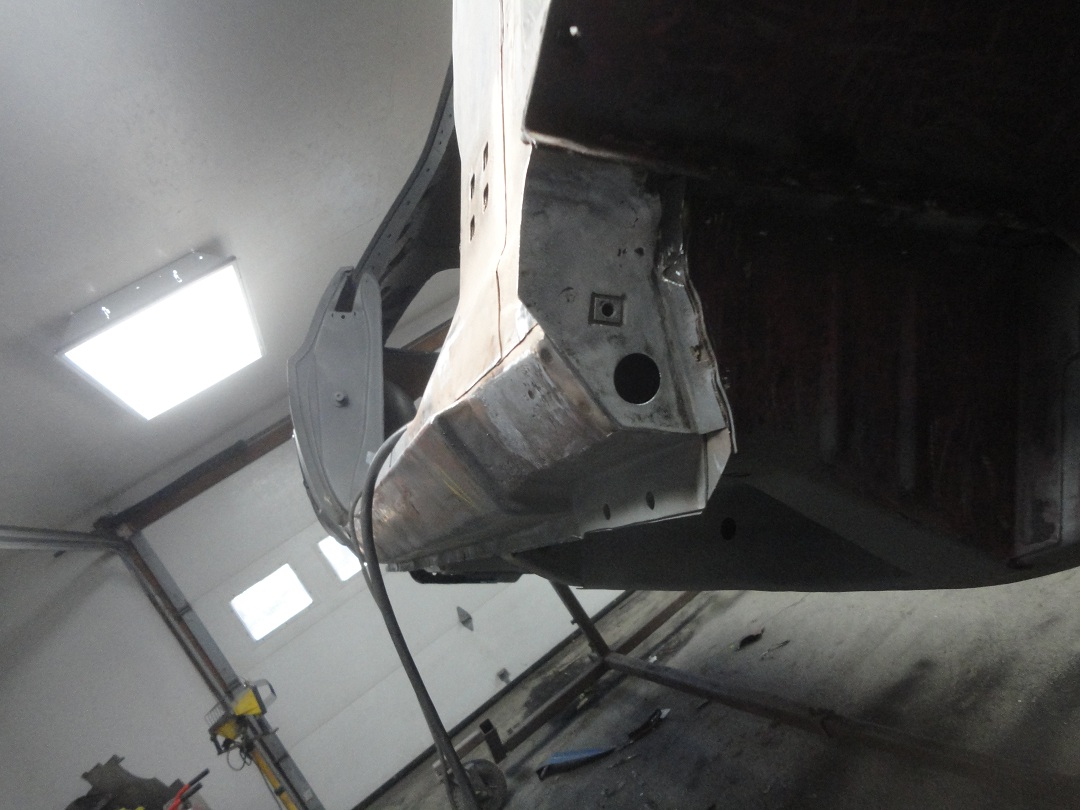
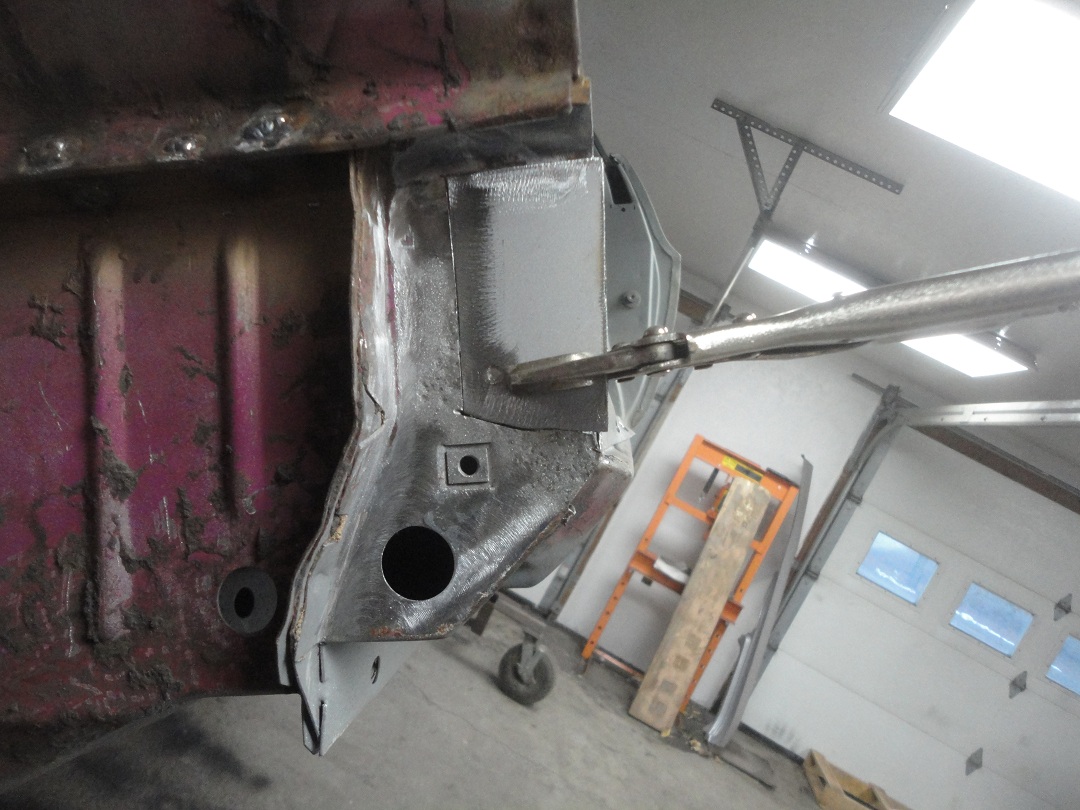
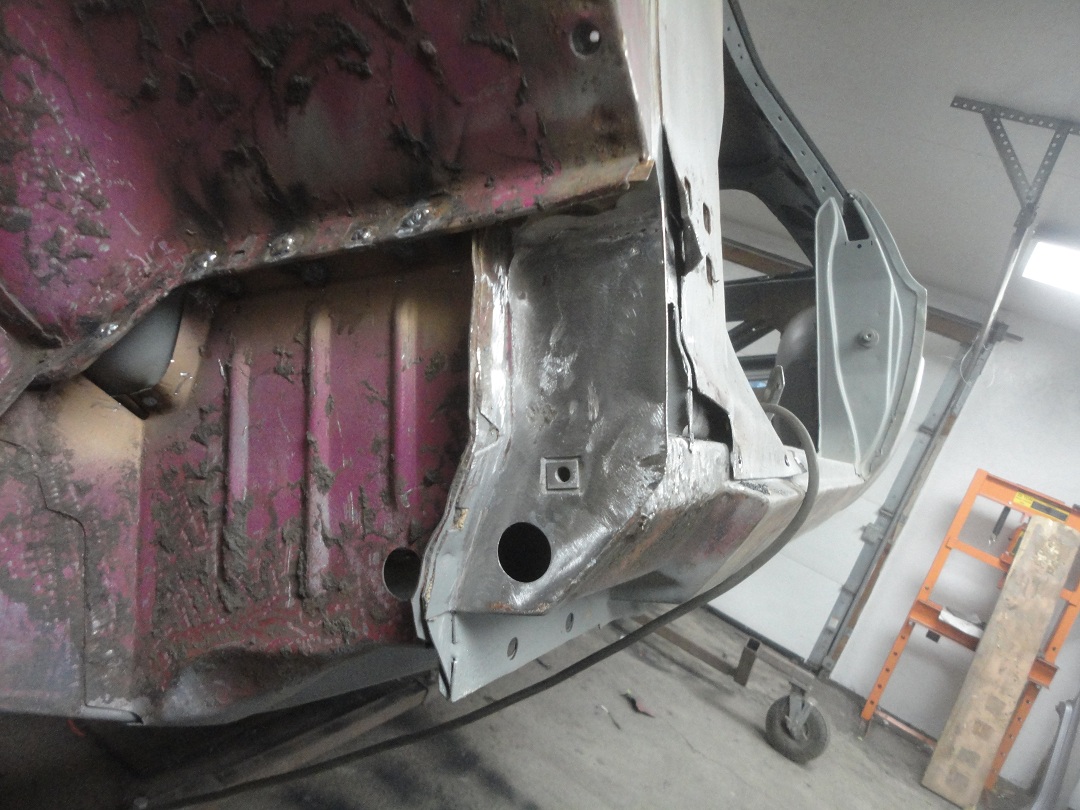
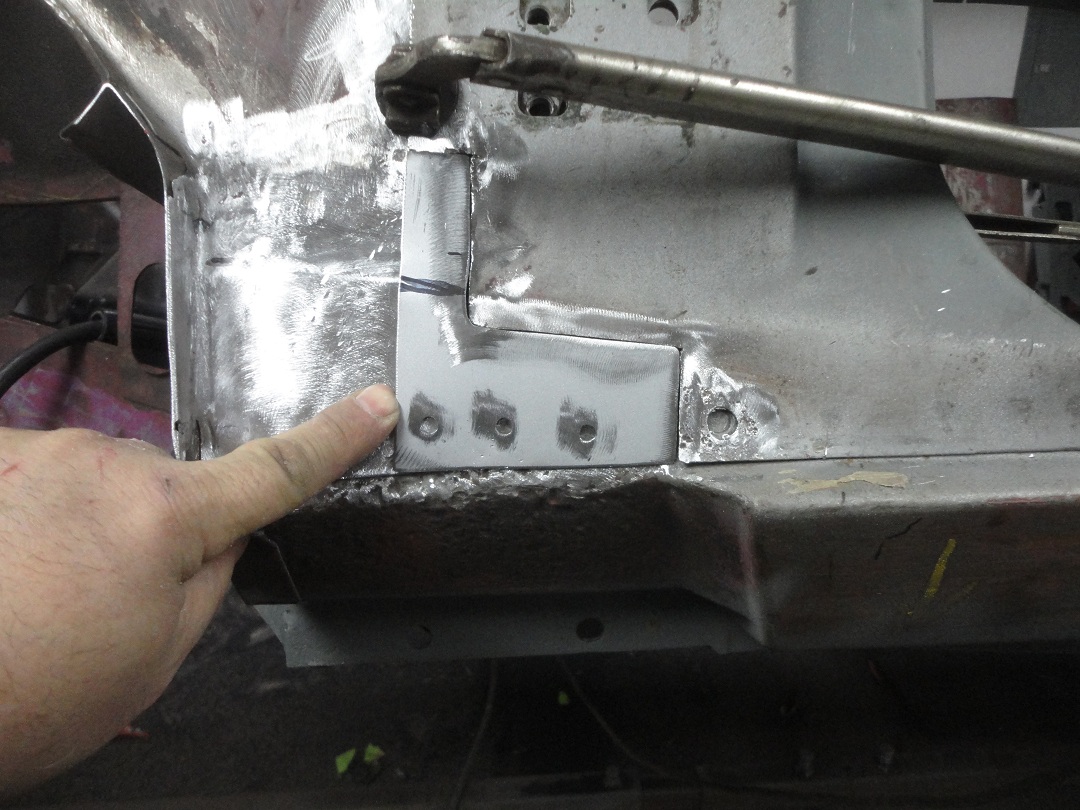
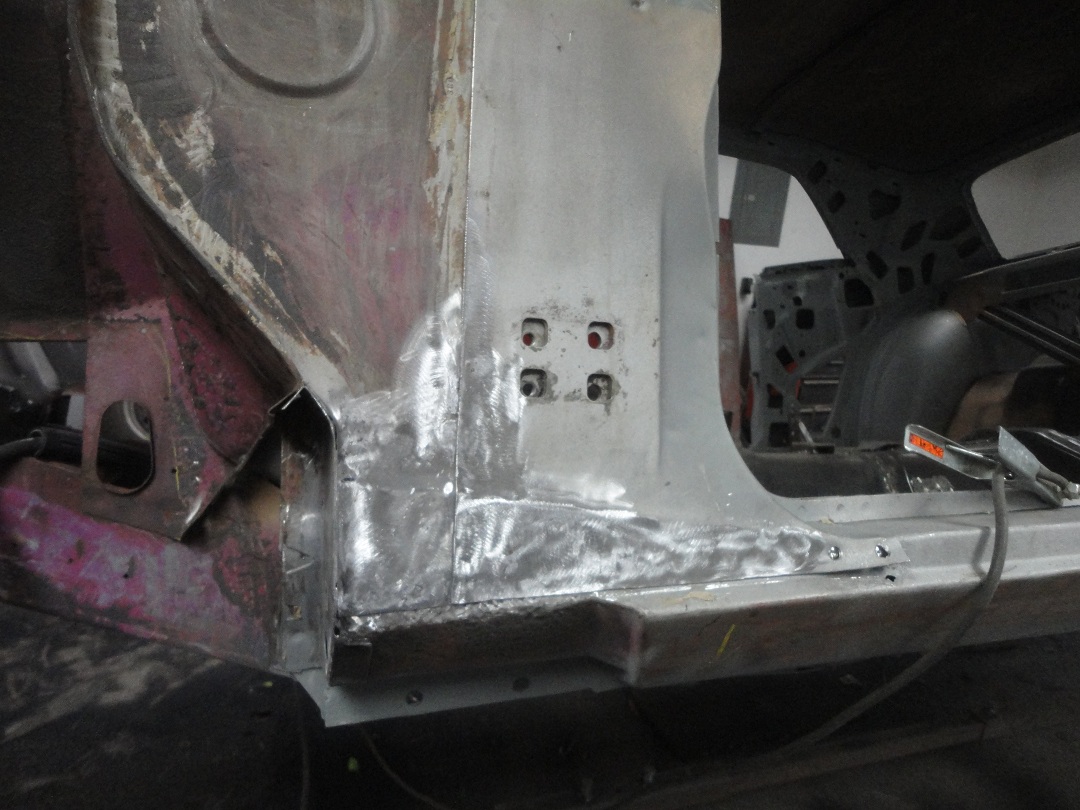
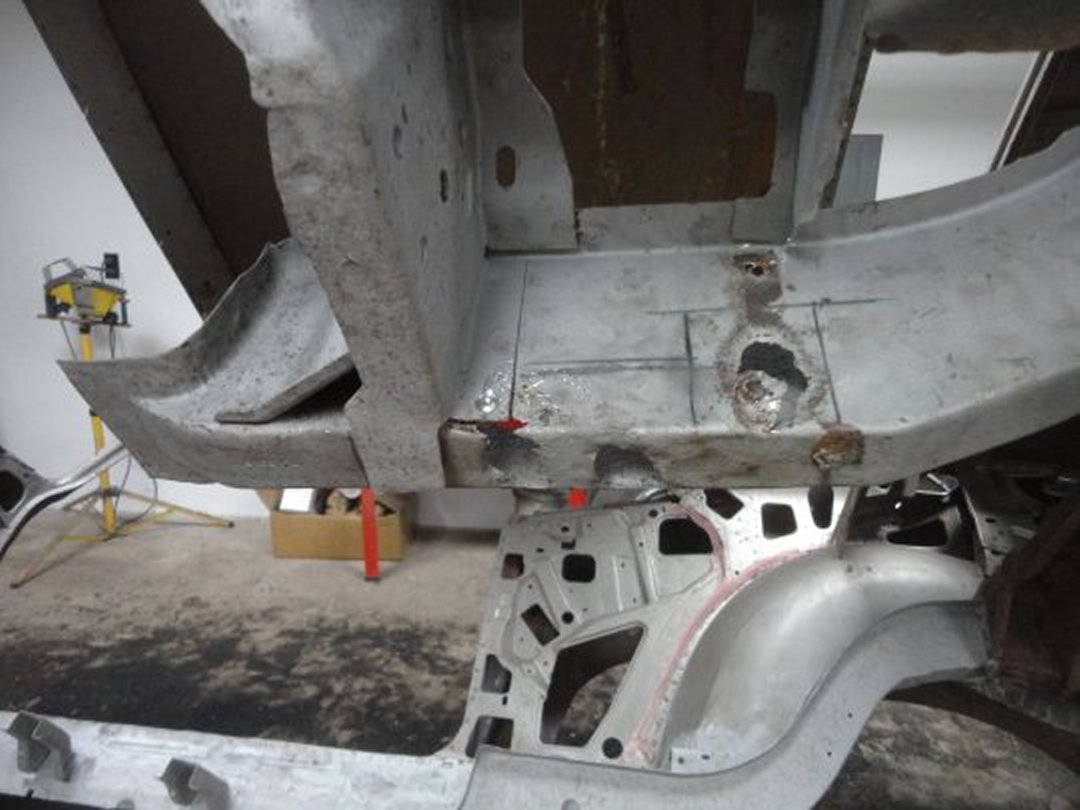
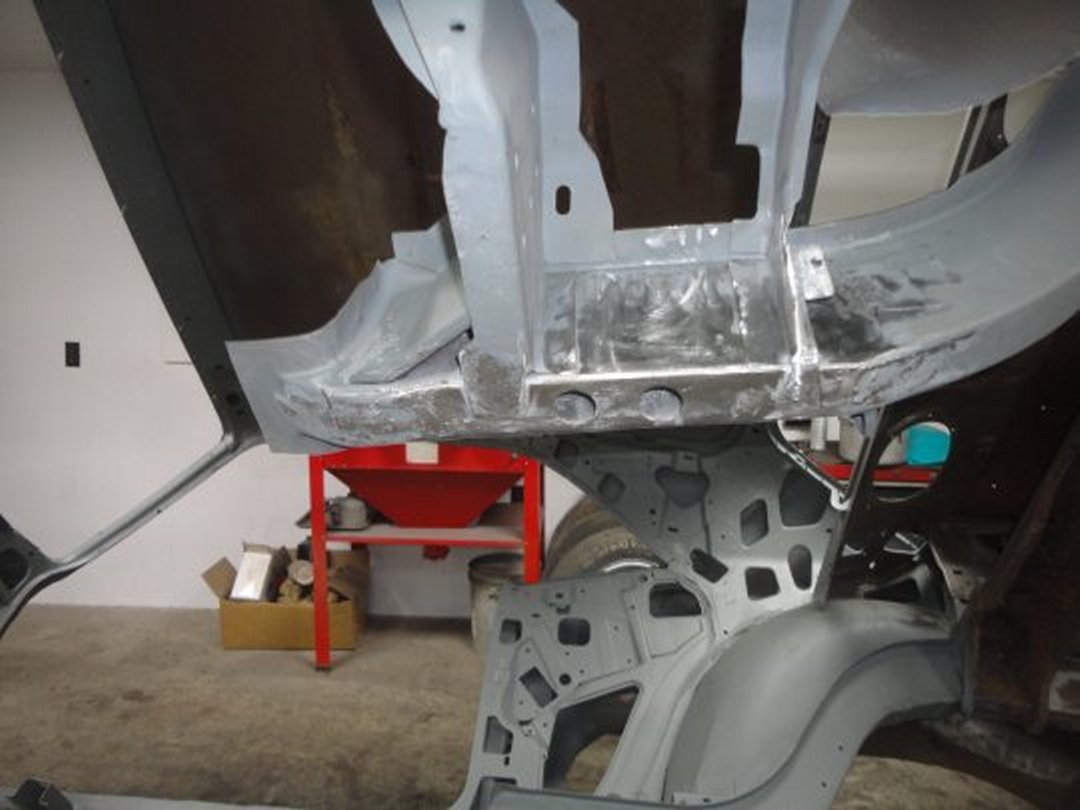 11) I bought a used left rear frame rail section off e-bay for $100 to fix the tail end of the frame rail. I used a section of it to form a
repair section that I butt-welded in place here. Unfortunately I didn't take any pictures of the welding process. This what the repair
looked like just before I primed it.
11) I bought a used left rear frame rail section off e-bay for $100 to fix the tail end of the frame rail. I used a section of it to form a
repair section that I butt-welded in place here. Unfortunately I didn't take any pictures of the welding process. This what the repair
looked like just before I primed it.
|
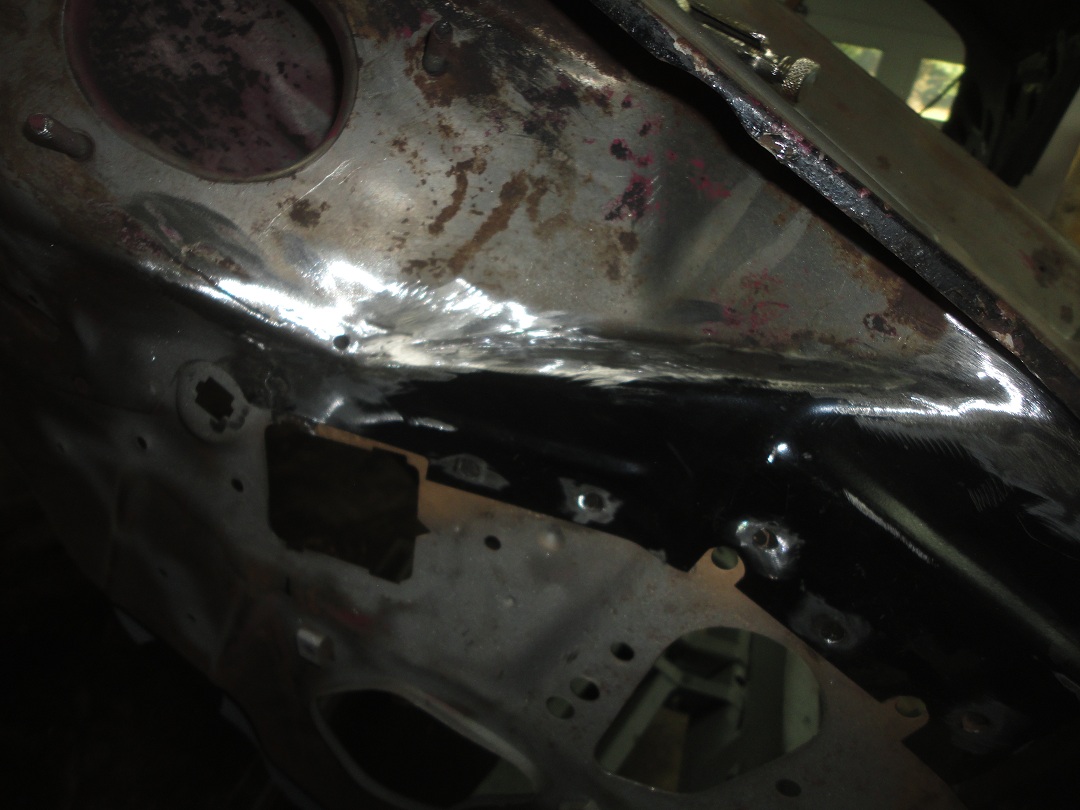
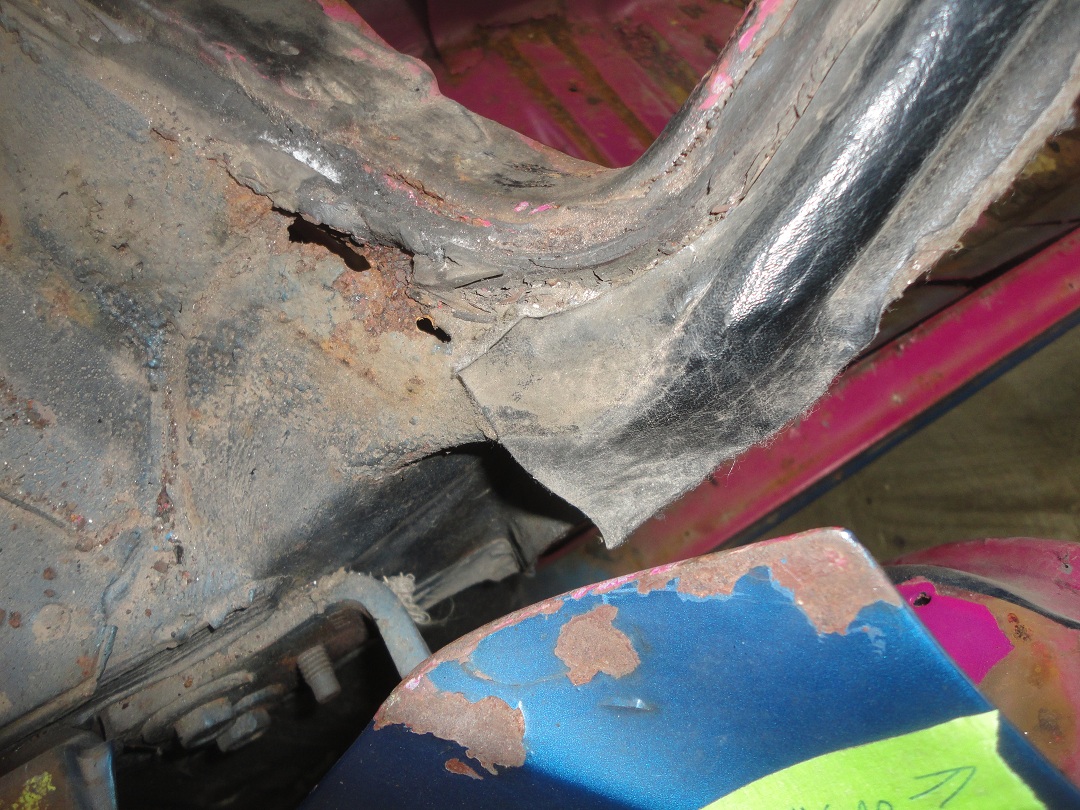
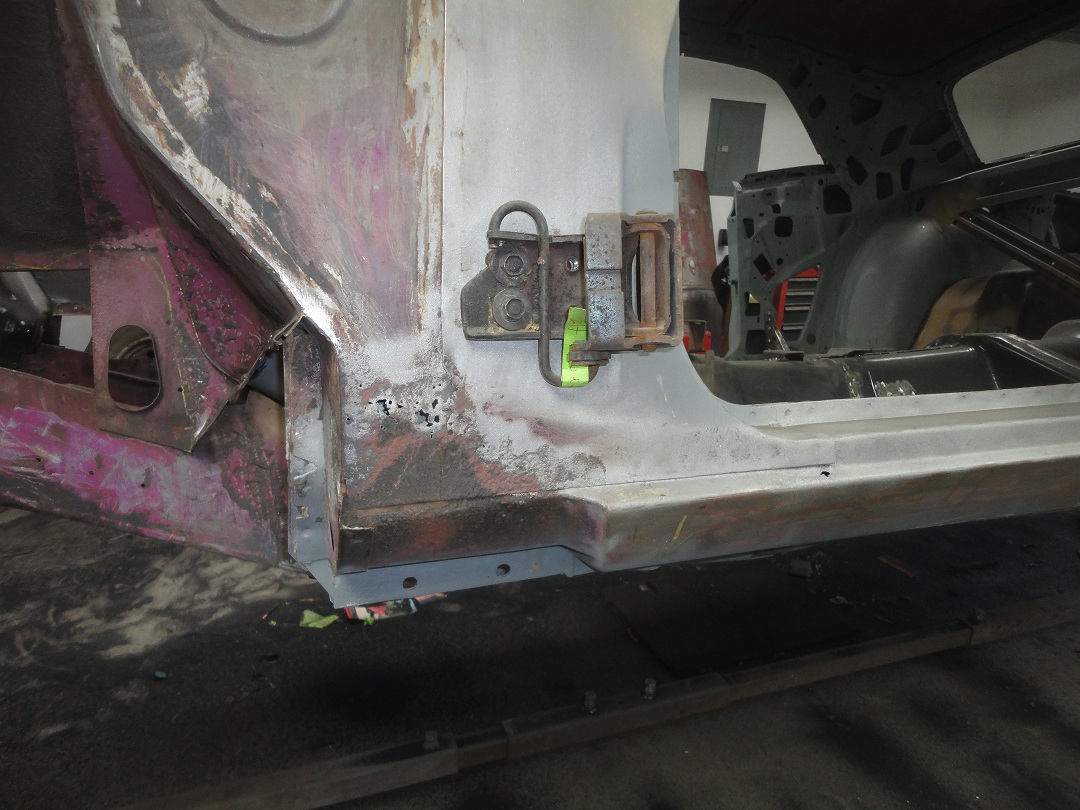
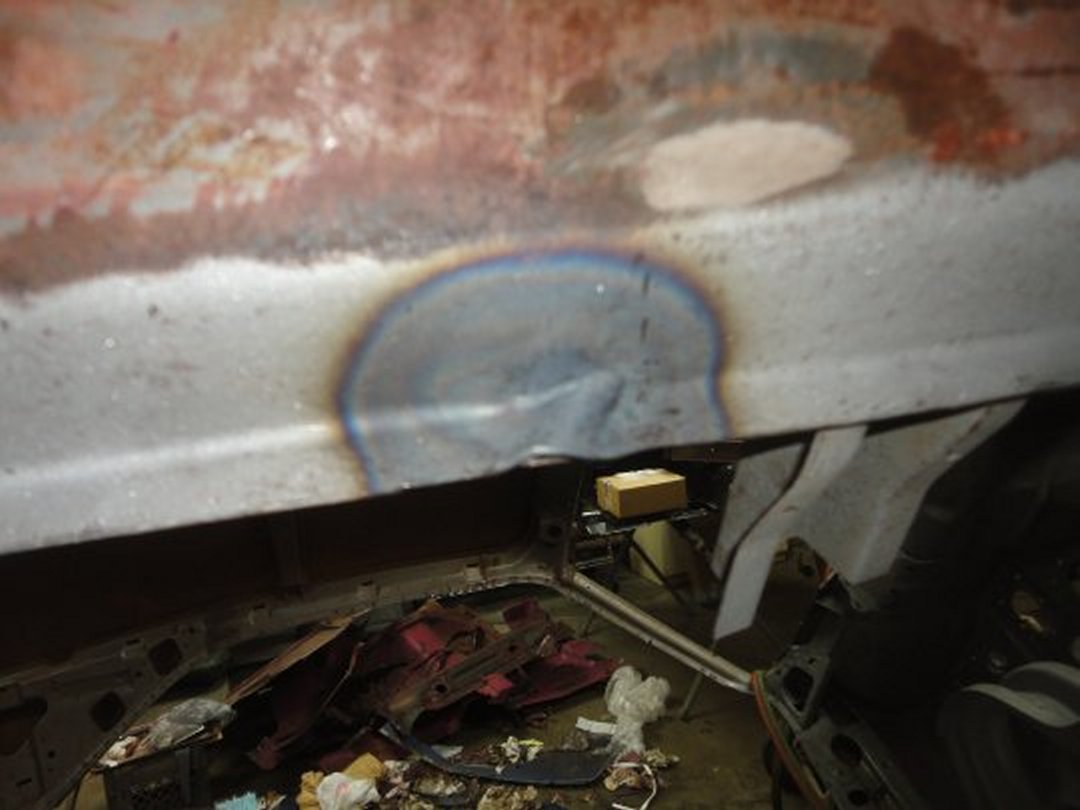
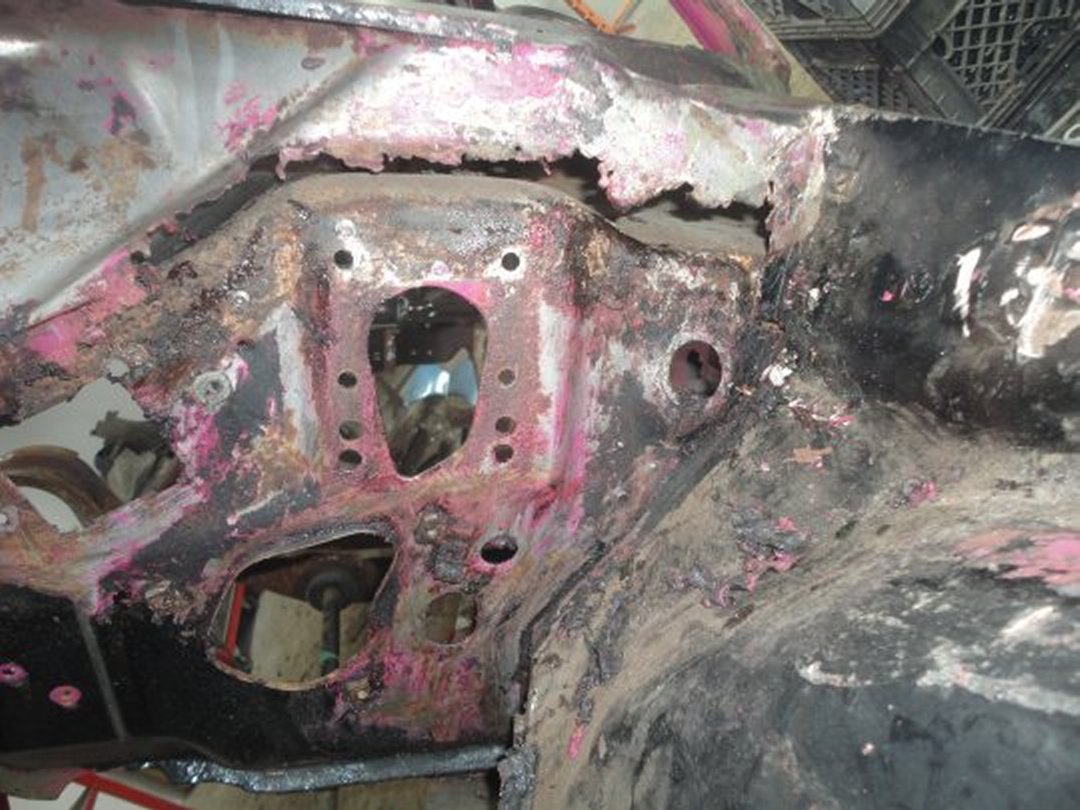 12) The driver's side section of the upper cowl was literally stuffed with paper and bondo to cover up this massive rust hole. I kind of knew
this would be a mess when I bought it. This is a typical rust area on Mopars. It probably would have been worse if the car didn't have AC.
12) The driver's side section of the upper cowl was literally stuffed with paper and bondo to cover up this massive rust hole. I kind of knew
this would be a mess when I bought it. This is a typical rust area on Mopars. It probably would have been worse if the car didn't have AC.
|
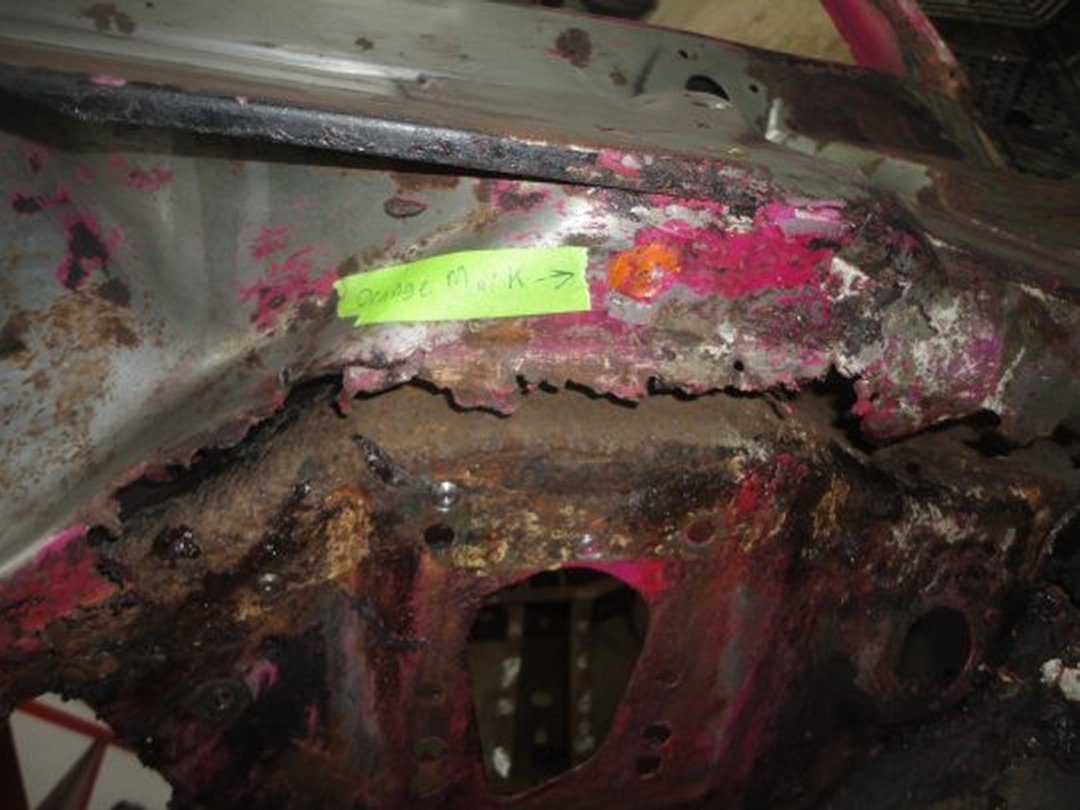 13) I was very lucky to discover an original factory inspection mark (orange). I will faithfully reproduce this after the car is painted.
|
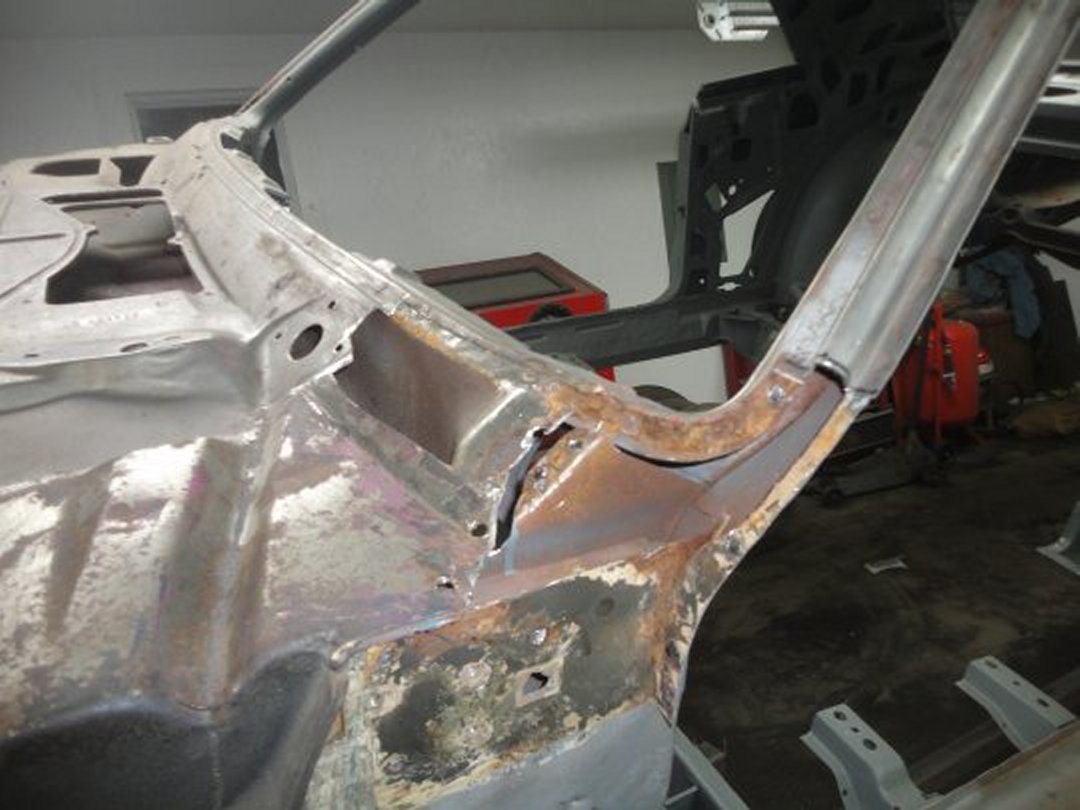
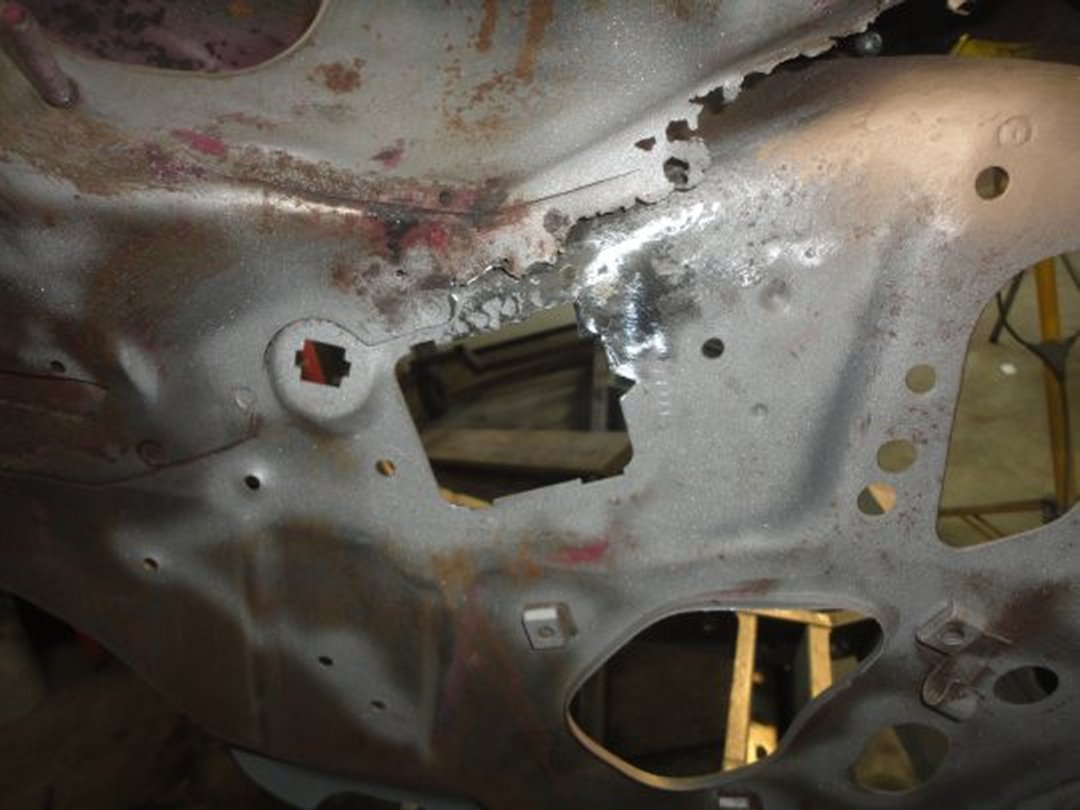 14) There was a rust hole at the main harness firewall connection. I welded in a new piece larger than I needed.
|
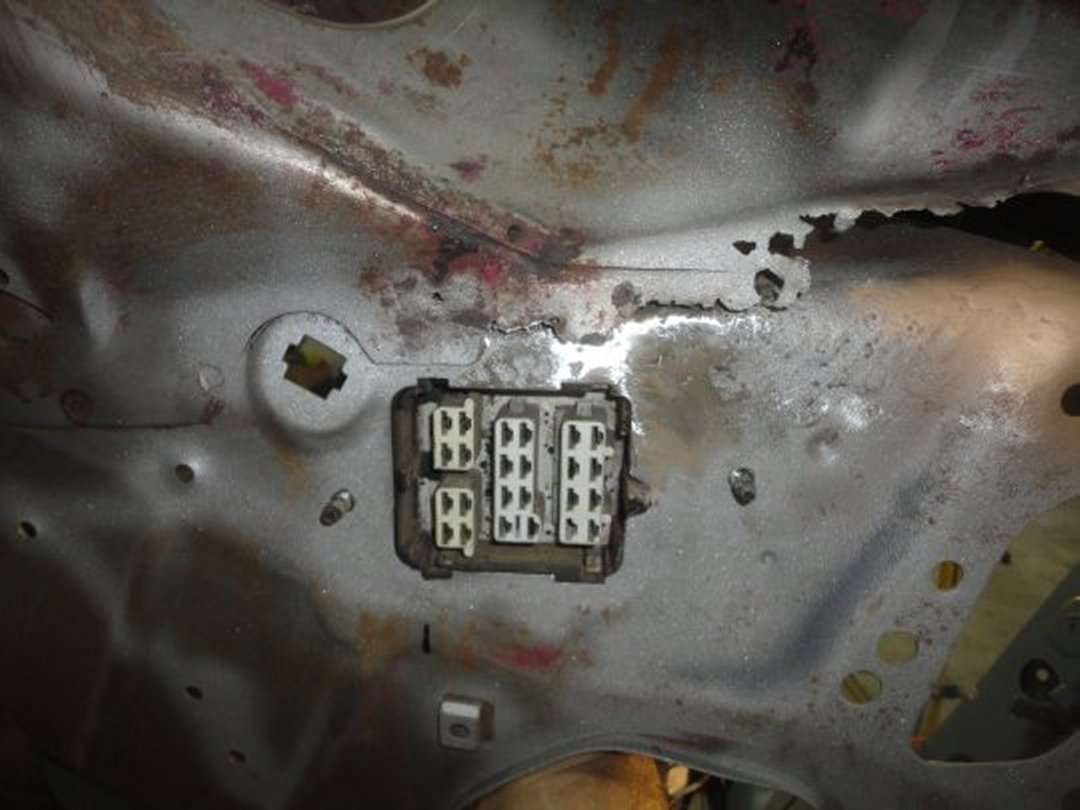 15) I then shaped it to look like the original opening. I also test fit the firewall harness connector to ensure that it would fit after the
car was painted.
15) I then shaped it to look like the original opening. I also test fit the firewall harness connector to ensure that it would fit after the
car was painted.
|
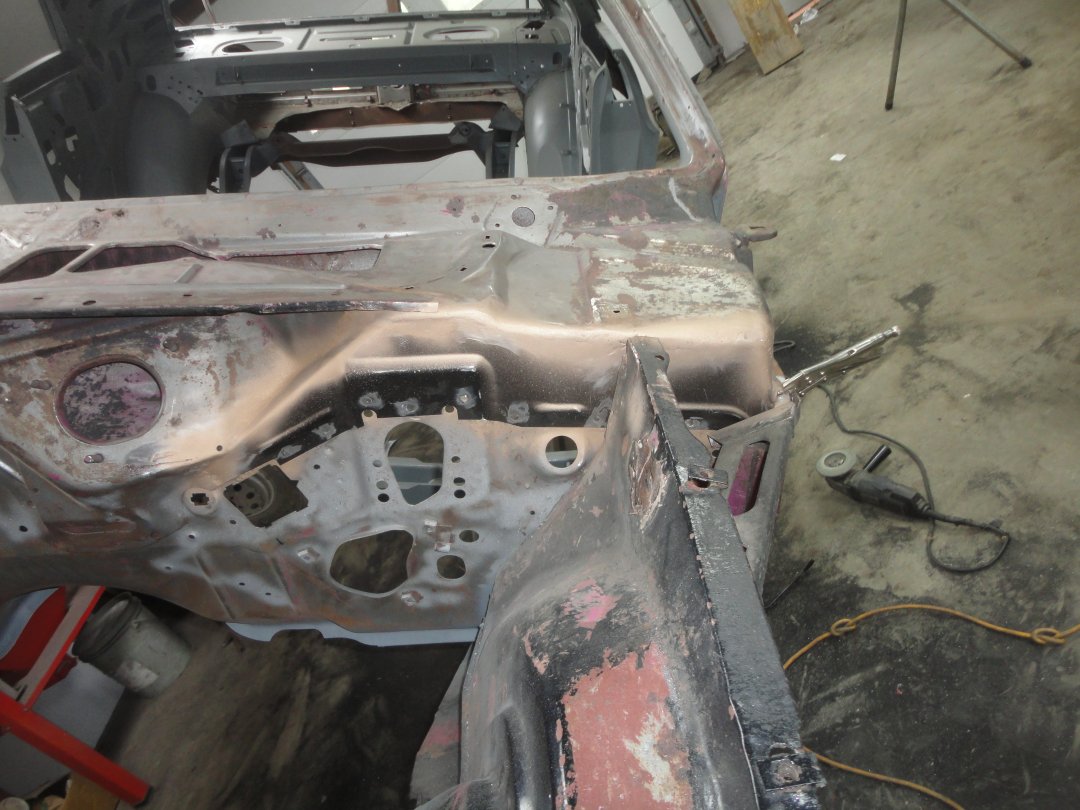
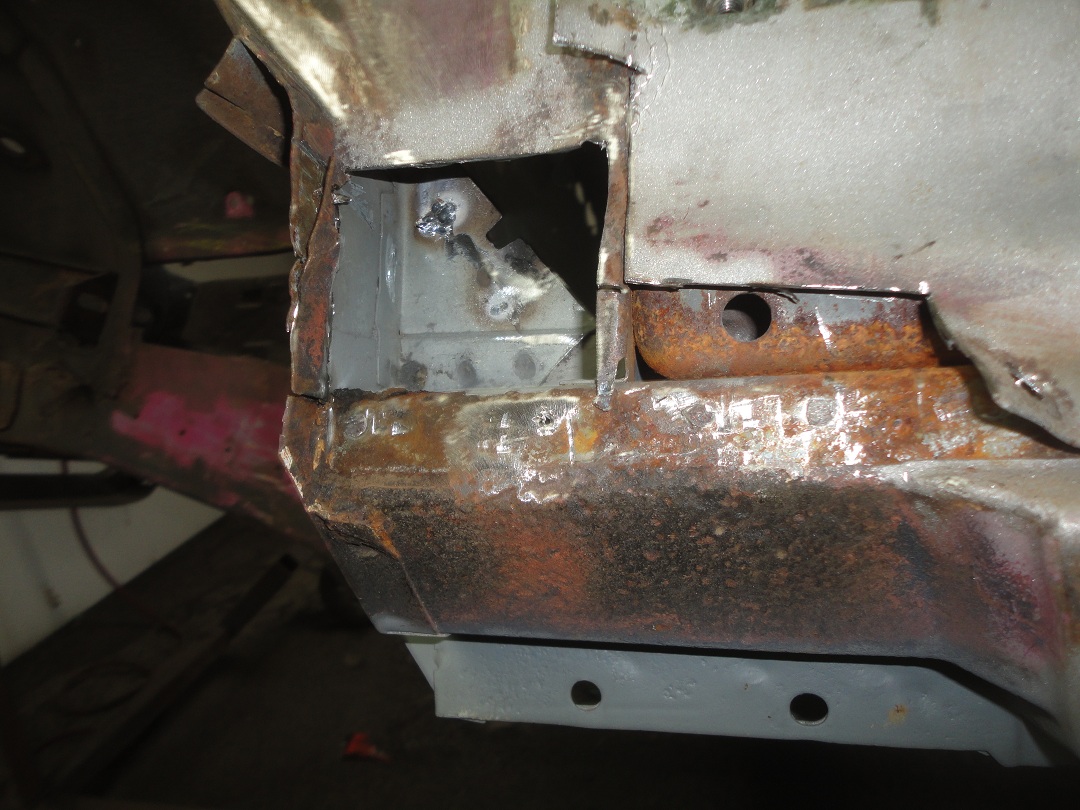
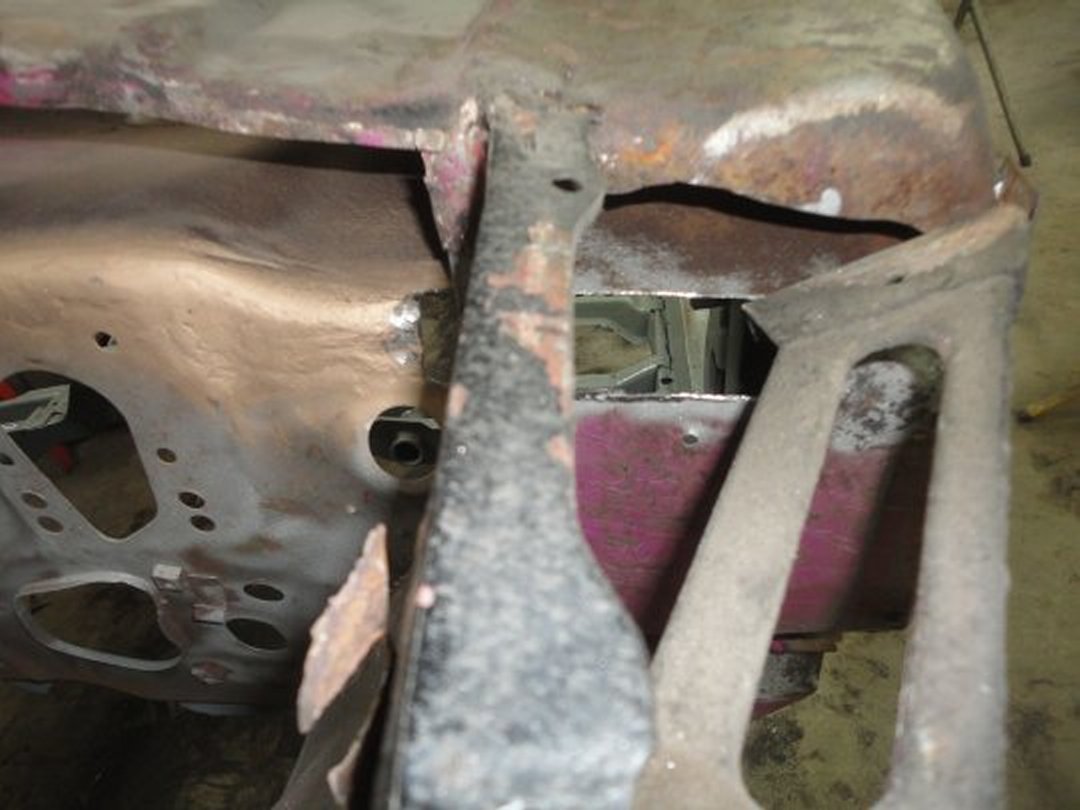 16) There was a rusted out section where the cowl panel met the firewall. It could only be seen form inside the car, but it still needed to be
addressed. In this picture the rust was cut out.
16) There was a rusted out section where the cowl panel met the firewall. It could only be seen form inside the car, but it still needed to be
addressed. In this picture the rust was cut out.
|
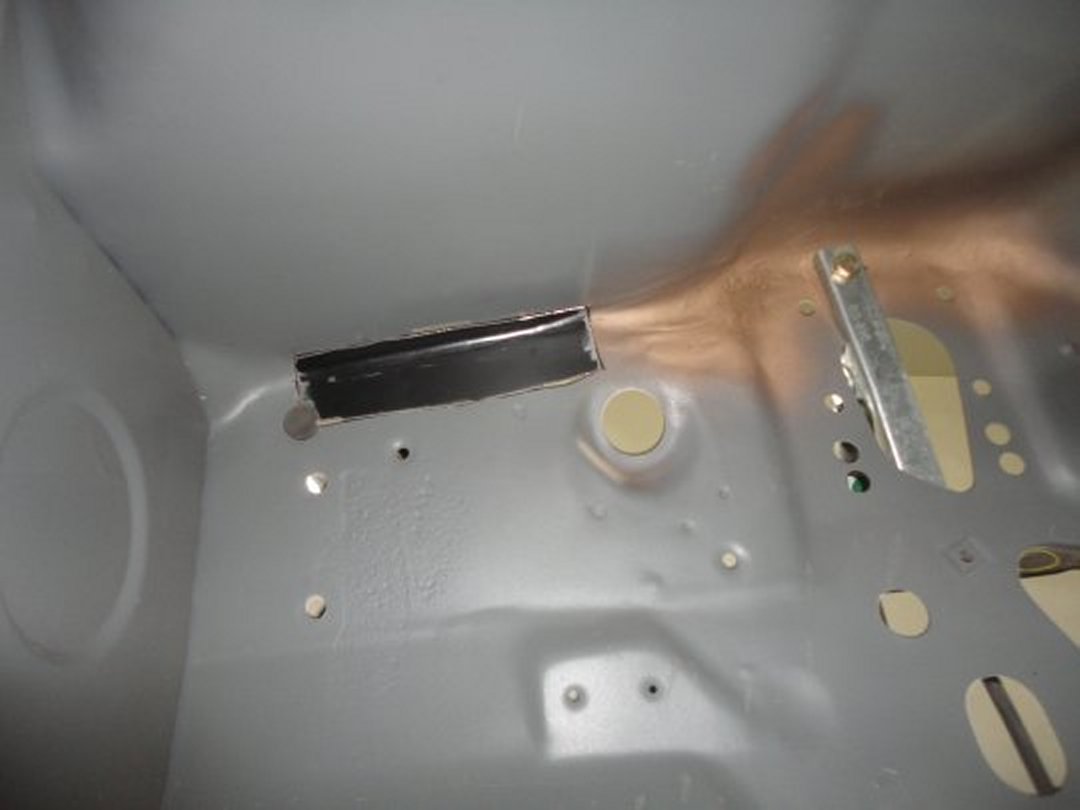 17) Here is an inside picture of the patch being held in place with a magnet.
|
|