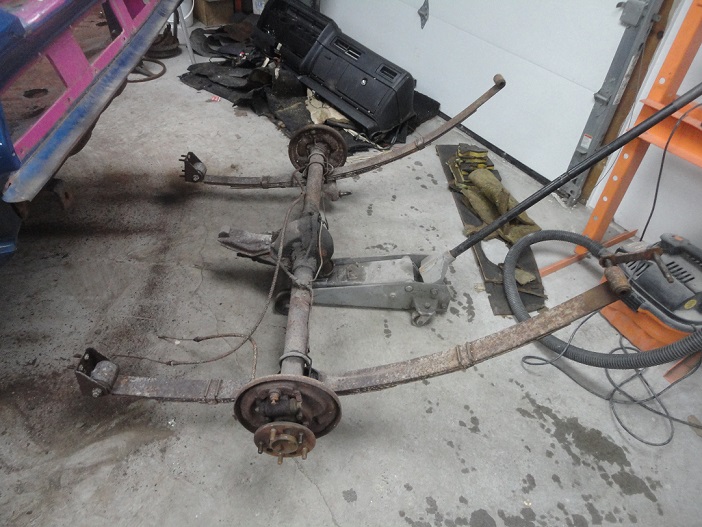
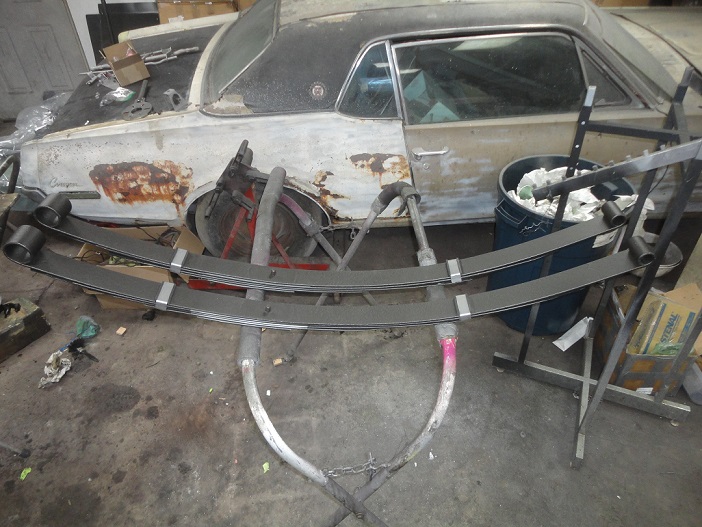
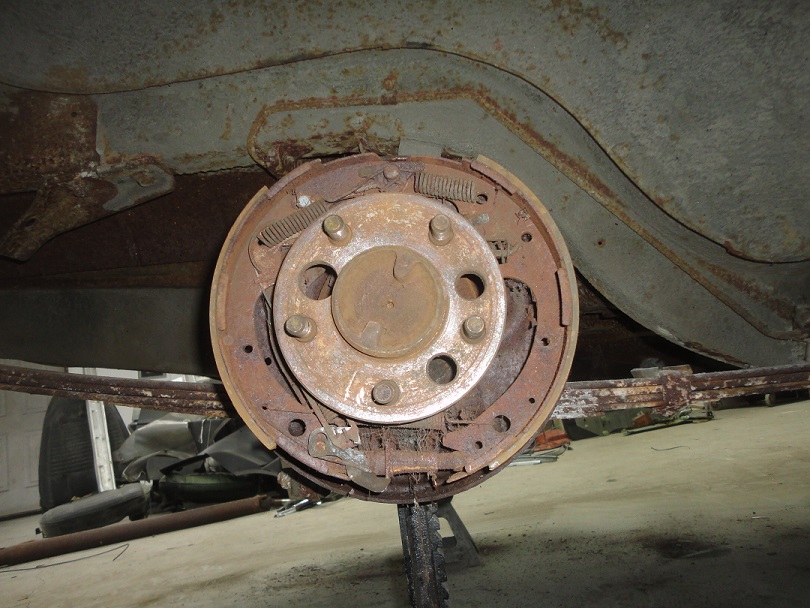
 363) Here's a picture of the rear end coming out of the car roughly 3 1/2 years prior. This was the easiest rear end removal that I ever performed.
It is because of the design of the front leaf spring brackets. Just 8 nuts to undo.
363) Here's a picture of the rear end coming out of the car roughly 3 1/2 years prior. This was the easiest rear end removal that I ever performed.
It is because of the design of the front leaf spring brackets. Just 8 nuts to undo. |
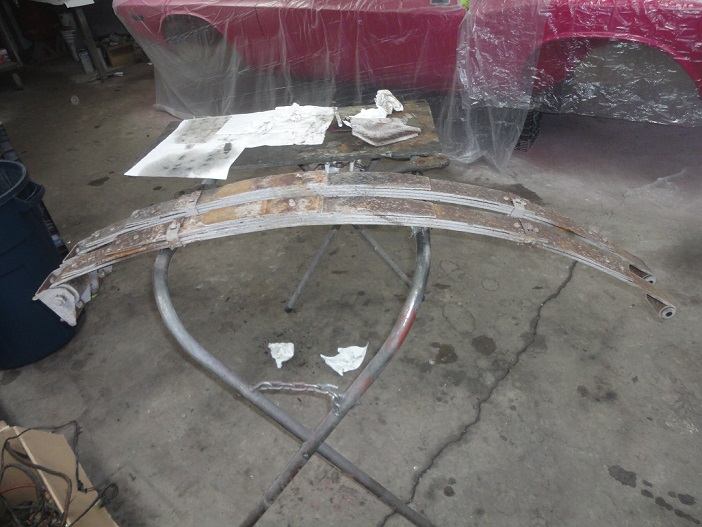
 364) Here's the springs ready for restoration. I dismantled them, sandblasted them, primed them with epoxy primer and painted them with Eastwood dark phosphate paint.
 |
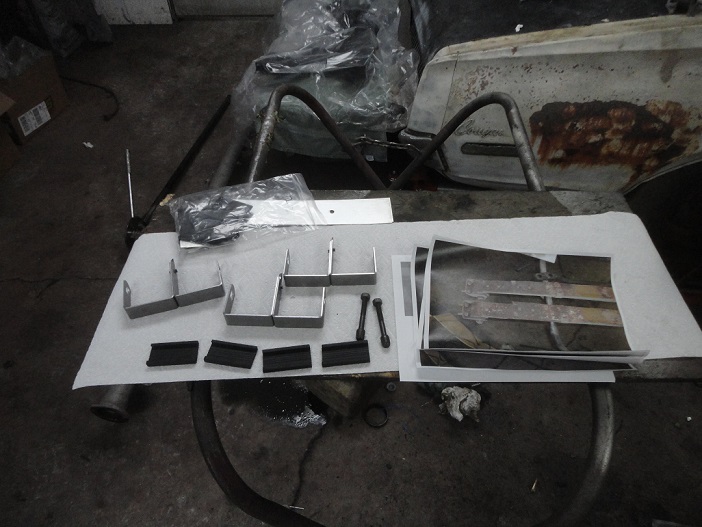
 365) I obtained a rebuild kit from Roger Gibsons Restorations. They have the correct thickness zinc plates. The bolts supplied with the kit is for the larger rear ends.
I just cut them down to right length.
365) I obtained a rebuild kit from Roger Gibsons Restorations. They have the correct thickness zinc plates. The bolts supplied with the kit is for the larger rear ends.
I just cut them down to right length. |
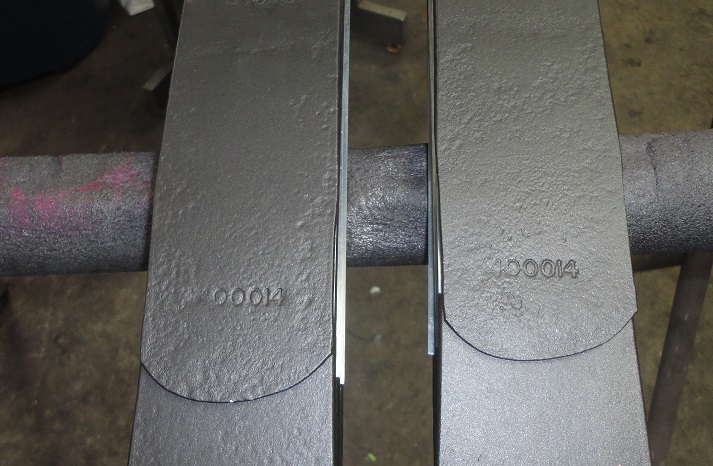 366) Here's the springs put back together before I installed the bushings. Still visible is a partial part number. They agree with the "14" on the broadcast sheet.
 |
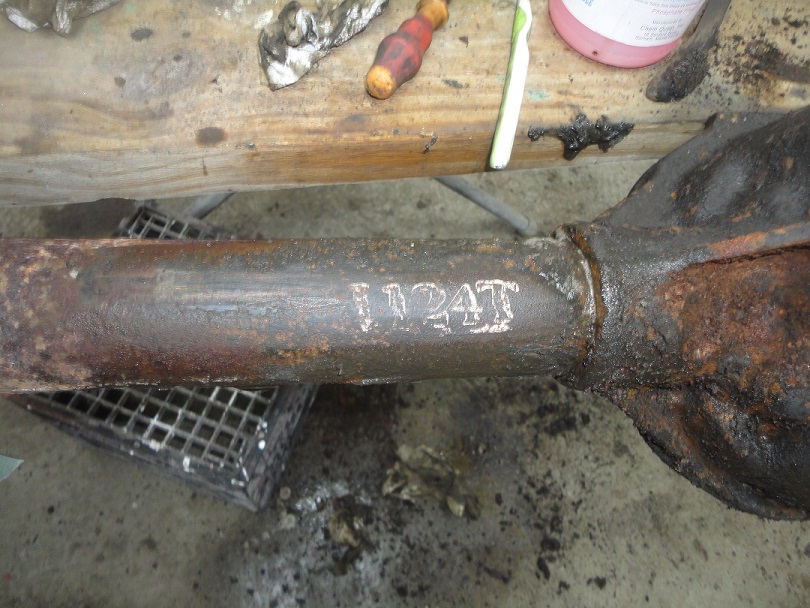
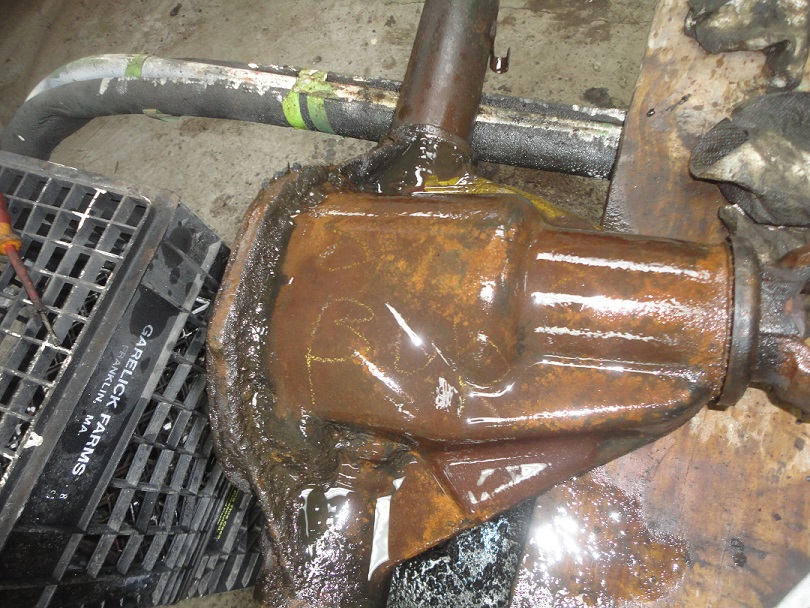
 367) Mopar rear ends are just covered with factory markings. Every car is different. It's important to document them now since there will be no other document to tell you what is correct.
This rear end had a build date stamping of "1124T", but the first digit was upside down! There was also a big swath of yellow paint, with the gear ration stamped into the housing. This is a 7 1/4 rear end thing. Larger rear ends have a metal tag. |
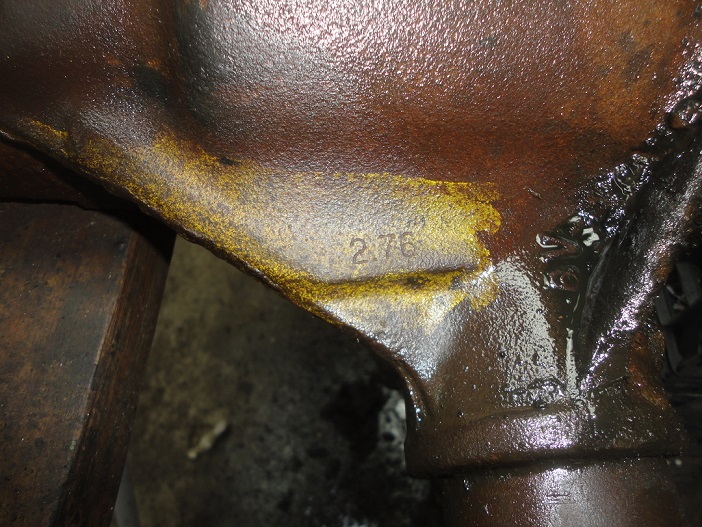
 368) I am unsure what the other markings mean, but I think that the two that look like the number 8 represent an 8 cylinder engine.
 |
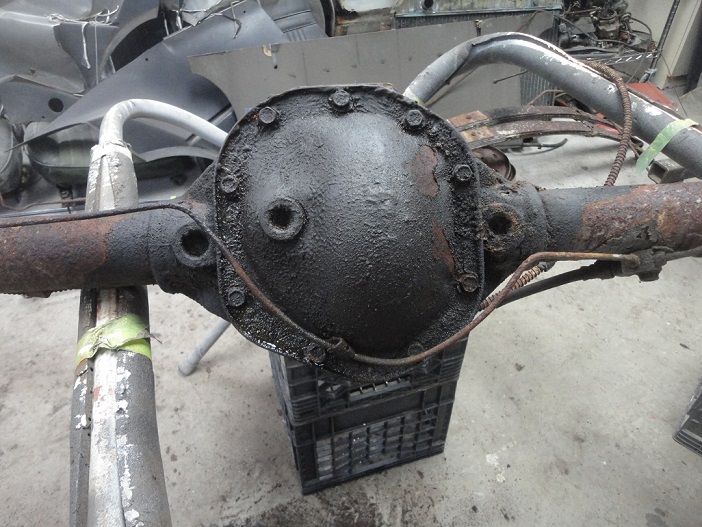
 369) As expected, the differential was pretty greasy. What was not expected was the brazed over hole on the rear cover and the chucky vertical dents. Uh Oh ! What happened here ?
 |
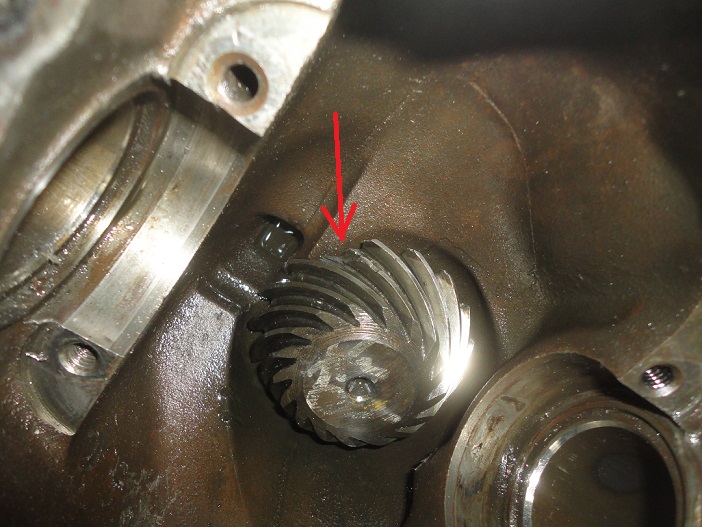
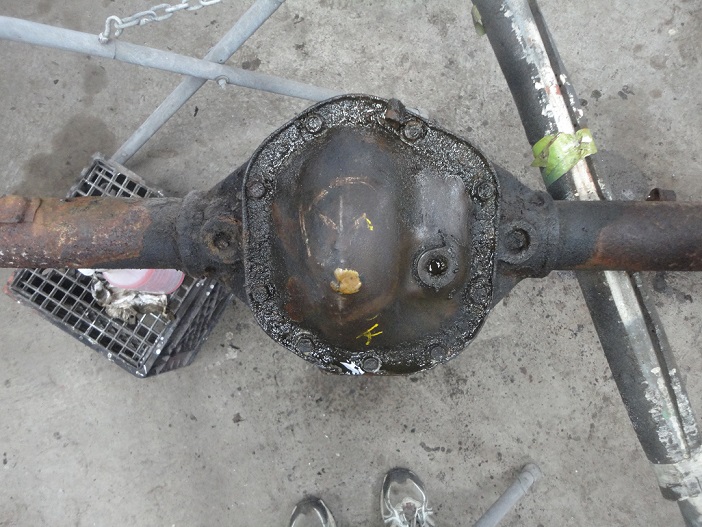
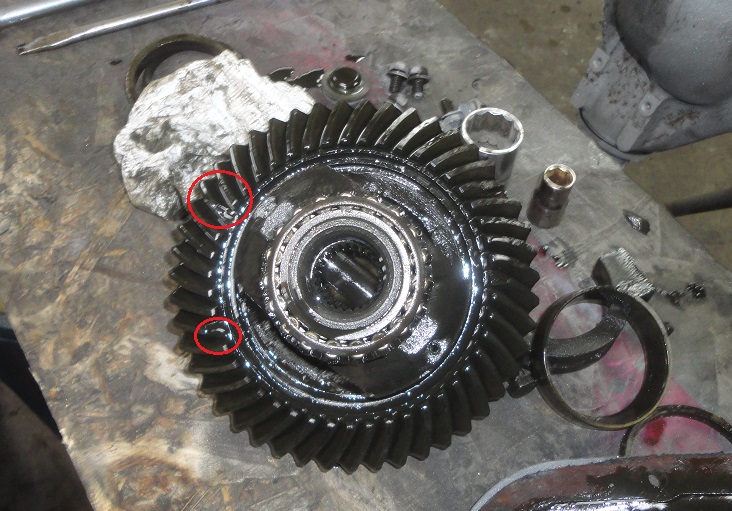 370) Soon as I pulled the rear cover off and pulled the carrier, I discovered why there was a brazed over hole and vertical indentations on the rear cover.
There were broken teeth on the pinion and ring gears! Broken pieces damaged the rear cover. Since the cover was never removed, It appears that the hole was
justed welded over and someone buried the repair under a ton of grease! I spoke with the previous owner and since he was suprised by this, I suspect that he
didn't know about it and drove the car that way for a couple years.
370) Soon as I pulled the rear cover off and pulled the carrier, I discovered why there was a brazed over hole and vertical indentations on the rear cover.
There were broken teeth on the pinion and ring gears! Broken pieces damaged the rear cover. Since the cover was never removed, It appears that the hole was
justed welded over and someone buried the repair under a ton of grease! I spoke with the previous owner and since he was suprised by this, I suspect that he
didn't know about it and drove the car that way for a couple years. |
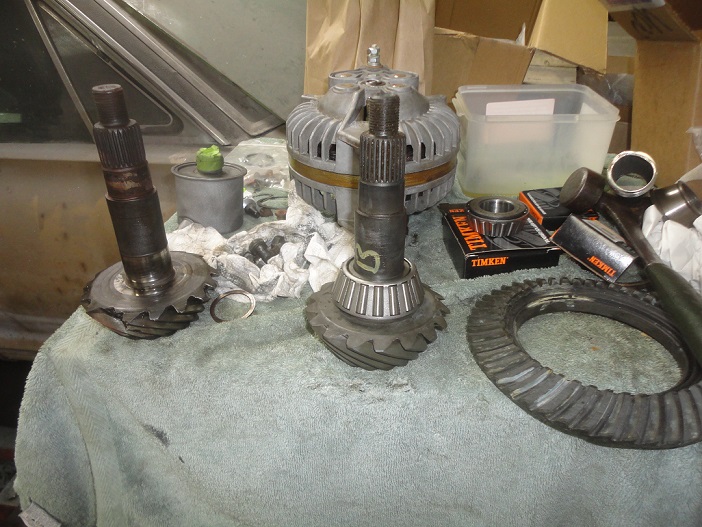
 371) It took me about a month to find a new 2.79:1 ring and pinion set. They don't make new ones due to the undesirable gear ratio. I did find a NOS set, not cheap, that was actaully
made on the same day my wife was born. Now both my car and wife have the same age rear end........
371) It took me about a month to find a new 2.79:1 ring and pinion set. They don't make new ones due to the undesirable gear ratio. I did find a NOS set, not cheap, that was actaully
made on the same day my wife was born. Now both my car and wife have the same age rear end........ |
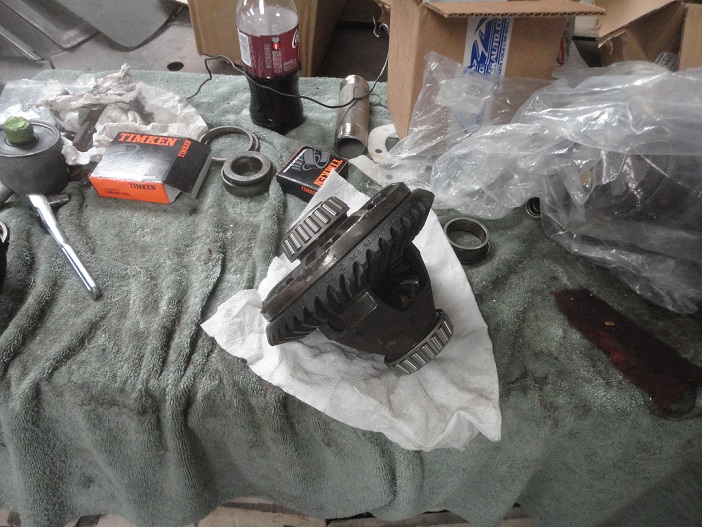
 372) Rebuilding the rear end took some time. I couldn't locate a kit for the 7 1/4 rear end, but I was able to order the indiviual pieces from Rock Auto.
I do not recommend crush sleeves.
372) Rebuilding the rear end took some time. I couldn't locate a kit for the 7 1/4 rear end, but I was able to order the indiviual pieces from Rock Auto.
I do not recommend crush sleeves. Here is what is needed:
I bought an NOS set of axle shaft rebuild kits off e-bay. Having a 70-71 Mopar Parts Catalog came in handy identifying the correct part numbers. |
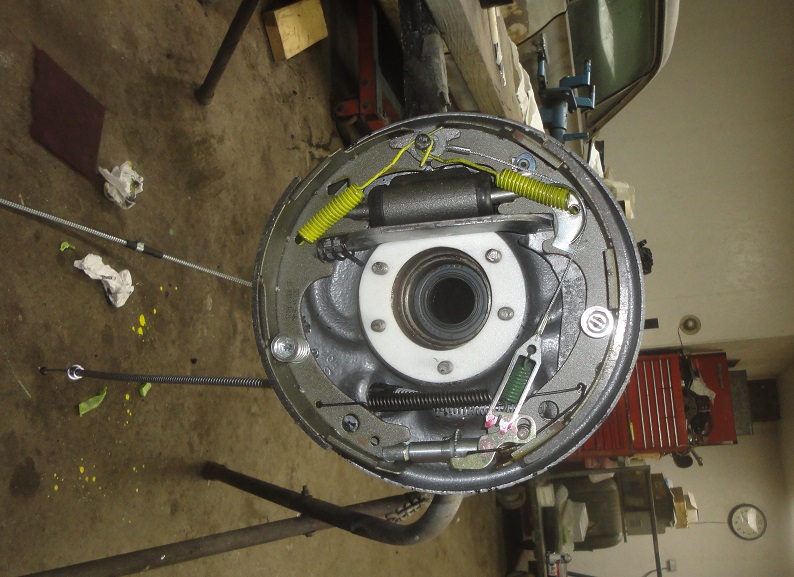 373) As with the front, the brakes were assembled on the restored backing plates. Also like the front, I had to use longer secondary springs (yellow) due to the upper hole in the brake
shoes not being round.
373) As with the front, the brakes were assembled on the restored backing plates. Also like the front, I had to use longer secondary springs (yellow) due to the upper hole in the brake
shoes not being round. |
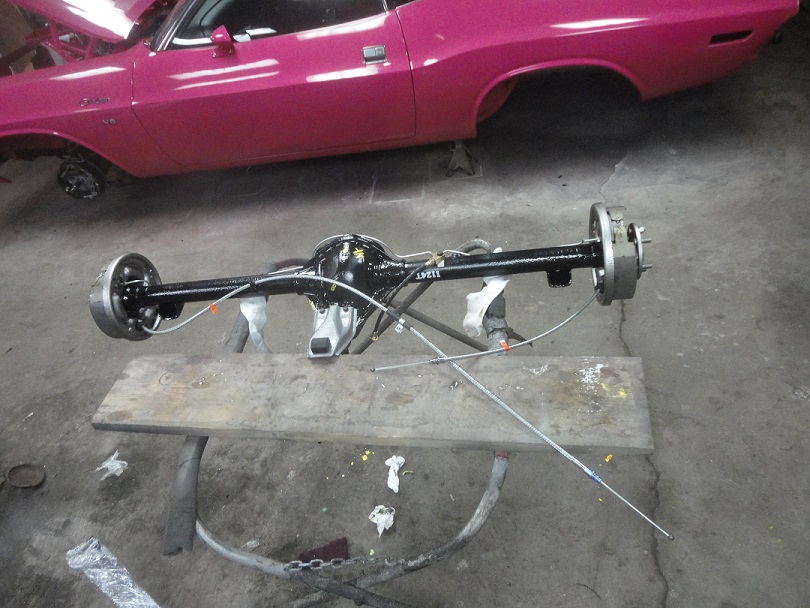
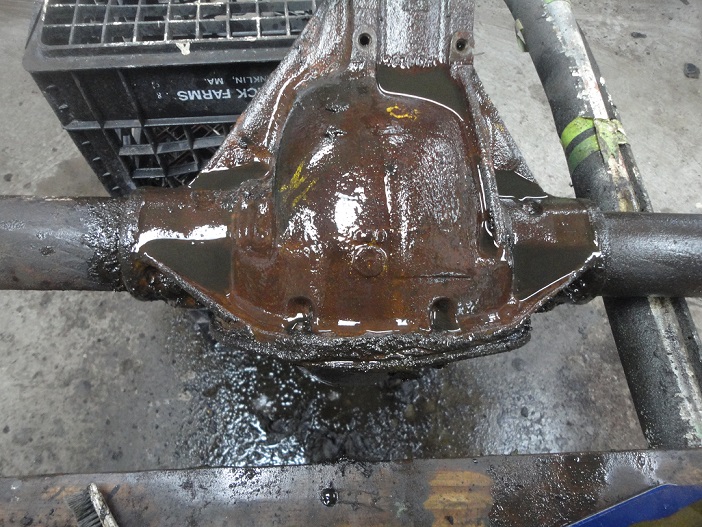
 374) With that mess happily out of the way I primed the rear end with black DP90LF epoxy primer and painted it semi-gloss black. After curing, I put the factory markings back on it and
reassembled it. The brakelines that fit this rear end are the same as the 8 3/4 lines. This is good to know since no one lists 7 1/4 lines in their catalogs
374) With that mess happily out of the way I primed the rear end with black DP90LF epoxy primer and painted it semi-gloss black. After curing, I put the factory markings back on it and
reassembled it. The brakelines that fit this rear end are the same as the 8 3/4 lines. This is good to know since no one lists 7 1/4 lines in their catalogs |
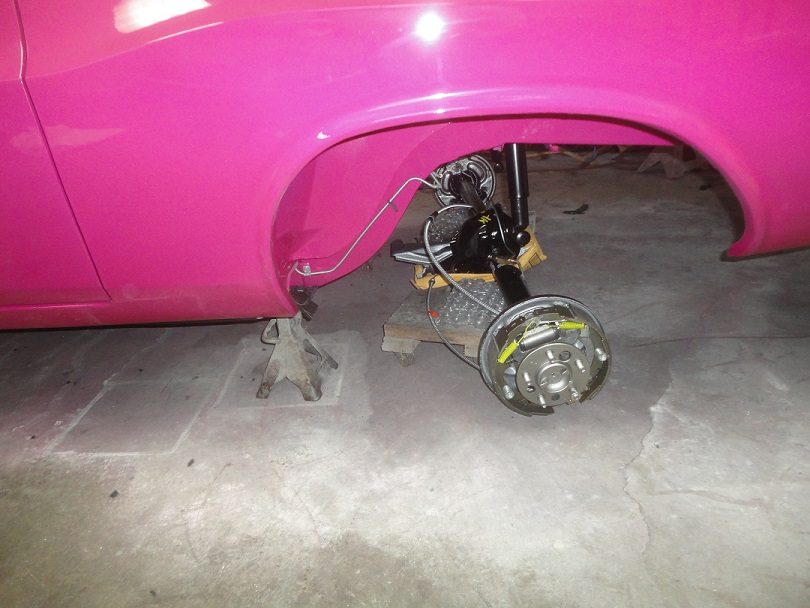
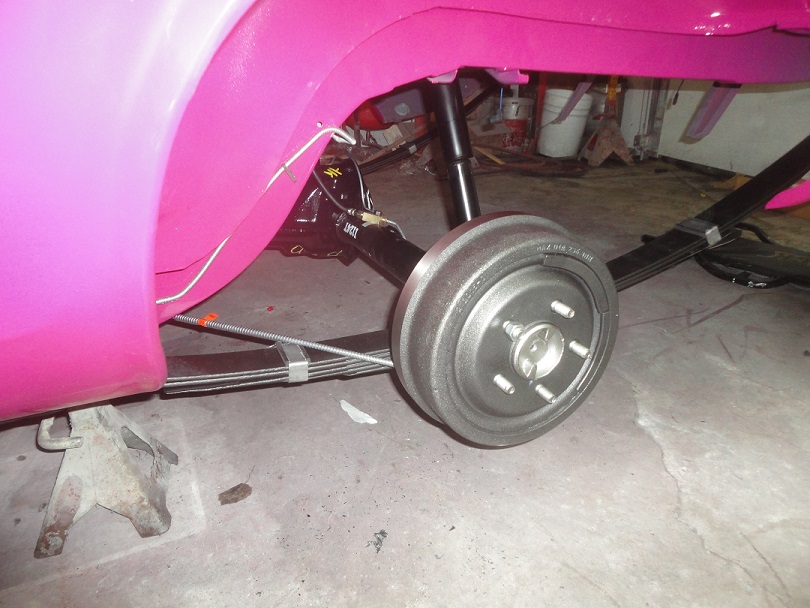 375) I know people like to install the entire rear end as one unit, but I have another method that worked for me. With the shocks mounted, I wheeled the rear end, less springs, under the car. I then installed
the springs at the front and then at the year. It maked things easier to manage for one person.
375) I know people like to install the entire rear end as one unit, but I have another method that worked for me. With the shocks mounted, I wheeled the rear end, less springs, under the car. I then installed
the springs at the front and then at the year. It maked things easier to manage for one person. |

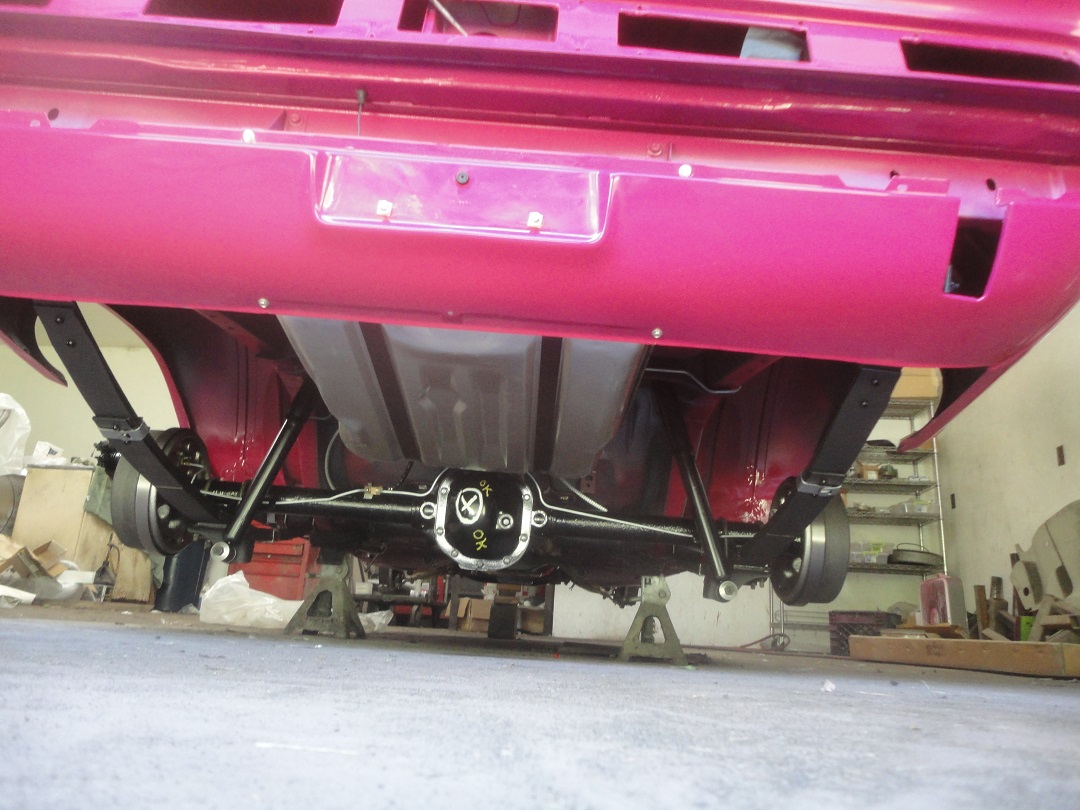 376) With the rear end fully installed, it was a simple matter of installing the fuel tank and finally the rear valance.
With the exception of the wheel well moldings an undercoating of the wheel wells, the rear was ready for the installation of tires. |