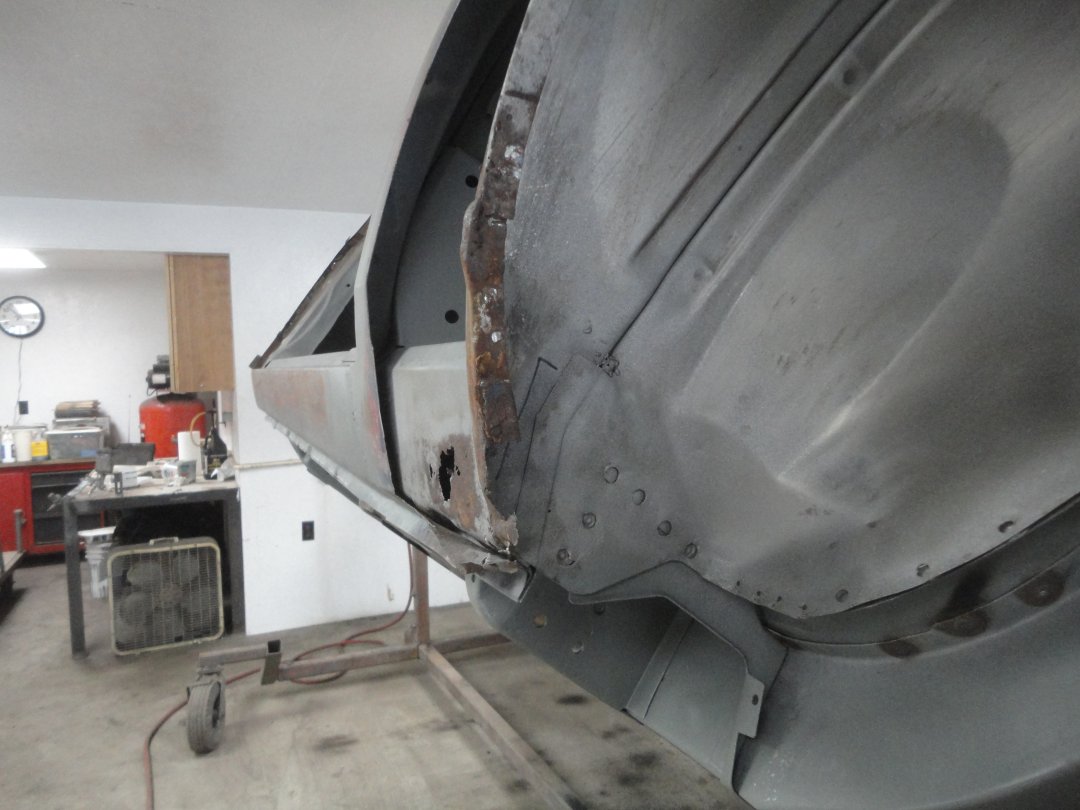
 73) There was light rust damage at the rear of the left rocker and the front of the left wheel well.
 |
 74) I cut out the rusted section on the wheel well and opened up the end of the rocker panel so that I could sandblast the
back side of the repair I was going to make to the rocker.
74) I cut out the rusted section on the wheel well and opened up the end of the rocker panel so that I could sandblast the
back side of the repair I was going to make to the rocker. |
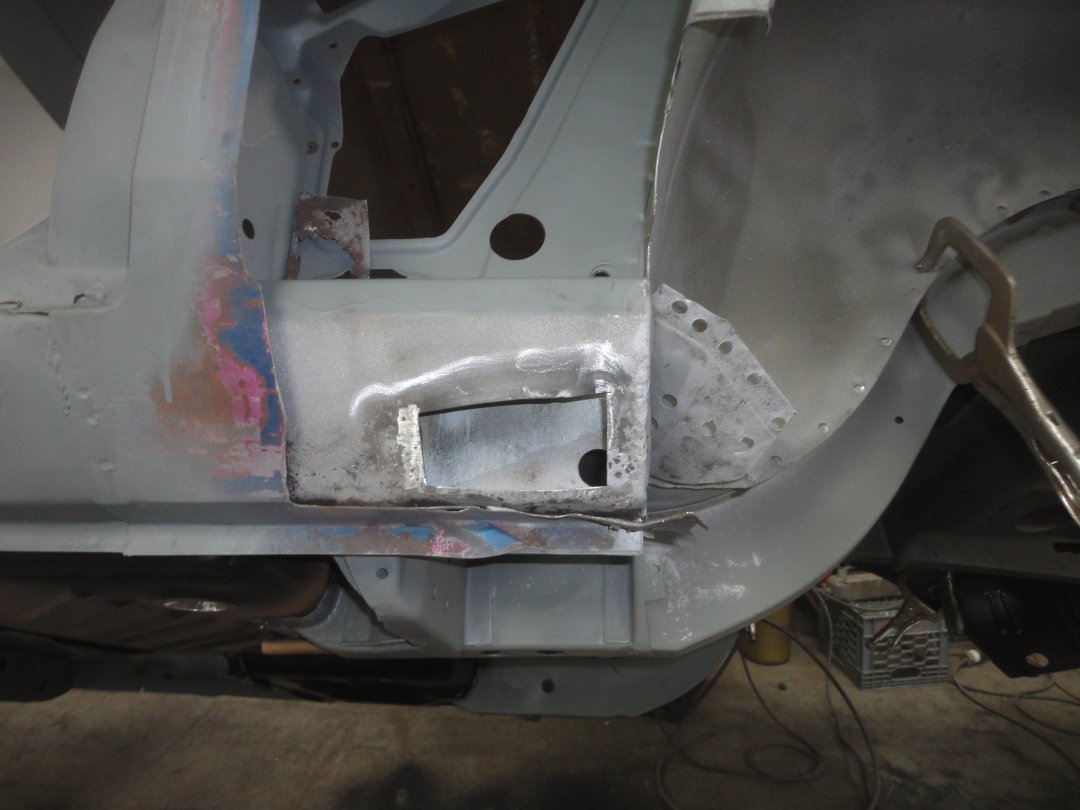 75) The rokcer was a pretty easy repair. I cut out the rust and sandblasted the inside of the rocker from the opening.
 |
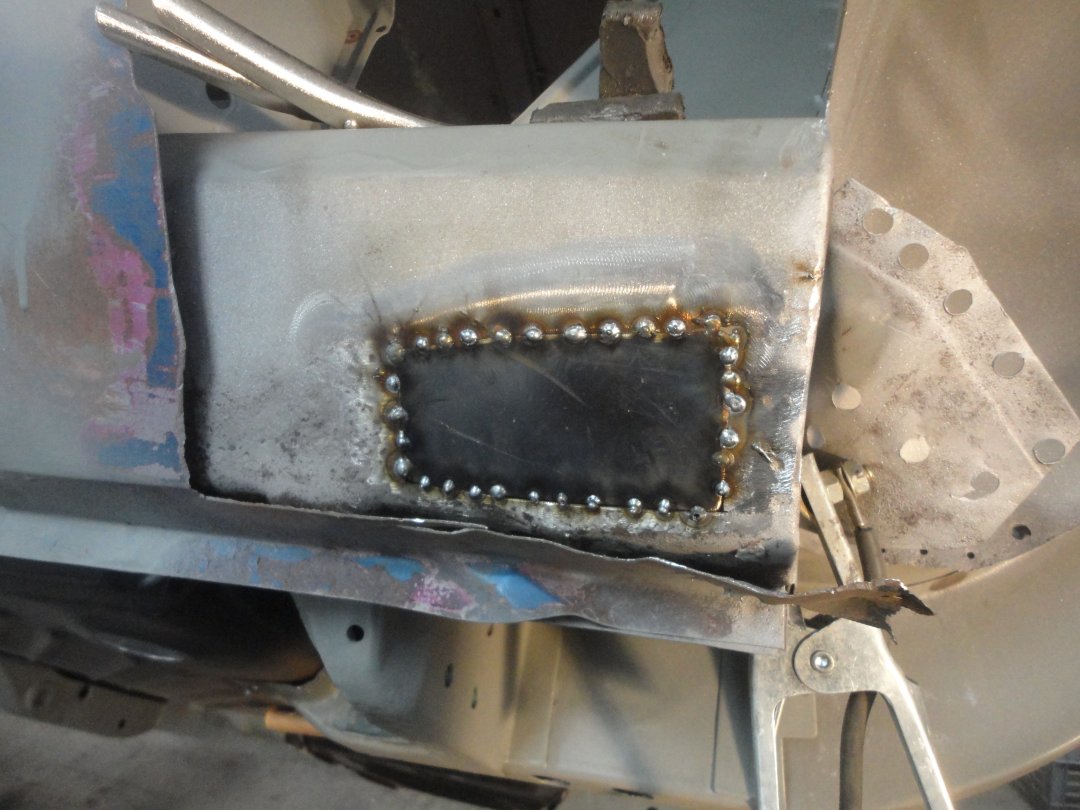 76) I made a new patch and butt-welded it in. In this picture the first round of tack welds were applied.
 |
 77) After welding and grinding the patch is virtually invisible.
 |
 78) For the front patch of the wheel well, I used a section of a new repo panel. Here it is welded in place just before the
welds were ground down.
78) For the front patch of the wheel well, I used a section of a new repo panel. Here it is welded in place just before the
welds were ground down. |
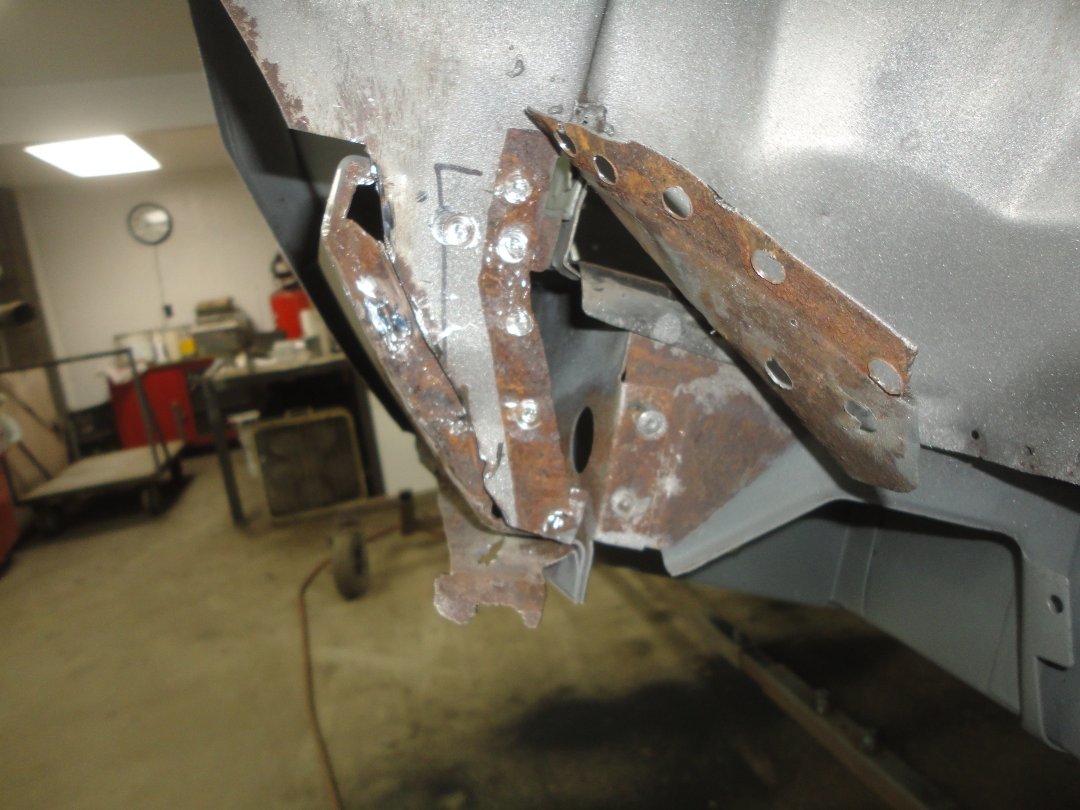
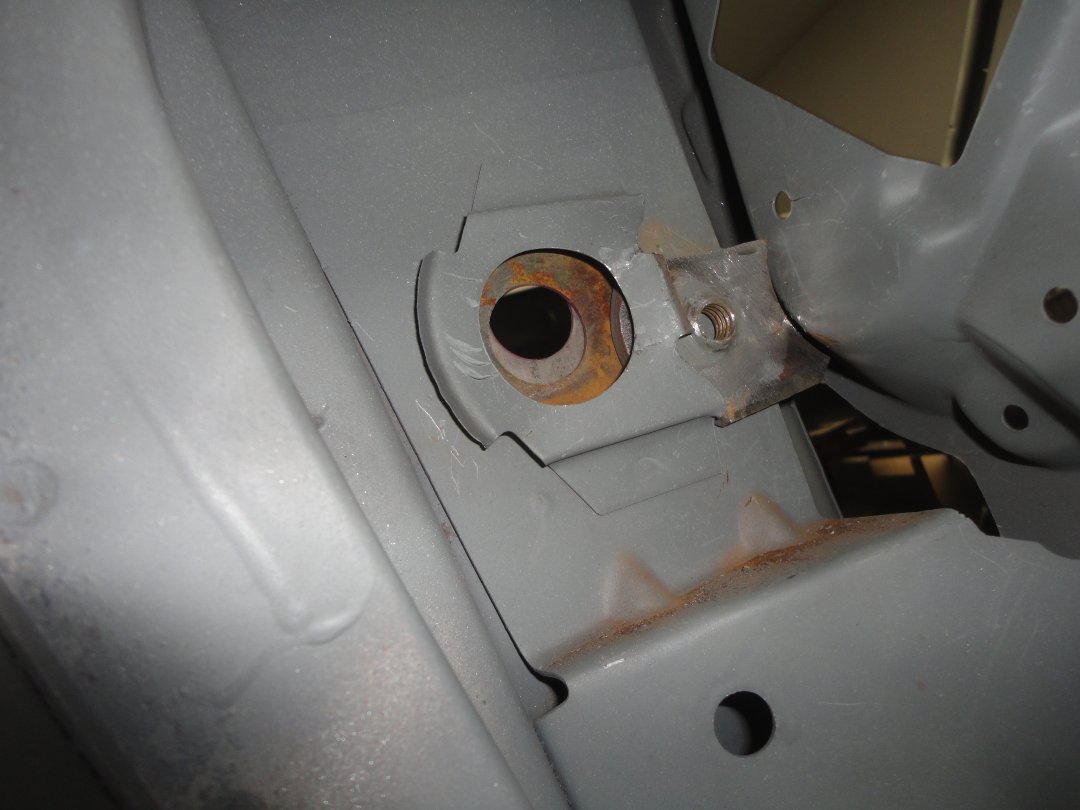 79) The driver's door did not line up with the quarter panel very well. This is because of the poor job the factory did
welding the B-pillar together. In this picture you can see that the bracket for the B-pillar was not lined up with the
opening for the door latch pin. It was about 3/8" too low. To preserver the original factory spot welds I removed the
latch pin bracket and ground 3/8" off of it.
79) The driver's door did not line up with the quarter panel very well. This is because of the poor job the factory did
welding the B-pillar together. In this picture you can see that the bracket for the B-pillar was not lined up with the
opening for the door latch pin. It was about 3/8" too low. To preserver the original factory spot welds I removed the
latch pin bracket and ground 3/8" off of it. |
 80) With the inner repairs done, I primed the inside of the quarter with epoxy primer.
 |
 81) The seams at the front and rear of the wheel well were then sealed since they could not be reached later.
 |
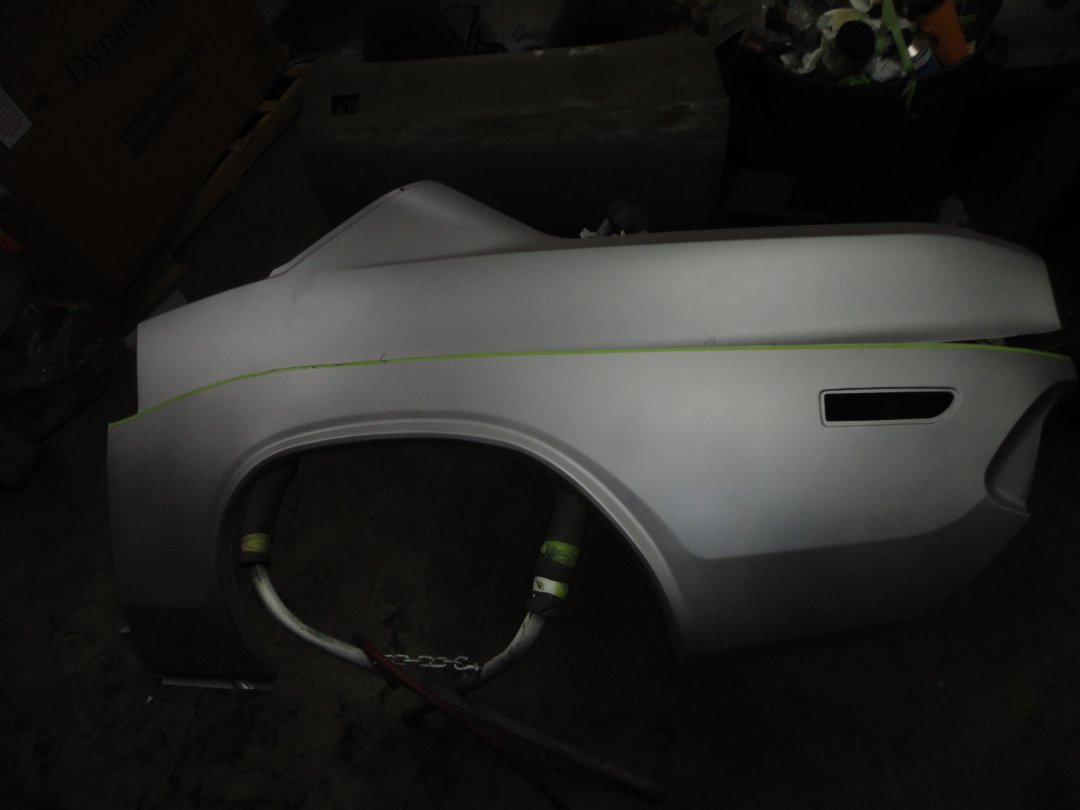 82) I ended up buying full quarter panels, though I only needed the lower section for the left side. I bought Dynacorn
quarters which come coated with weldthru primer. In this picture I had just finished cutting ouot the section I
needed.
82) I ended up buying full quarter panels, though I only needed the lower section for the left side. I bought Dynacorn
quarters which come coated with weldthru primer. In this picture I had just finished cutting ouot the section I
needed. |
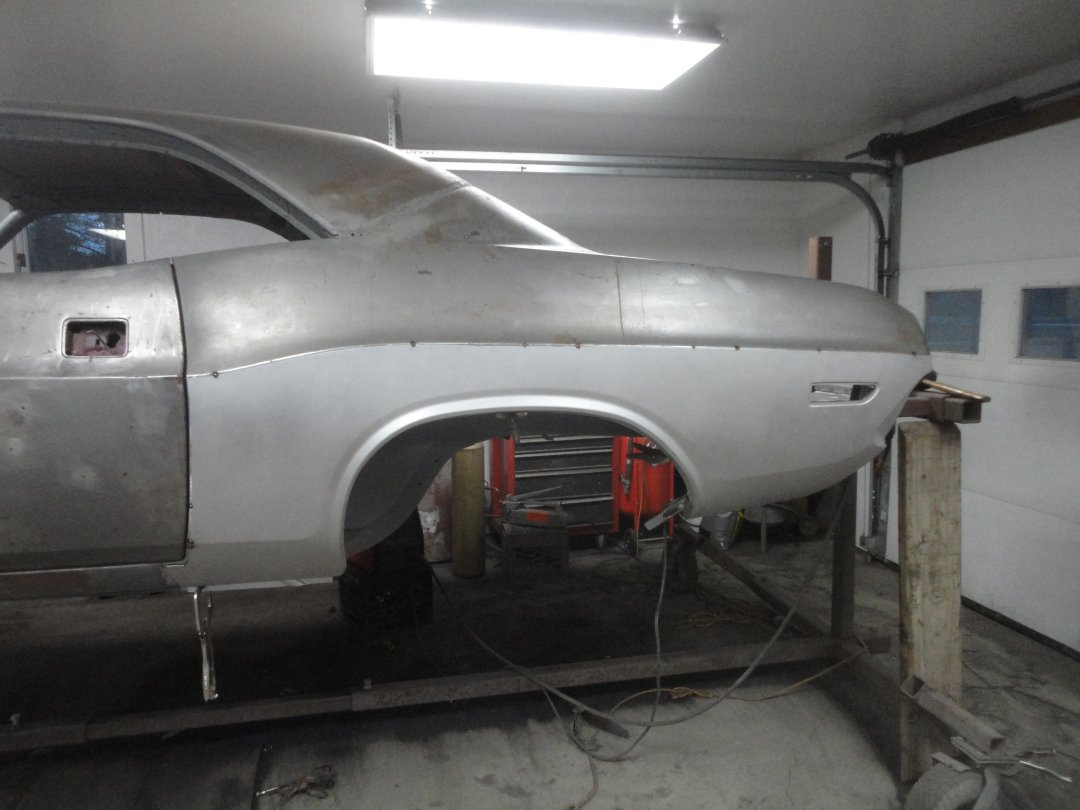 83) Here is is tacjed in place. You may notice the I did not used the section of the quarter that went inside the door
opening. I did this to preserve the original factory spot and tack welds.
83) Here is is tacjed in place. You may notice the I did not used the section of the quarter that went inside the door
opening. I did this to preserve the original factory spot and tack welds. |
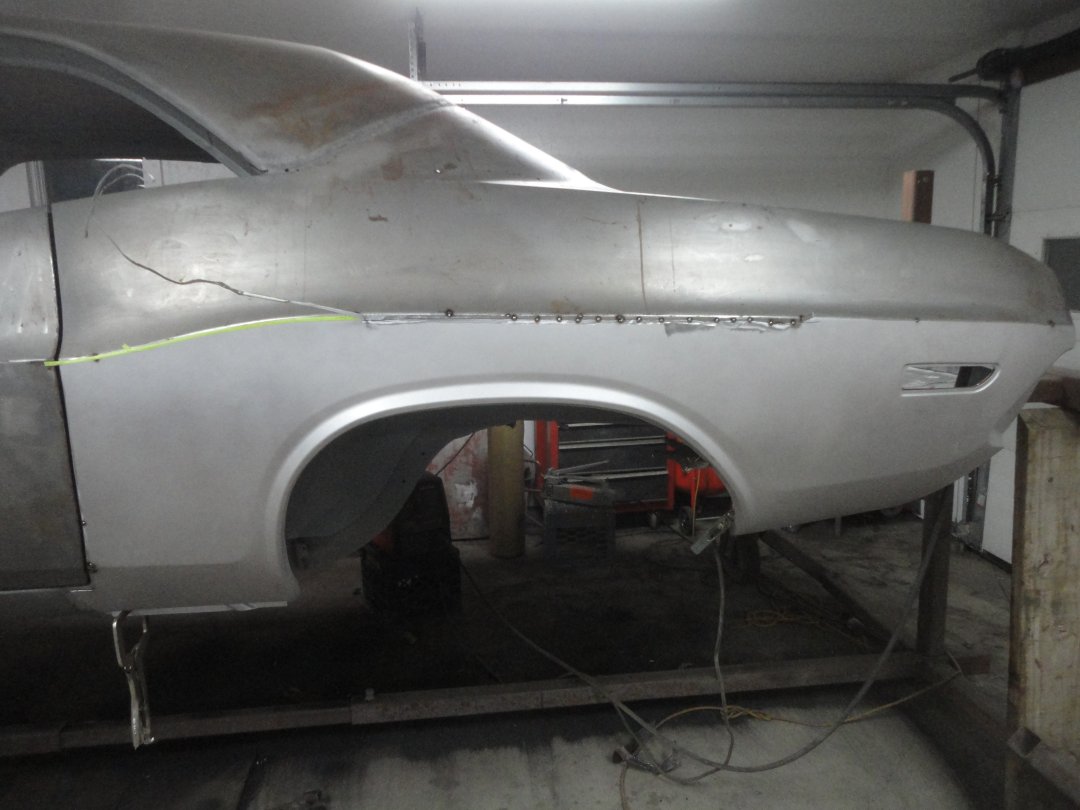 84) Here the butt-welding process has begun (I have a full 'how to' in my 1969 LE600 Mustang pages). I start by cutting
a short slit through the 2 layers of metal with a cut-off wheel with a 1/16" disk. I then use my hand held pnuematic
reciprocating saw for the rest of the cutting. I then tack weld the new metal in place. The cut-off pieces are pulled
away from the panel as I go. You have to be careful not to weld the cut-off piece that is inside the quarter panel to
the new panel.
84) Here the butt-welding process has begun (I have a full 'how to' in my 1969 LE600 Mustang pages). I start by cutting
a short slit through the 2 layers of metal with a cut-off wheel with a 1/16" disk. I then use my hand held pnuematic
reciprocating saw for the rest of the cutting. I then tack weld the new metal in place. The cut-off pieces are pulled
away from the panel as I go. You have to be careful not to weld the cut-off piece that is inside the quarter panel to
the new panel. |
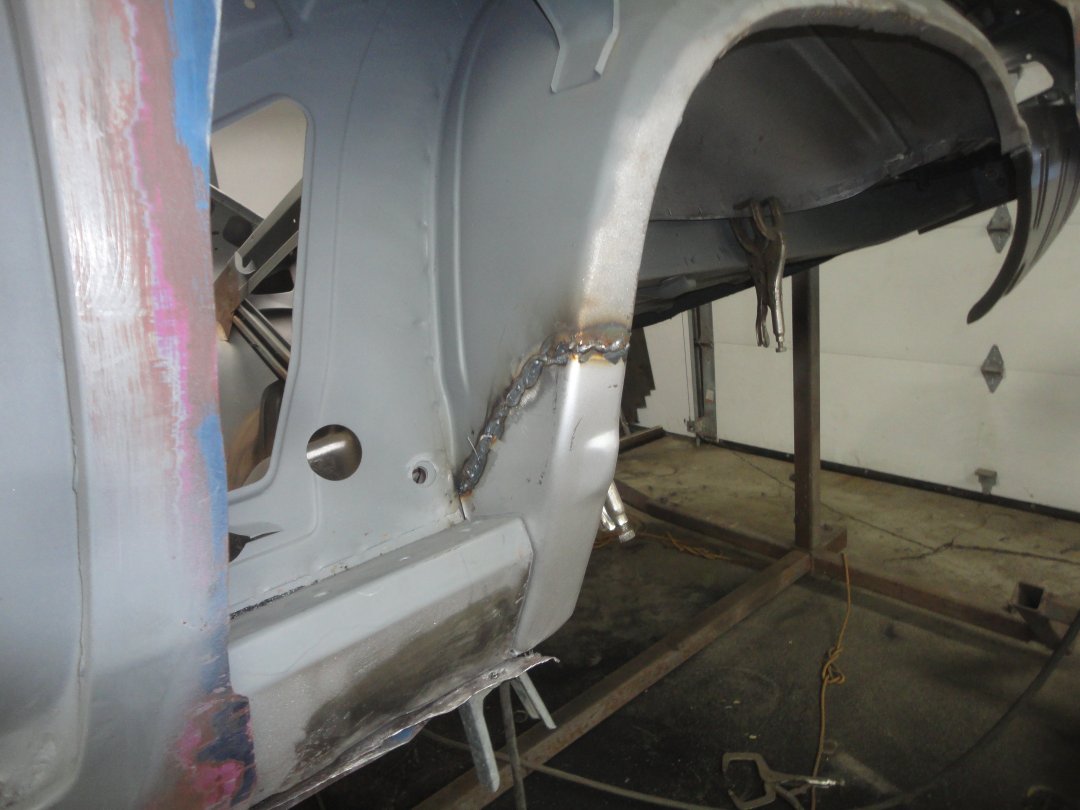
 85) Here the butt-welding has been completed and the welds have been mostly ground down. When butt-welding panels in place
like this there are inevitable pin holes that can occur between the welds. These I find by placing a light inside the
quarter panel and turn off the lights (when working at night). The pins holes easily appear and can be simply dealt with
by applying a tack weld over the holes.
85) Here the butt-welding has been completed and the welds have been mostly ground down. When butt-welding panels in place
like this there are inevitable pin holes that can occur between the welds. These I find by placing a light inside the
quarter panel and turn off the lights (when working at night). The pins holes easily appear and can be simply dealt with
by applying a tack weld over the holes.
|
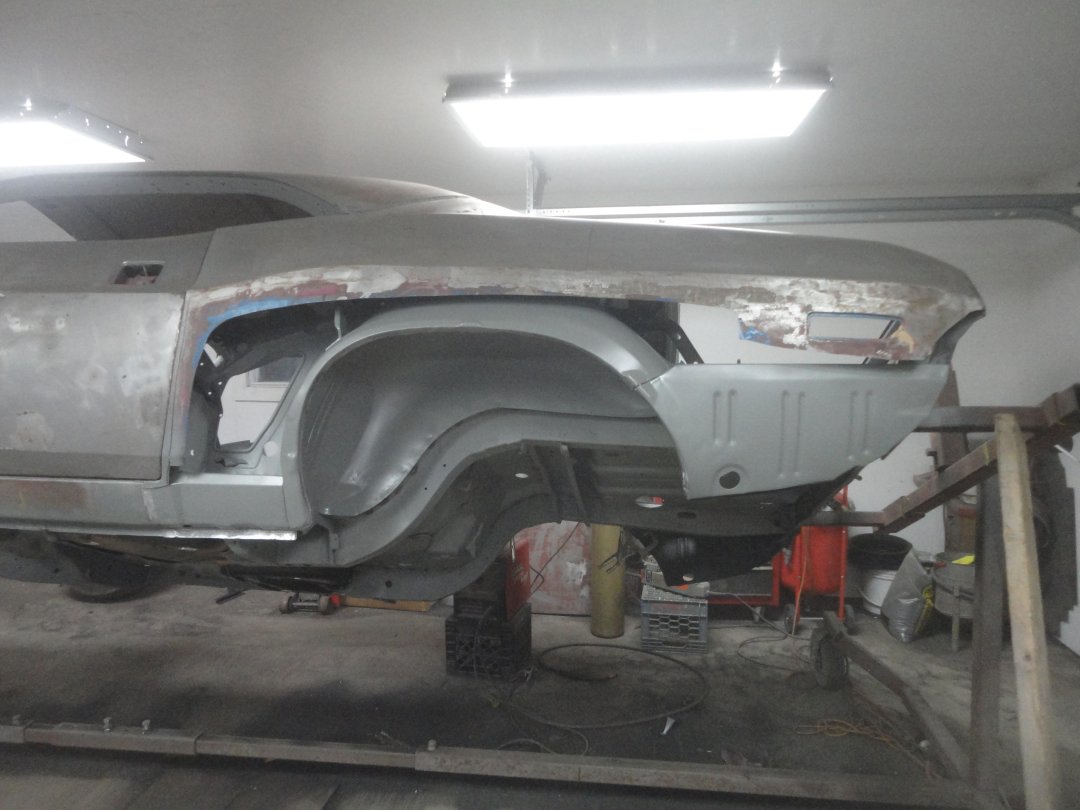
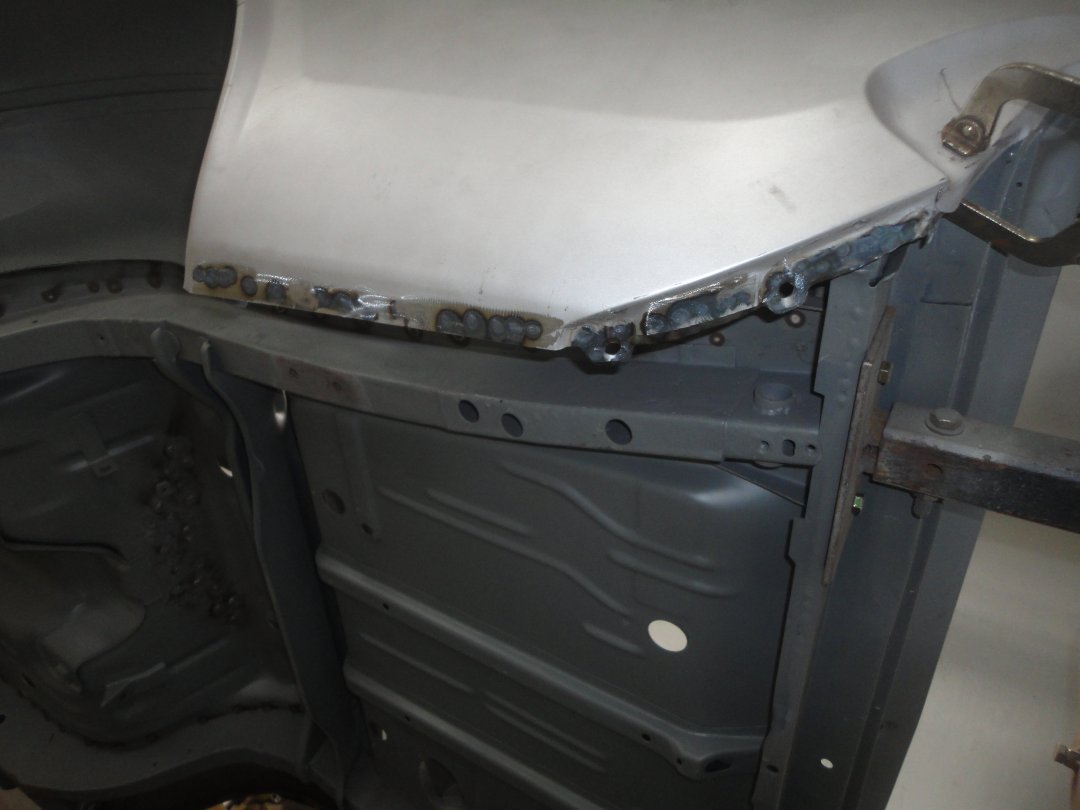
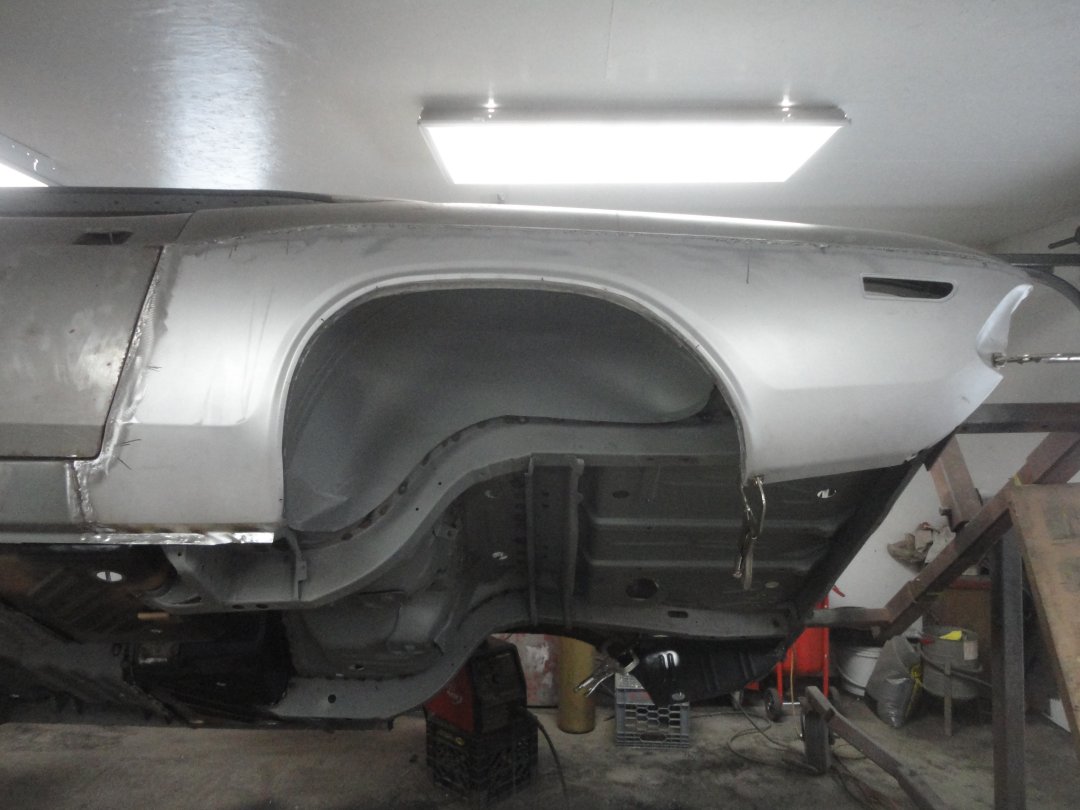 86) The lower rocker portion of the quarter and the wheel lip opening were plug welded. The door was installed to help get
align the quarter panel before it was welded to the rocker and wheel well. I had not done this the section of the quarter
in front of the wheel well would have buldged out too far. In this picture the welds have been ground down.
86) The lower rocker portion of the quarter and the wheel lip opening were plug welded. The door was installed to help get
align the quarter panel before it was welded to the rocker and wheel well. I had not done this the section of the quarter
in front of the wheel well would have buldged out too far. In this picture the welds have been ground down. |
 87) The lower rear sectioni of the quarter was pinchwelded in place just like the factory did it.
 |
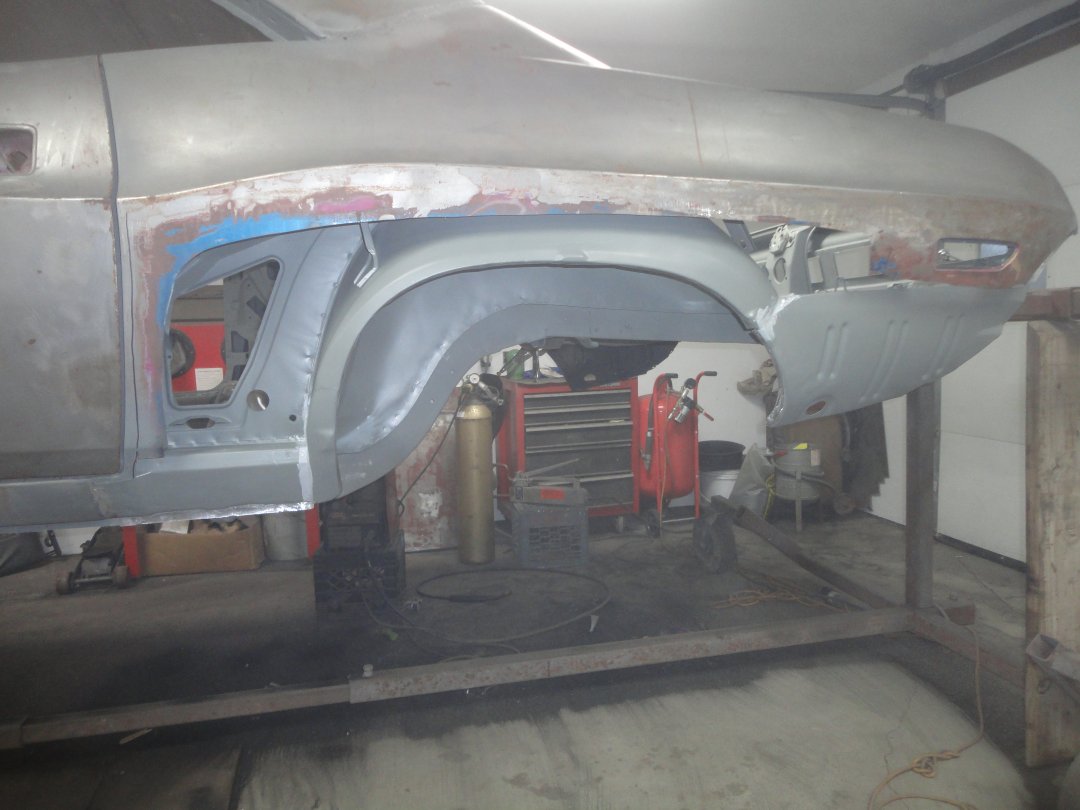
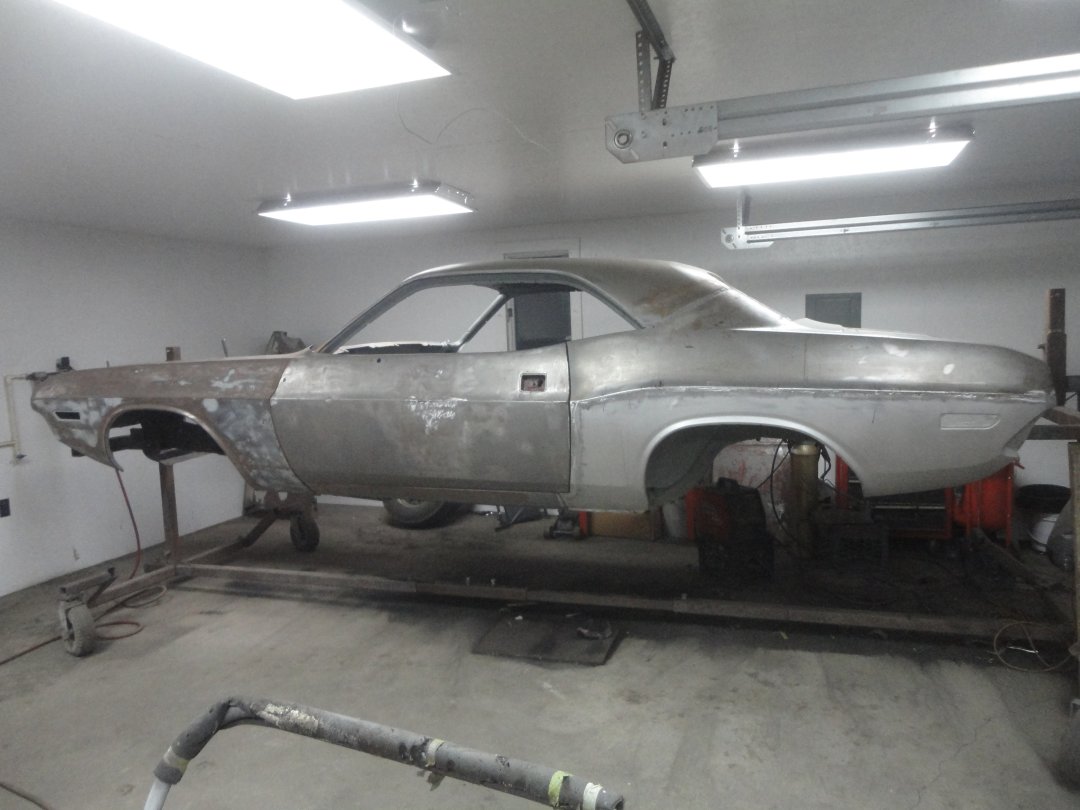 88) Here is the left side with the door and fender hung on it. Everything lined up great. Now on to the right side
 |