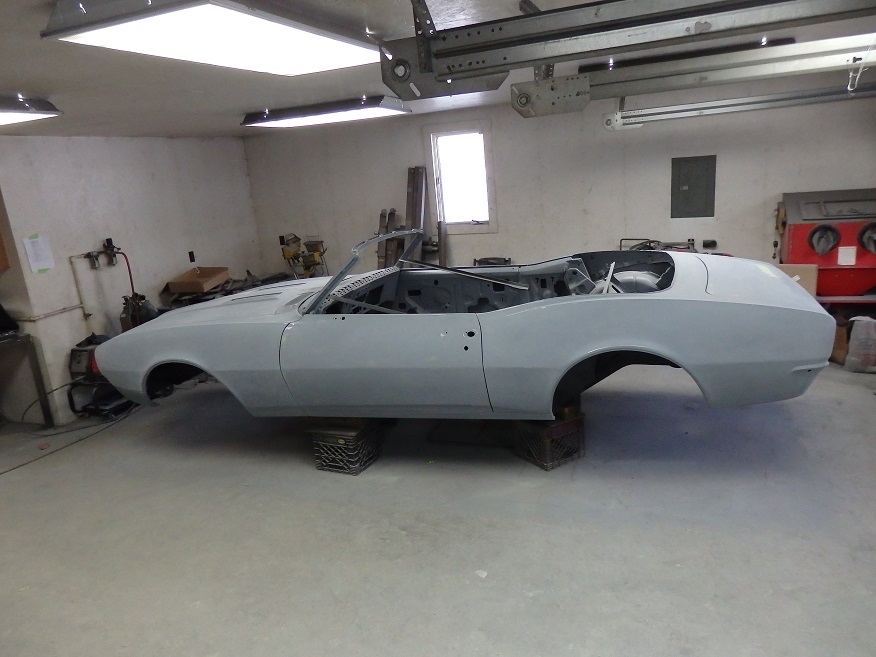
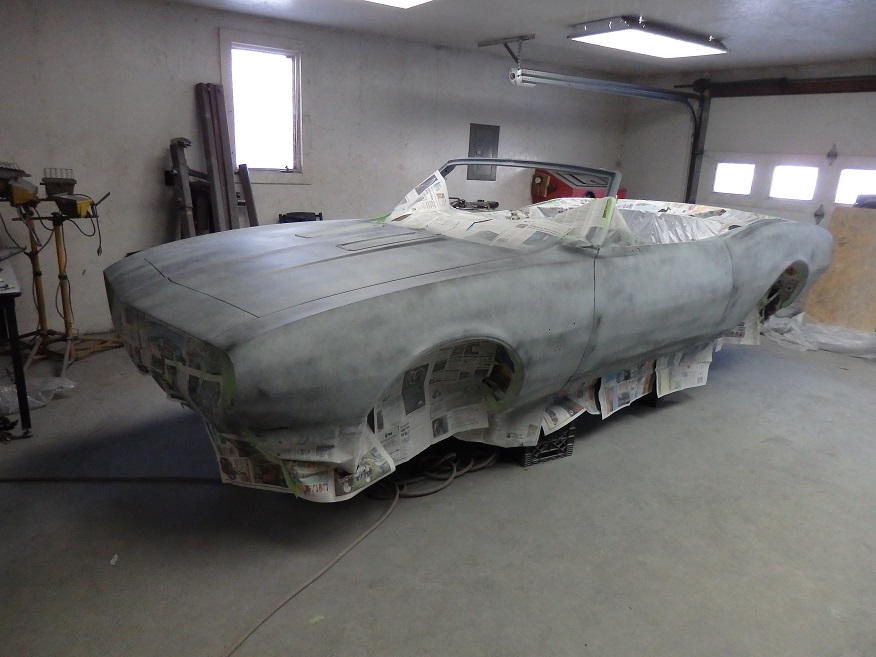
With the actual body work complete, it was time to for the blocking process. This was done using SlickSand. Slicksand is a high-build polyester based primer. It smells just like body filler. You spray it like you would primer, but with a larger 2.2 tip on the gun. Once cured, you block-sand it down to make the panels as flat as possible. Kind of what you would do with body filler, but over the entire car.
I started with the panels properly aligned, knowing that they would eventually have to be removed for painting. I sanded the entire car with 180 grit disks on an oribital sander. Some areas were done by hand. The purpose was to rough up the epoxy primer enough for the SlickSand to properly bond to it. SlickSand comes in light gray, which is lighter than the epoxy primer. This is important to note for sanding (discussed below). Once the SlickSand was cured I sprayed the car with a guide coat (black), which is needed for finding the low spots when block sanding.
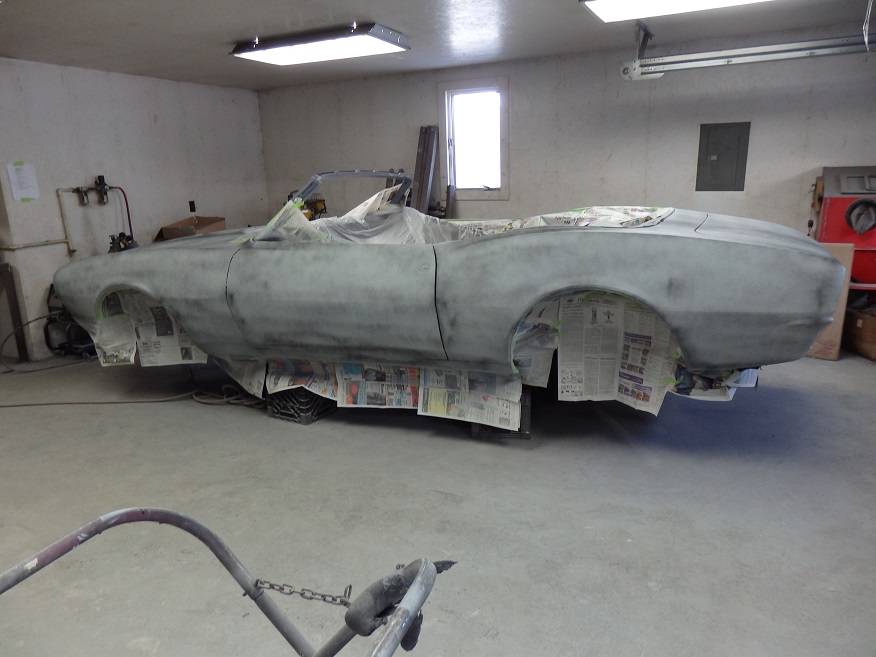
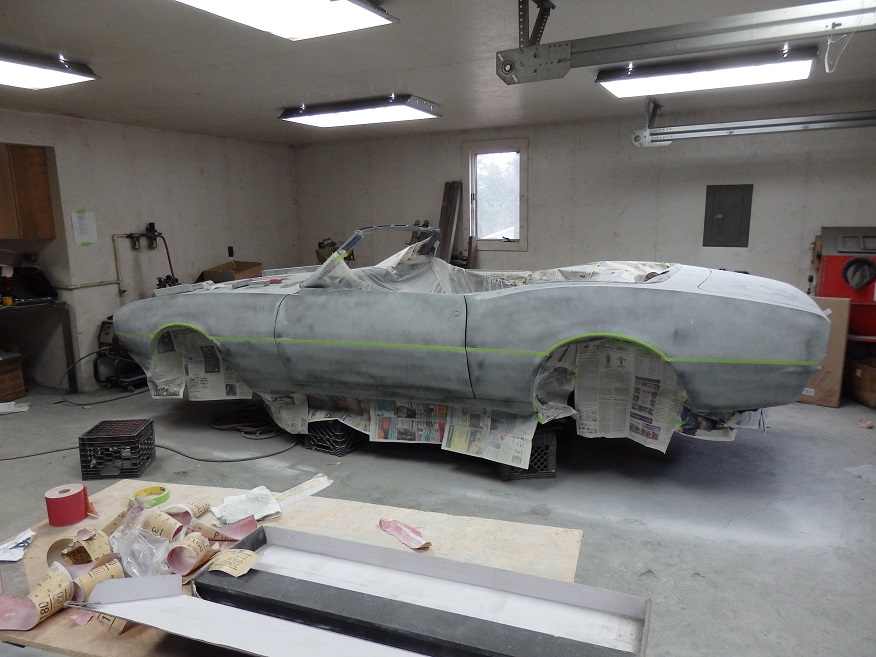
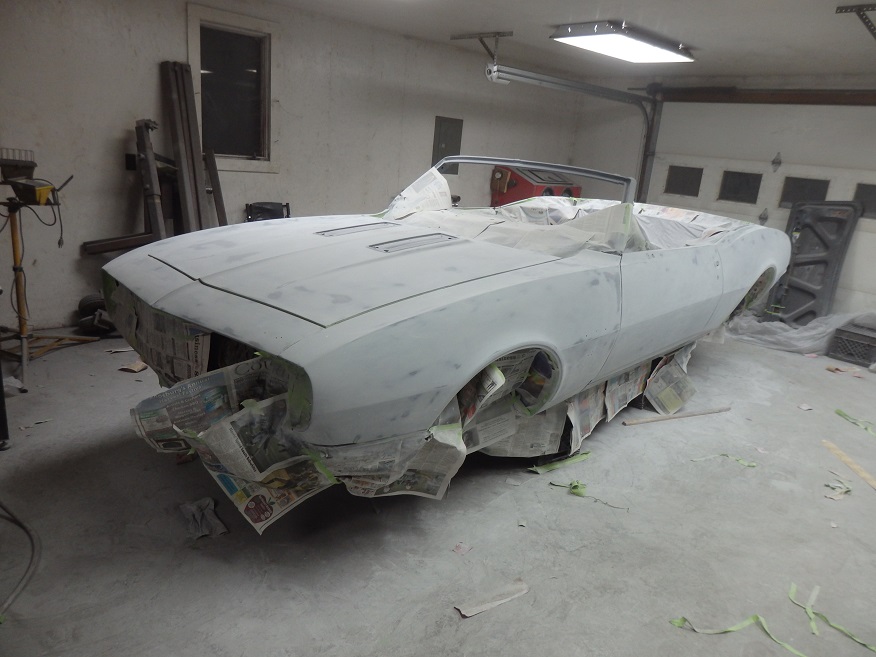
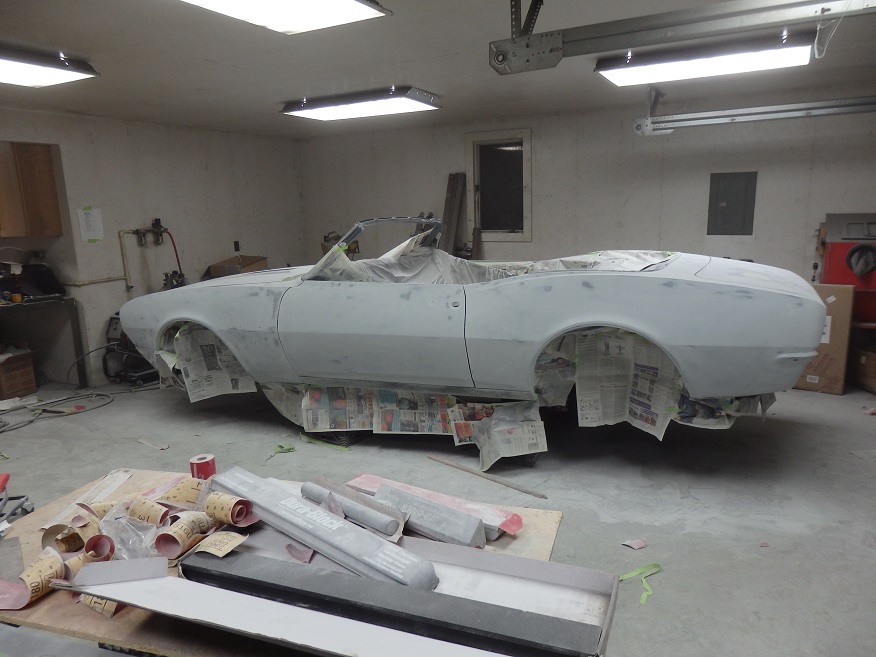
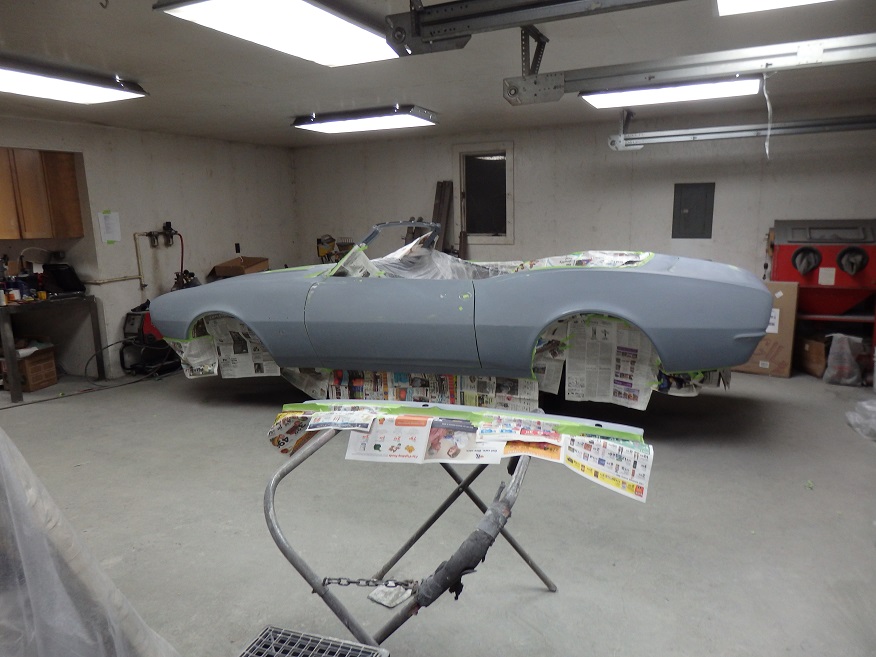
I let the car set for a week before I started blocking it. The first thing I did was run some tape along the body lines (2nd picture) so that they remain straight, otherwise the lines will look wavy since it is very easy sand across them. I used Dura-Blocks with 180 grit paper to block the car down. Blocking involves sanding through the SlickSand to the point where the epoxy primer shows through, and hopefully no bare metal. If you reach that point and you see areas with guide coat, this would indicate a low spot, which would have to be address. In this case I actually had to apply a second coat of SlickSand on the trunklid followed by another round of blocking.
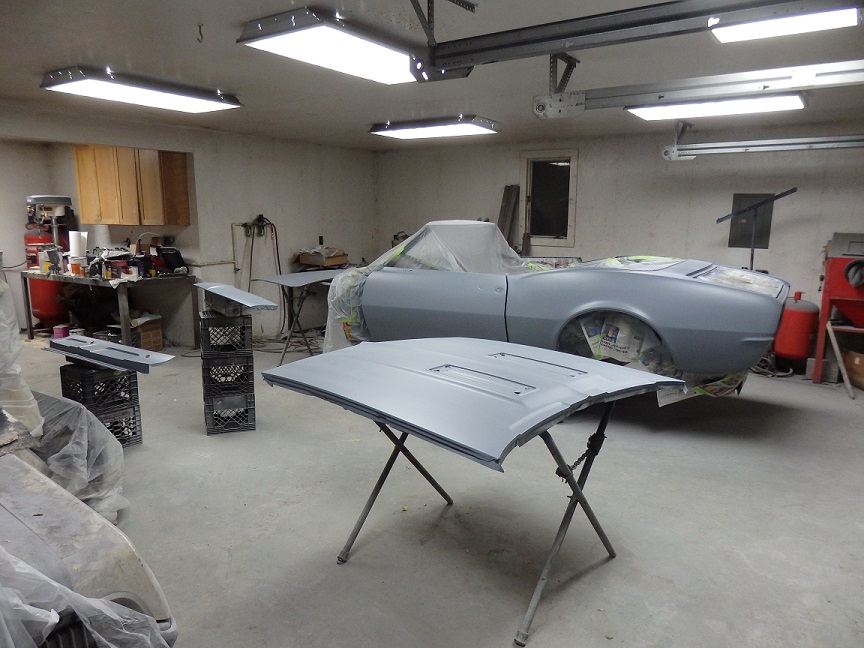
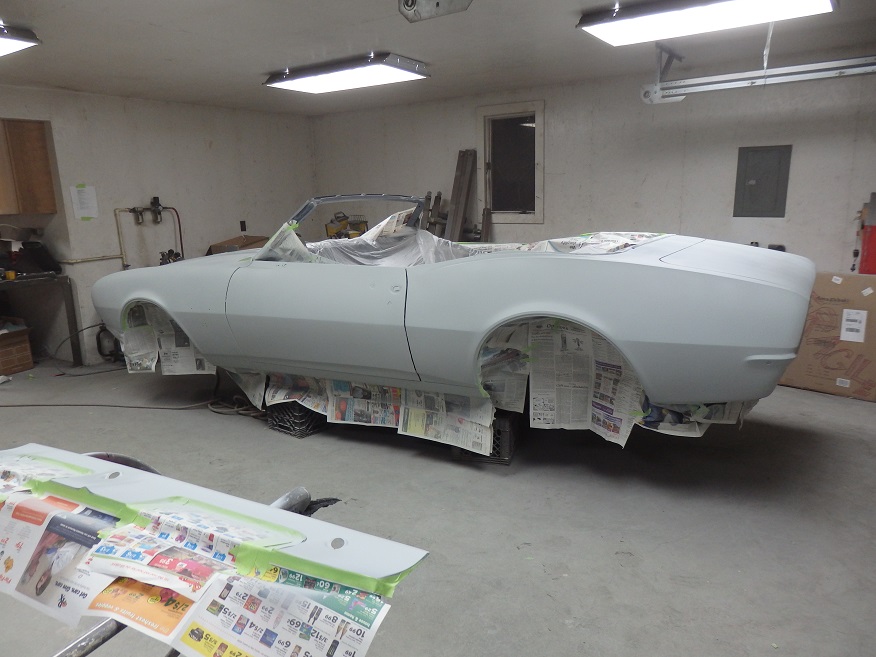
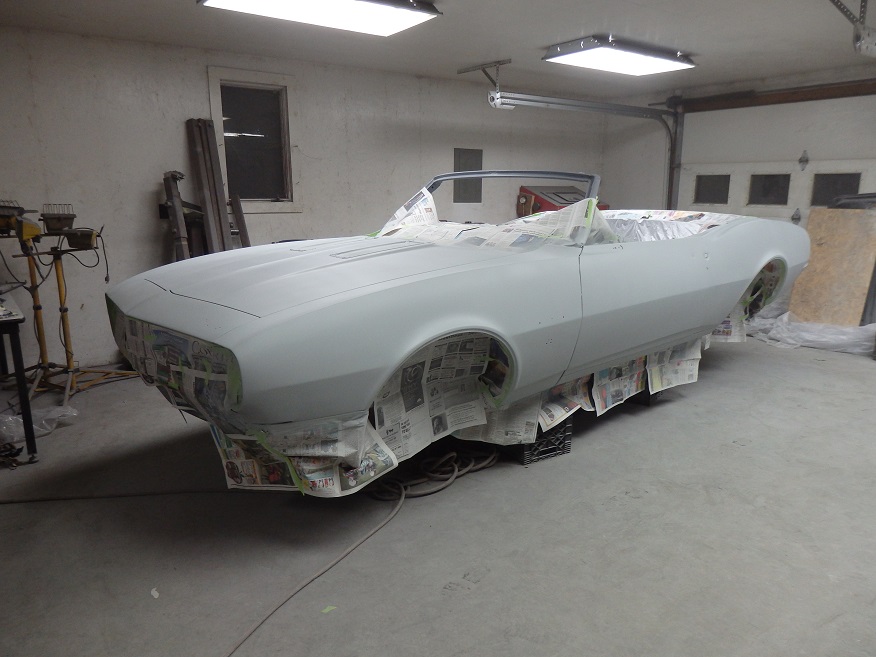
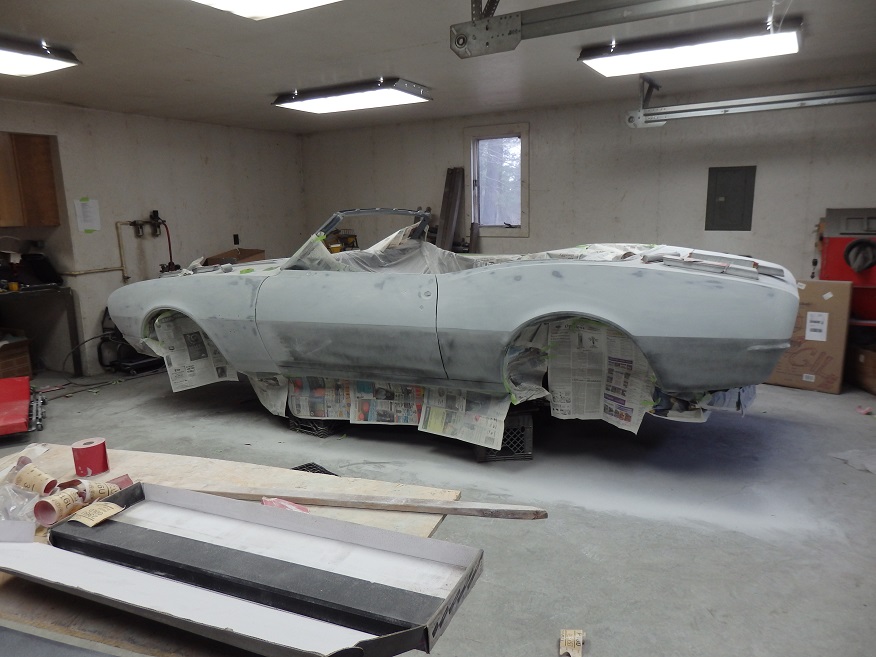
With blocking done, I primed the car with DP50LF Epoxy primer again. This time I added a little more reducer so that the primer would lay down flatter. Basically it was mixed as a sealer. At this point the car looks great. There are no defects that need repairing. It is simply sand and paint. Though that has it own challenges.
I like to start the painting process with the undercarriage. This involves putting the body back on the rotisserie. Before the undercarriage could be painted however, the body needed to be seam sealed and the inner quarter panels needed to be undercoated. This is because the seam sealer and undercoat can flow through the cracks, which would show up after the painting if sealing would have occured later.
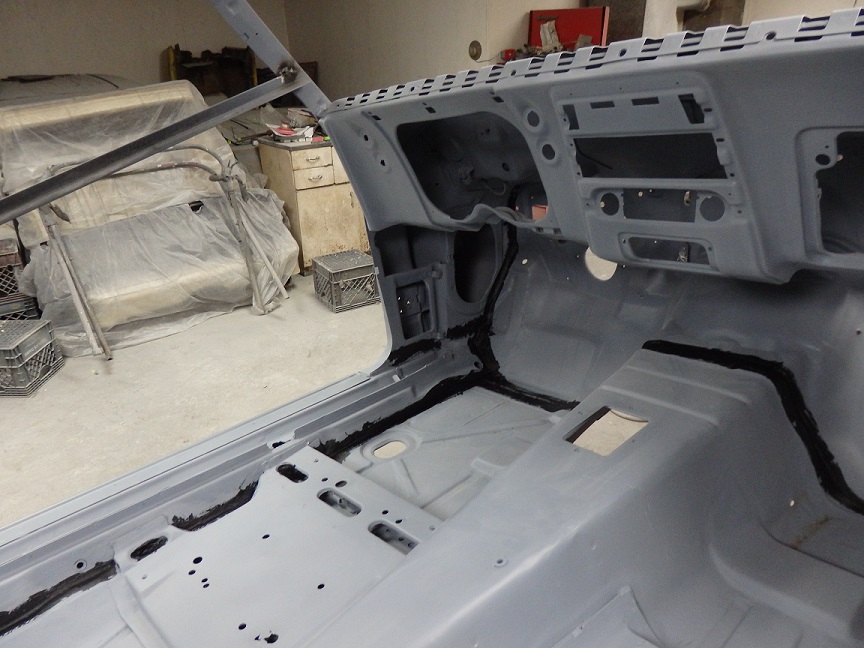
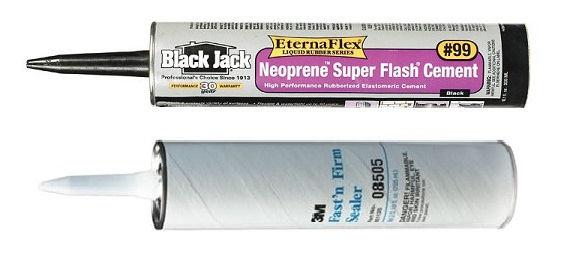
For the inside of the car, I used BackJack Neoprene Super Fast Cement #99. Though actually intended for roofing, this sealer flows very well and looks like the original sealer used by GM. It has the extra advange of being paintable.
For the inside of the trunk and firewall I used 3M Fast n' Firm 08505 using a paint brush to smooth it out. It takes a few days to dry, but dries the correct yellowish white color.
For quarter panel undercoating I used a special mix sold by Resto Rick. Though he works on Mopars, the undercoating he came up with looks very correct for GM cars as well. It comes in a gallon can and is sprayed with a rocker schutz type gun. It's messy to work with, but the final look is awesome and it is paintable. I highly recommend it.
I had a hard time finding what was correct. What complicated the matter was that for some reason judges want the undercarriages to be painted uniformly semigloss black even though the cars never came from the factory that way. I searched the forums for a reason why and it seems they want the undercarriage to look the way GM "intended" it to look and they seem to think that a restorer can do a better job than GM did because they have the time to do it correctly. Really!? you have to have overspray on the hoses and valve covers, but you have to deviate from original just for the undercarriage. What a double standard! Fords and Chrylsers all had ugly oversprayed undercarriages and those judges want to see it that way. The way GM inteded it to looks is how it came from the factory. Take a look at any modern car. The undercarriage has body color overspray on it. Auto manufacturers never cared about the underside of vehicles....
Some restorers ARE restoring their cars to look like what their cars originally looked like. I've found a few pictures on the web, but they are most from Van Nyes built 69's, which are done a little differently. I did find pictures of an unrestored 67 SS convertible on e-bay that was built in Norwood, like mine, that was adequate enough for a reference. Here it is:
Noticeable things include, mostly black undercarriage with lots of red body color overspray that goes all the way to the transmission tunnel, black overspray over the red overspray, the underside of the rocker panels does not appear to have fully received blackout paint and no black paint where the front fenders bolt to the rockers.
From pictures of this and other unrestored cars and with this great First Generation Camaro Assembly Process article, I was able to come up with what I think was the correct look for my car's undercarriage.
Here is what was done at the factory:
1) PHOSPHATE PROCESS: The raw body went through a seven stage phosphate system to clean the metal and prepare it for paint and primer adhesion. I don't believe this left any color behind.
2) INITIAL PRIME PROCESS: The entire body was manually sprayed with primer and was then baked dry. Confined areas subject to corrosion were given a second coat of heavier primer material. I believe this left the undercarriage coated with a black primer. This is probably why the judges want to see black undercarriages.
3) INTERIOR PAINT APPLICATION: Interior paint was then applied to the instrument panel, package tray and upper doors (67/68 only) and upper quarters (67/68 only). A coat of air-dry flash primer was sprayed from the beltline down (probably the redish brown primer found on the inside of the car).
4) EXTERIOR PRIMER: The interior color was masked off and the outer body was sprayed with gray primer, which oversprayed onto the undercarriage (some cars may have more primer overspray than others. The interior paint and primer were baked dry.
5) SEALING: The body was seam sealed, the floor pan plugs were sealed in place and the sound deading pads were installed. The car then went through a sealing oven, which dried the sealer and melted the sound deading pads to the floors.
6) BODY COLOR: The interior color was masked off and 3 coats of lacquer body color were applied. The color was not sprayed by hand. Body color was sprayed over the undercarriage during this process.
7) FIREWALL BLACKOUT: The firewall was blacked out by hand, which caused black overspray to hit the undercarriage. The coverage was random and sometimes only partial since this was done by hand. No masking was involved so there would be no mask line between the firewall black paint and the body color at the top edge of the cowl.
8) ROCKER BLACKOUT: On RS cars the rockers were masked at the top and they were sprayed with the gun held vertically, which meant that the very underside of the rocker would not get full coverage. This process also left some black overspray to hit the undercarriage.
9) TAIL PANEL BLACKOUT: If the car came with a 396, the tail panel would be masked off and it would be blacked out as well.
With this information in hand, it was time to detail the undercarriage.
The undercarriage had previously been primed, so it had to be sanded. I sealed it with DP90LF black epoxy primer mixed as a sealer.
Once it flashed, I painted the undercarriage with SEMs Hot Rod Black. It had the correct 30% semigloss look I needed. This replicated the black factory primer, but with the added protection of a urethane paint.
This is where the judges and many people think I should have stopped.....
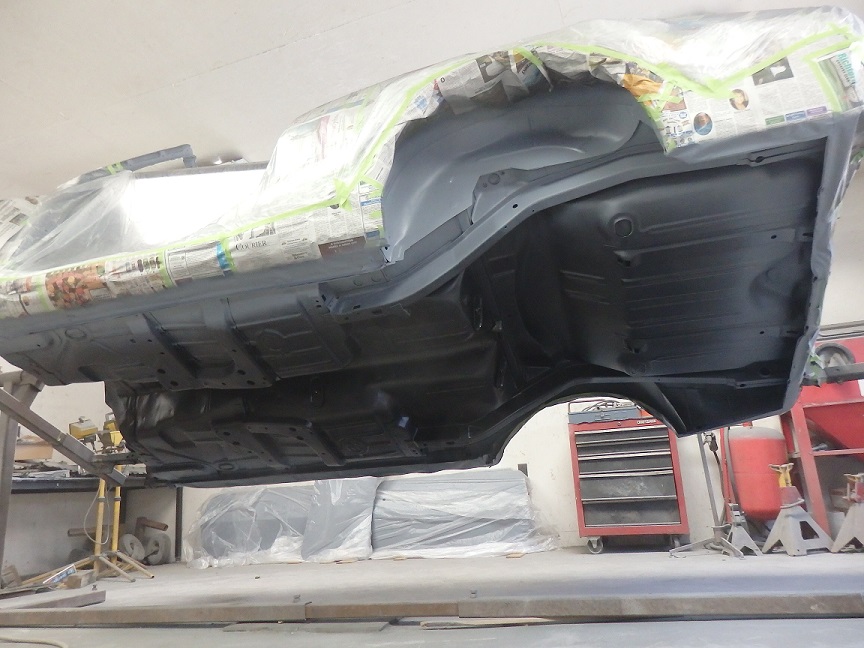
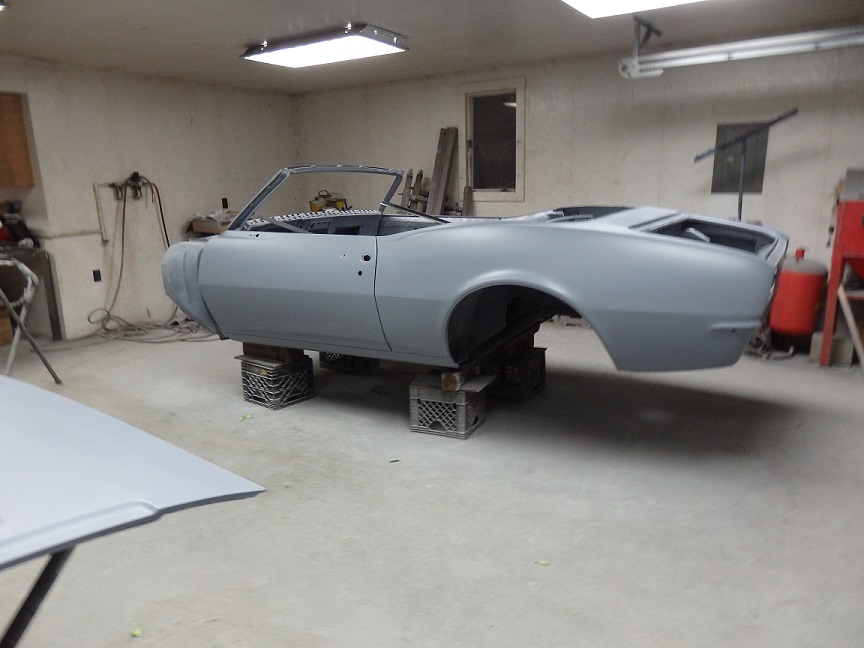
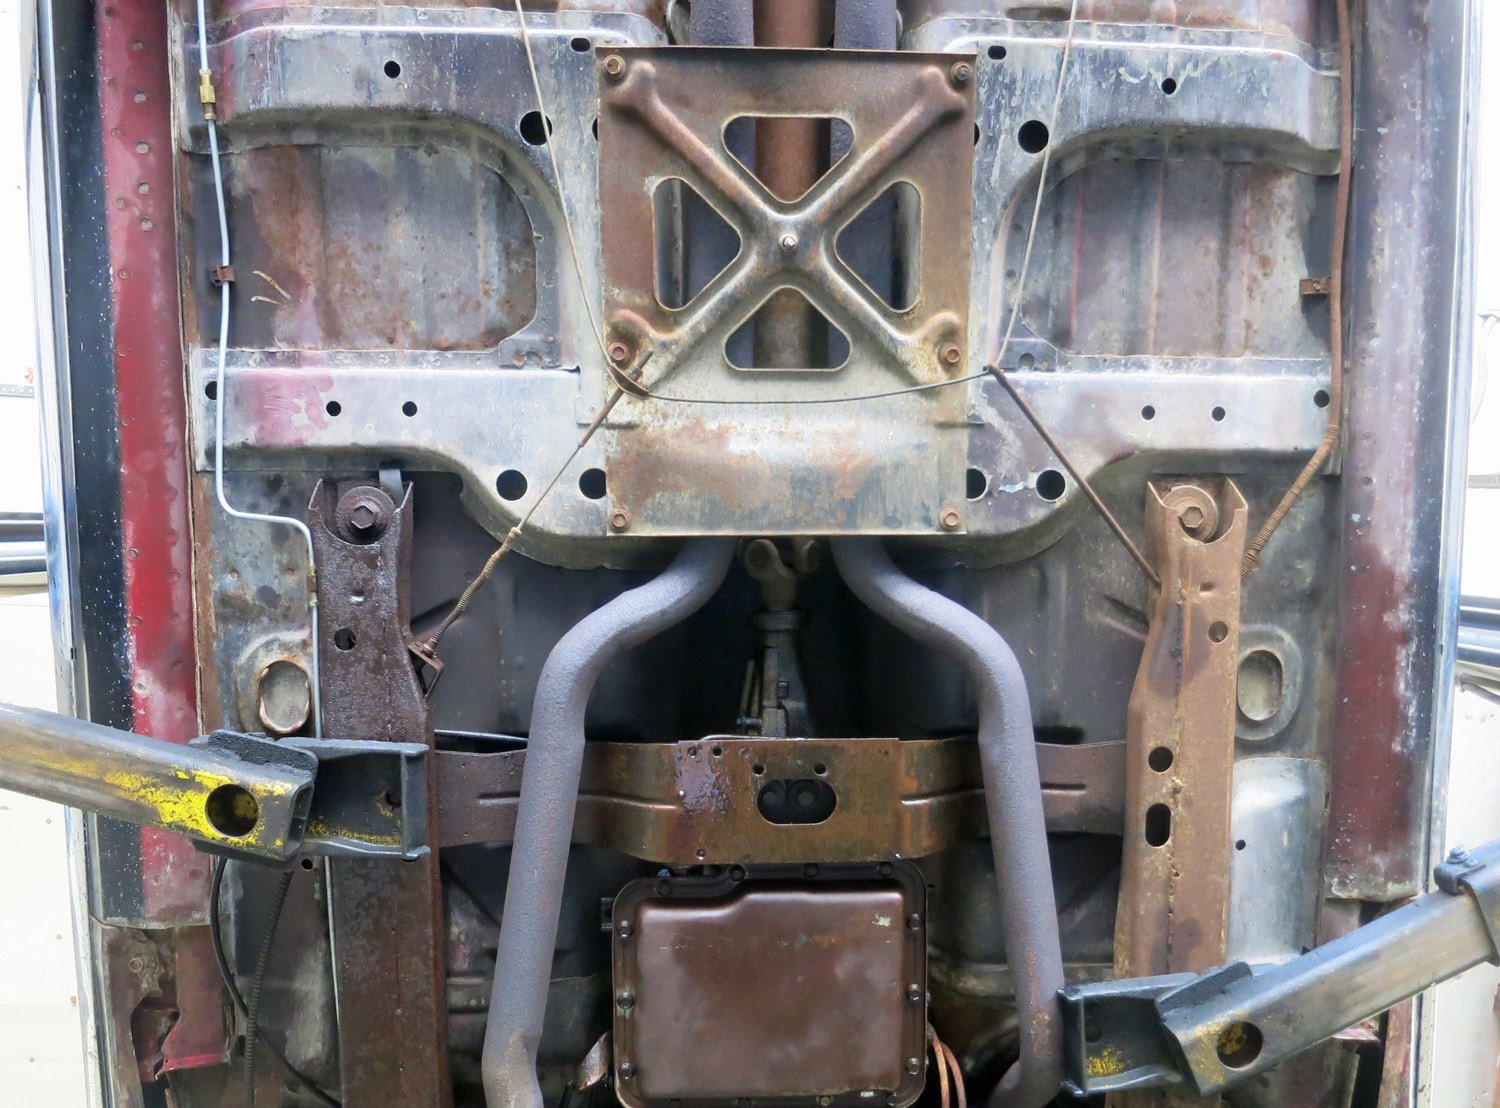
After allowing the black to dry for a day, I oversprayed DP50LF gray epoxy primer along the perimeter of the bottom. The factory would have hit the rear frame rails and inner wheel houses with gray primer similar to what is shown in the first picture. Some cars may have recieved a healthy dose of gray primer down the transmission tunnel from the front, but there was no evidence that this car had any.
I oversprayed body color over the undercarriage a little while later. I actually did this as a basecoat/clear coat process.
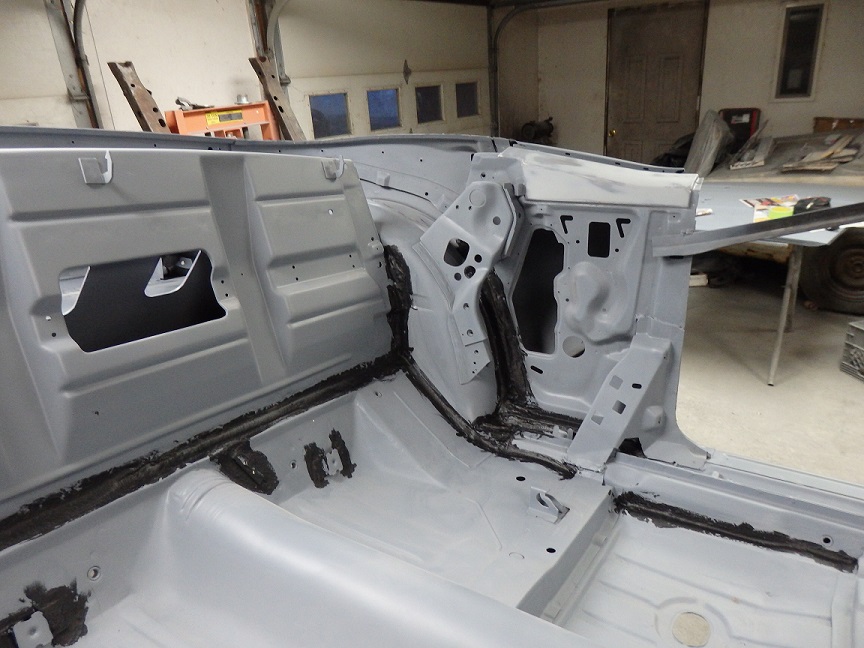
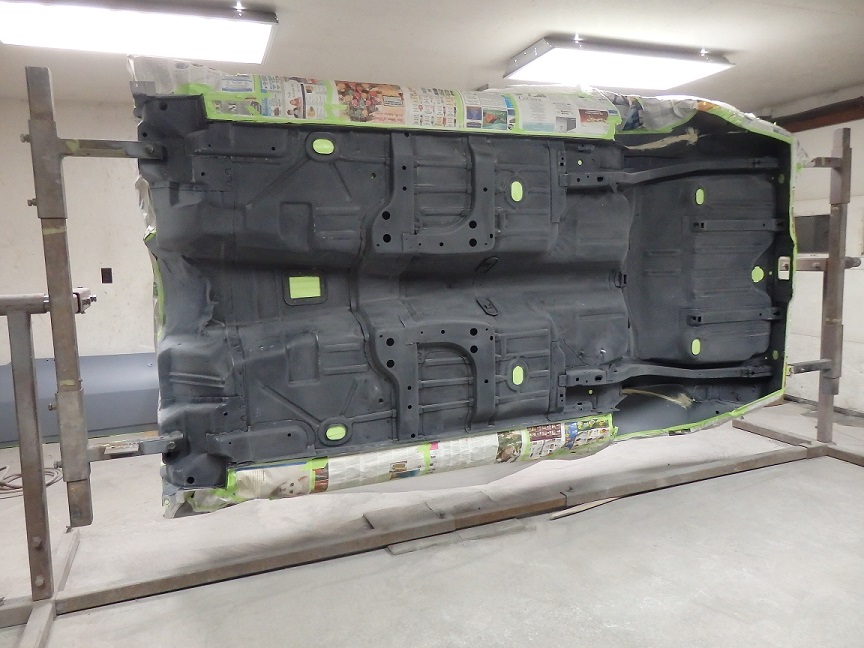
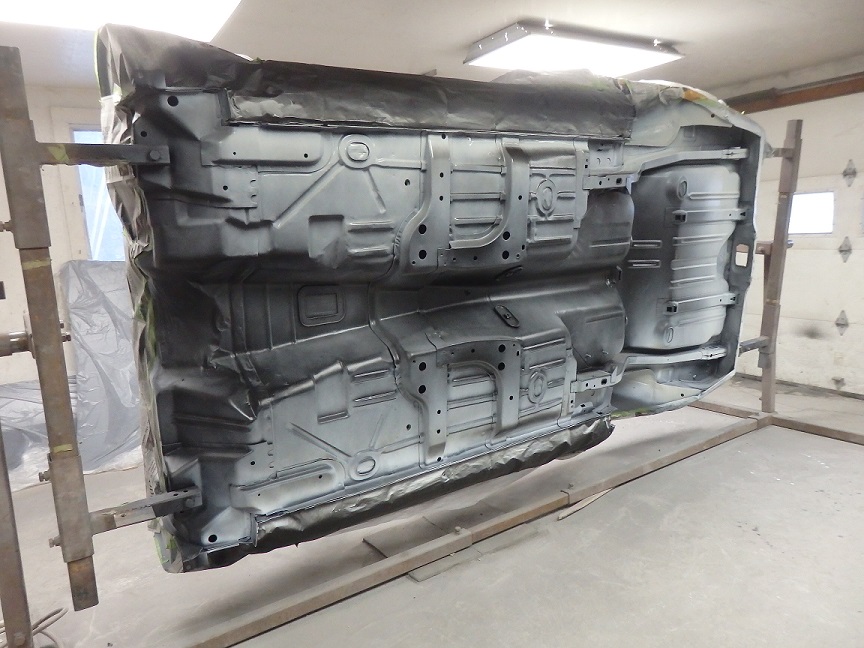
After a day I sprayed the rocker blackout overspray on to the undercarriage. I tried to mimic the way it was done at the factory. In the second picture you can see that I got a lot more black on the masked rockers than the undercarriage. That's because I had to mimic painting the rockers in order to get the overspray right.
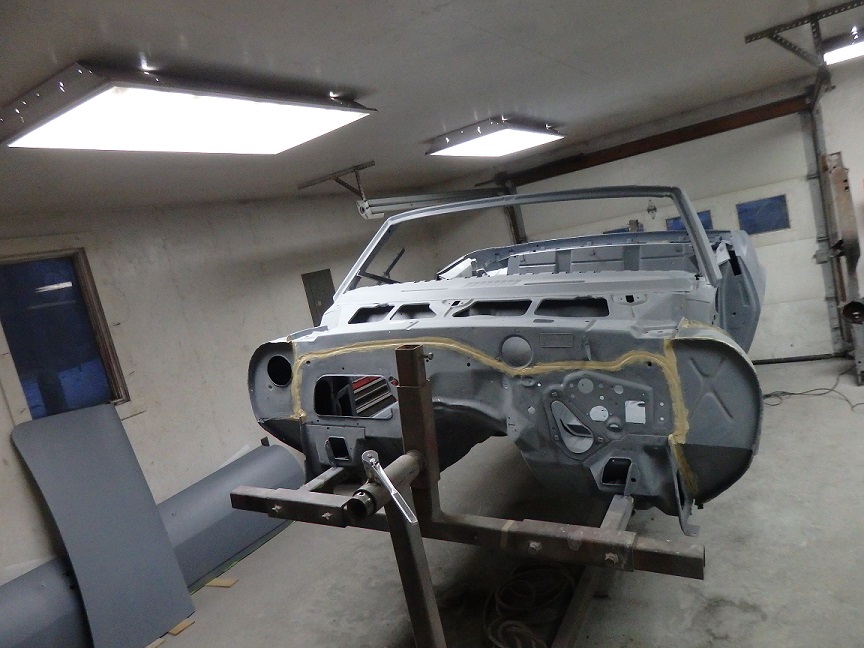
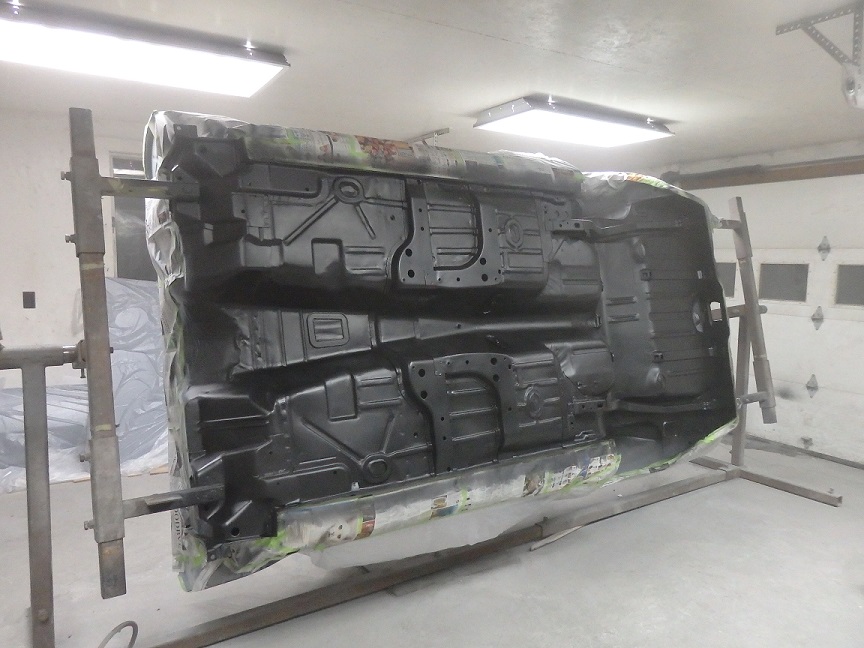
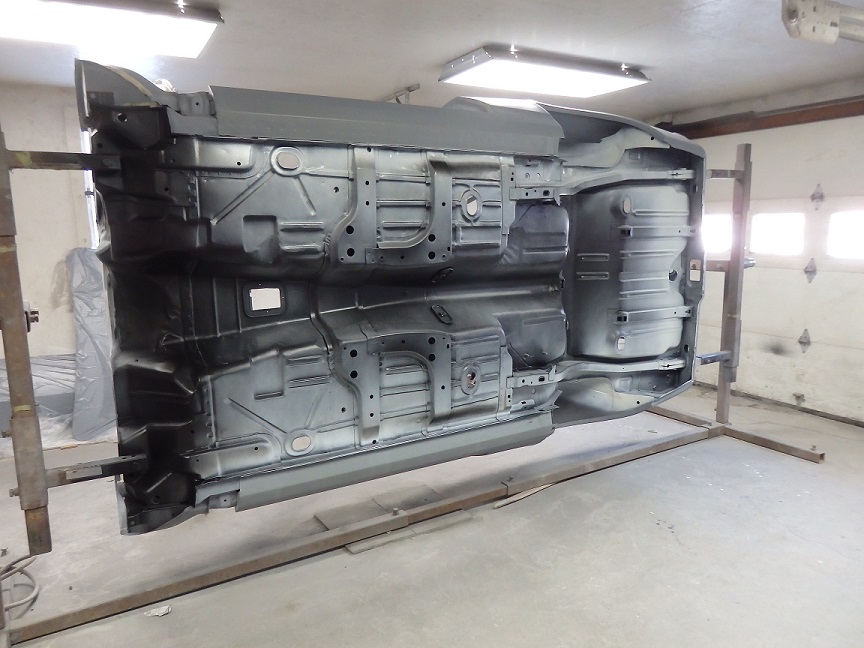
I finally oversprayed the undercarriage with black paint from the firewall (compare the 2nd and 3rd pictures). This mess or a version of this mess is probably what the car's undercarriage looked like from the factory. Some cars would have had more or less overspray than this. This is probably why people stuck with all black. There would not have been any overspray if GM had masked the lower parts of the cars when priming and painting them.
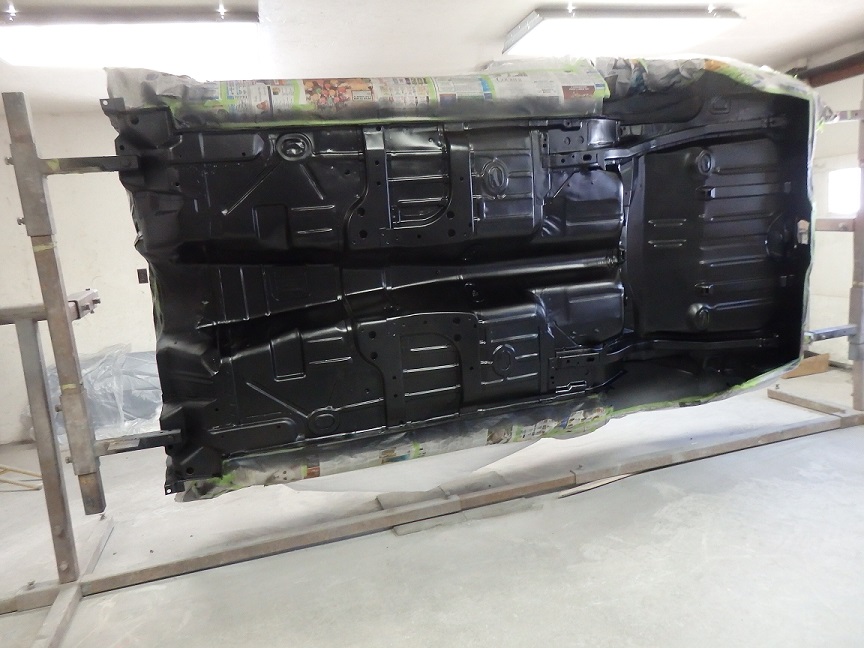
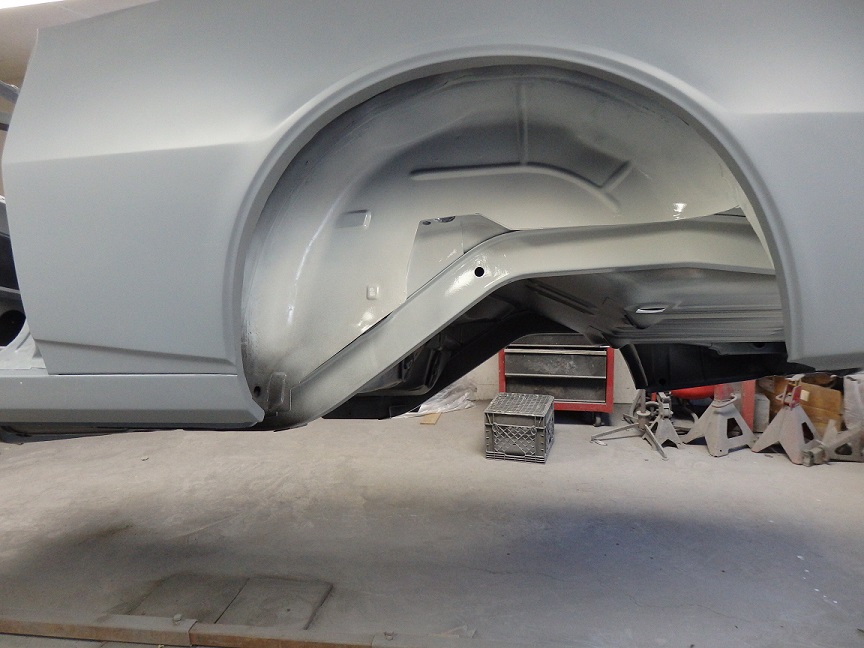
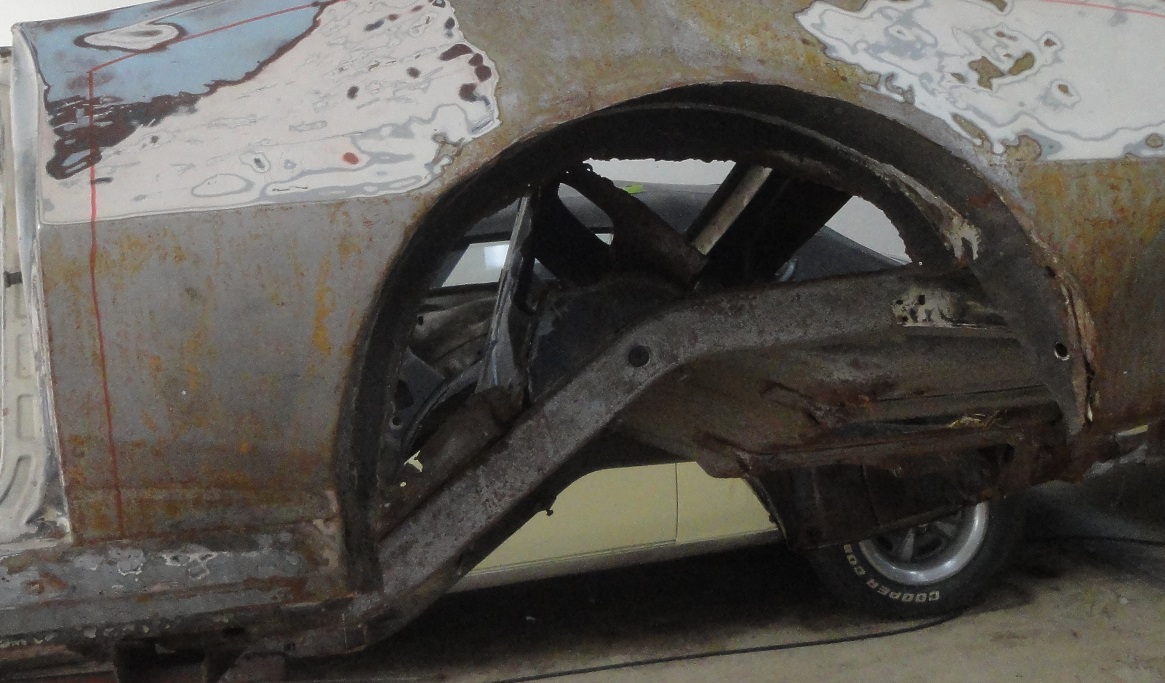
The last picture shows the left rear wheel well. This would be the correct look prior to applying undercoat. Just think when I first got the car I could see right through the otherside of it.