| Tail Panel |
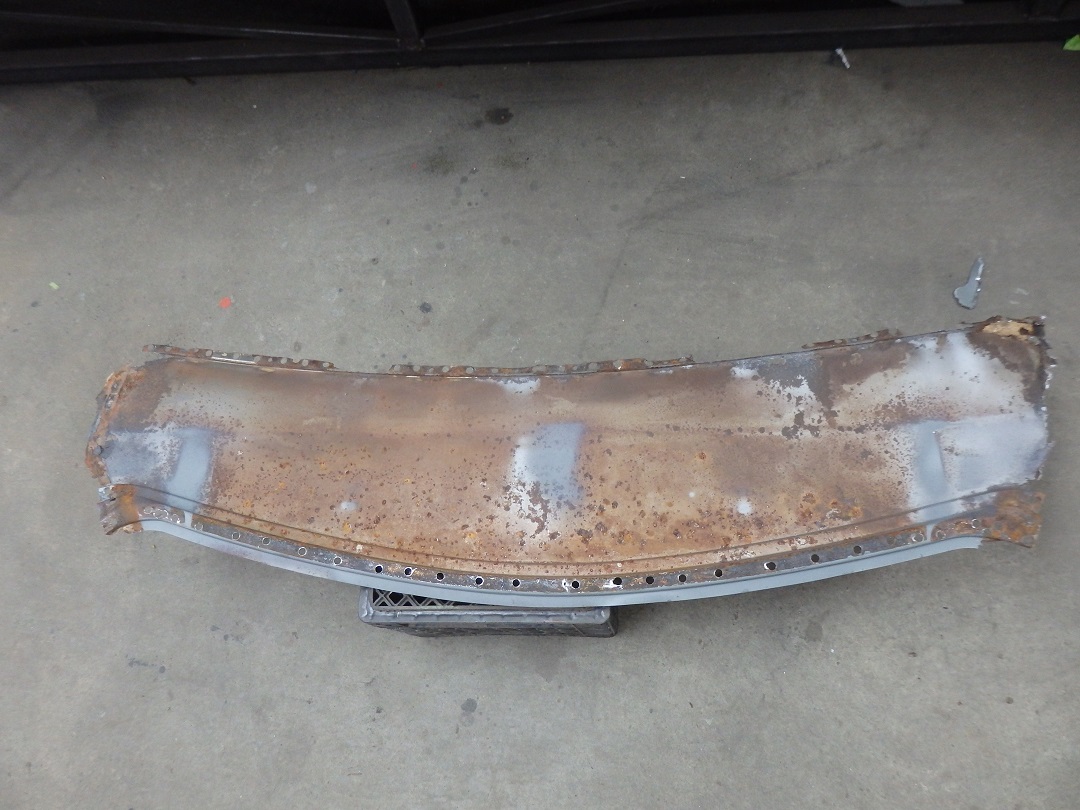
 The original tail panel was damaged by someone with a prybar trying to get into the trunk. It was damaged beyond reasonable repair. The car came with this one clipped from another car. From
the looks of it, that car wasn't in great shape either.
The original tail panel was damaged by someone with a prybar trying to get into the trunk. It was damaged beyond reasonable repair. The car came with this one clipped from another car. From
the looks of it, that car wasn't in great shape either. |
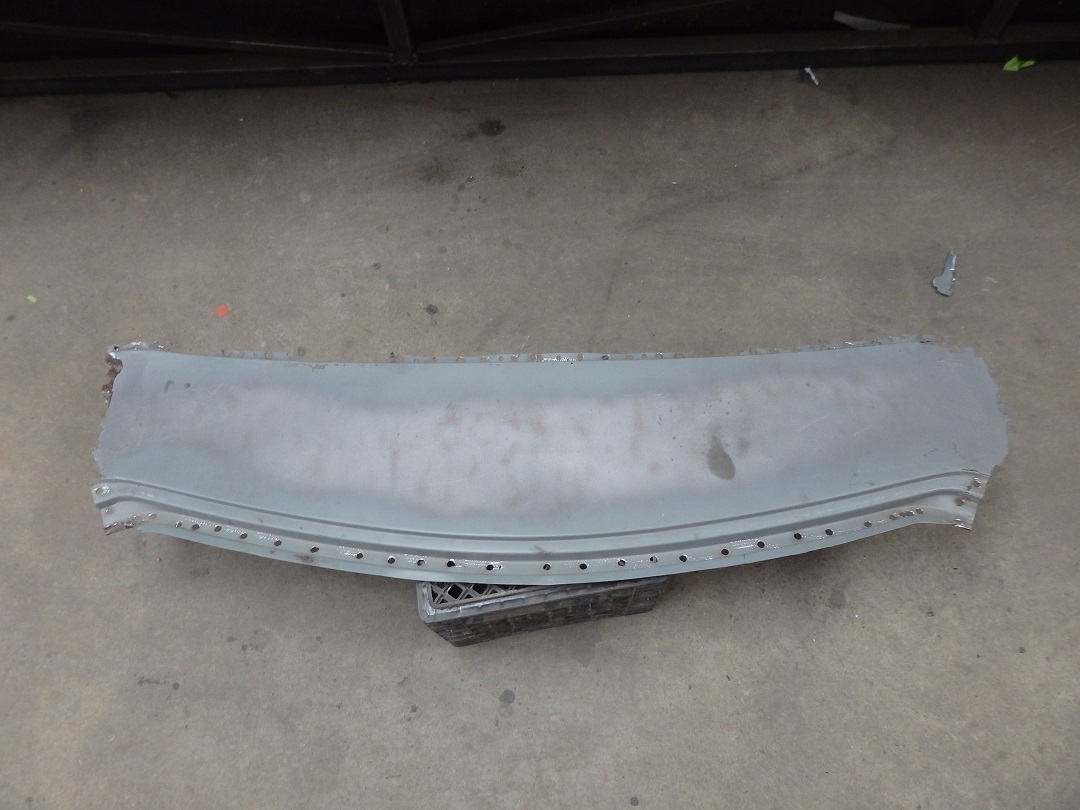
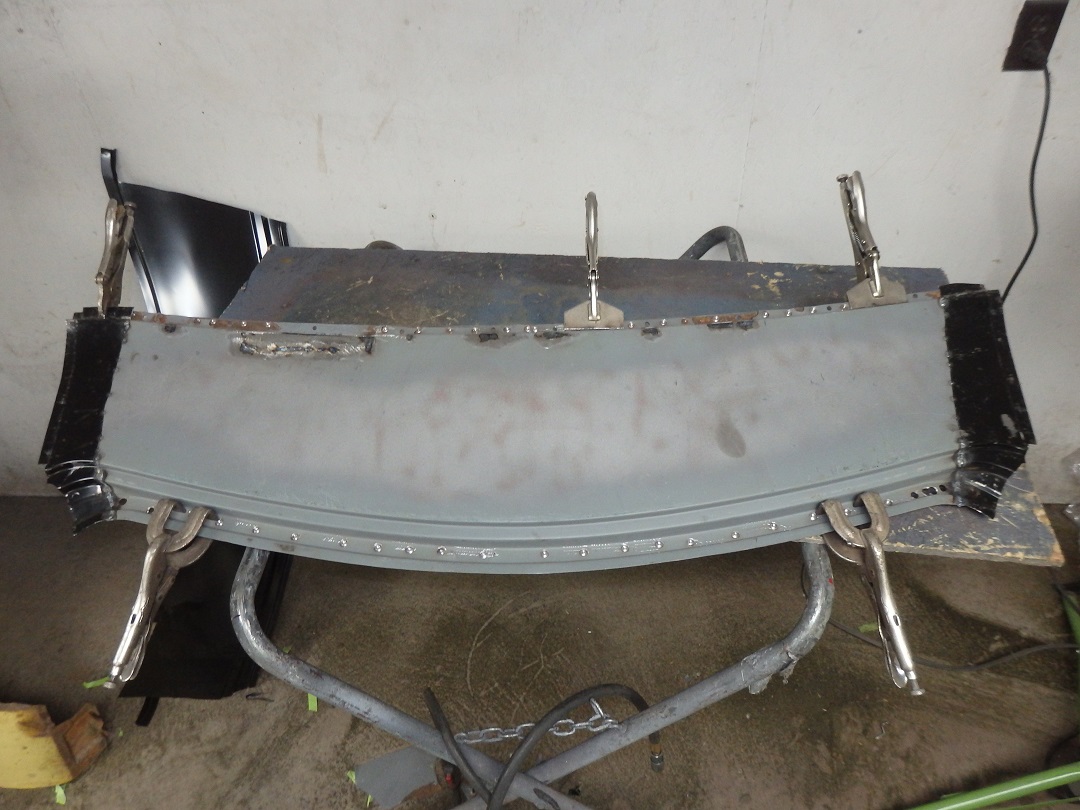
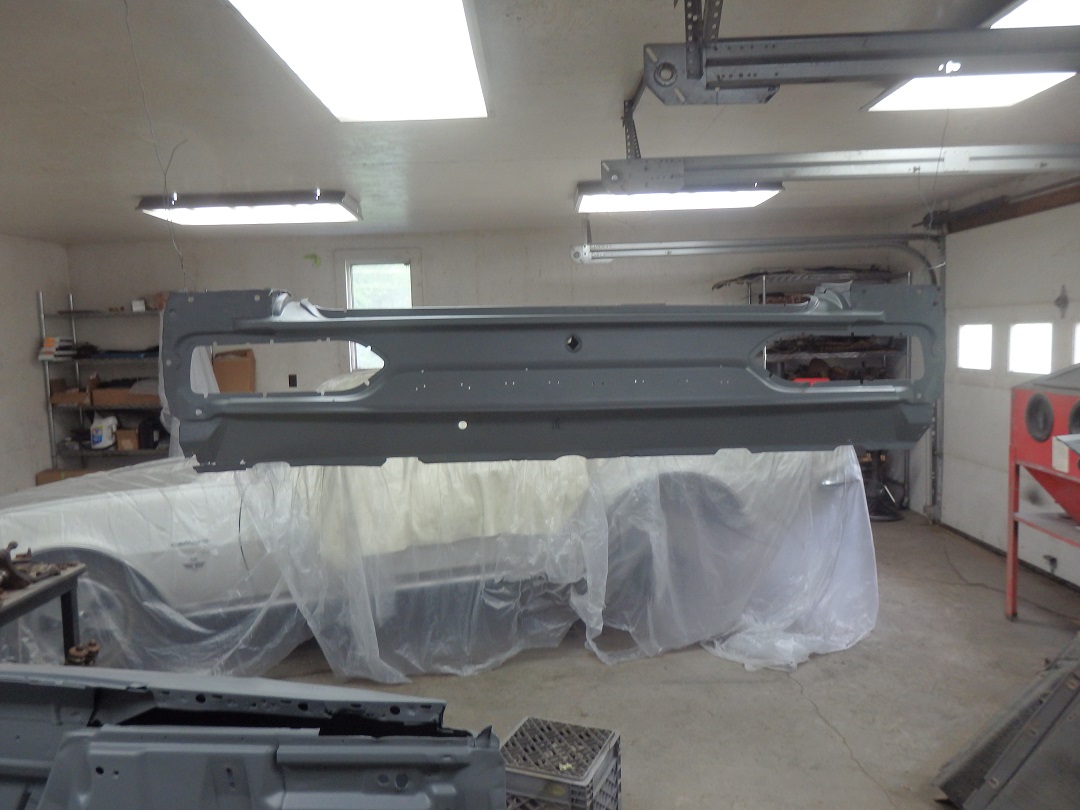 The first think I did was sandblast it and prime it with epoxy primer.
 |
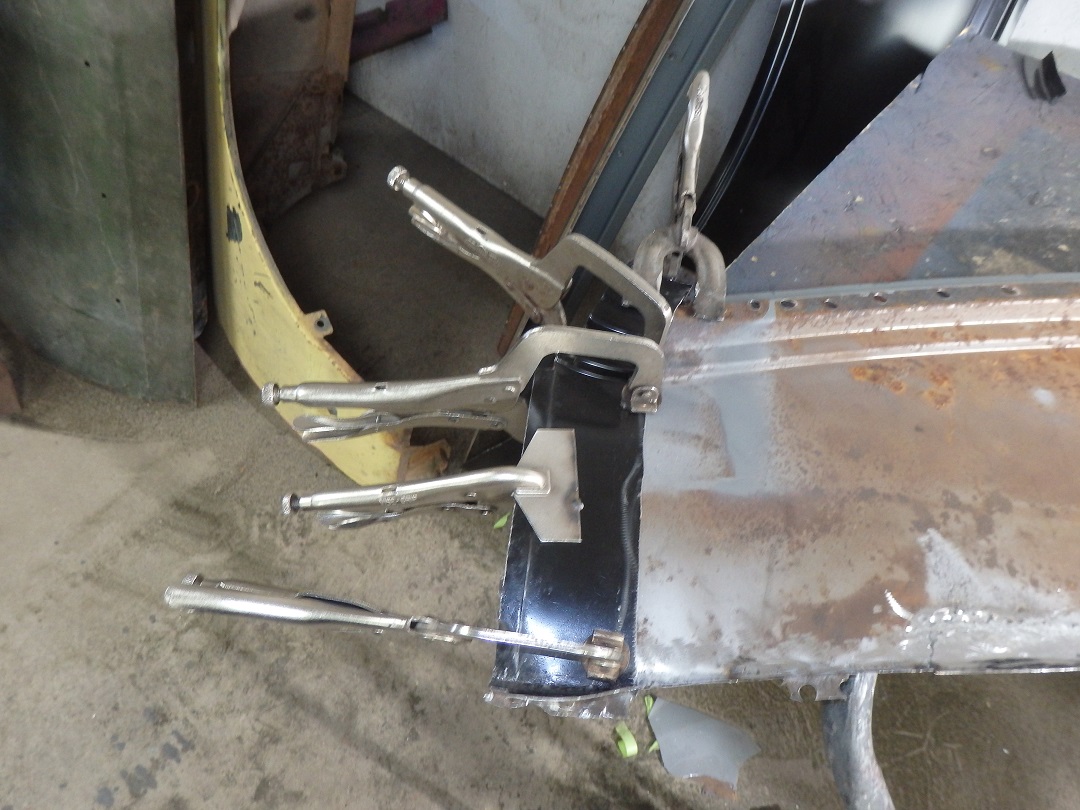
 The inner latch support was still attached to it, so that was a benefit.
 |
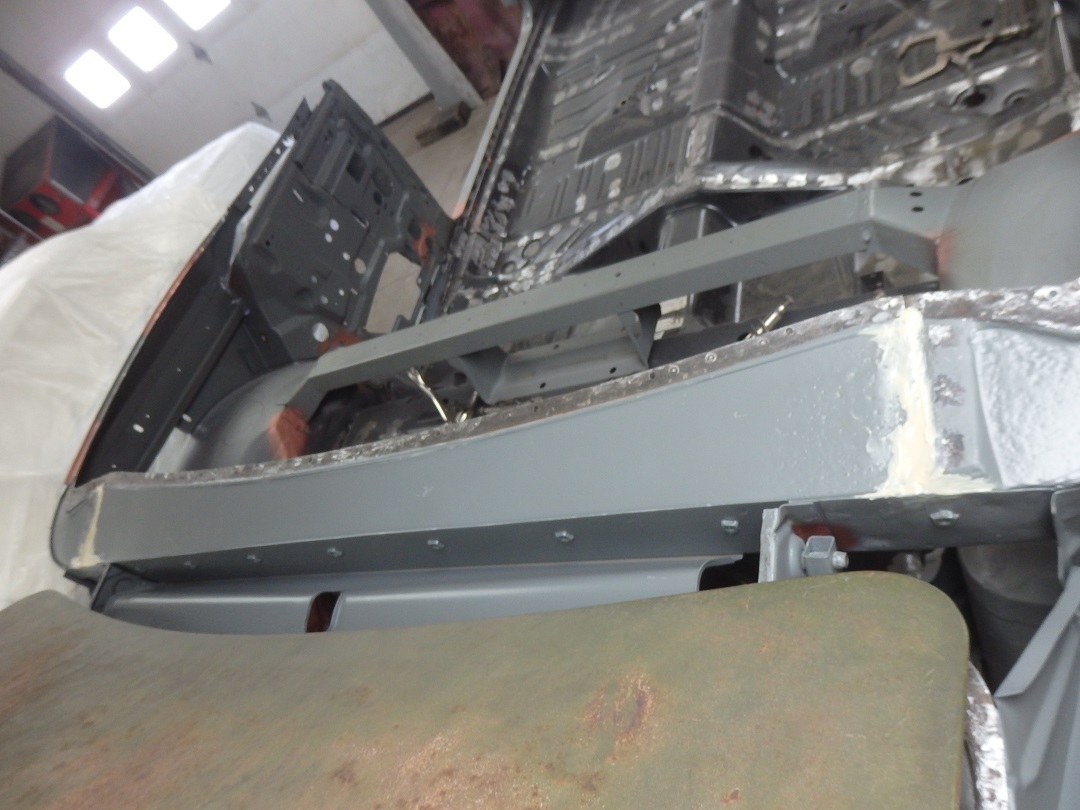
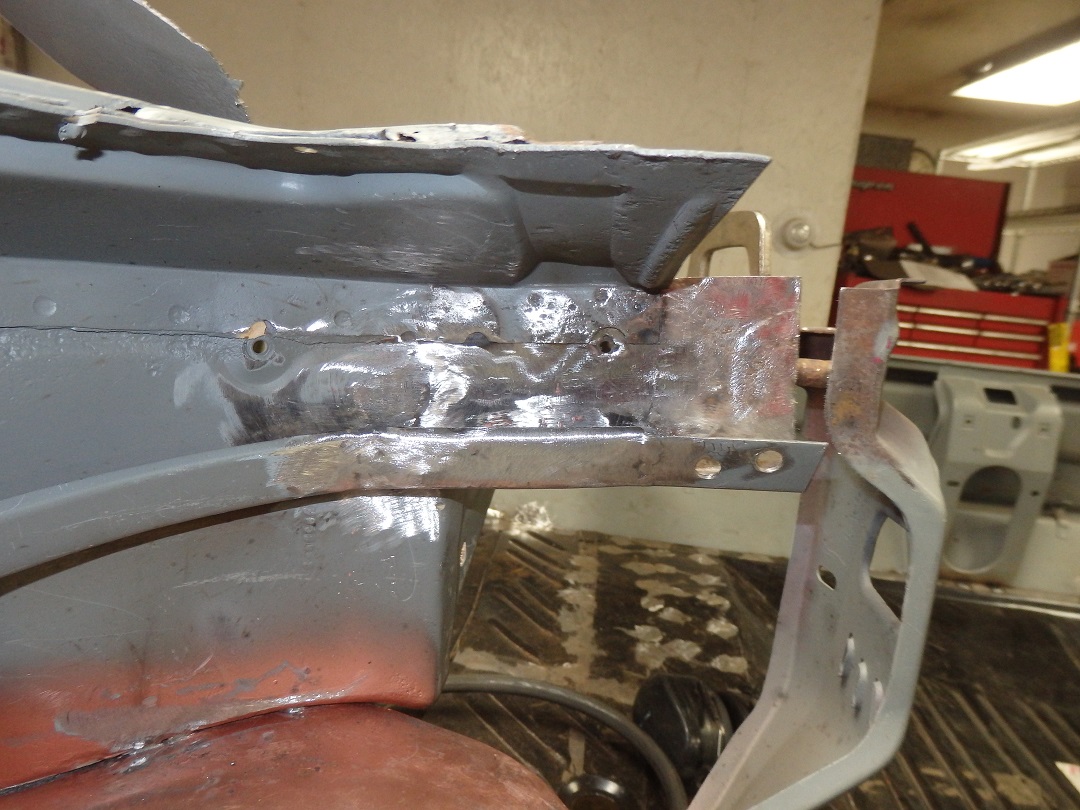
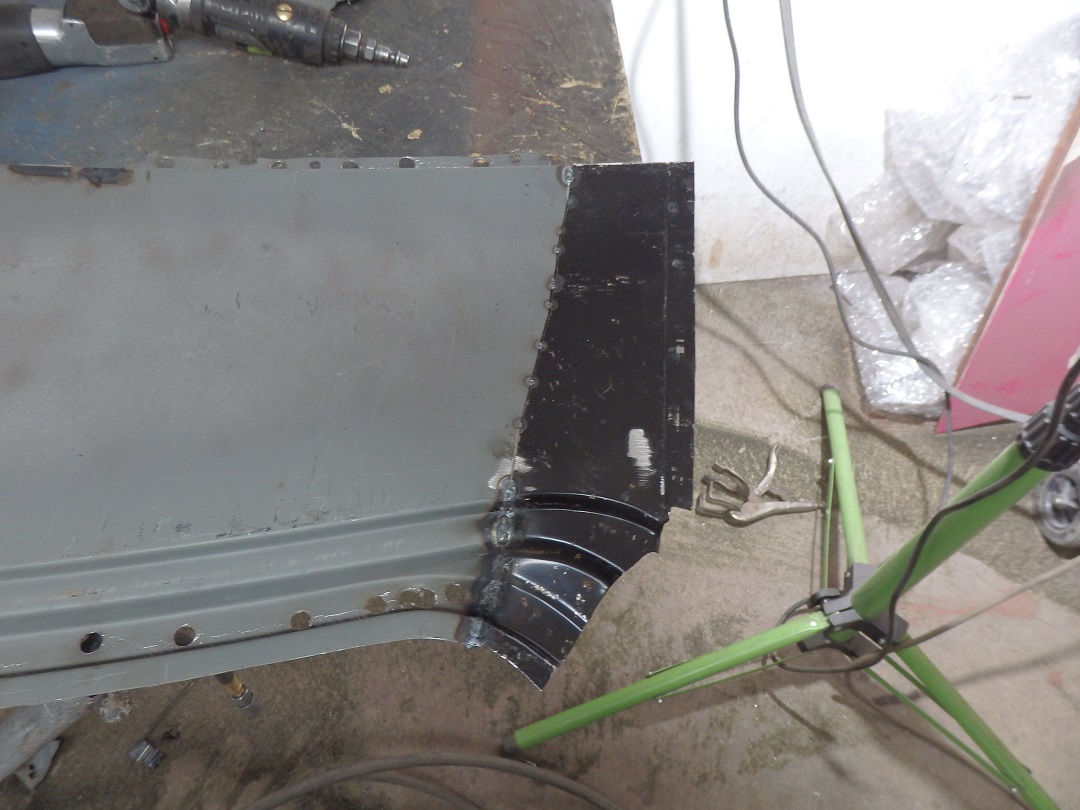
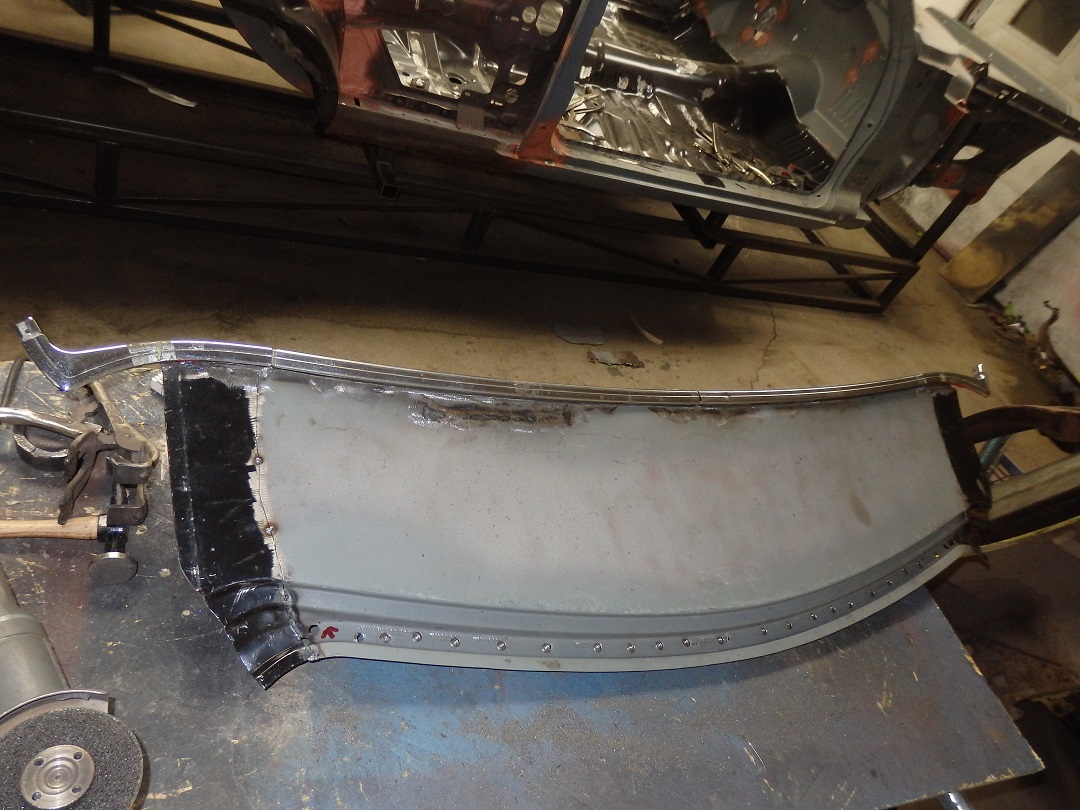
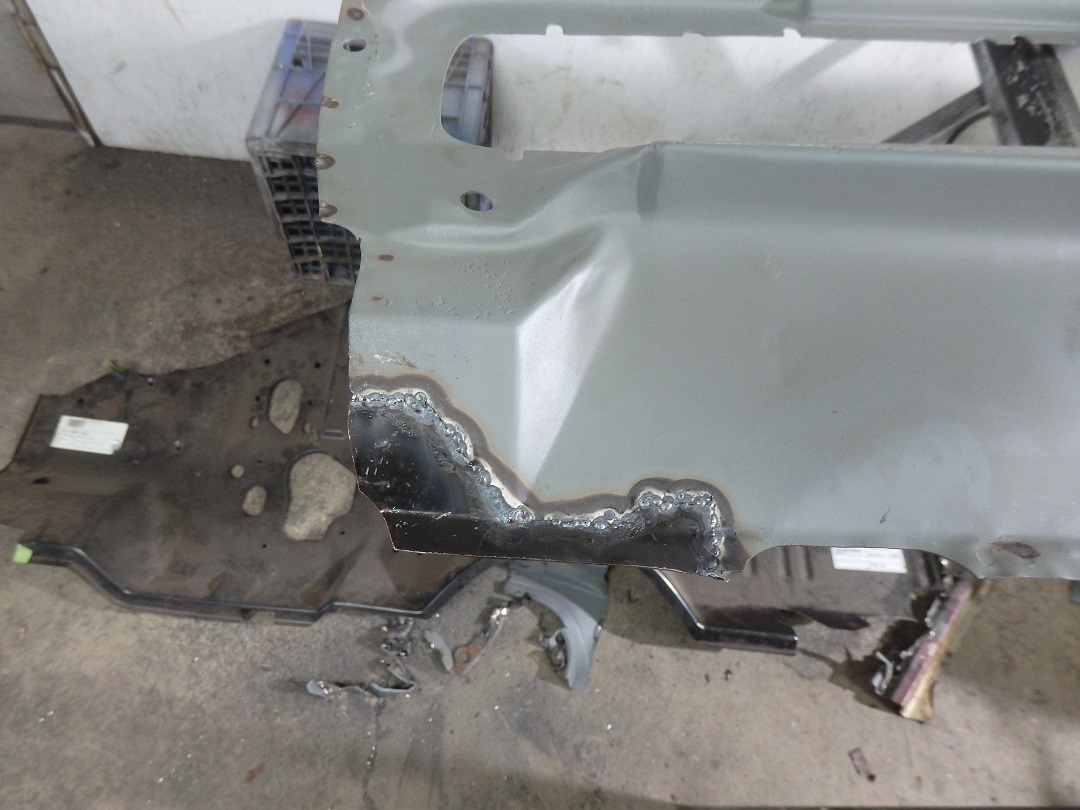 The bottom rear corners were rust damage, but it didn't take long to make and graft a new piece to it.
 |
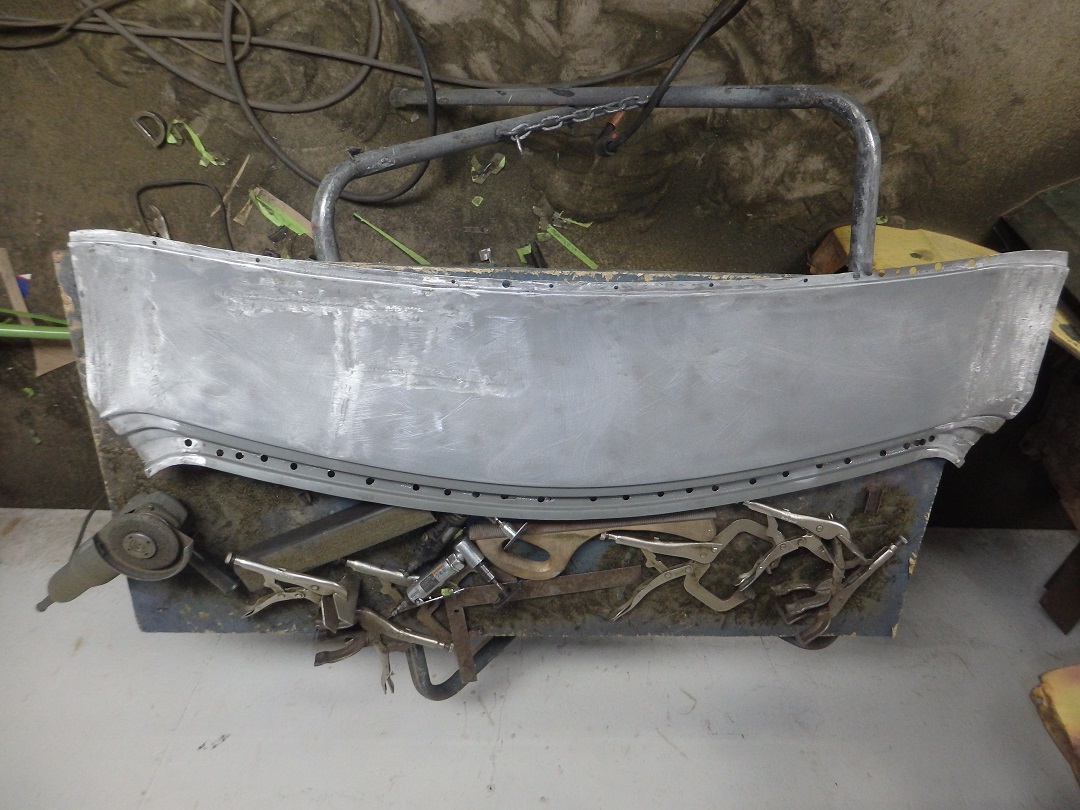
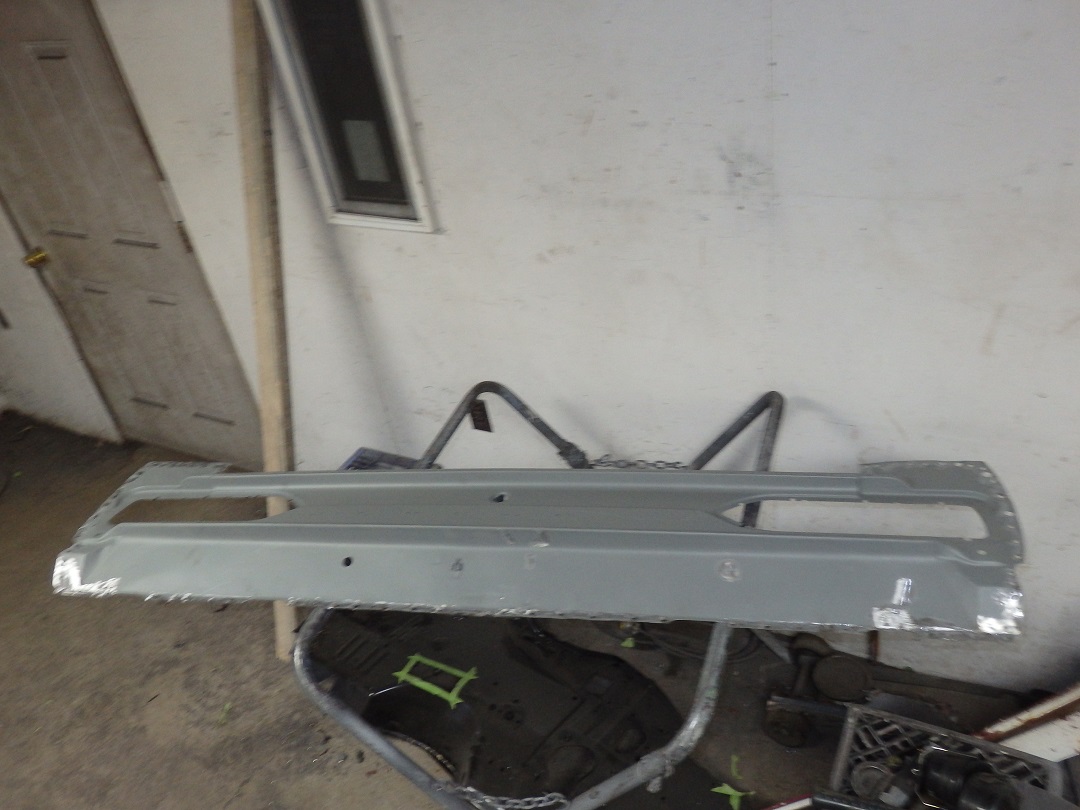 Here is the panel with the repairs completed.
 |
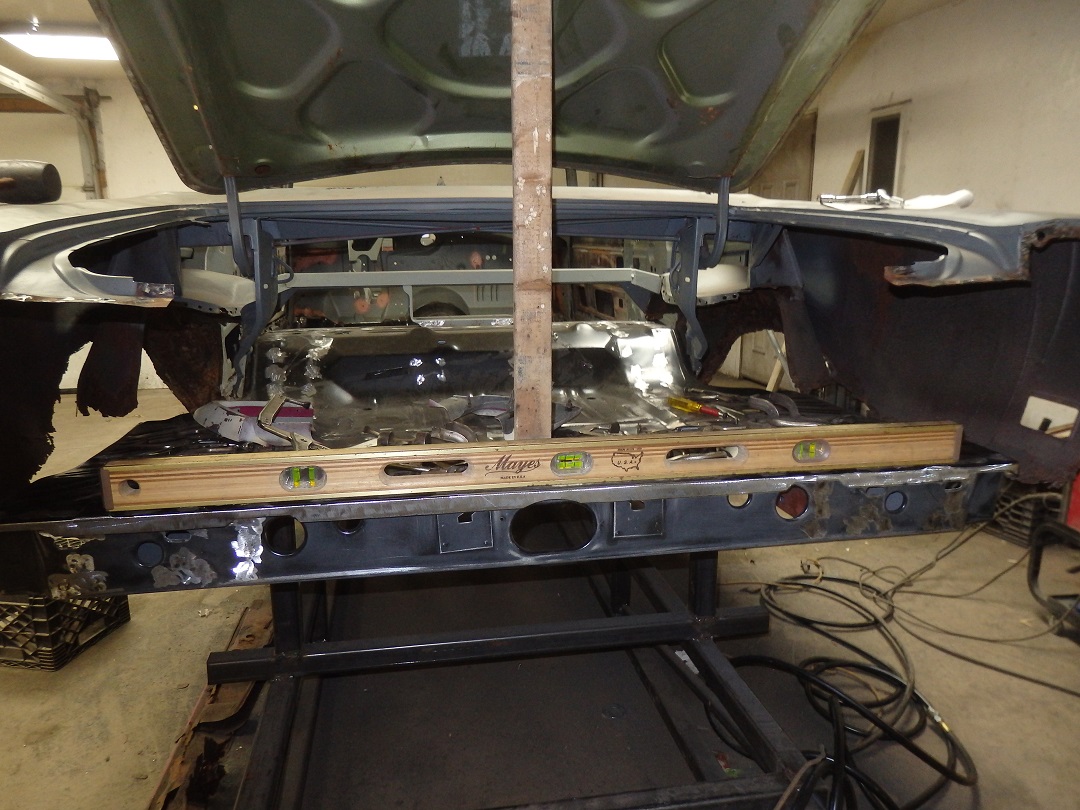 Before installing the tailpanel I made sure the trunk pan still read level and then I install the trunklid.
 |
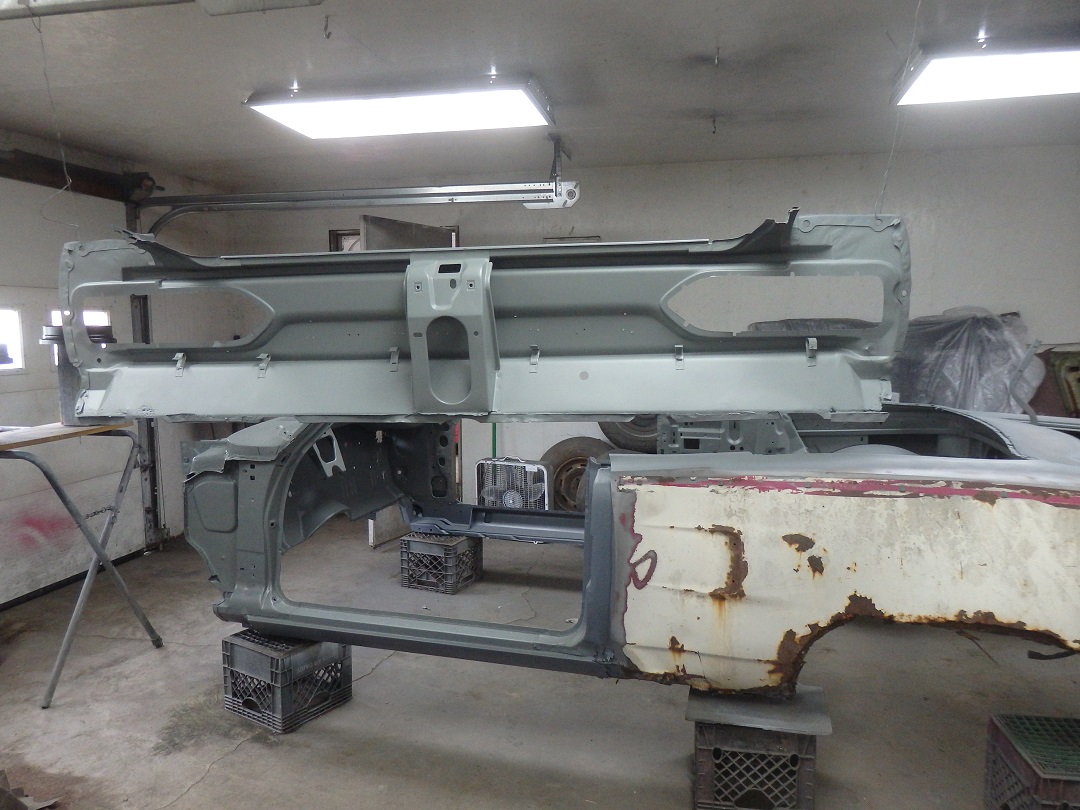
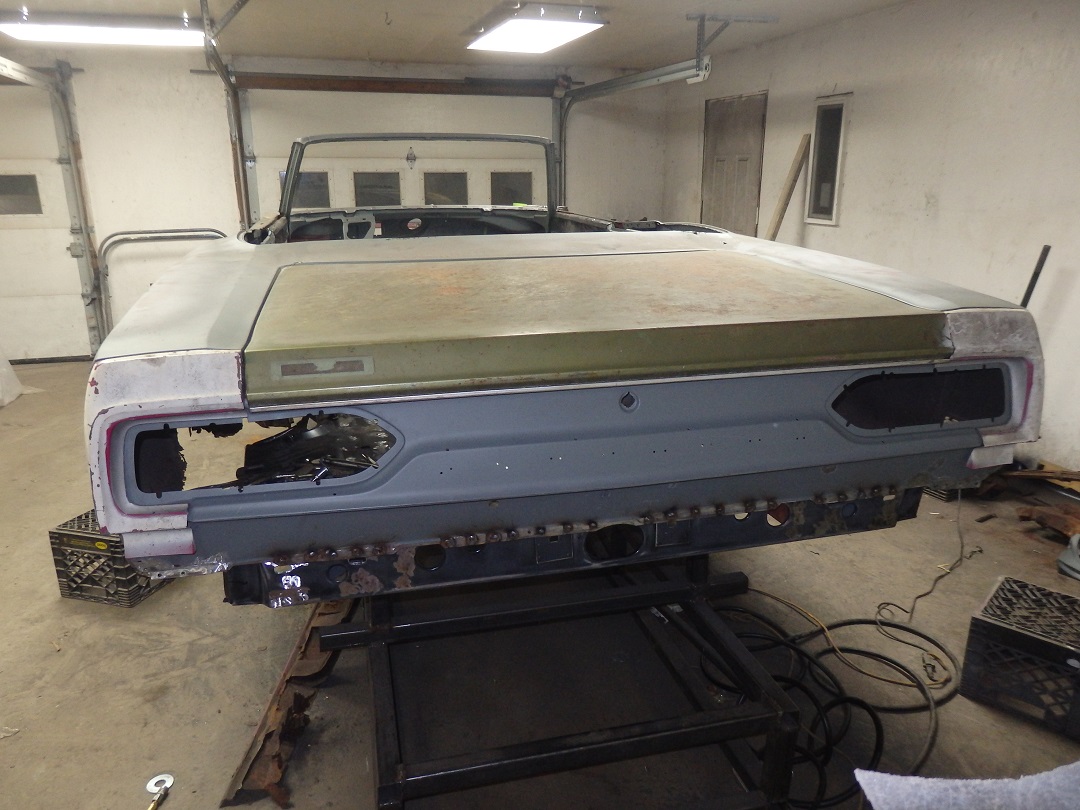 The installation went pretty quick. I clamped the tailpanel in place where I thought it would go. Then I installed the rear quarter extensions. With all the gaps
even around the tail panel and trunk lid, I plug welded it in place.
The installation went pretty quick. I clamped the tailpanel in place where I thought it would go. Then I installed the rear quarter extensions. With all the gaps
even around the tail panel and trunk lid, I plug welded it in place. |
| Rear Inner Filler Panel Area |
NOTE: This next series of pictures are our of sequence from how I did the car. The rear wheelhouses were replaced before I did these next repairs. Refer to the LH and RH Rear Quarter Panel
pages to see how that was done. 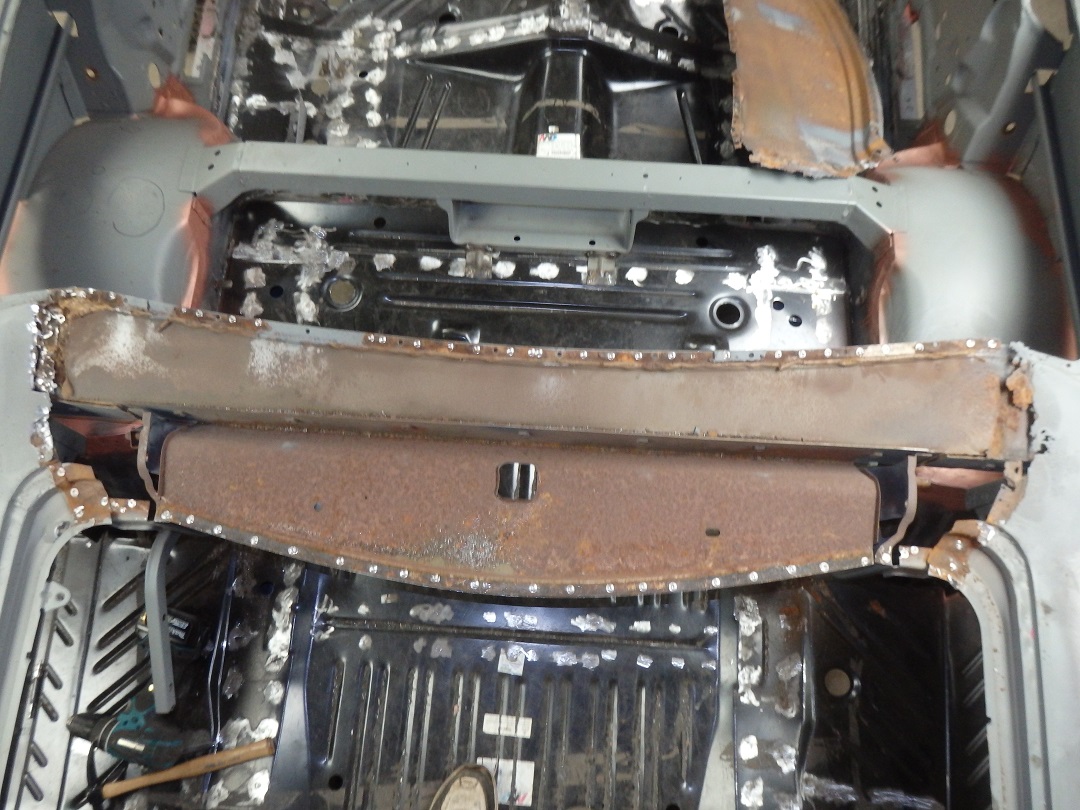 The rear filler panel area / convertible well area commonly rust out on these cars. And this car need some repairs on the gutters. With no repo parts for convertibles rear panels, I had to make what I could.
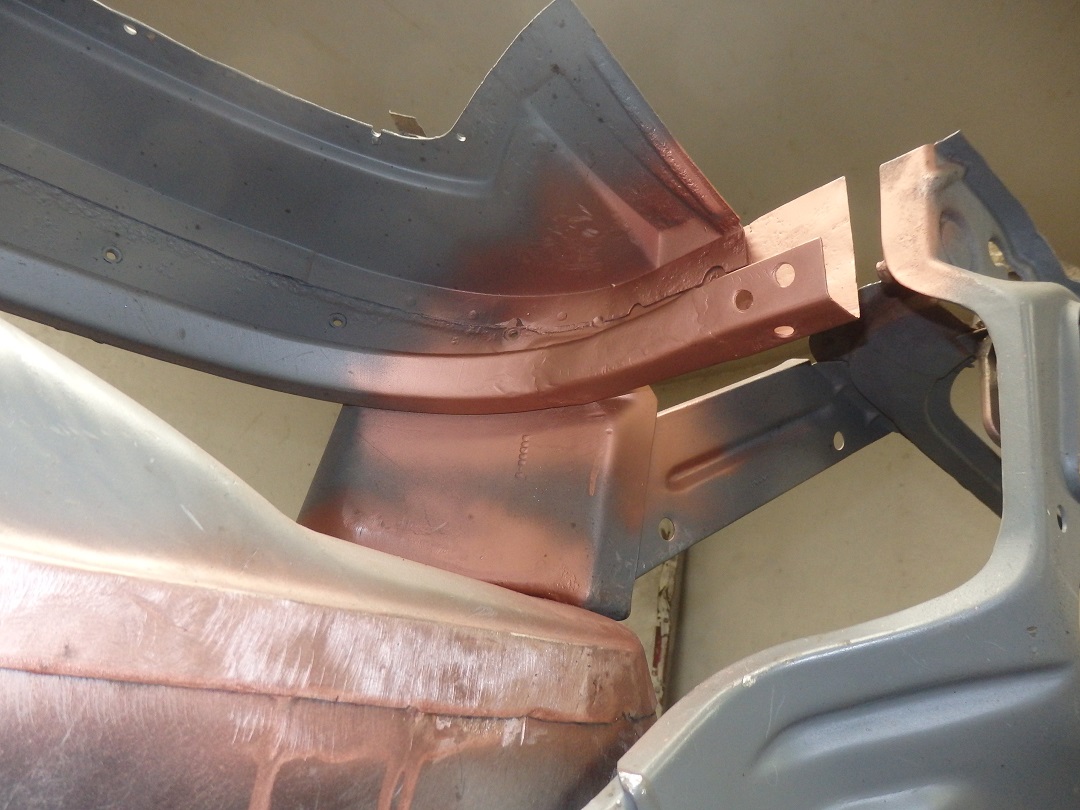
First up was to drill out all of the spot welds that held the rear filler panel in and cut the rusty lead cover sides out. NOTE: This is a structural panel. Normally you would need to put cross bracing in. |
 The rear inner structure was barely held in place with spot welds on this car, which probably lead to the rust in this area. I had to remove it as the gutters on the inside needed to be repaired.
 |
 The rear panel itself just needed to be sandblasted and welded back in.
 |
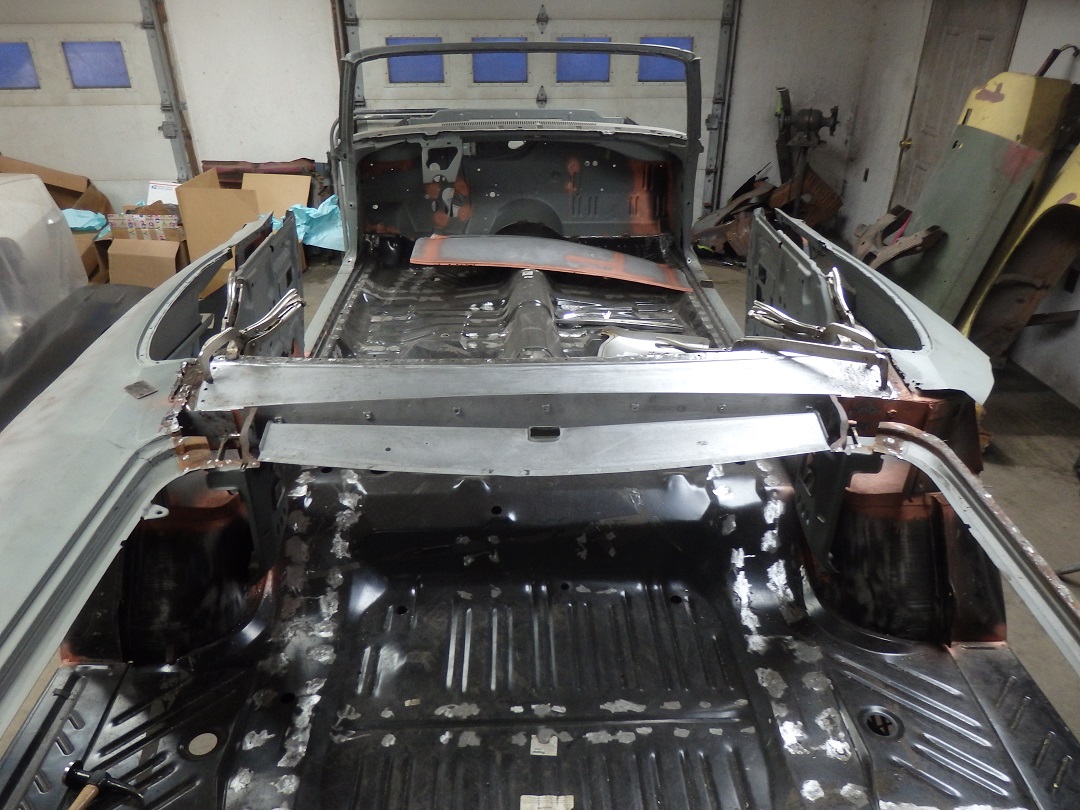 This picture shows the rear inner panel being clamped in place prior to welding. This time it would be welded in correctly with no seam sealer added after the car was painted to protect the top.
 |
 Once it was welded back in, the inner structure was primed with epoxy primer and the inner seam was sealed with 3M 08505 Fast & Firm Seam Sealer.
 |
| Convertible Gutter Repair |
 Mopar convertibles are notorious for rust damage convertible well gutters as the are made of metal. GM and Ford made theirs out of plastic. There was a moderate amount of repairs that needed to be made on this car. The worst
appearing in this picture. In order to perform the repairs properly, the inner rear panel structure had to be removed.
Mopar convertibles are notorious for rust damage convertible well gutters as the are made of metal. GM and Ford made theirs out of plastic. There was a moderate amount of repairs that needed to be made on this car. The worst
appearing in this picture. In order to perform the repairs properly, the inner rear panel structure had to be removed. In this picture you can see the end of the right side gutter where it meets the rear inner panel. I cutoff the tail of the gutter when I removed the rear inner panel as that piece was salvagable and was easier to remove from the panel off the car. |
 In this picture you can see the patch I made and welded in place. The original piece of the gutter end was grafted to the end of the patch. Though the welds were ground down, the contour of the patch still needed to be reshaped in this picture
 |
 Here is the final repair protected in primer. I did need to use a little filler later on to dress-up the imperfrections.
 |
 The gutter on the left side only needed a little patch on the underside.
 |
| Rear Filler Panel Repair |
 The rear filler panel, also known as the dutchman panel, was in rough shape. They do not reproduce these for convertibles, probably due to the low production numbers.
 |
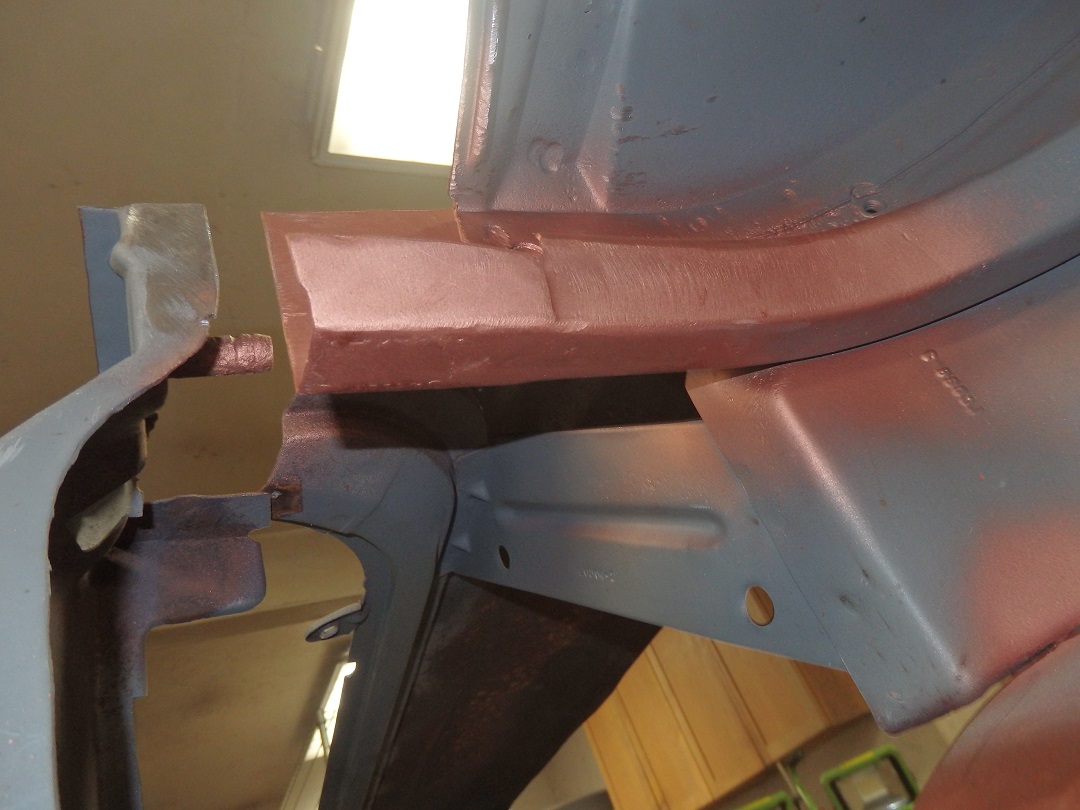
 This is the underside of the panel. Normally you wouldn't see this side, which shows that the inner face was never protected with primer from the factory.
 |
 The ends I repaired by grafting the ends off a repo dutchamn panel for a coupe. The trunk lip is the same on coupes and convertibles.
 |
 Here is a mid-process picture of the grafting process.
 |
 Before finishing the welds, the dutchman was clamped to the rear inner panel to ensure the ends were welded at the correct angle.
 |
 The convertible well side of the dutchman was repaired with a small series of patches. The convertible well moldings were used to ensure the proper contour of the repair patches.
 |
 Here it is fully repaired with the welds all ground down.
 |
 Here it is installed on the car. The trunklid was used to ensure proper alignment. The backside of the dutchman panel was primed with epoxy primer before it was welded in. .
 |