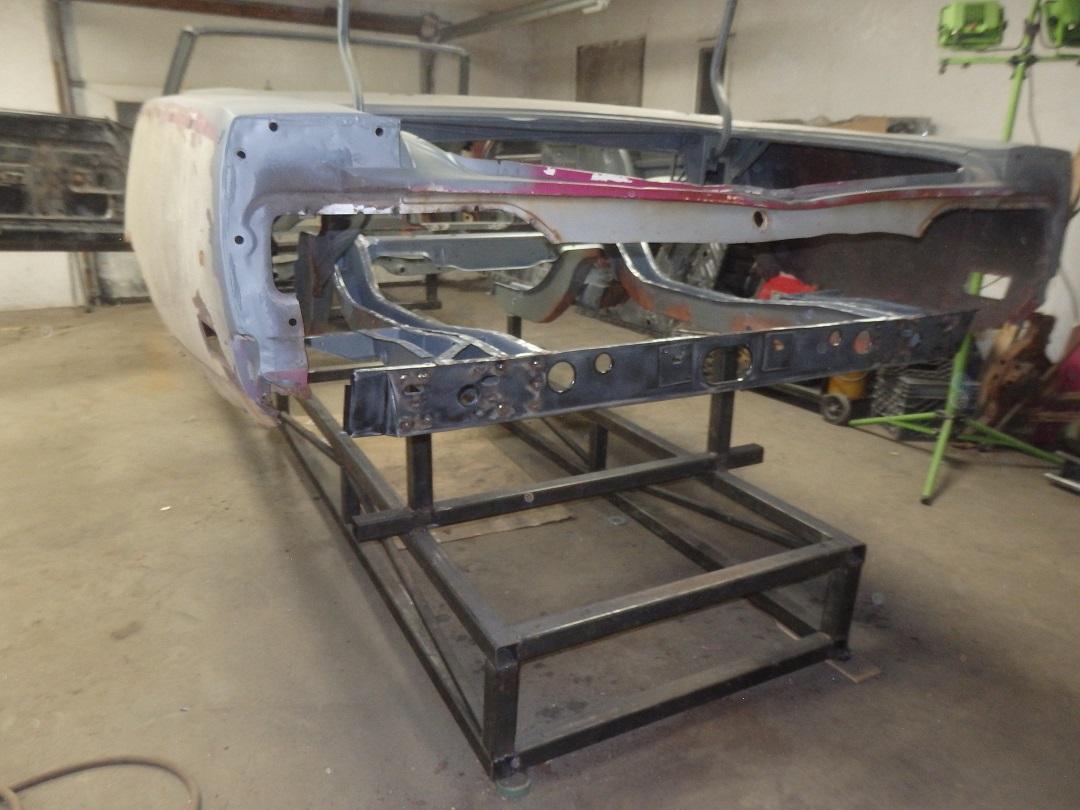
 The floor installation starts at the rear with rear crossmember. Because there was so much of the original rear structure rusted away, there was no point in bracing the rear body up before cutting the tail
panel out.
The floor installation starts at the rear with rear crossmember. Because there was so much of the original rear structure rusted away, there was no point in bracing the rear body up before cutting the tail
panel out. |
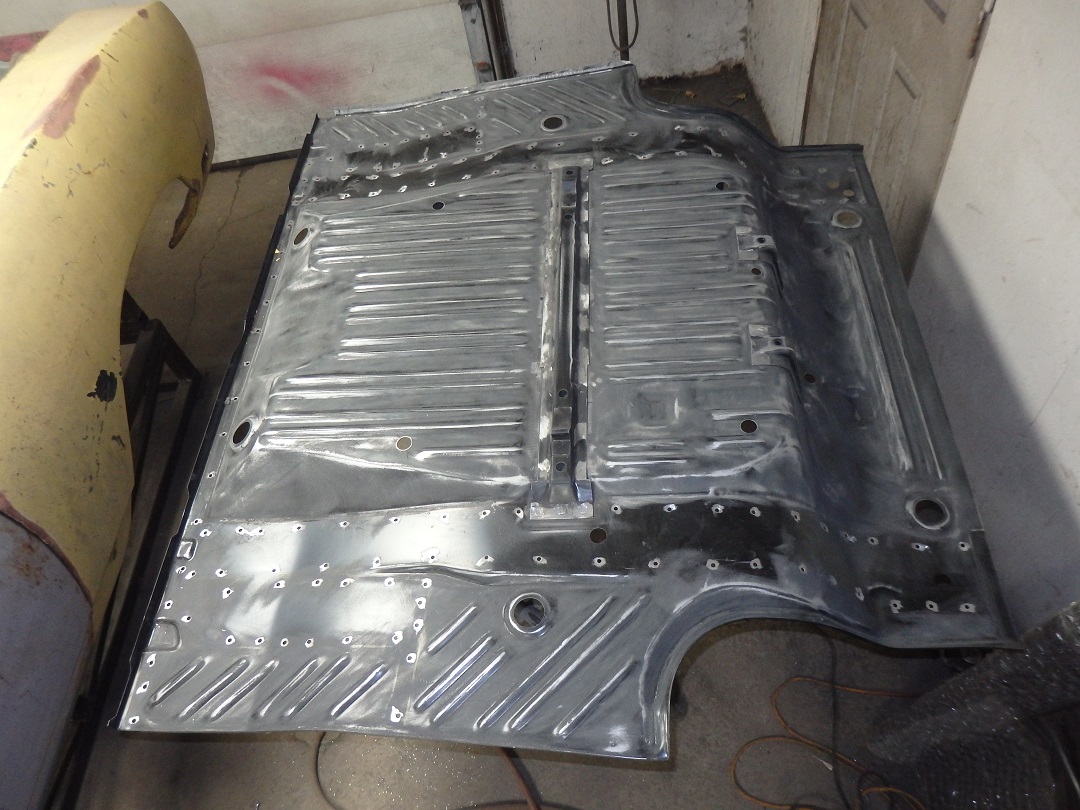 The plug weld holes were marked on the trunk pan before the body went on, so it was easy to prep the trunk pan for installation.
|
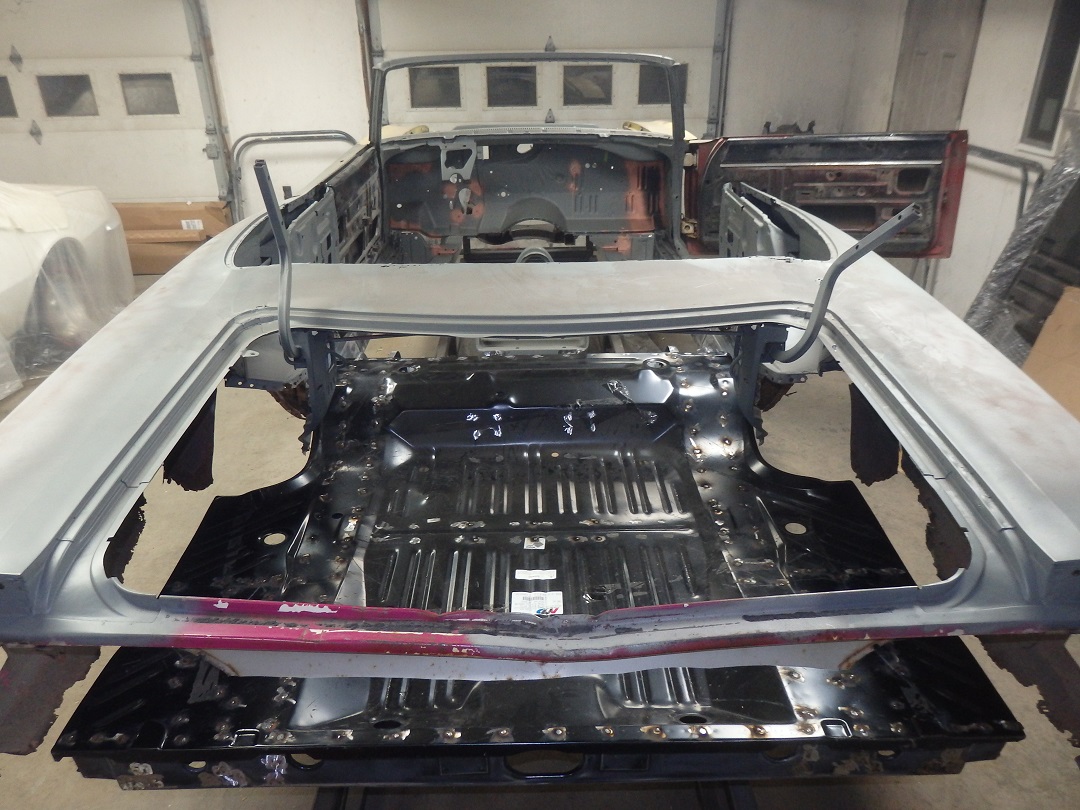 The trunk pan was screwed back down to it's original location and was plug welded in place. Note: You can't always do this.
 |
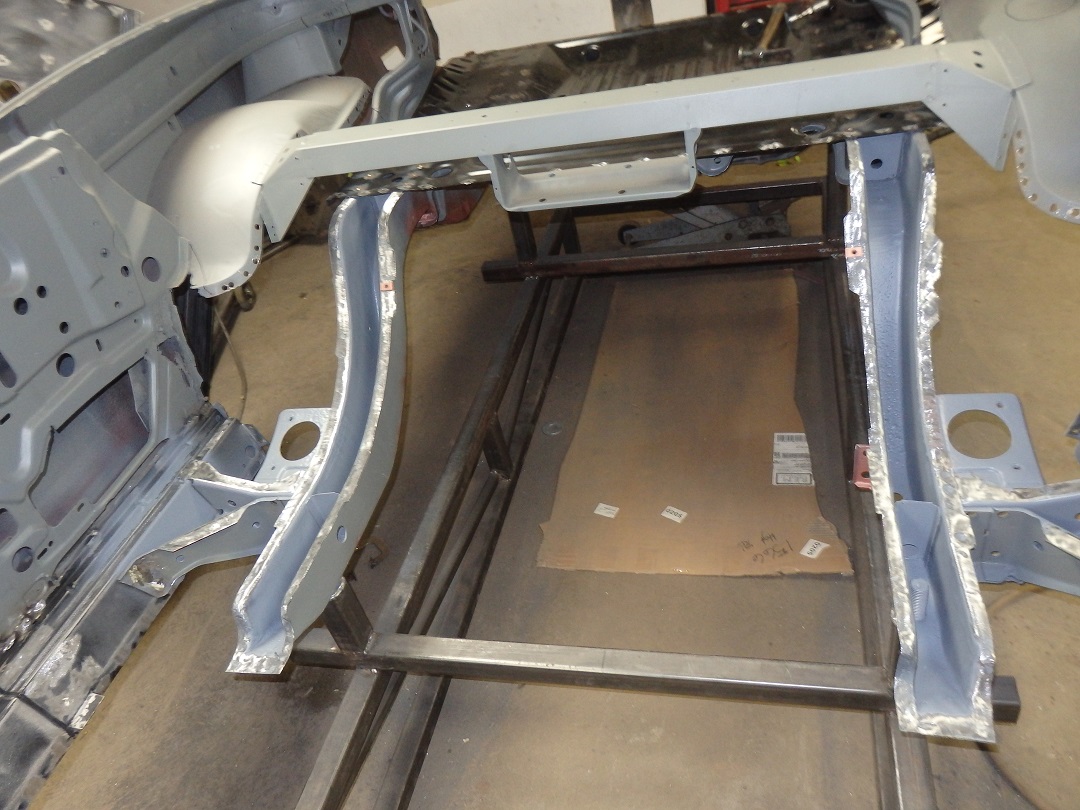 The tops of the rear frame rails were cleaned of primer before welding in the rear seat pan.
 There are pockets on either side of the rear frame rails where they meet the rockers that are hard to get primer into after the rear seat pan goes in. So they were hit with epoxy primer before welding in the pan. |
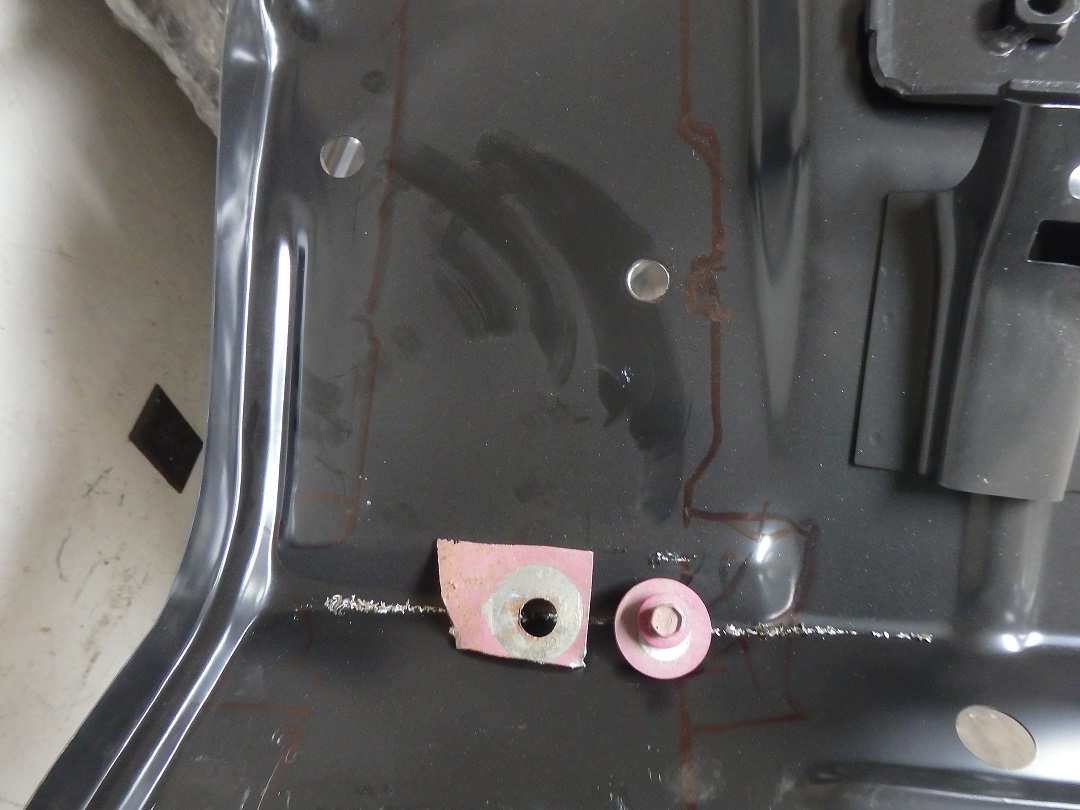 The factory originally bolted the rear seat pan in place before welding it down. The repo pans don't have the holes. So I put the holes in using a piece of the original pan as a template.
 |
 Here the rear seat pan is bolted down and is being clamped in place for welding. Notice I used the original factory bolts.
 |
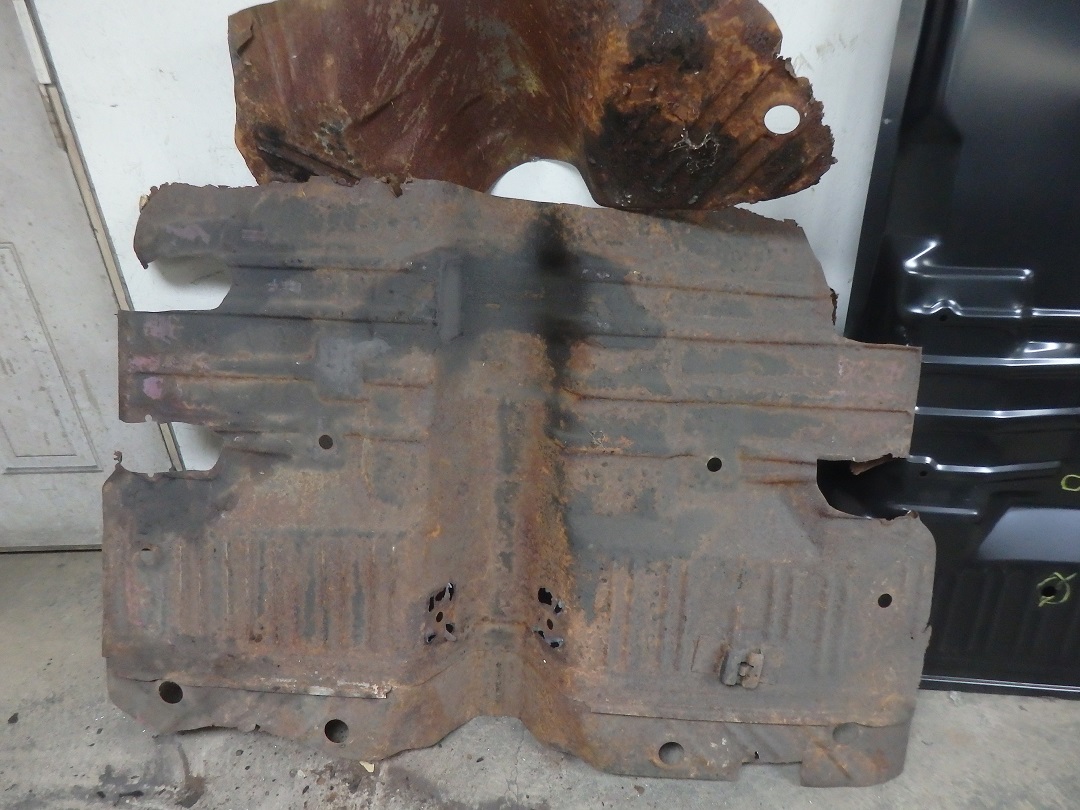 The original front floor pan was used as a reference for making corrections to the repo floorpan.
 |
 Here is the repo pan. Marked in yellow at the bottom are 2 holes that are not correct for 1970. The marks above them show were they need to be.
 There are a bunch of yellow dots. This indicates bumps in the metal that were made by seat anchor plates that were welded to the top. The seat anchor plates needed to be removed and the bumps needed to be ground down. At the top right are 2 marks which indicate were the accelorater petal mounting bolts go through. Below them is a box shaped mark that indicates where the speedometer cable bracket needs to welded in place. I actaully had to make the bracket as the original one was completely rusted away. My 1970 Challenger had the same problem. |
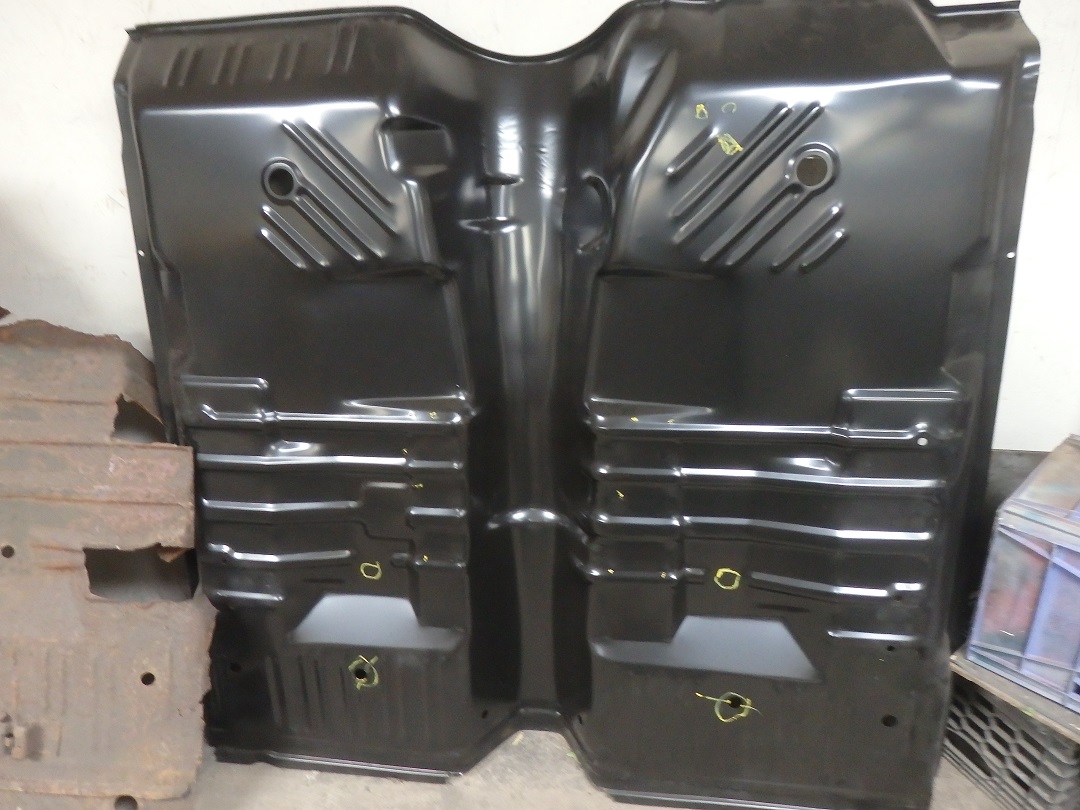
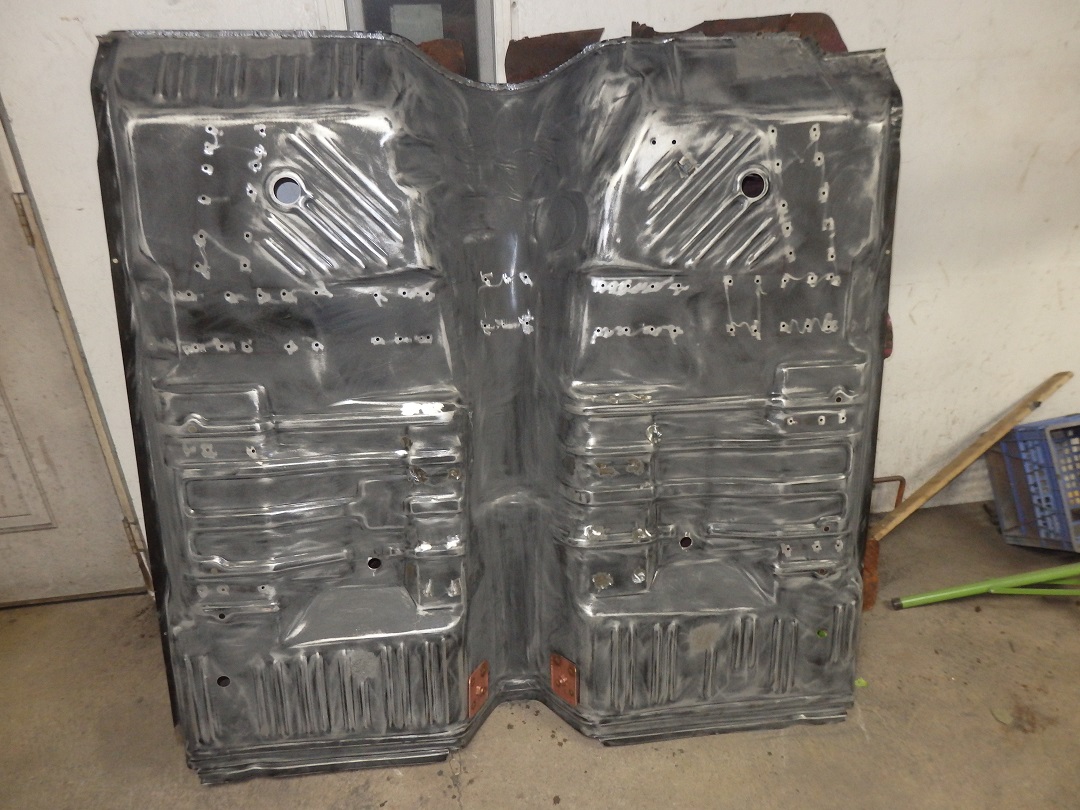 Here is the floorpan after all of the corrections were made. I also had to transfer the seat belt mounting plates (in copper) over from the original floor ast he supplied repos
did not look original enough to me.
Here is the floorpan after all of the corrections were made. I also had to transfer the seat belt mounting plates (in copper) over from the original floor ast he supplied repos
did not look original enough to me. |
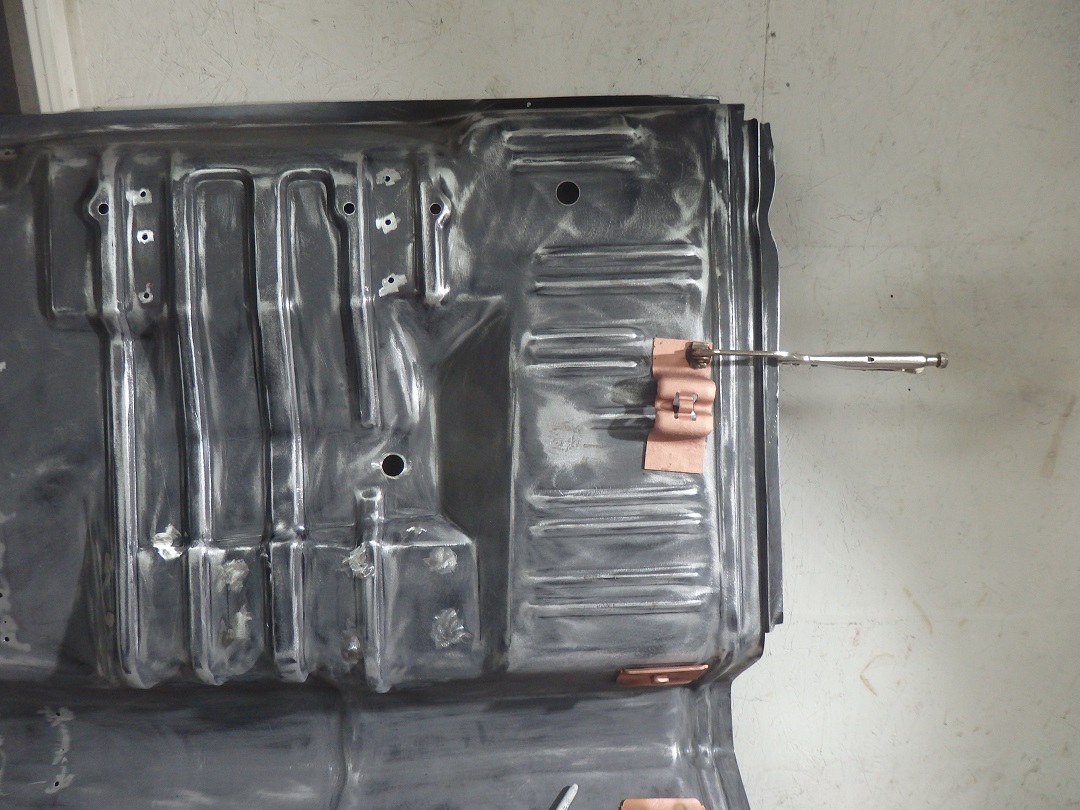 One last item was the parking cable mounting bracket. The repo one was actually pretty nice, but I really wanted to use the original one as it cleaned up really well.
 |
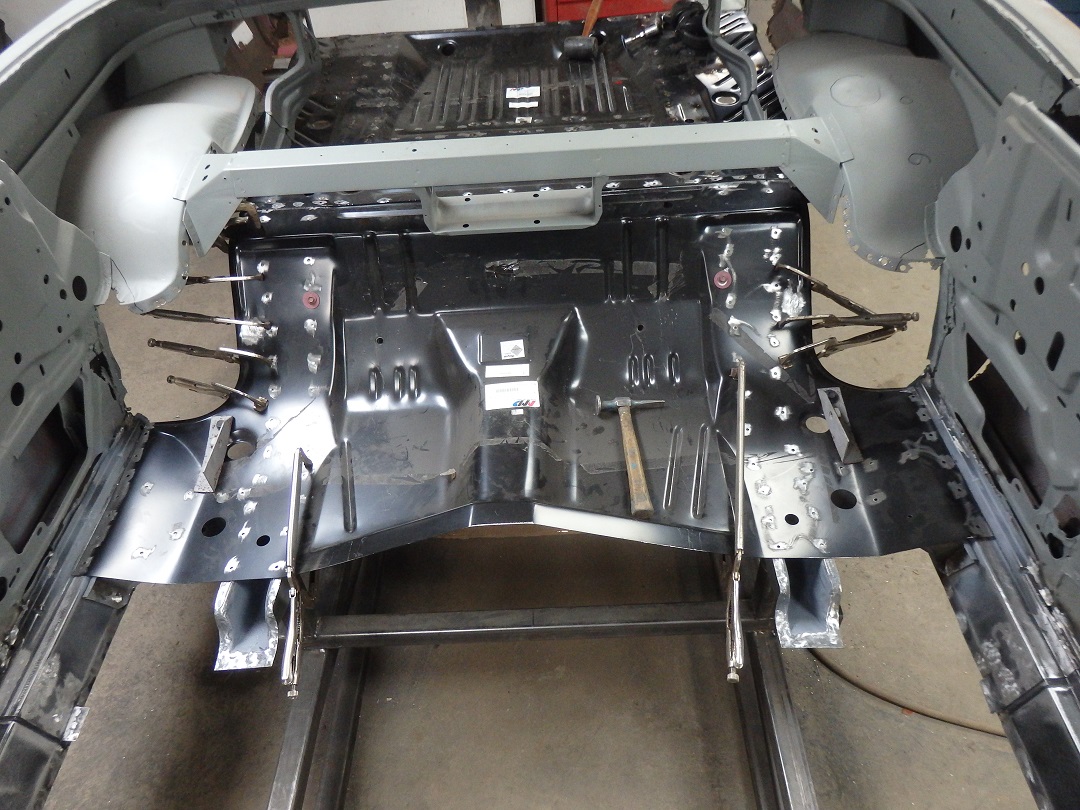
 One last step before welding the front floor in was to weld in the outer seat mouting brackets to the rocker panels. The repos were pretty nice parts.
 |
 Next up was the left rear toepan.
 |
 This shot from below shows that you really need a long pair of visegrips to get the toepan to follow the contour of the frame rail.
 |
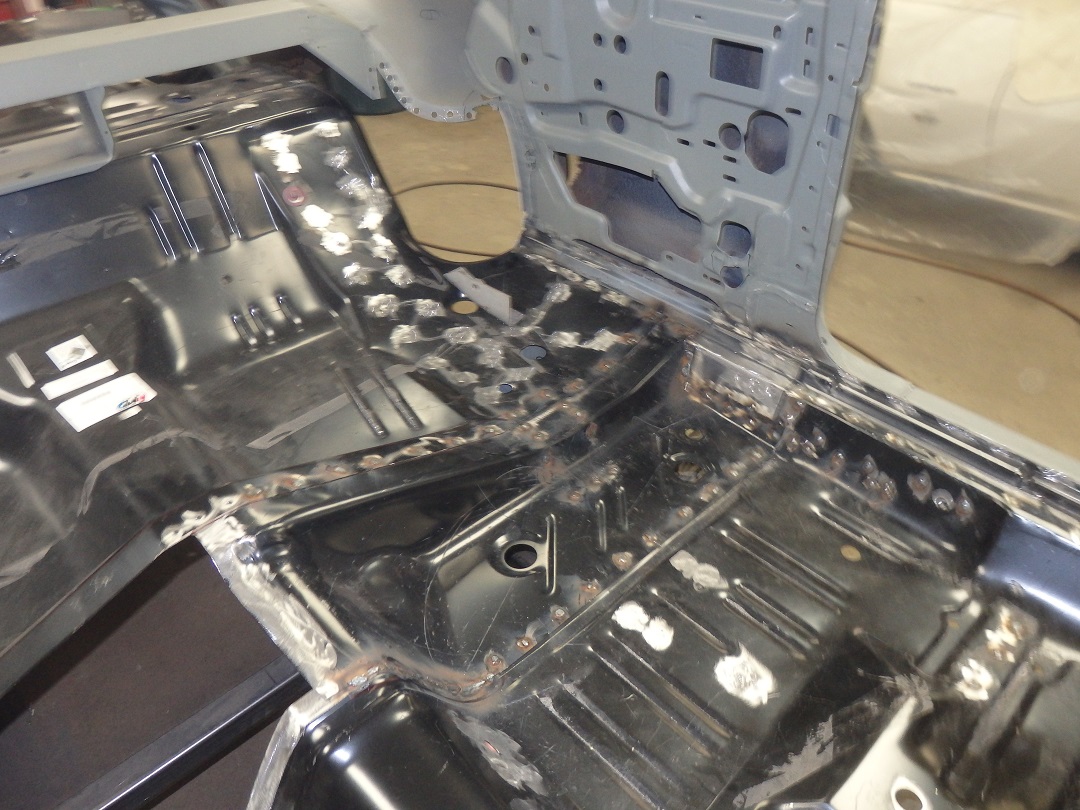 Here is the left toepan welded in. I had a snafu were AMD sent me 2 left sides. The sent me the right one quickly, but I had to wait a couple days.
 |
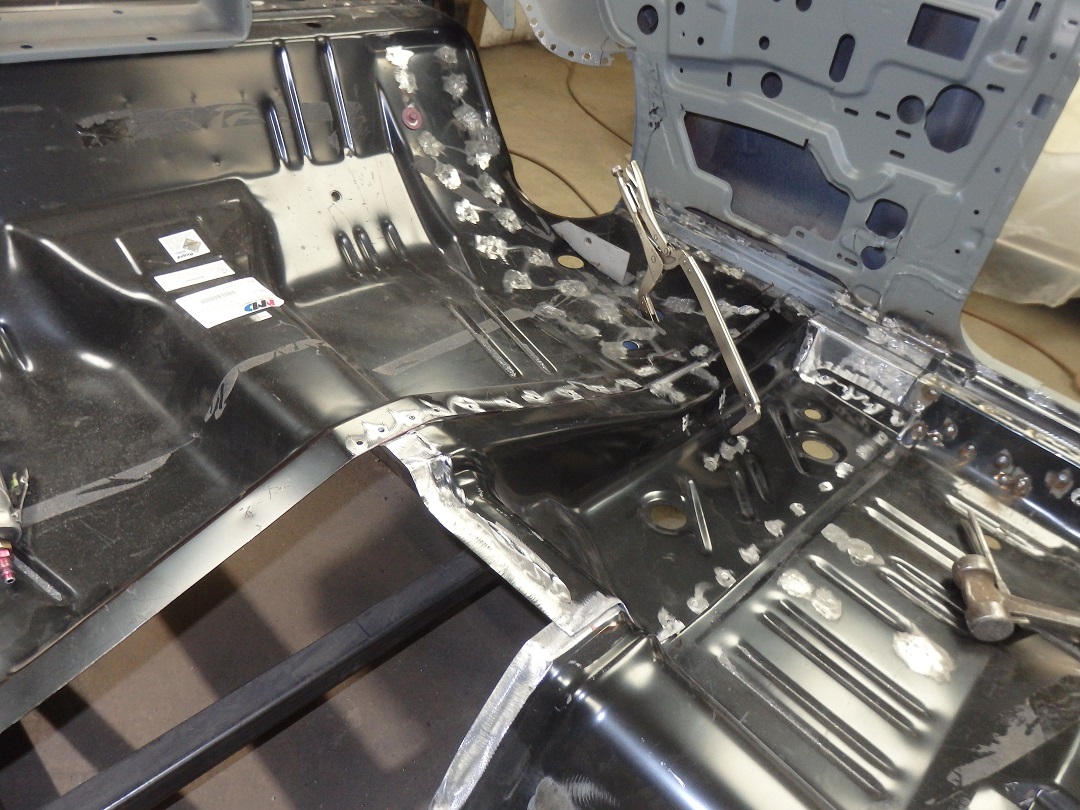
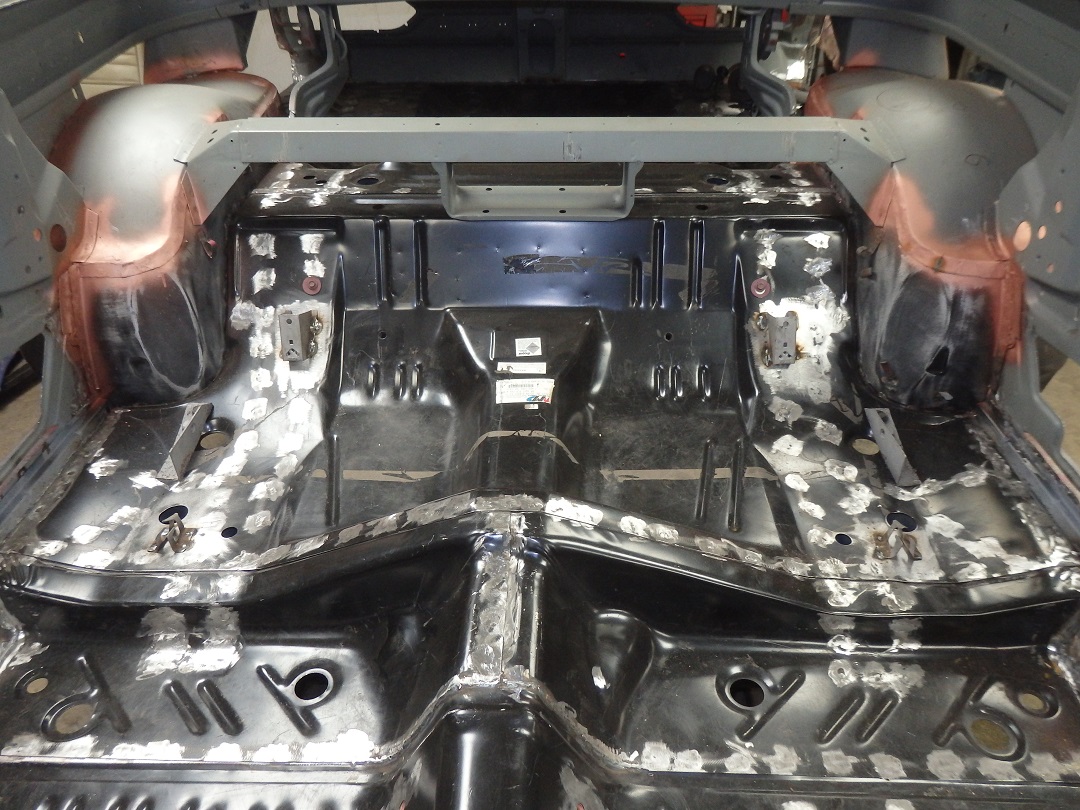 This picture is really out of sequence from the way I did it as I had to install the rear inner wheel houses first, but it fits into the narative better here.
I welded the original rear seat mounting brackets to the floor using measurements I took before cutting out the floors. Also visible in this picture are the rear outboard seatbelt mounting brackets. They bolt through the floor into the brackets, mentioned earlier, that are welded to the frame rails. These brackets are a convertible only part and bolt down using the same screws that are used on the door hinges. |
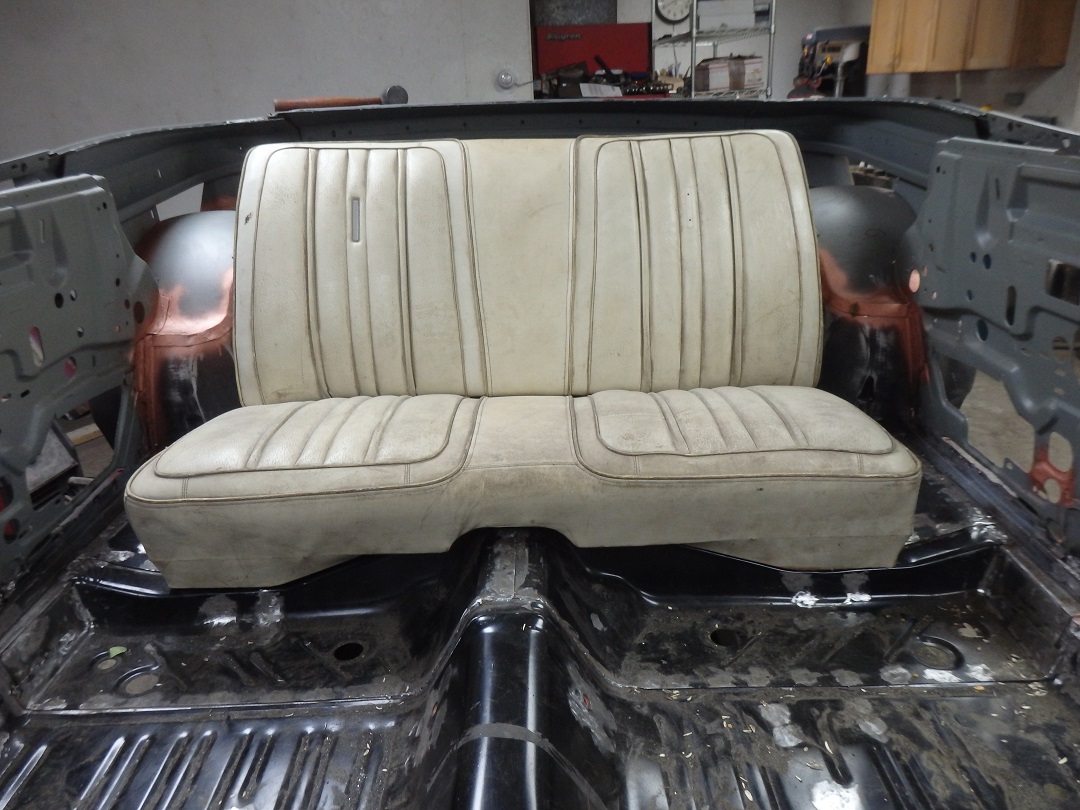 The rear seat was trial fitted to make sure the brackets were welded in the correct place.
 |
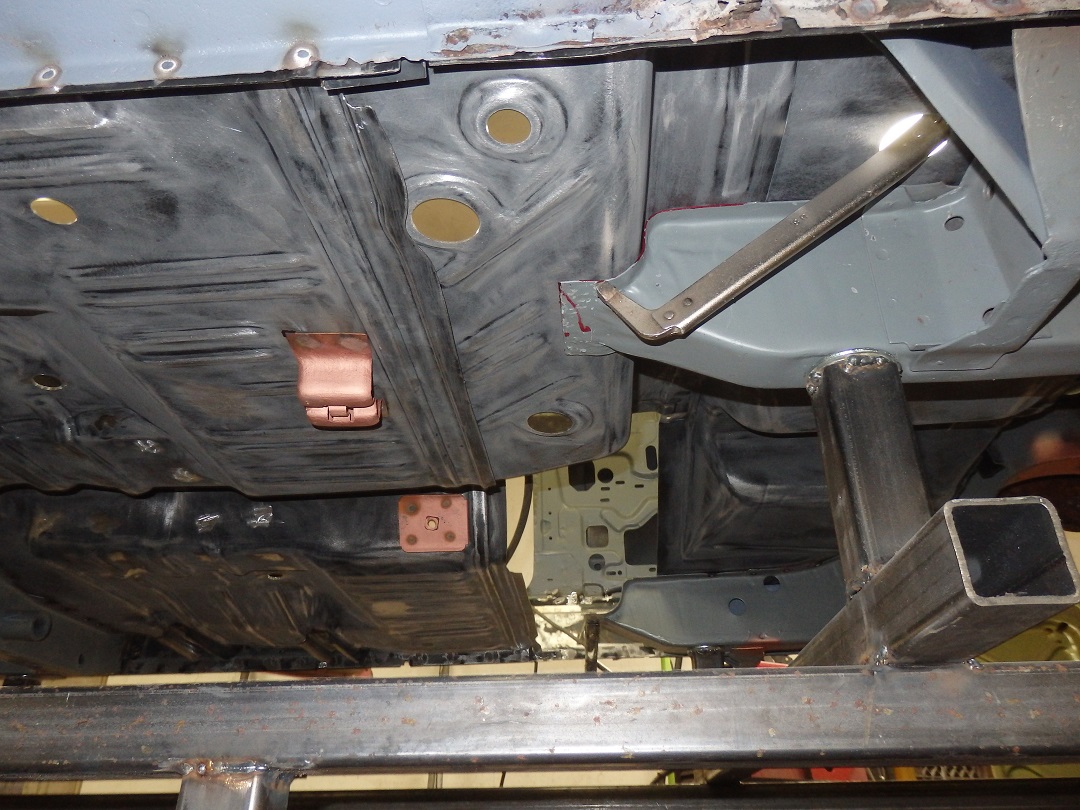
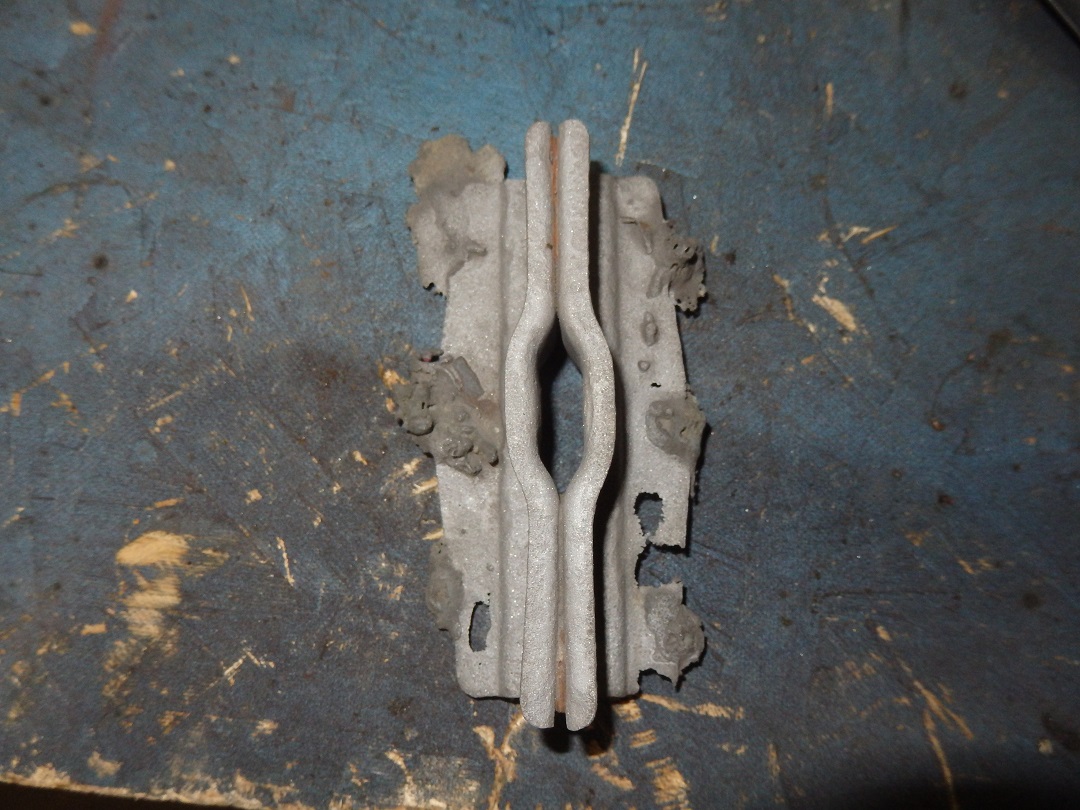 Here is another convertible only part that they don't reproduce. It's the spare tire anchor bracket. It was loosely attached to what was left of the trunk floor when I got the car. I was lucky that it didn't fall
off. Yes, those crappy welds are factory original.
Here is another convertible only part that they don't reproduce. It's the spare tire anchor bracket. It was loosely attached to what was left of the trunk floor when I got the car. I was lucky that it didn't fall
off. Yes, those crappy welds are factory original. |
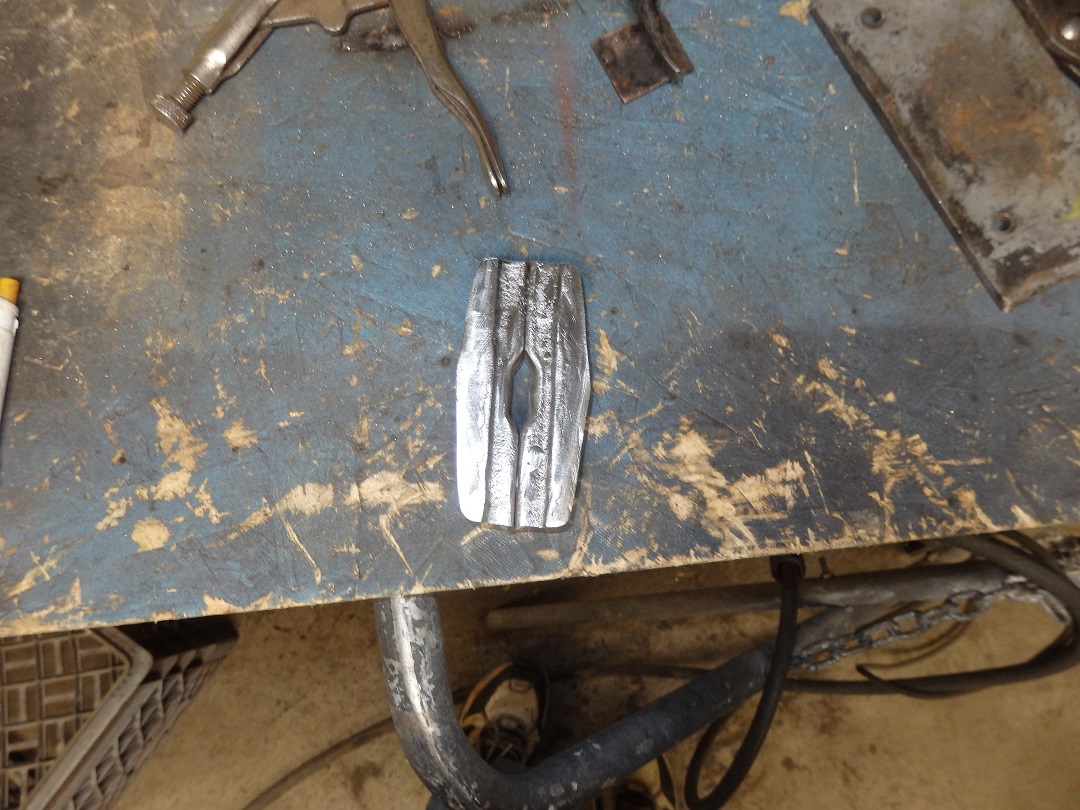 Here is an underside picture after I repaired it.
 |
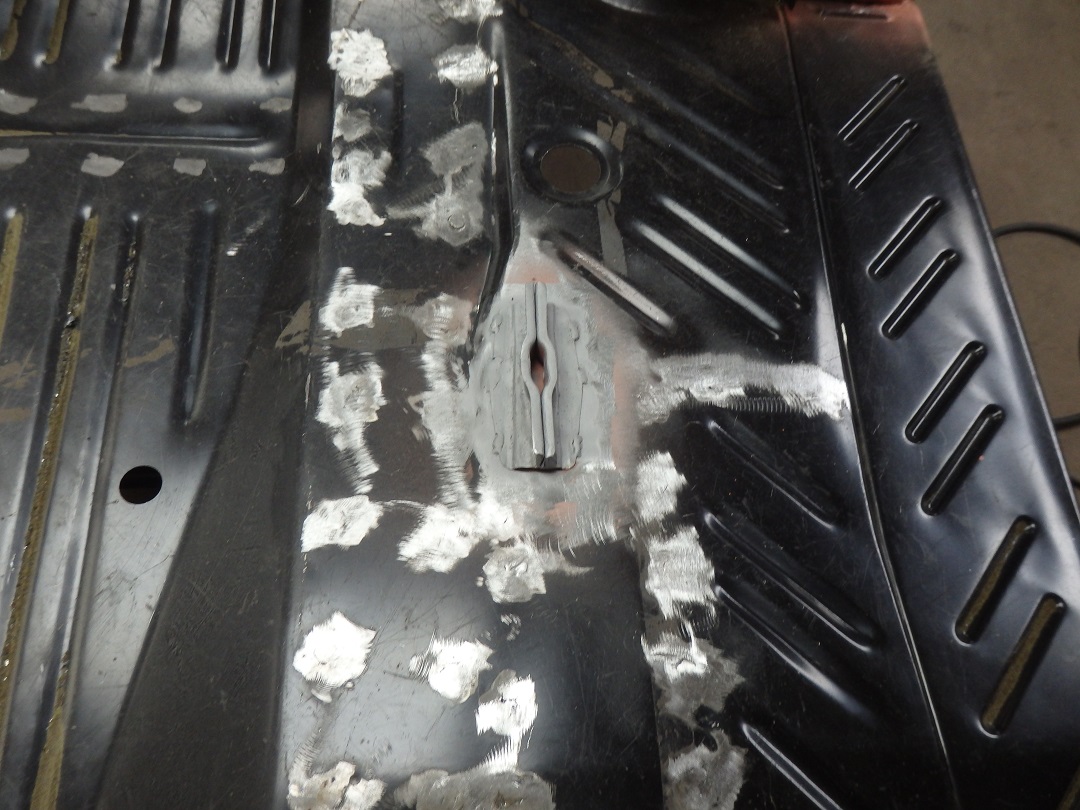 And here it is welded to the trunk pan. My welds were a bit nicer.
 |