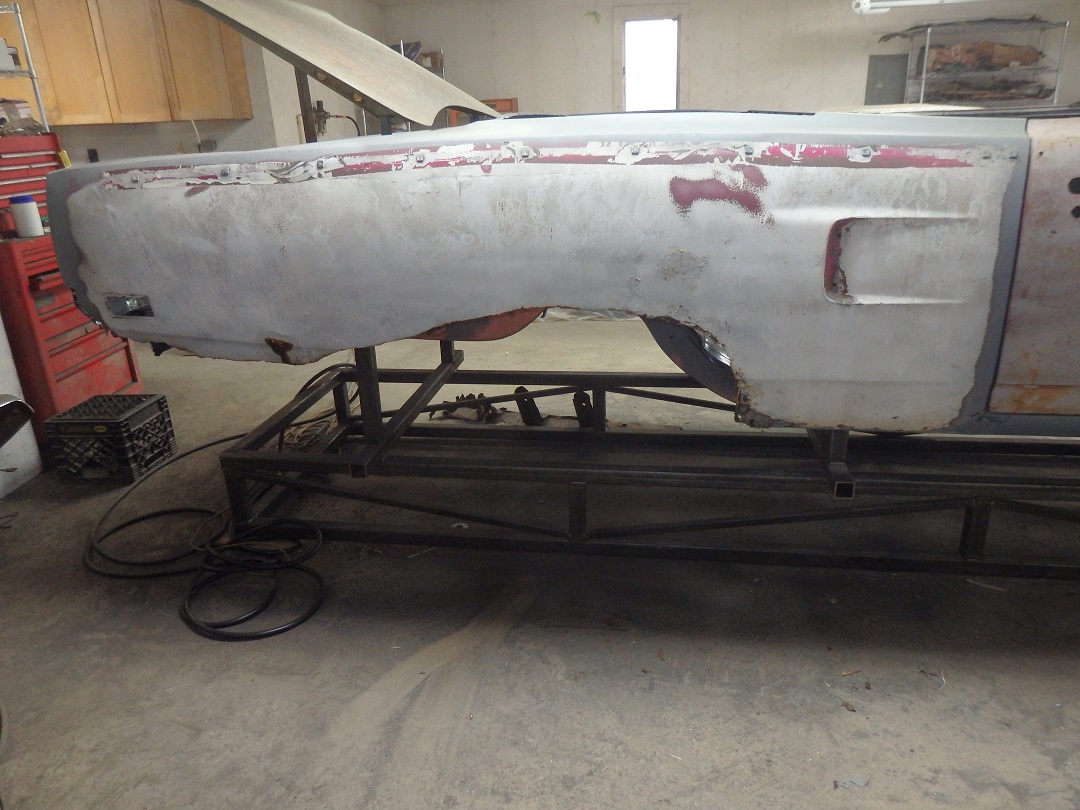
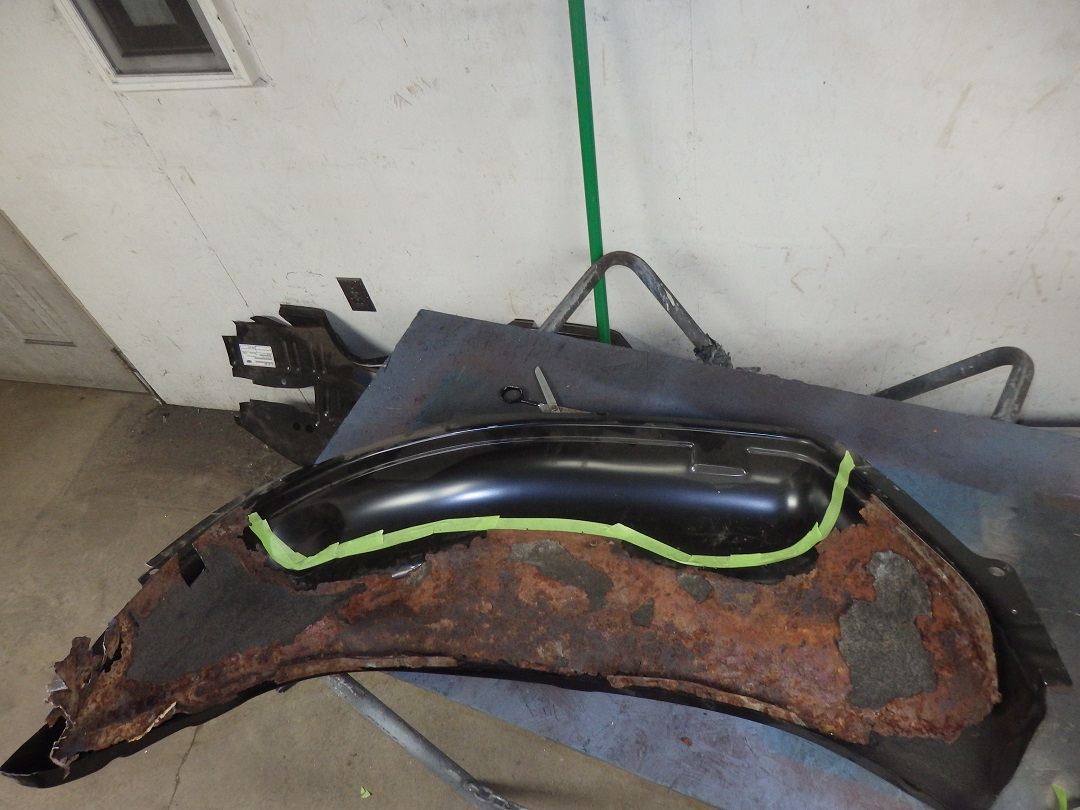
 This is what the passenger's side quarter panel looked like when I started
 |
 They do not make quarter panels for convertibles on B-Bodies. Probably due to the low production numbers. I was planning on butt-welding the quarters on anyways, so no big deal.
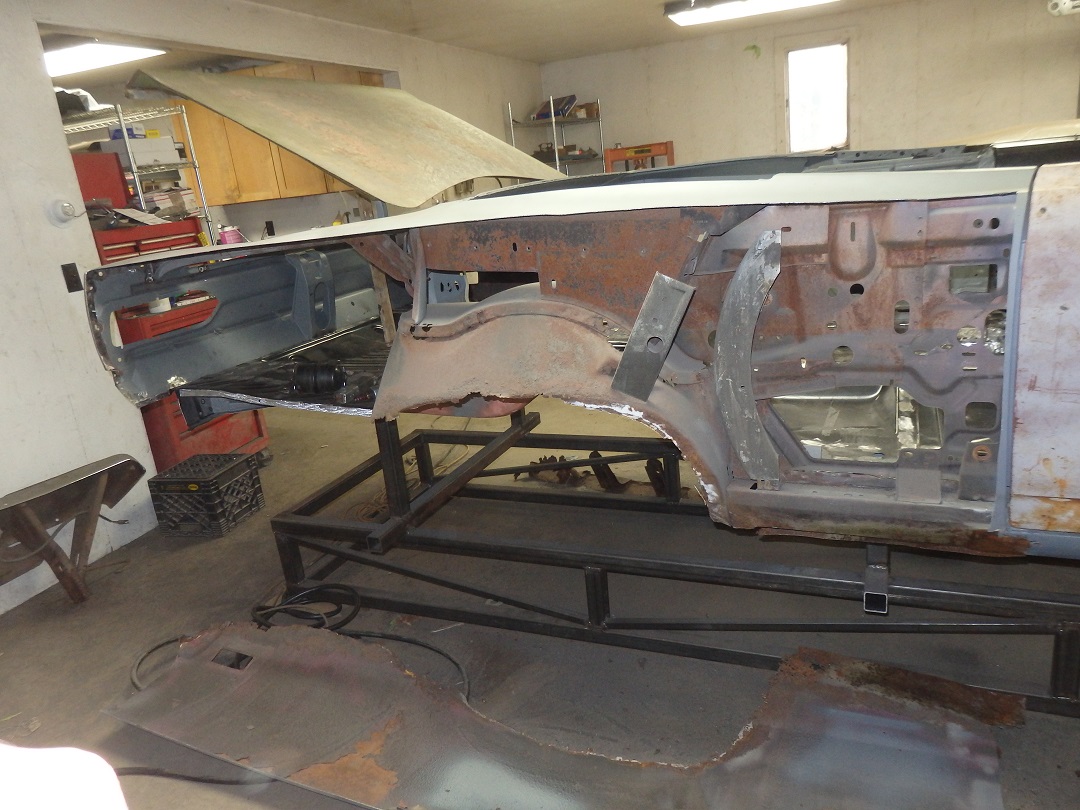
I waited until I got the quarter panels before I decided what I was going to do. The tops of the quarters where pretty damaged, like some one jumped up and down on them, so I decided I was better off replacing the quarters all the way to the trunk lip. More on that later. For now I just cut the side open. Here you can see the rotted outerwheel house, window track and some strange factory quarter panel brace near the front of the wheelhouse, which seems to be there just to keep the quarter panel from buckling in if someone leans against it !? |
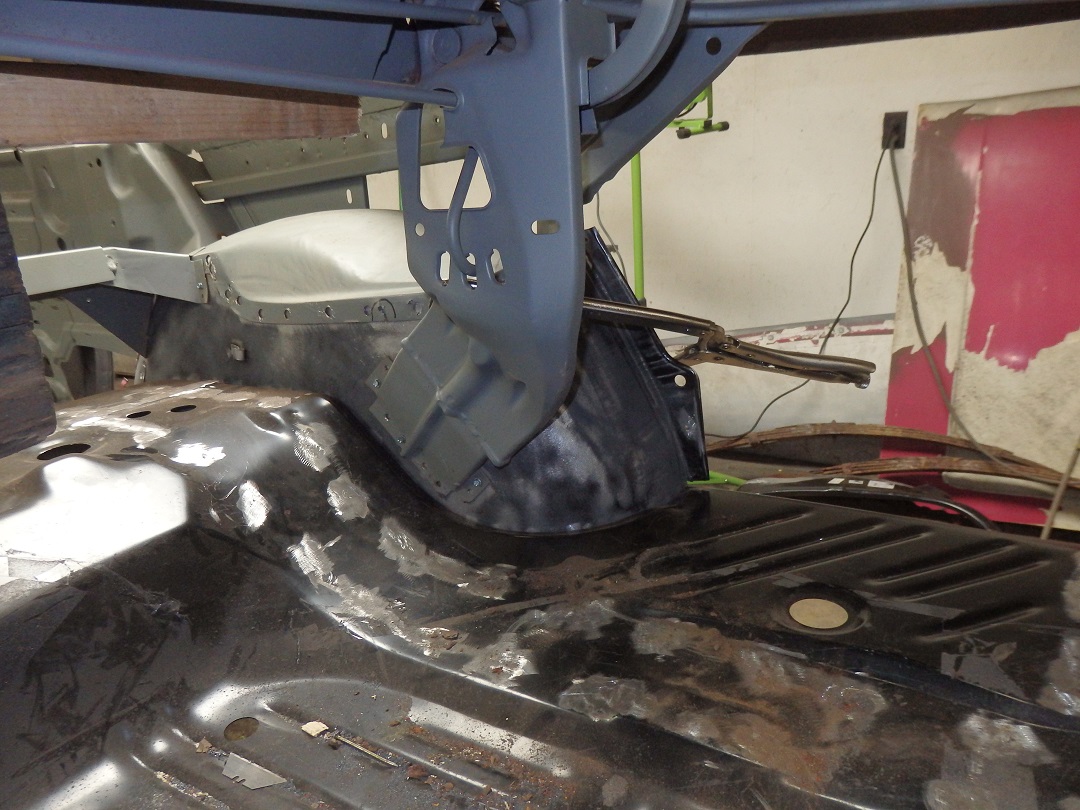
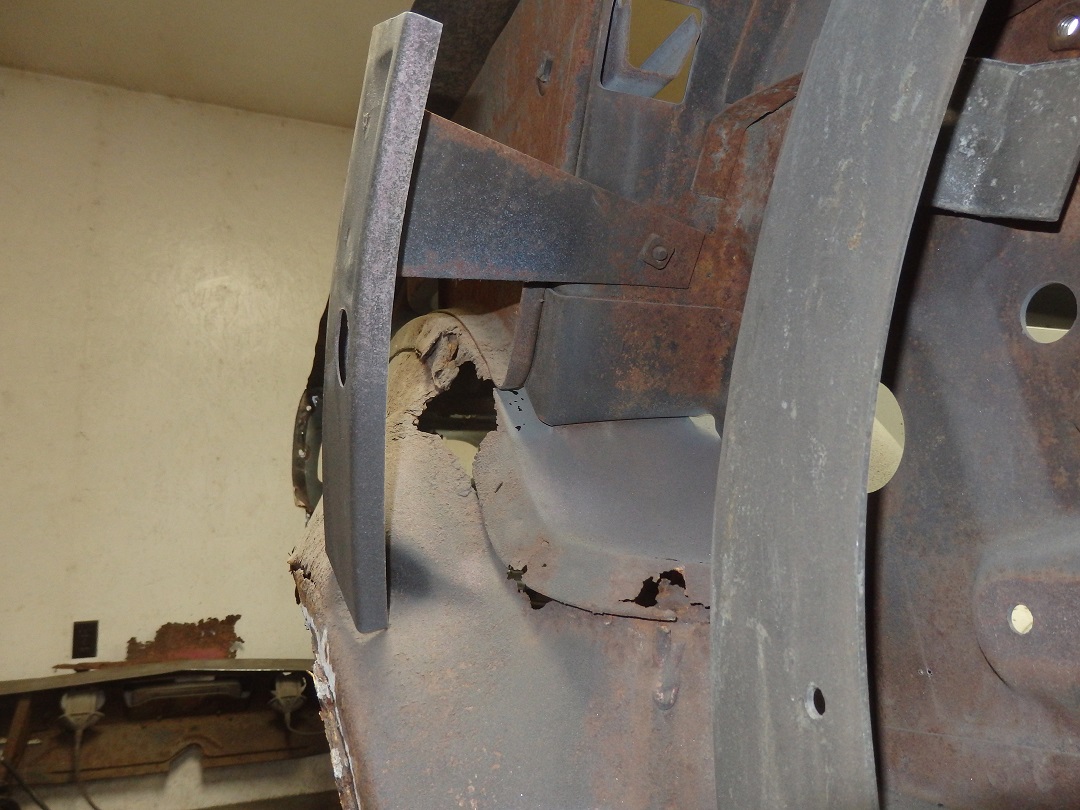 Here's a close-up of the brace.
|
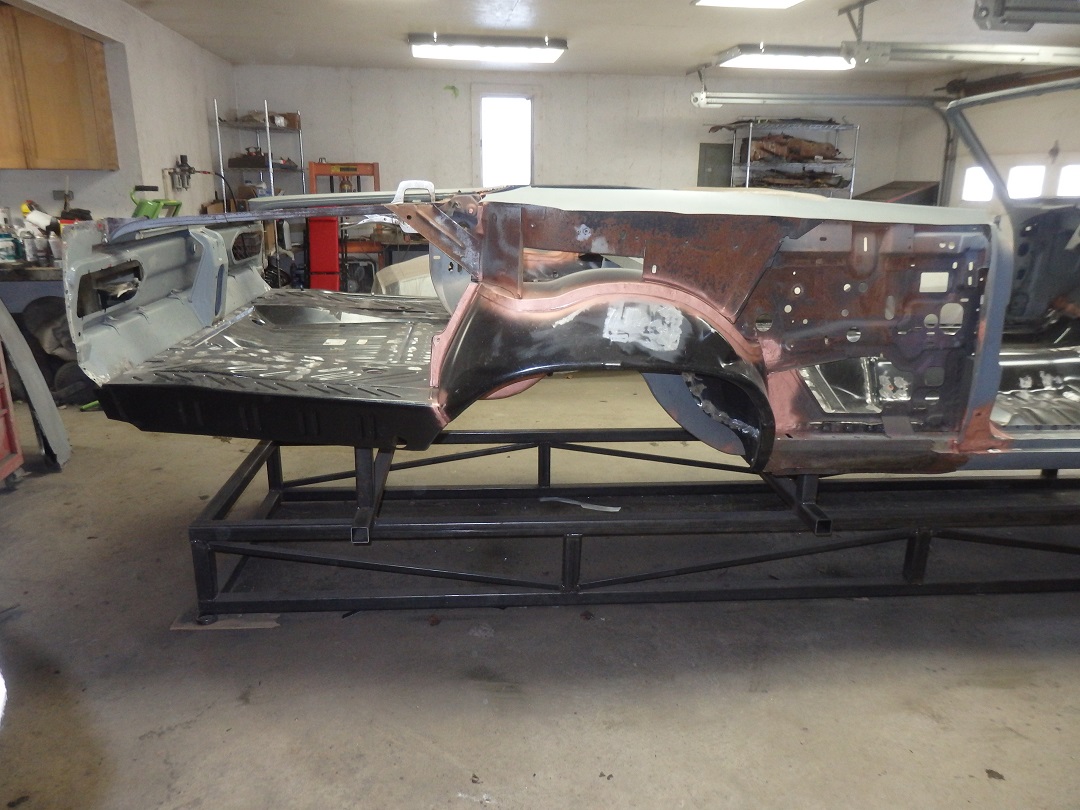
 The new inner wheelhouses were trimmed and fitted to the car in preparation for fixing the flange around the wheelhouse cap.
 |
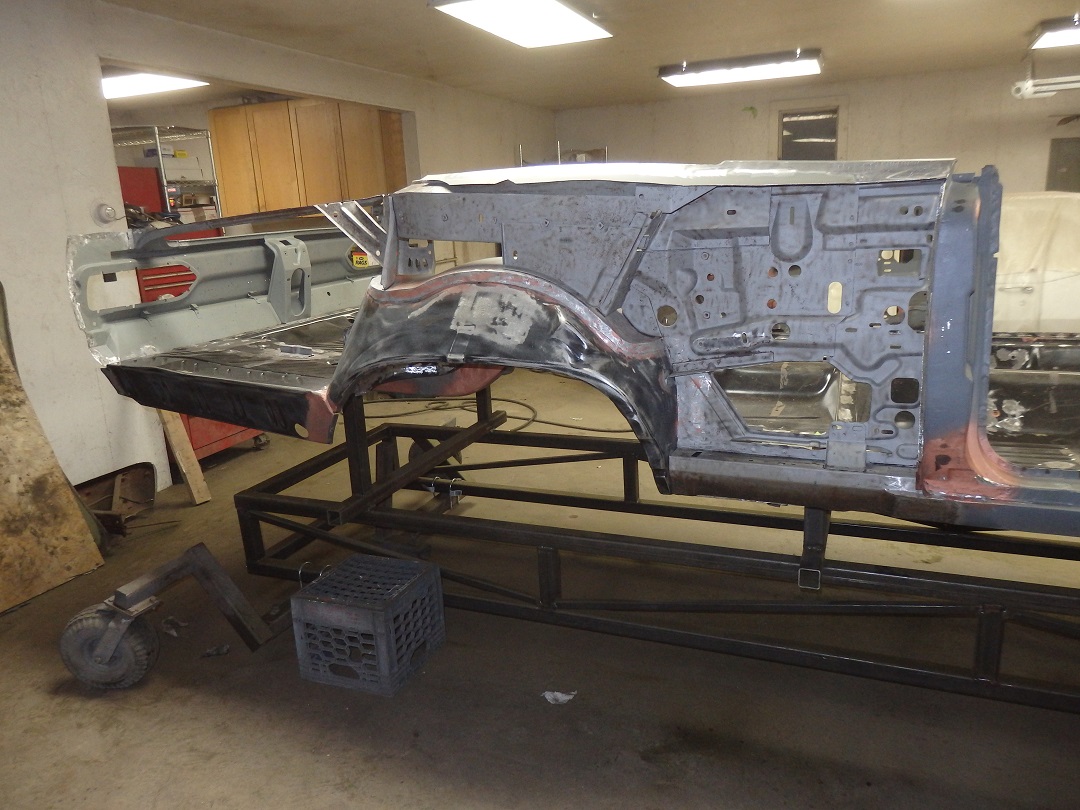
 Here the wheelhouse cap is repaired and the inner fenders are welded in.
 |
 The inside faces were sandblasted and prepared for epoxy primer in this picture.
 |
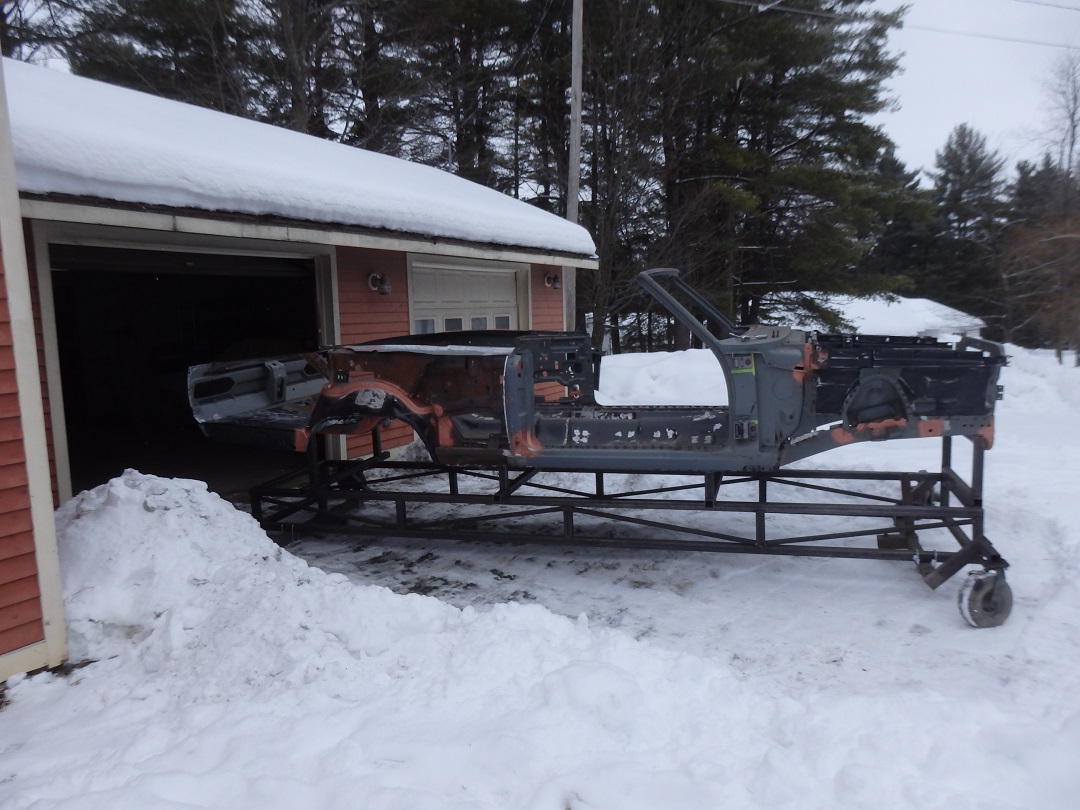 Being February, I had some shoveling to do to get the car outside to get the sandblasting done. I also had to wait for a day above 30F.
 |
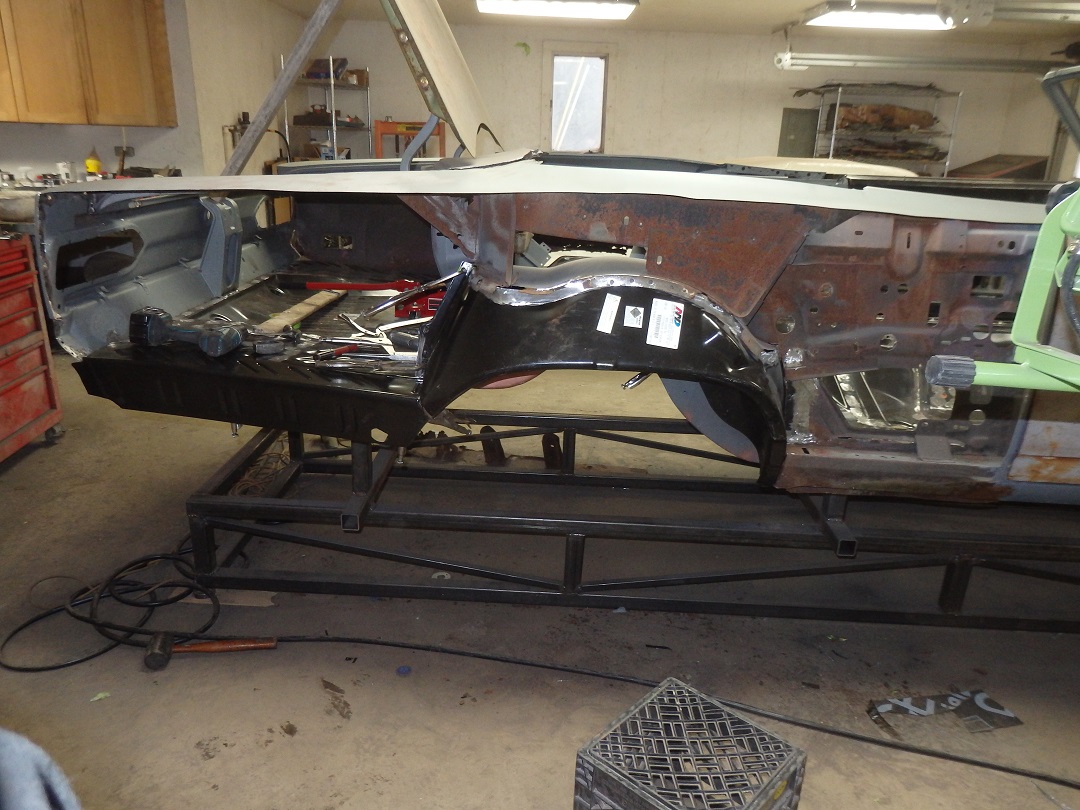
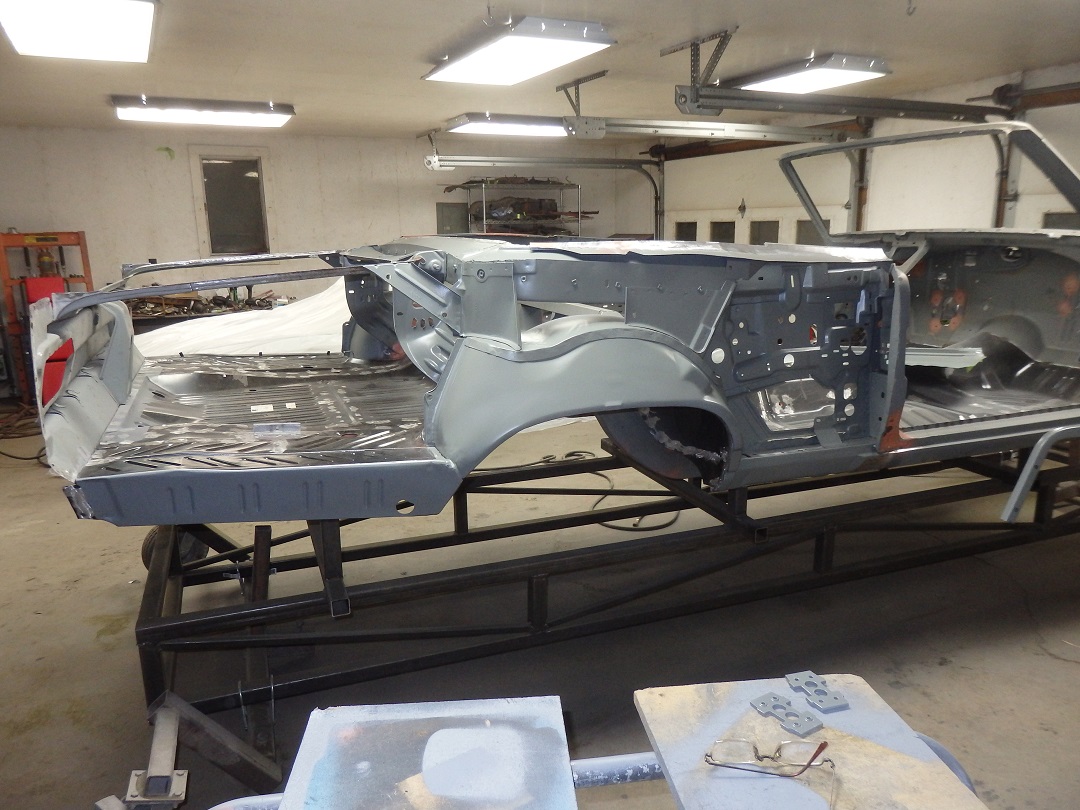 And here it is all in primer. Note: the lower trunk dropoff was only clamped to the trunk floor since it needed to be fitted to the quarter panel first.
 |
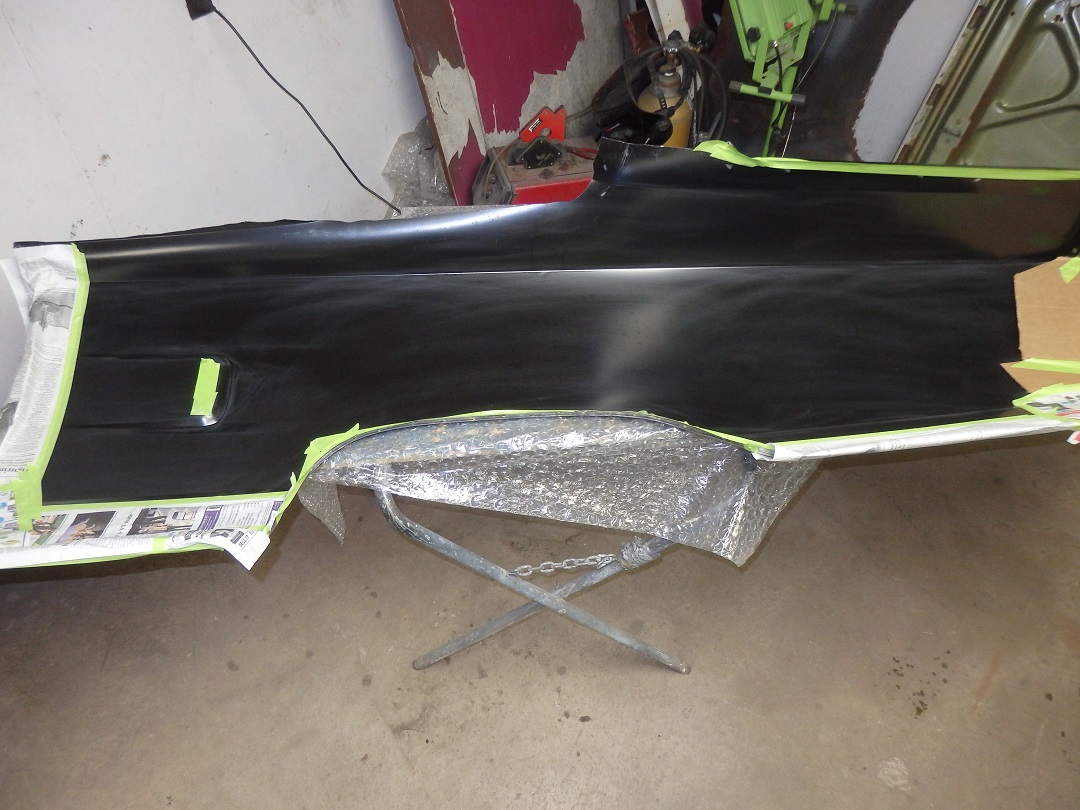
 Here is the coupe quarter panel fitted to the car. The idea was to get it in place and mark the areas that need to be removed.
 |
 Here is a shot from the inside. I planned on using original inside lip by the quarter window, but it was an easy spot to hang it from.
 |
 Here is the trunk opening on the new quarter. I was definitely going to use it.
 |
 I marked the area I wanted to cut off with masking tape.
 |
 Here it is after trimming off the upper quarter. The idea here is to leave extra that is cut off later during the butt welding process.
 |
 But before that process, the inside face was masked off and sprayed with special factory style undercoating from Resto Rick.
 |
 Here the butt welding process had begun. The idea, as shown before on many of my other projects, is to overlay the new panel over the old, cut through both panels, pull the unwanted material away while tackwelding the new
panel inline with the original sheetmetal that remained.
Here the butt welding process had begun. The idea, as shown before on many of my other projects, is to overlay the new panel over the old, cut through both panels, pull the unwanted material away while tackwelding the new
panel inline with the original sheetmetal that remained. |
 The rear corner areas of the convertible wells needed to be redone, but the repo quarters do not have this detail being made only for coupes.
 |
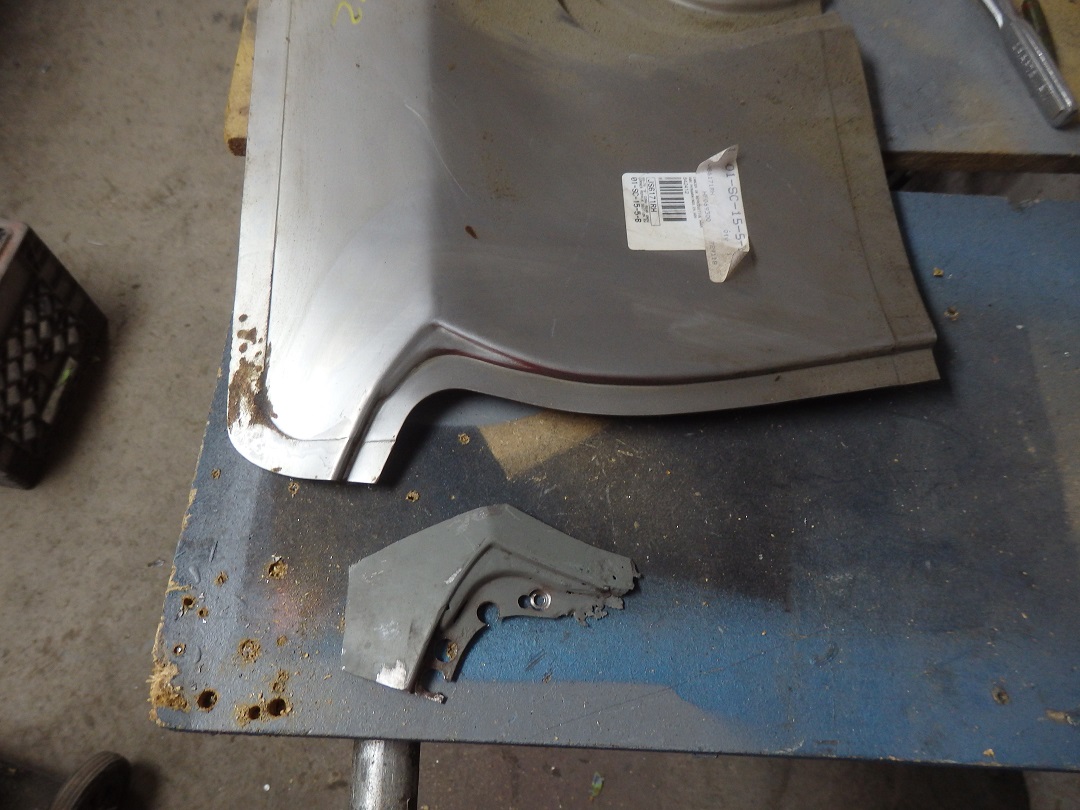 They make these repo patch panels. For the most part they are junk, but the contours along the convertible well lip are correct.
 These panels were hard to come by. I ordered these, which were way overpriced from Year One, but then found I had to wait months for them to come in from China........ |
 So I cut off the piece I needed from the patch panel and butt welded it in.
 |
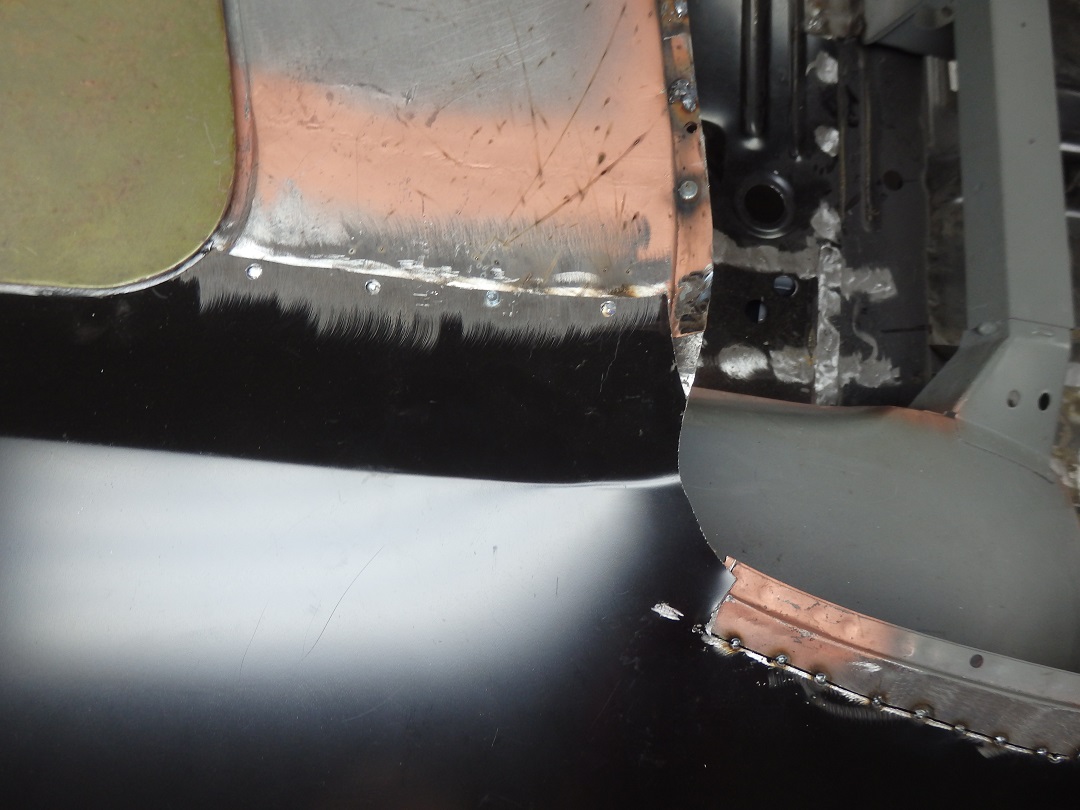
 Here it is all welded up with the welds ground down.
 |
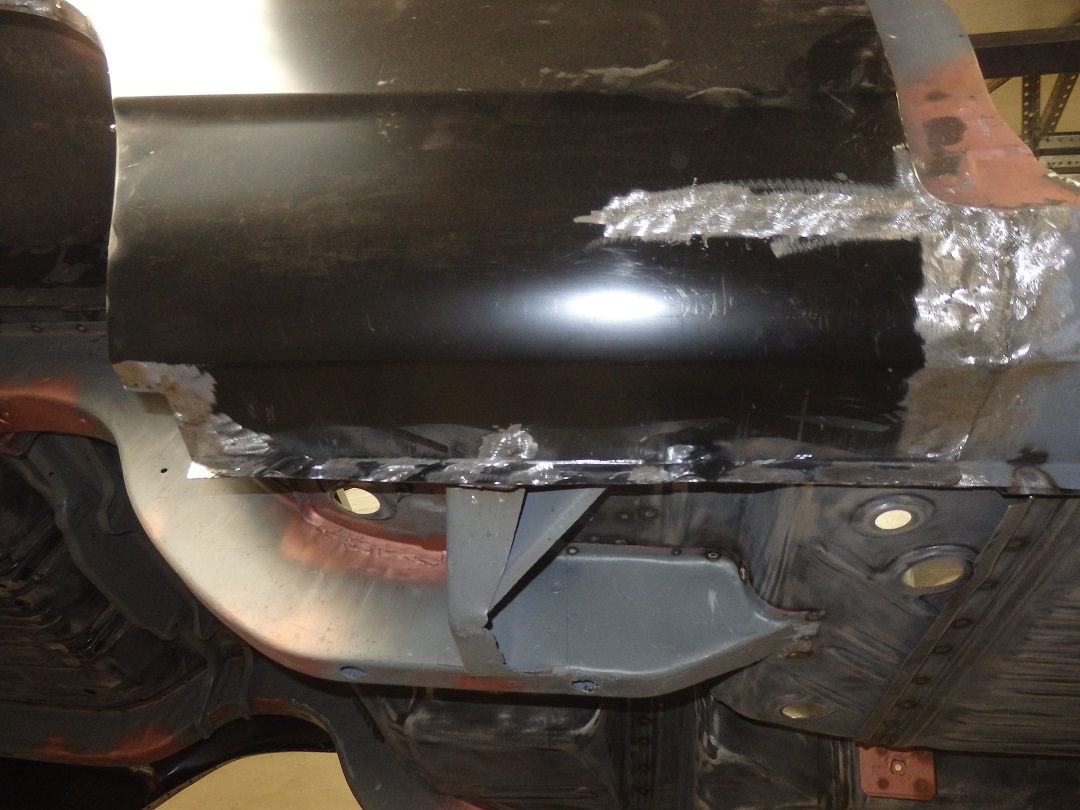
 For the trunk opening I used a pinchwelded to replicate the factory spot welds.
 |
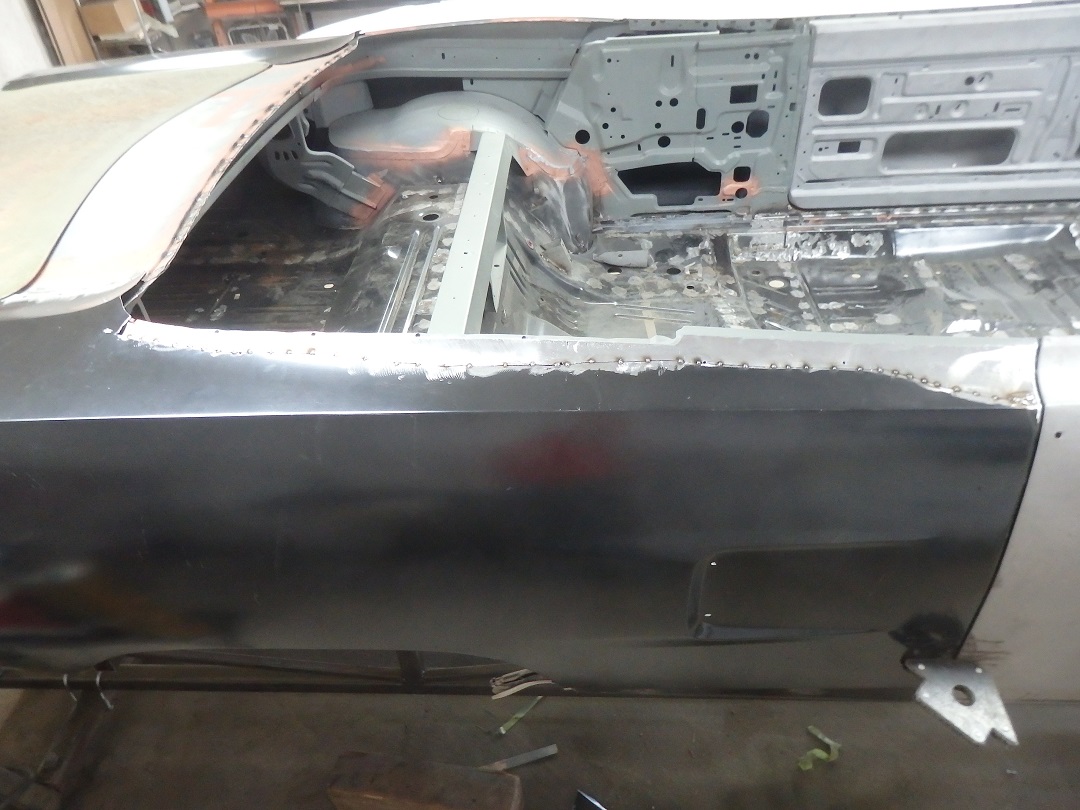
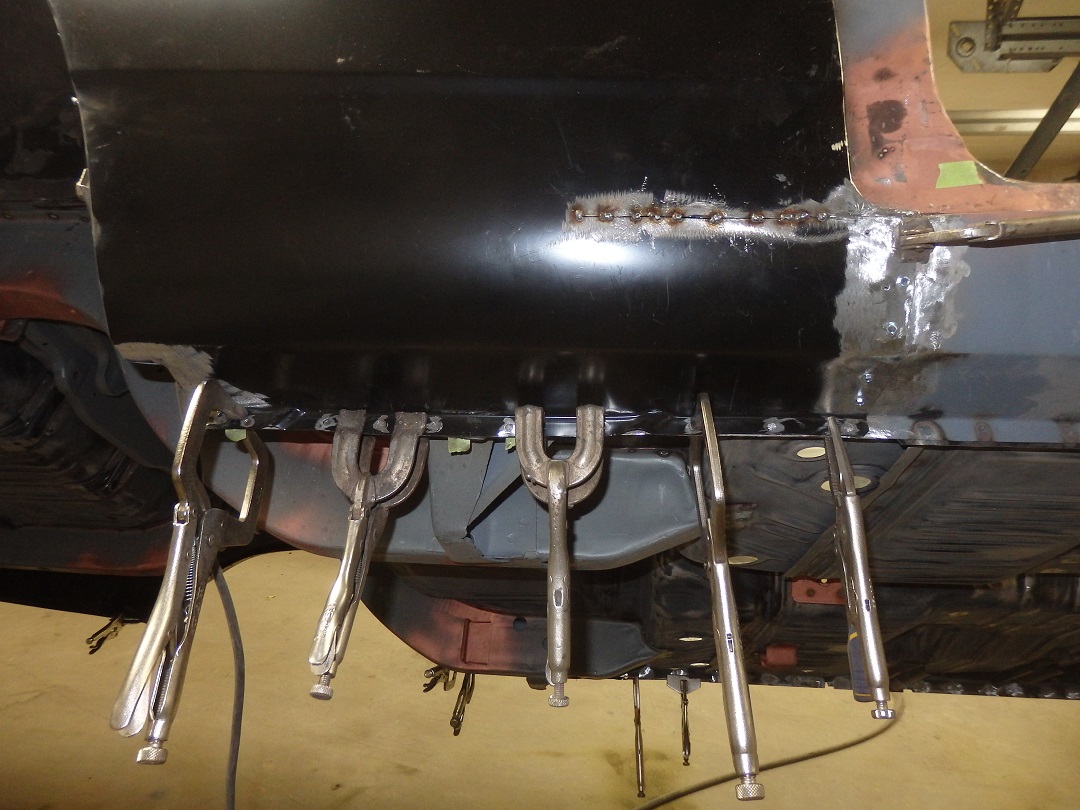 The front of the quarter that fits the rocker didn't quite fit the contour of the door, so I had to make a surgical repair to it by just cutting it back a bit and welding it back together.
 |
 It was then spot welded to the rocker and face welded down the side of the rocker. They underside was plug welded as the seam is supposed to show.
 |
 Here are the locations were the quarter panel a welded to the underside of the rocker. These measurements were taken so that I knew where to drill the plugweld holes (not shown).
 |
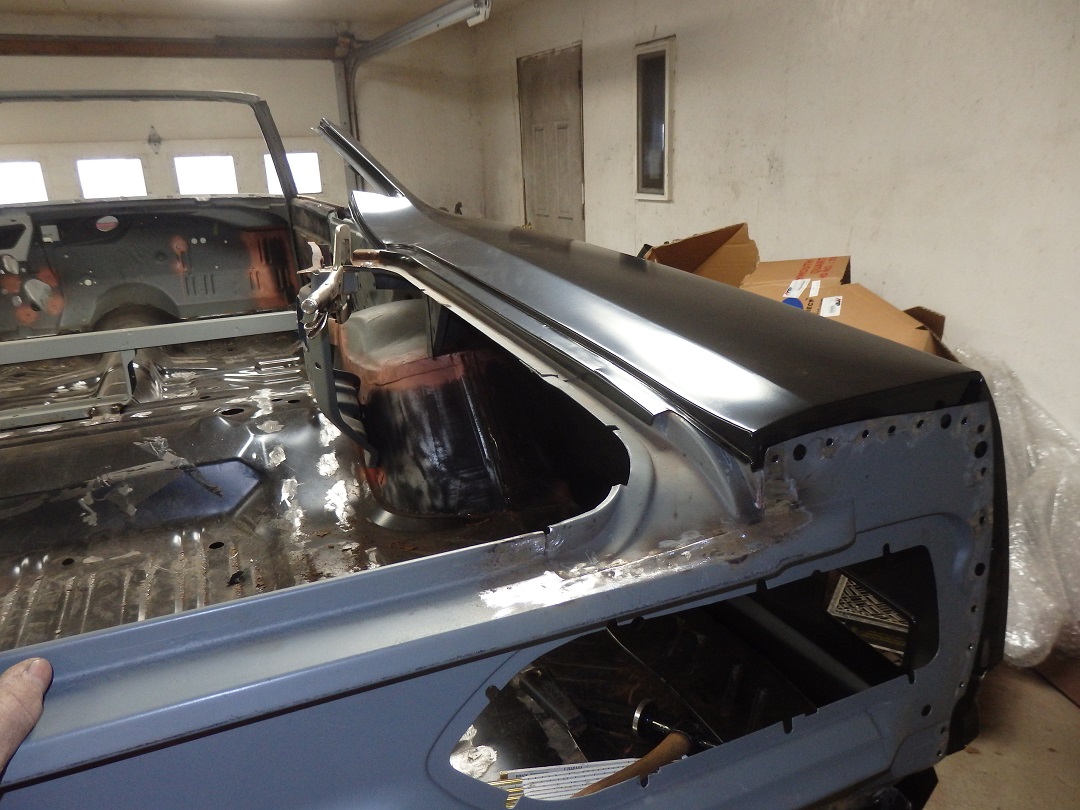
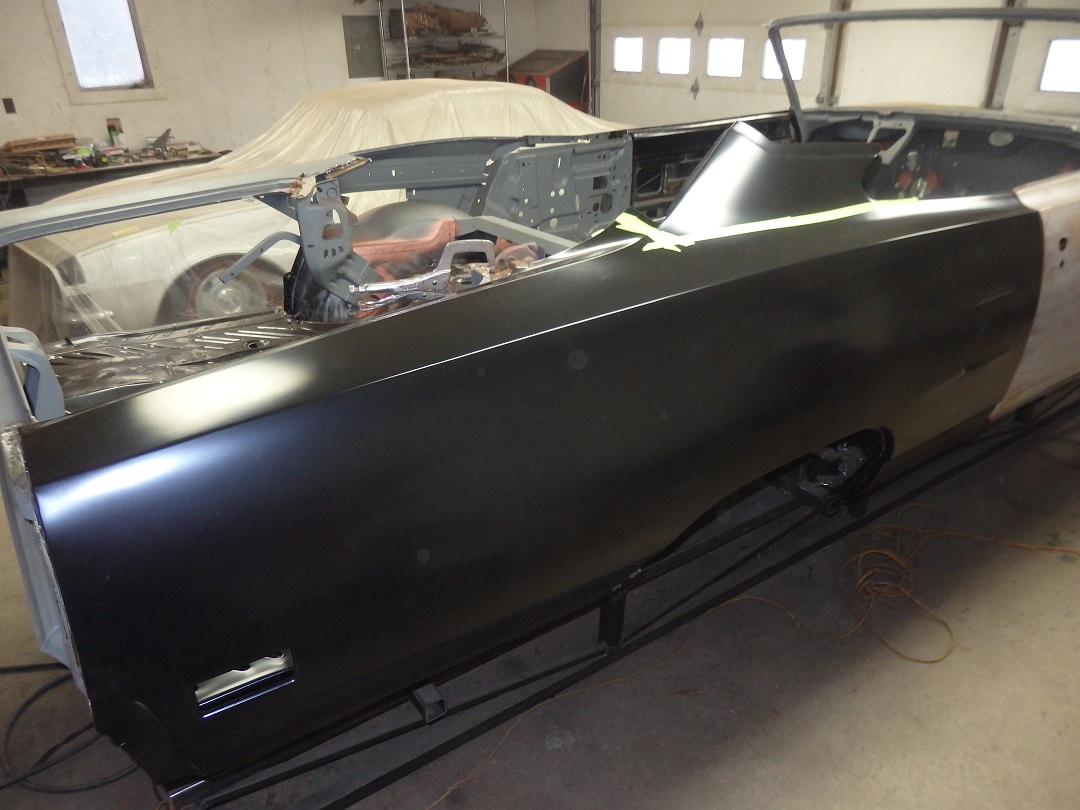
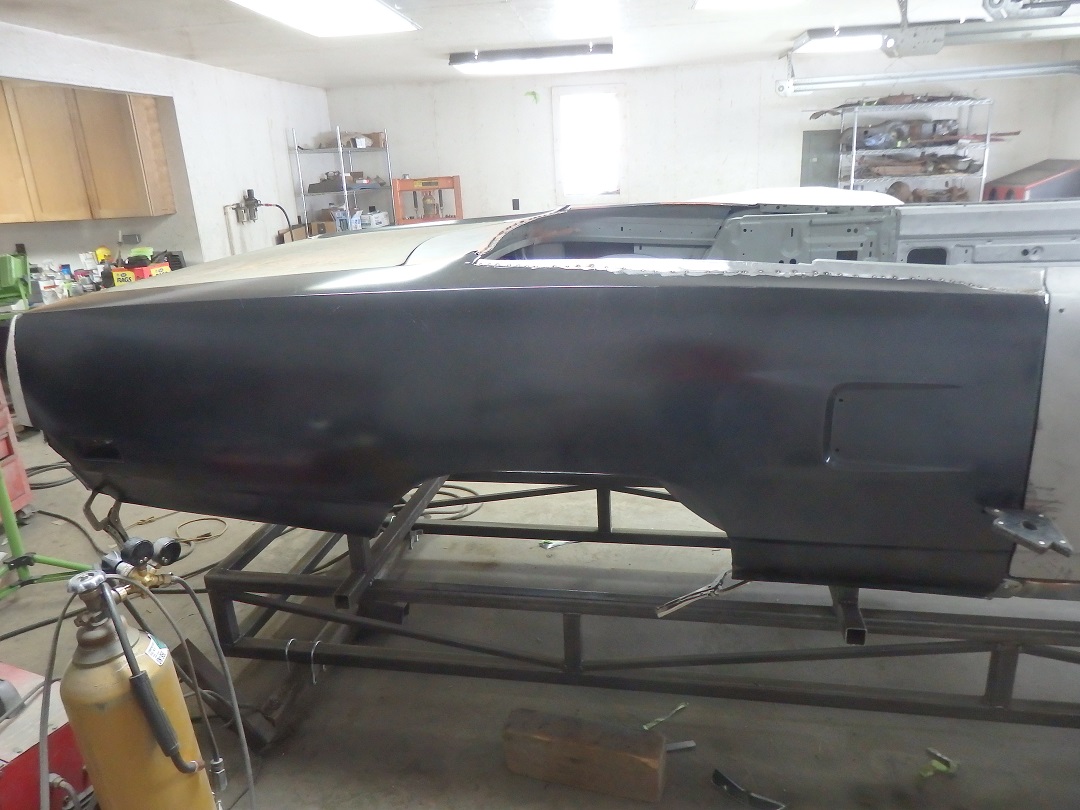 Here is an overall shot of the quarter being installed.
 |
| RH Wheelhouse Repairs |
 The do not make inner and outer wheelhouses for convertibles, but the contours on the coupe versions are the same. So the original wheelhouses were clamped to the repos and the repos were trimmed back to what remained of the
original wheelhouse edges. The holes that were drilled into the original inner wheelhouse were transfered over to the new one so that the new inner could be properly aligned when installed.
The do not make inner and outer wheelhouses for convertibles, but the contours on the coupe versions are the same. So the original wheelhouses were clamped to the repos and the repos were trimmed back to what remained of the
original wheelhouse edges. The holes that were drilled into the original inner wheelhouse were transfered over to the new one so that the new inner could be properly aligned when installed. |
 Here is the newly formed inner wheelhouse next to the original one. Notice that the wire clamps have already been transfered over to the new one.
 |
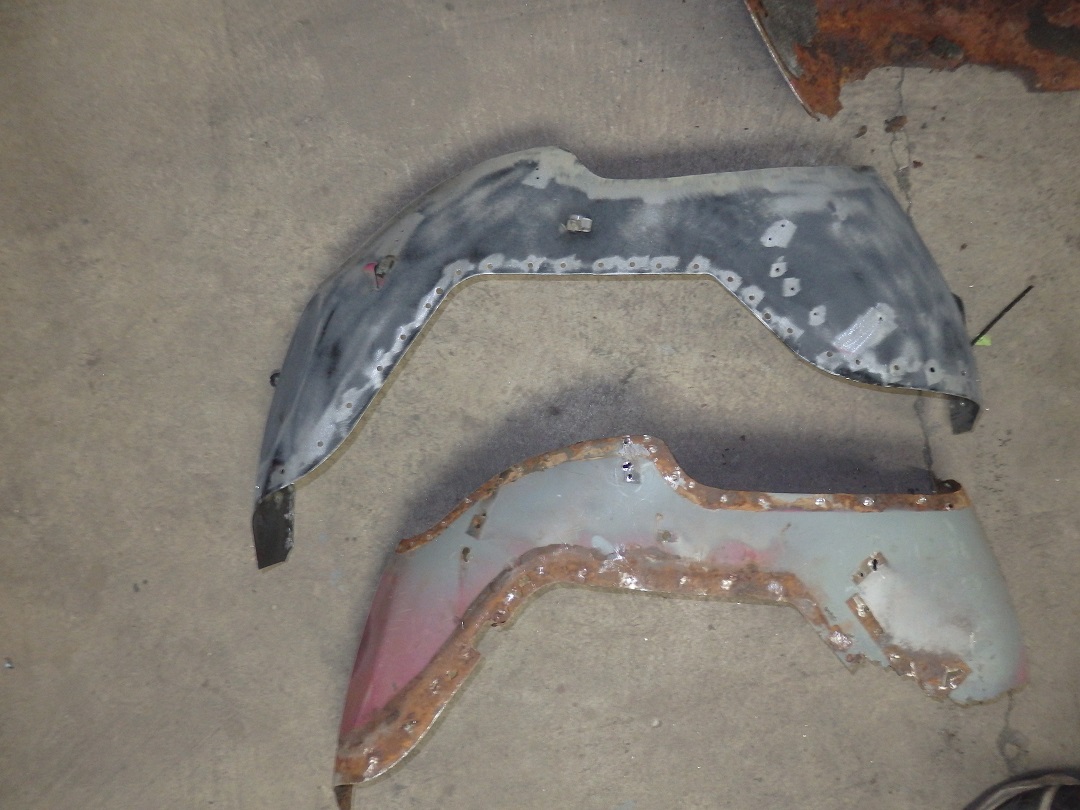
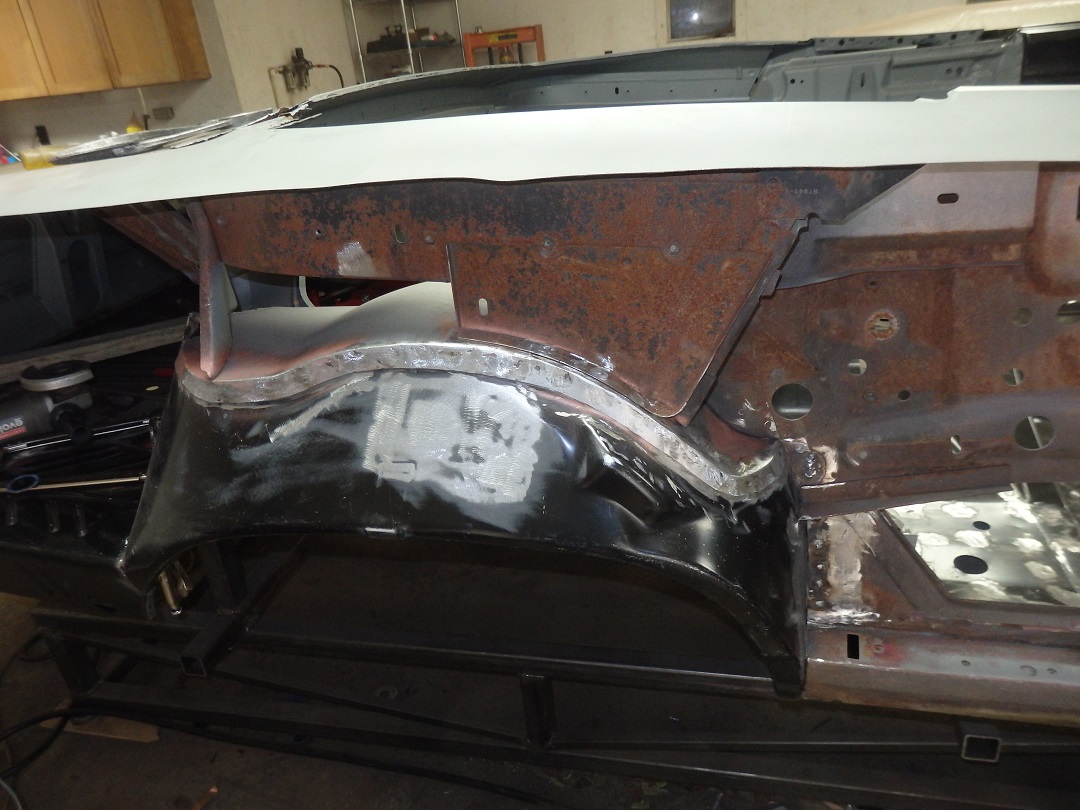
 Here is the newly formed outer wheelhouse next to the original one. It still needed some fine tuning, which was done during the installation process.
 |
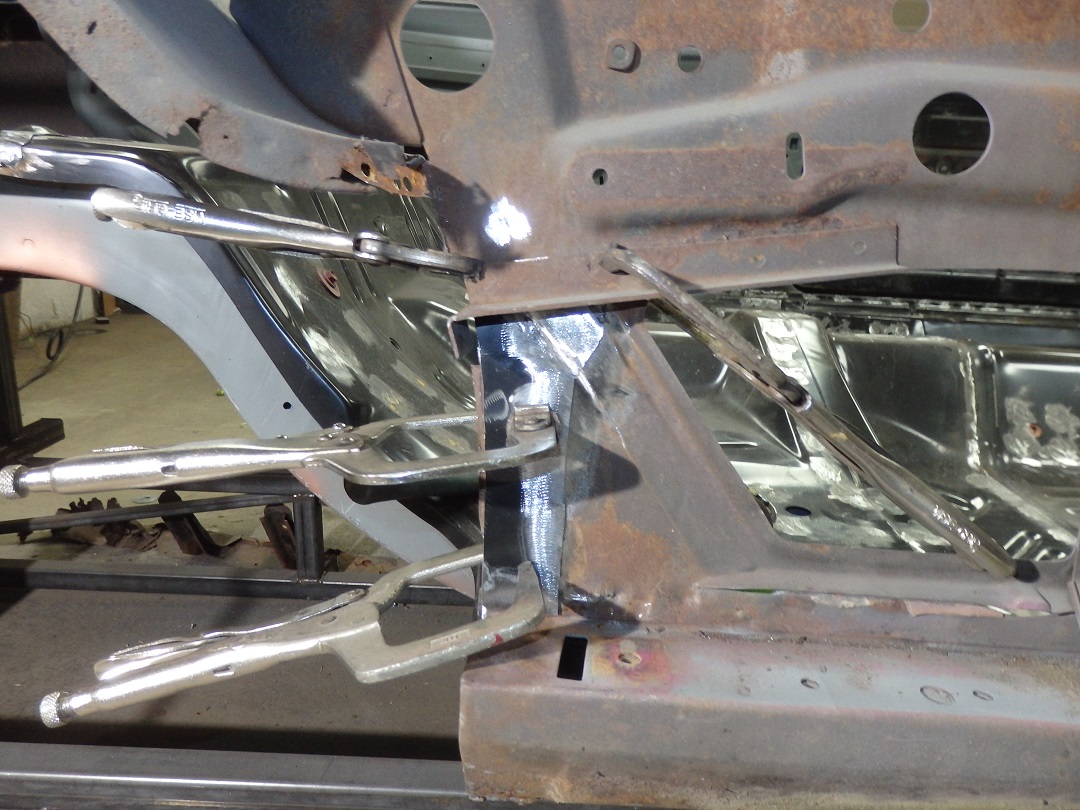 Before welding in the new wheelhouses, the bottom corner of the rear inner panel needed to be repaired.
 |
 Here the inner wheelhouse is being fitted to the car.
 |
 The trunk hinge brace and convertible well crossmember were screwed to the new inner wheelhouse using marked spotweld references that were transfered over from the original wheelhouse.
 |
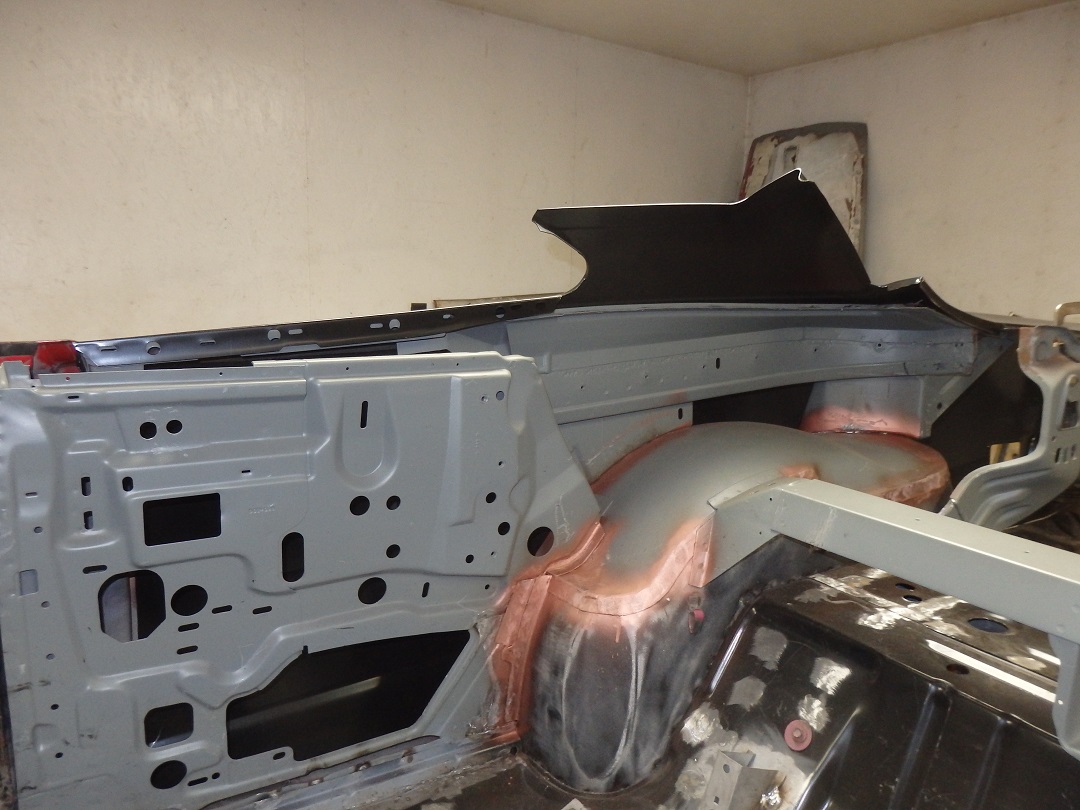
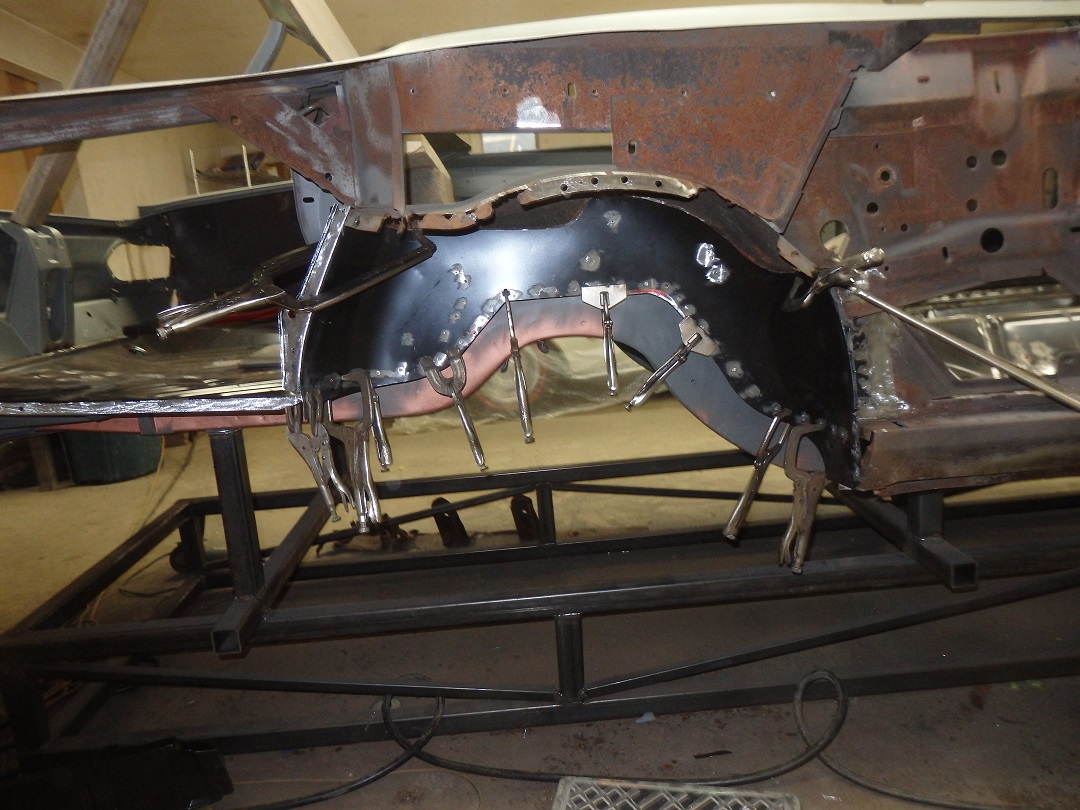
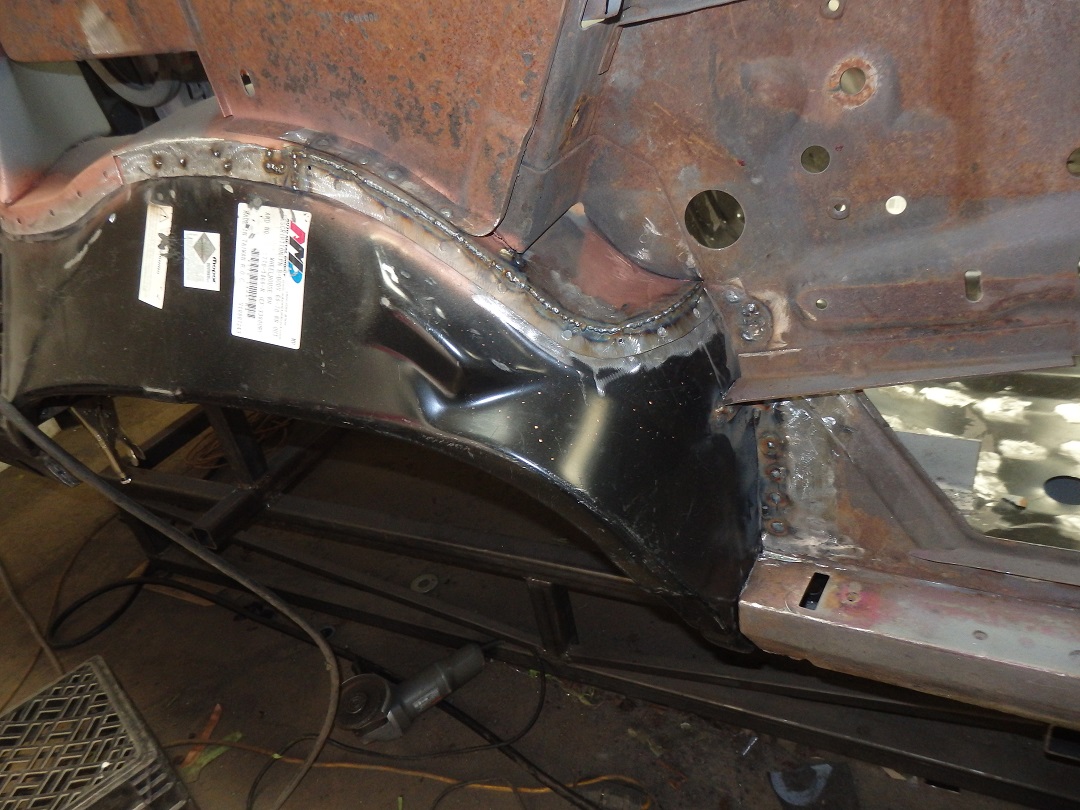
 Here the outer wheelhouse has been fitted to the car and a new patch was being formed to fix the rusted flange on the wheelhouse cap. The repo quarter panel was used to fit the wheelhouse. I just didn't show how I did it in this
series of pictures.
Here the outer wheelhouse has been fitted to the car and a new patch was being formed to fix the rusted flange on the wheelhouse cap. The repo quarter panel was used to fit the wheelhouse. I just didn't show how I did it in this
series of pictures.I made the patch template out of a few layers of masking tape. |
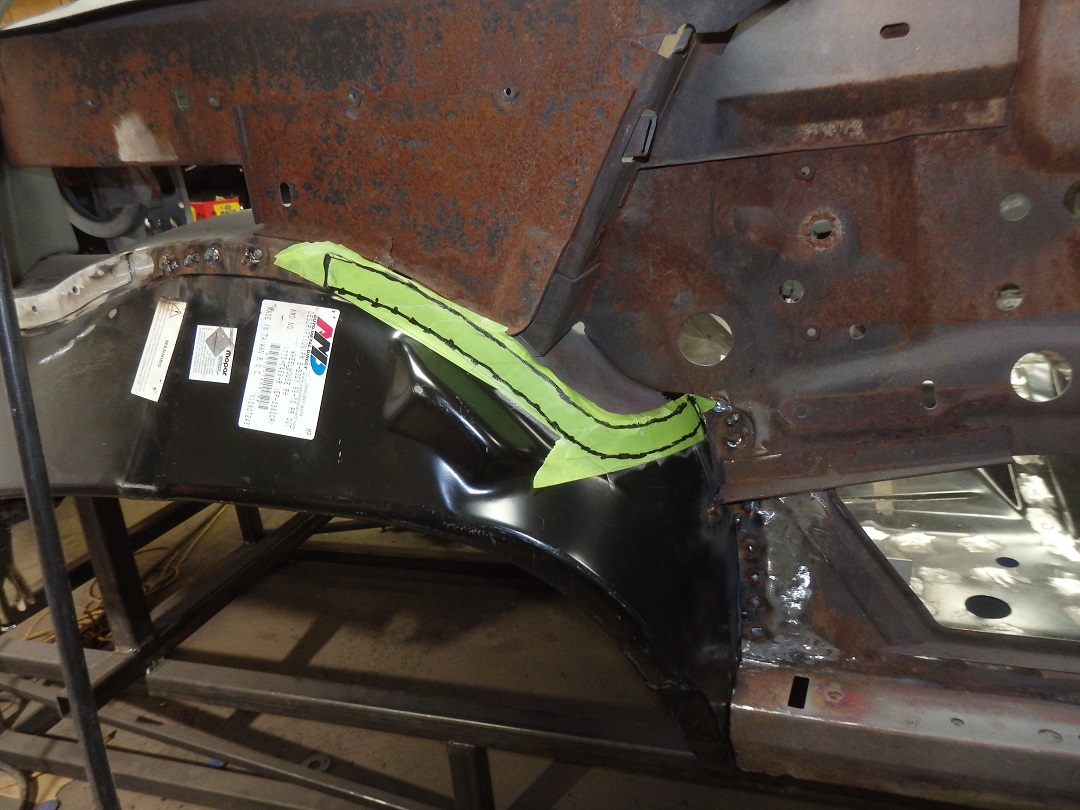
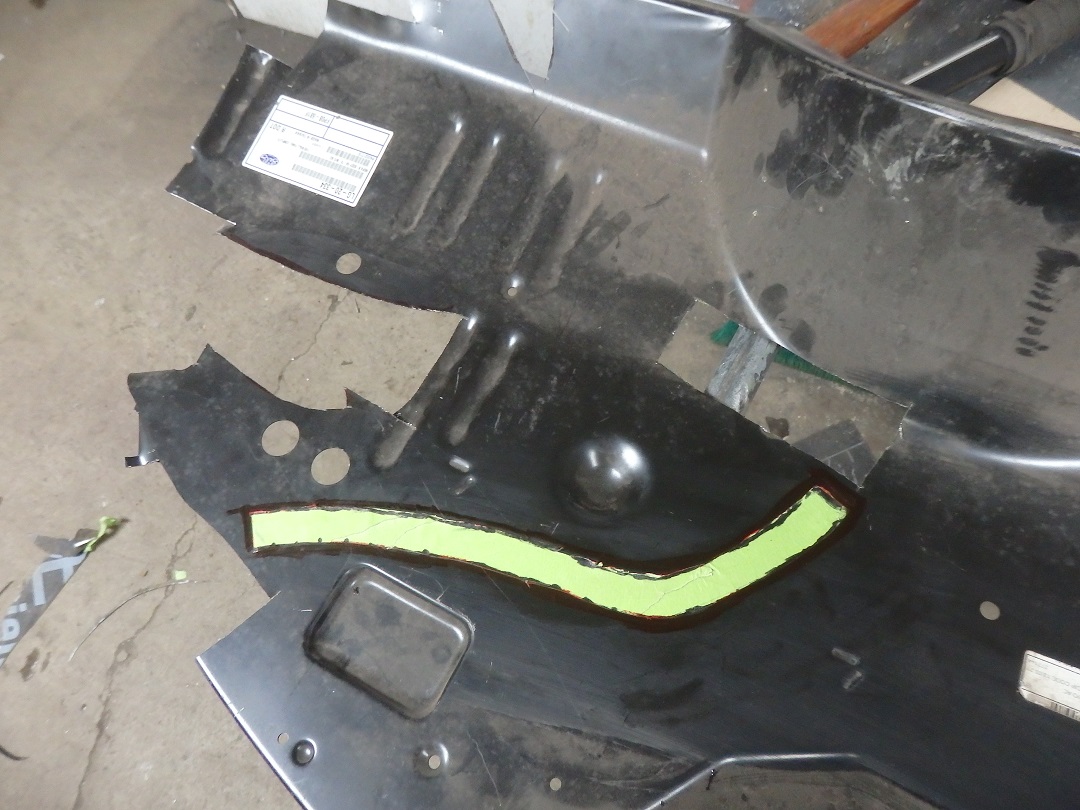 Once marked I pealed it off and stuck it to a new piece of scrap metal, which was actually a piece of the repo firewall that I wasn't going to use.
 |
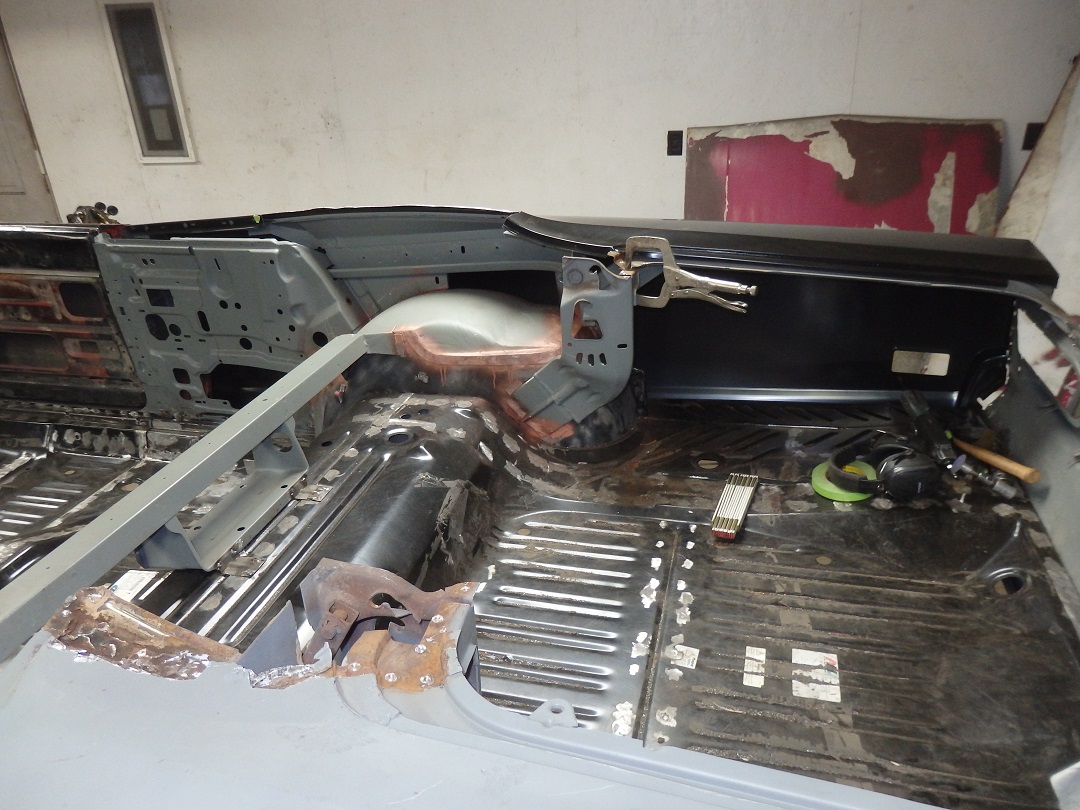
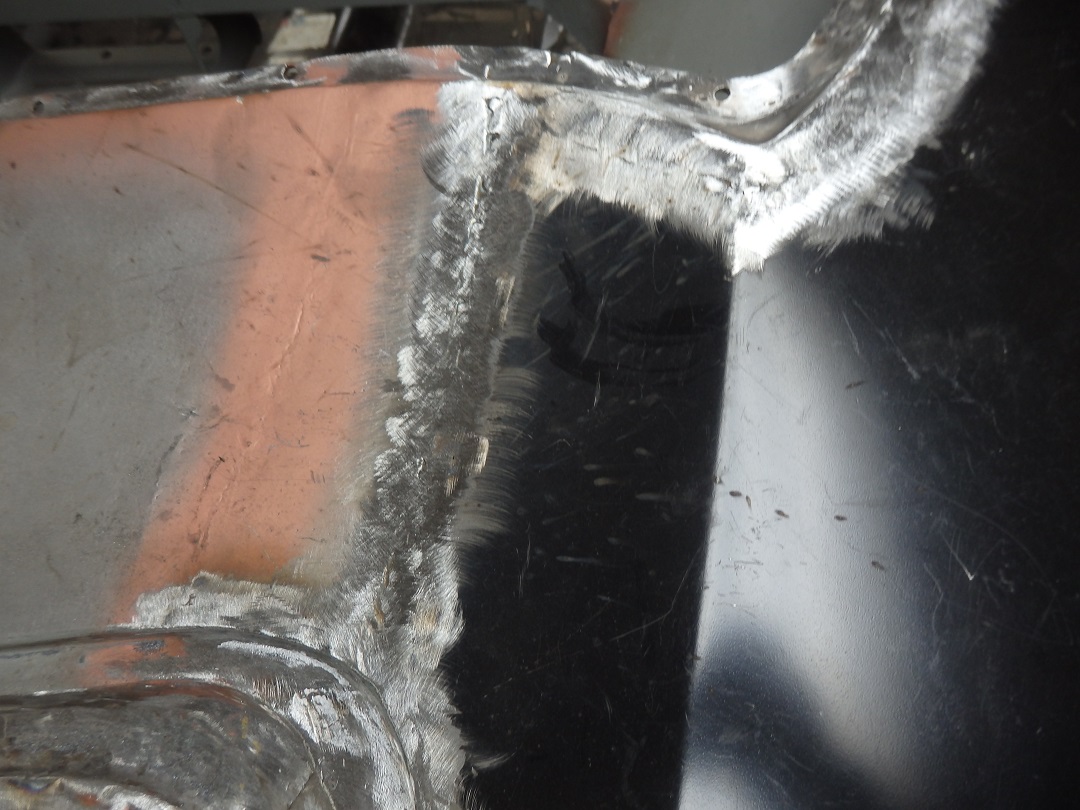
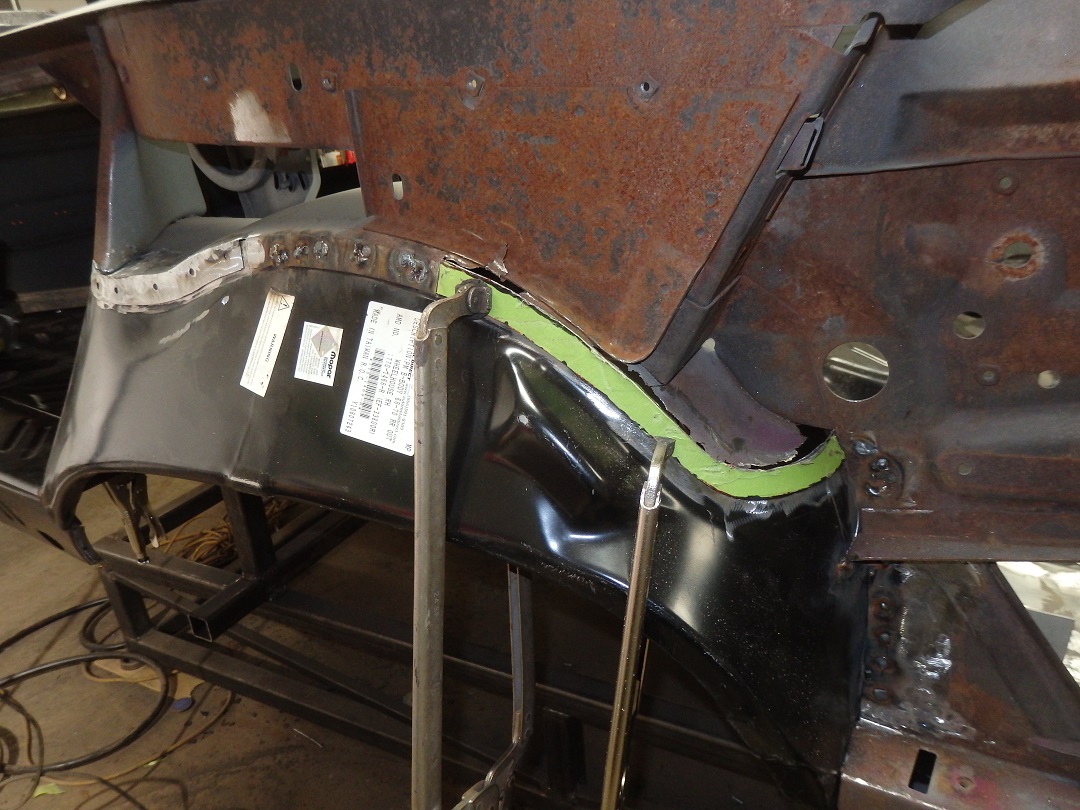 Here the patch has been fitter to the wheelhouse cap.
 |
 Here it is after being stitch-welded in place.
 |
 With the welds cleaned-up it looks good as new.
The flanges on both wheelhouse caps were repaired in this manner. Patches in sections, welded together. |