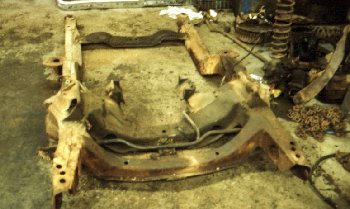
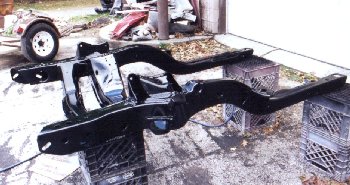
 Here is the subframe when it was removed from the car. A lot of people removed the
subframe and suspension, maybe replace a few ball joints and paint the whole thing
and call it restoration. Then only way to do it right is to fully dismantle the
suspension and restore all the main components. All bushing and ball joints are replaced.
Brake lines and hoses should be replaced as well. It may cost an extra couple hundred
dollars, but the car will ride like new. Besides, the repairs will never be as easy as
it is when the car is dismantled.
Here is the subframe when it was removed from the car. A lot of people removed the
subframe and suspension, maybe replace a few ball joints and paint the whole thing
and call it restoration. Then only way to do it right is to fully dismantle the
suspension and restore all the main components. All bushing and ball joints are replaced.
Brake lines and hoses should be replaced as well. It may cost an extra couple hundred
dollars, but the car will ride like new. Besides, the repairs will never be as easy as
it is when the car is dismantled.
|
|
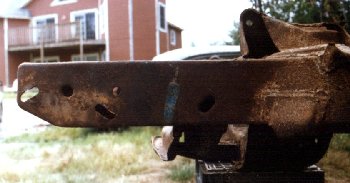 Before removing the surface rust the subframe was cleaned and inspected for original factory
markings. Here is a factor inspection mark (in Blue). This mark and another beside it on the bottom
(not shown) were the only marks I found. They were faithfully reproduced after the subframe was painted
and installed.
Before removing the surface rust the subframe was cleaned and inspected for original factory
markings. Here is a factor inspection mark (in Blue). This mark and another beside it on the bottom
(not shown) were the only marks I found. They were faithfully reproduced after the subframe was painted
and installed.
|
|
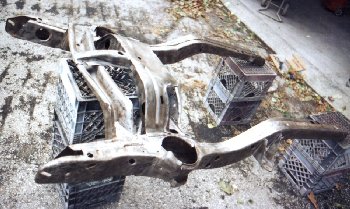 Here is the subframe after sandblasting and wire wheeling just before painting.
|
|
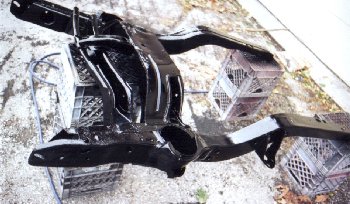 Here is the underside after it was painted with a semiflat chassis black enamel paint.
|
|
 Here is the top side after painting. The subframe looked brand new at this point.
In fact several people thought I had bought a new one.
Here is the top side after painting. The subframe looked brand new at this point.
In fact several people thought I had bought a new one.
|
|
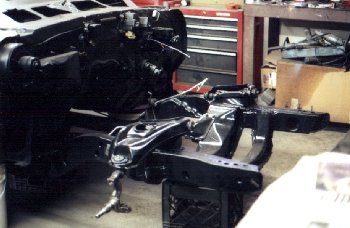 The subframe was then installed using a new set of body mounts. I aligned the subframe
to the body using the assembly instructions from a 1969 Camaro Assembly manual. New body mounts
are a must. After 30 years of use original mounts lose their shape and make it very hard to
assemble and align the front end.
The subframe was then installed using a new set of body mounts. I aligned the subframe
to the body using the assembly instructions from a 1969 Camaro Assembly manual. New body mounts
are a must. After 30 years of use original mounts lose their shape and make it very hard to
assemble and align the front end.
|