Project Index, Project Home, Part I - Page #: 1 2 3 4 Part II, Part III, Progress, Links

< Back January 10, 2008 - February 13, 2008: Final Taredown NEXT >


With the the interior out of the way I switched to the front end. I started by removing the heater box. Before removing the straps that retain the main harness I set a tape measure across the frame and took a picture so that I would know where the straps were placed when it comes time to put the car back together. After everything was removed from the engine, frames and firewall, I tackled the front suspension. I left the torsion bars inserted into the lower control arms. They will be seperated later after the ends are marked, which will enable me to install them exactly the way they were originally set by the factory.

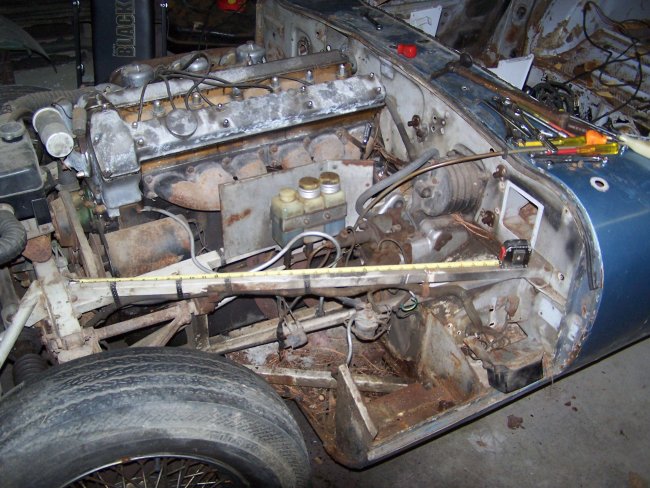
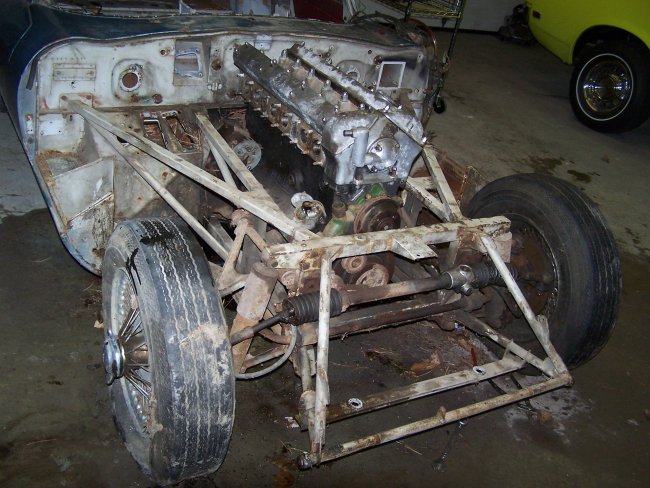
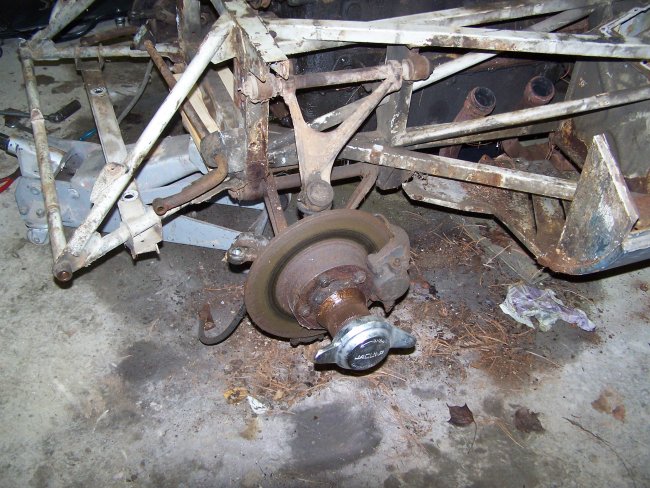
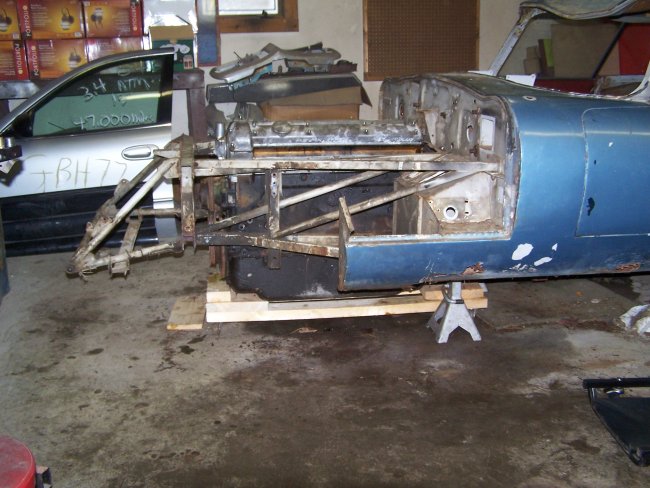
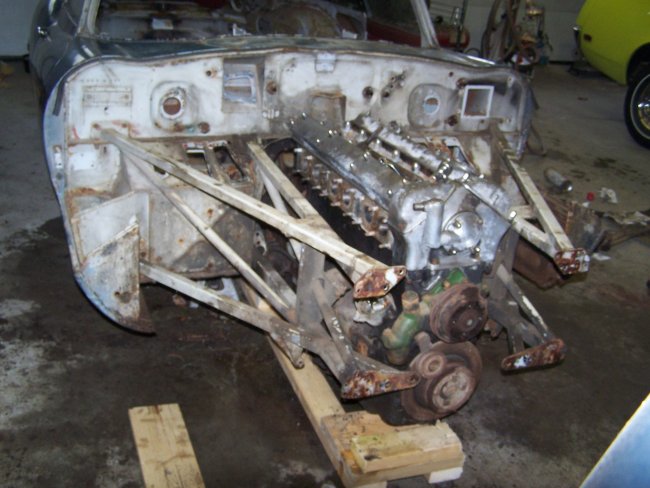
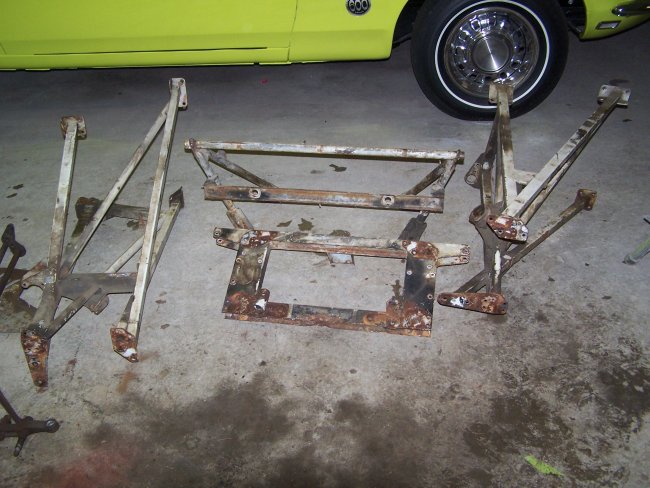
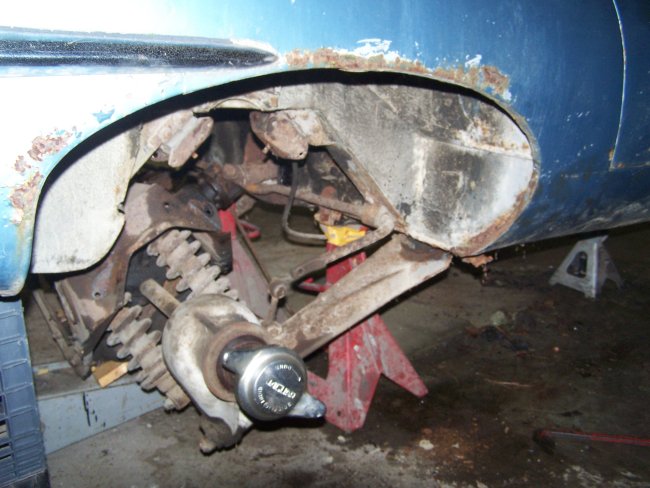
It seams that on every project website I see, people are removing the engines either from the top or the bottom. And they do this before they dismatle the front frames. Why ? What I did was a lot easier. After the front suspension was removed, I build a wooden cart to cradle the engine. I then lowered the front of the car so that the engine was setting on the cradle and the shell was simultaneously resting on a pair of jack stands. Then I just dismantled the front frame and wheeled the engine out the front.


Removal of the IRS is relatively easy. It comes out as one large assembly. There are two trailing arms that need to be unbolted from the floorpan, in my case the bolts snapped off. Then the antisway bar needs to be unbolted. Again with one bolt per side. Then its just a matter of unhooking the parking brake cable, and disconnecting the brake hose. Then after removing the four nuts that hold the four rear suspension mounts, the whole assembly comes right out. Of course its ridiculously heavy, which makes it very difficult to maneuver.

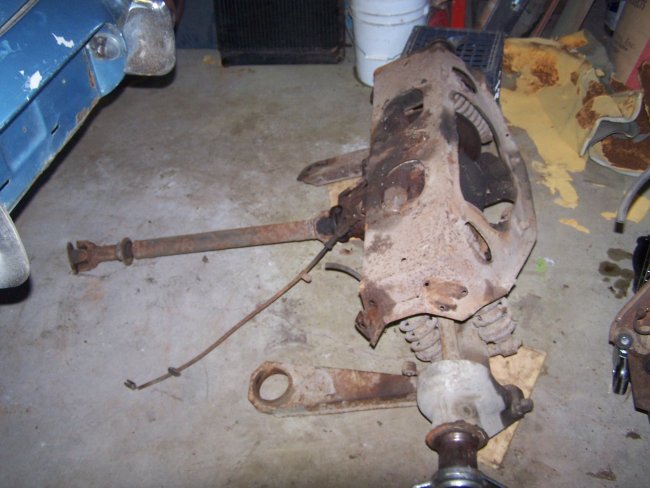
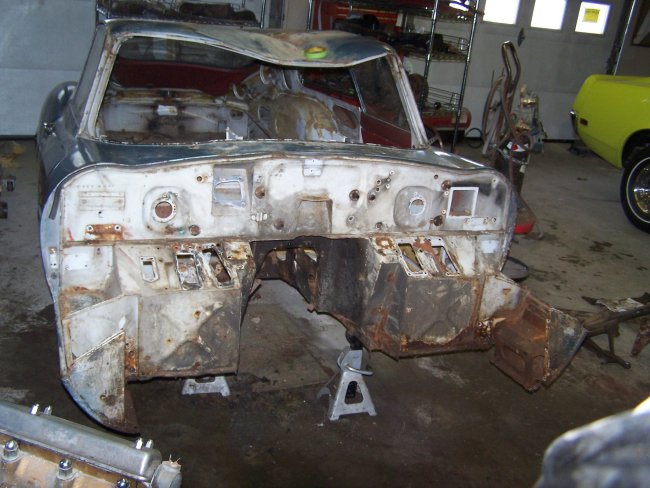
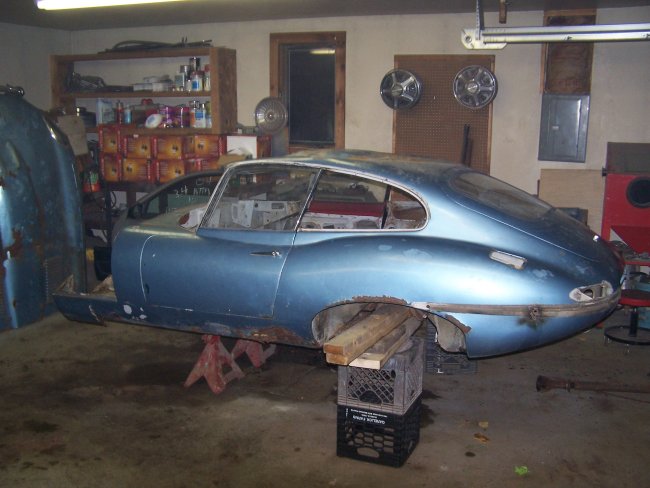
With that done then its just a matter of blocking the shell up to a proper working height.

< Back 3 NEXT >