|
|
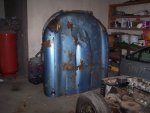
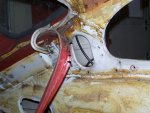
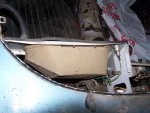
Work started with the removal of the bonnet. The Bonnet Balance Link Assemblies were missing when I got the car, which made the removal of the bonnet simpler. It was just a matter of
unplugging the wiring harness and unbolting the bonnet pivots with the bonnet closed. Then with a little help, the bonnet was lifted off the car. As can be seen in the above
pictures, I will need to replace the bonnet center section.
|
|
|
|
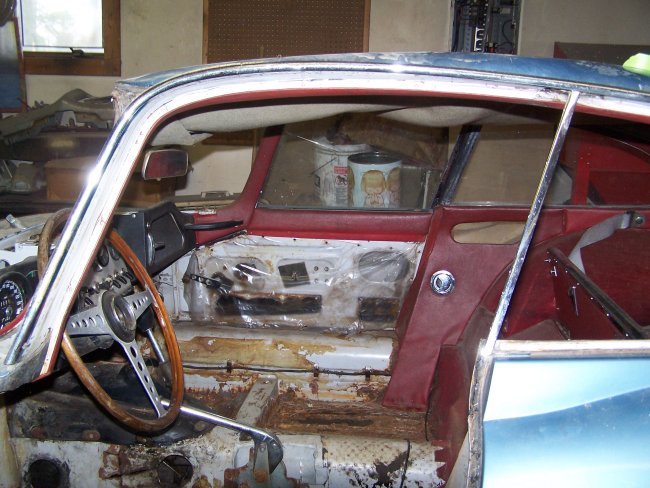
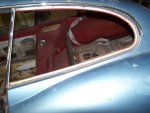
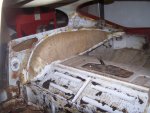
Prior to the car's untimely demise, the front upholstery and RH door panel had been removed. From some of the parts I received with the car it appears that an attempt was about to
be made at fixing the floors and changing the interior color over to black. Luckily no body work had been started. Its always a pain dealing with messes left over by previous repairs
made under the name of "restoration".
Interior trim removal actually started with the removed of the rear quarter windows and the roofrail weatherstripping. The weatherstripping has to be removed to get at the screws
that hold the interior roof rail trim in place. This is an important thing to remember when its time to put the car back together.
|
|
 
 
|
|
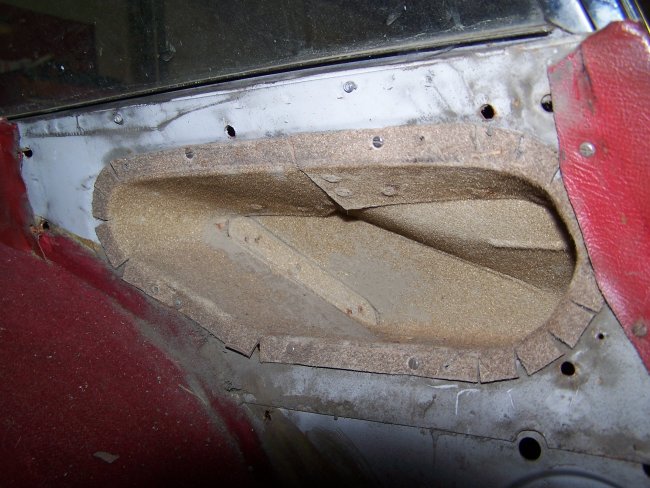
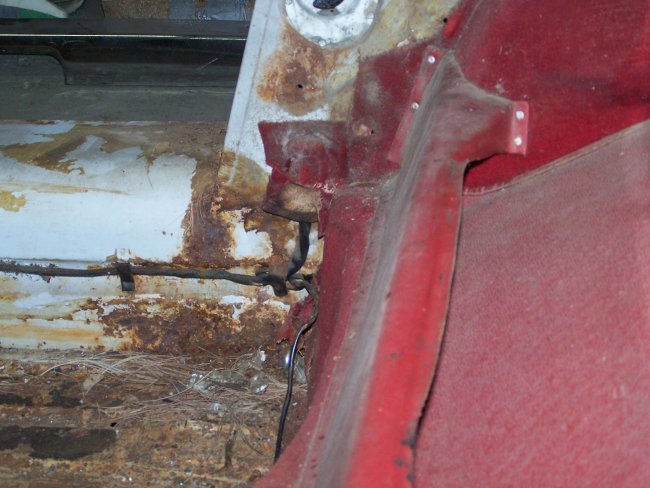
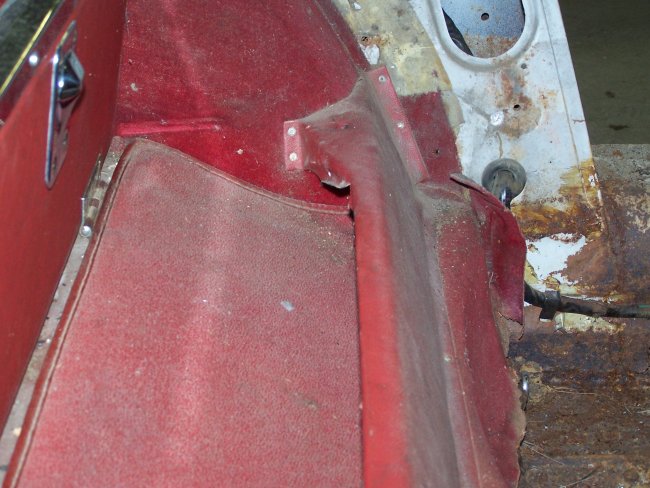
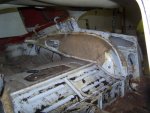
Next comes the door post trim. The side storage pockets, shown in the above picture, are held in with 4 screws. Mine were reusable, but will need to be restored using the correct colored flocking.
I will describe the part's restoring in future updates.
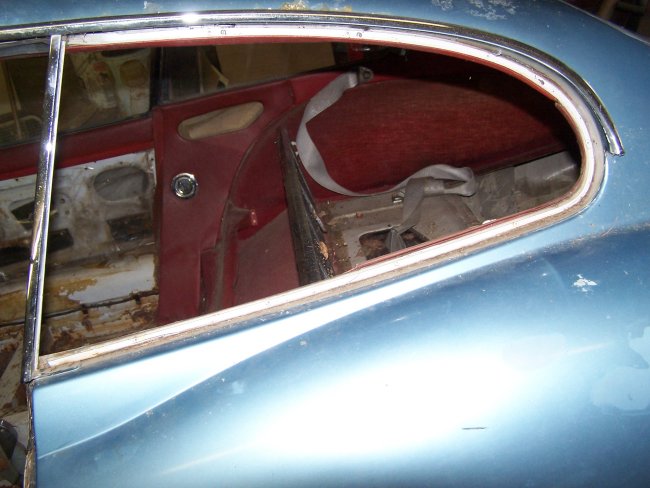
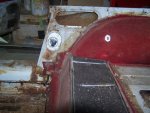
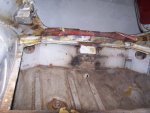
Then comes the rear compartment. The door is easily removed by unscrewing the hinges. In the above picture you can see where the previous owner had removed the original red carpeting and replaced it with
black. The stops and the front panel were installed with pop-rivets. They can be easily removed using a drill and a 1/8" drill bit. When putting the interior back togther, quality pop-rivets will be used.
|
|
|
|
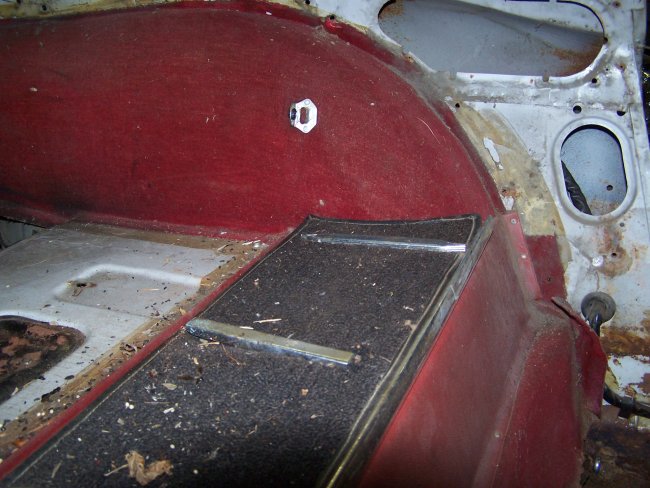
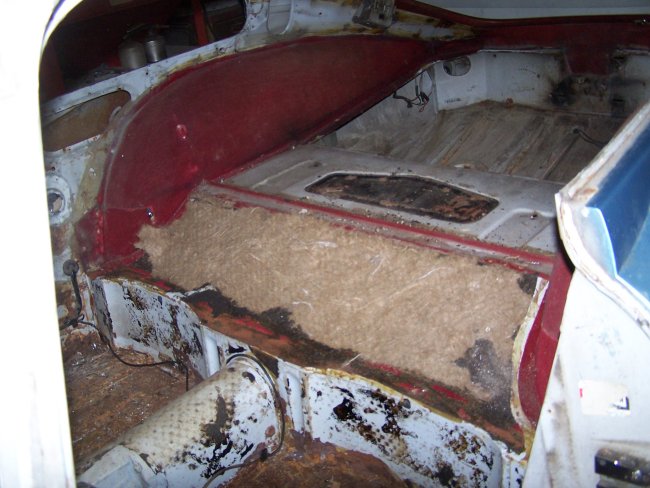
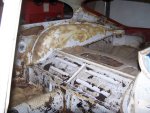
Alot of the interior trim and backing is just glued in place. Its a good idea to take as many pictures as possible of the key areas before ripping the trim out. The new interior kits are not
exact replacements and most if not all of the backing gets destroyed when its removed. I wonder how dizzy the assembly line workers got being around all that glue?
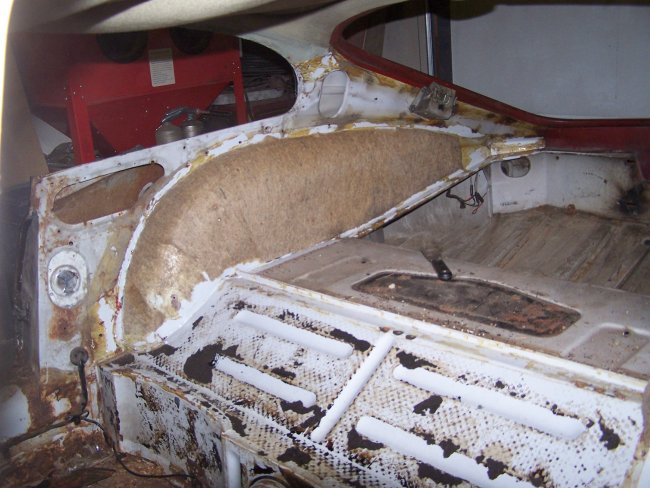
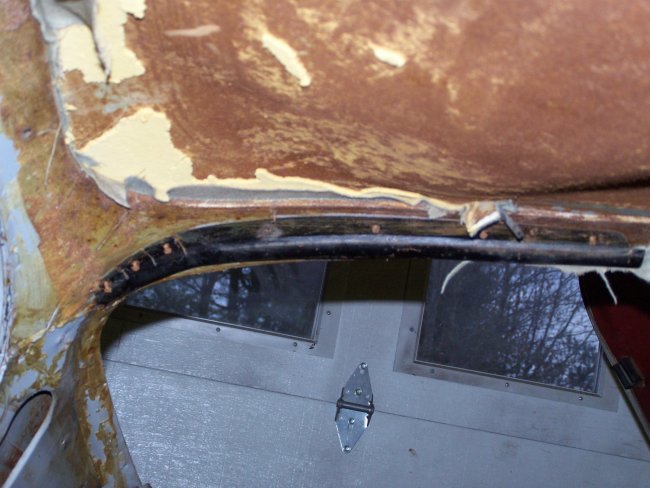
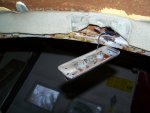
The trim that goes around the rear hatch opening was also glued in. I noticed on Bill McKenna's website that he pop-rivetted his
new trim in. Hopefully I won't need to do this when I install my new trim.
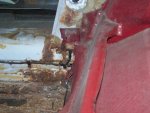
The trim at the base of the rear hatch is glued to a piece of aluminum, which is pop-rivetted to the shell. This car definitely has the feel of a handcrafted car. Besides the pop-rivets, both of the inner
wheel arches were dented at the upper stops. Obviously so that the rear compartment lid could open all the way and rest against the stops without gouging the moquette trim.
|
|
|
|
|
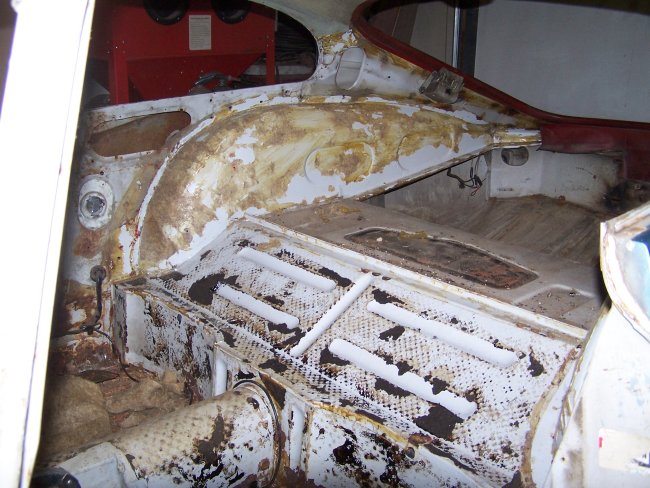
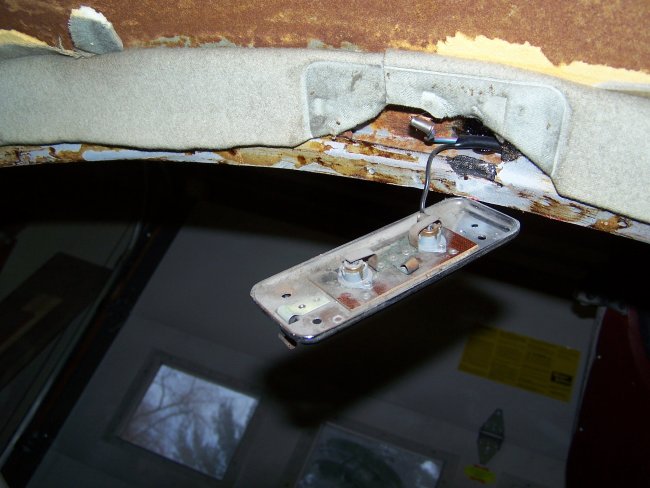
The next pieces to come out were the headliner and the headliner trim. Big surprise, they were glued in too! This was a messy job because the foam backing on the headliner had deteriorated to the point
of being a crumbly mess. The headliner trim is made of one removable panel in the front and two L-shaped pieces that overlap underneath the rear interior roof light. Also the trim is tucked under
two brackets on either side of the light.
|
|
|
|
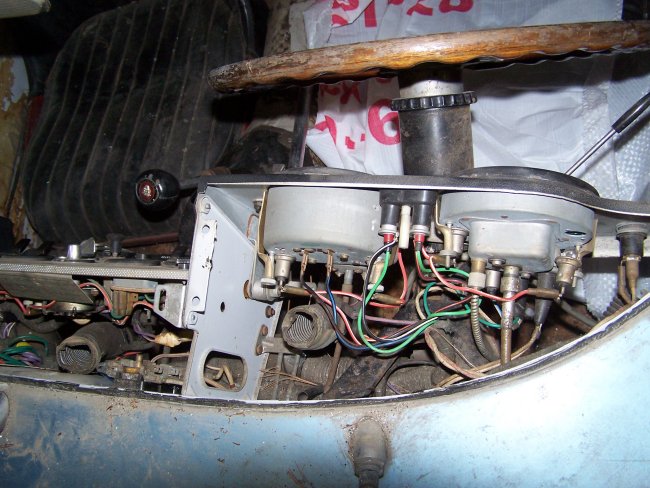
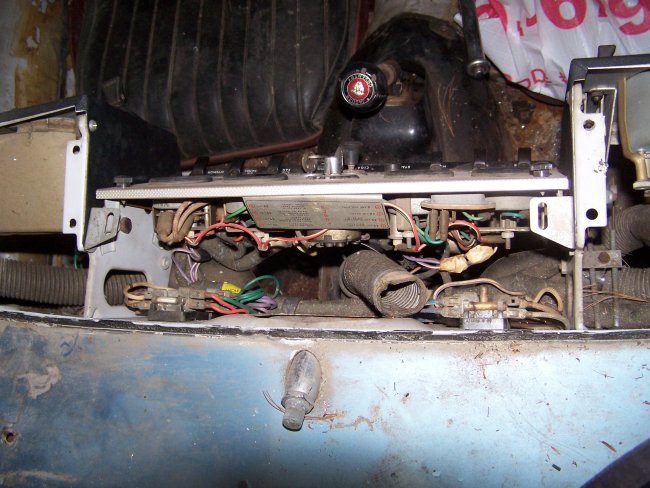
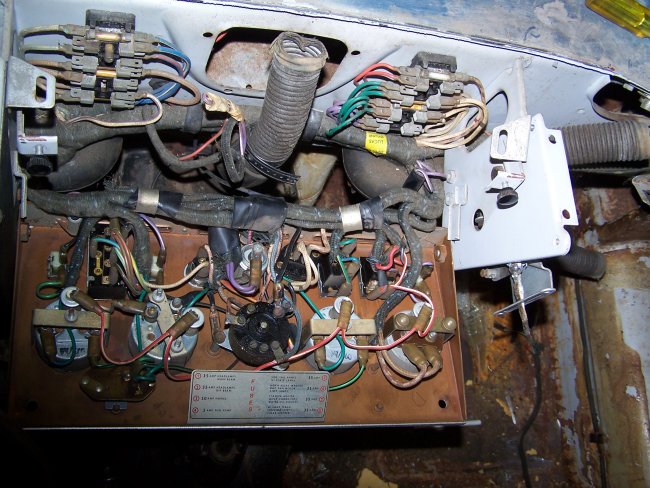
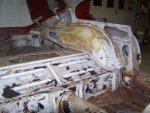
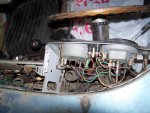
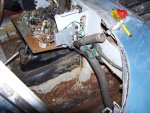
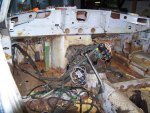
The dash pad was not bolted down when I received the car. With the windshield out all I had to do was lift the dash pad off. This exposed all of the workings of the inner dash.
|
|

|
|
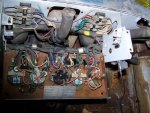
Lots of pictures were taken during the disassembly to assist in the reassembly. There really isn't any good documentation out there to show someone how to put these cars
together so taking pictures during the disassembly is a must.
A couple items were noted during dissassembly, which can be seen in the above pictures. The choke lever appears to have been broken off and then brazed back together. Also
the black knob was missing from one of the heat duct doors, which appears to have been missing since the car was built. Since there was no evidence that one was bolted in place.
|
|