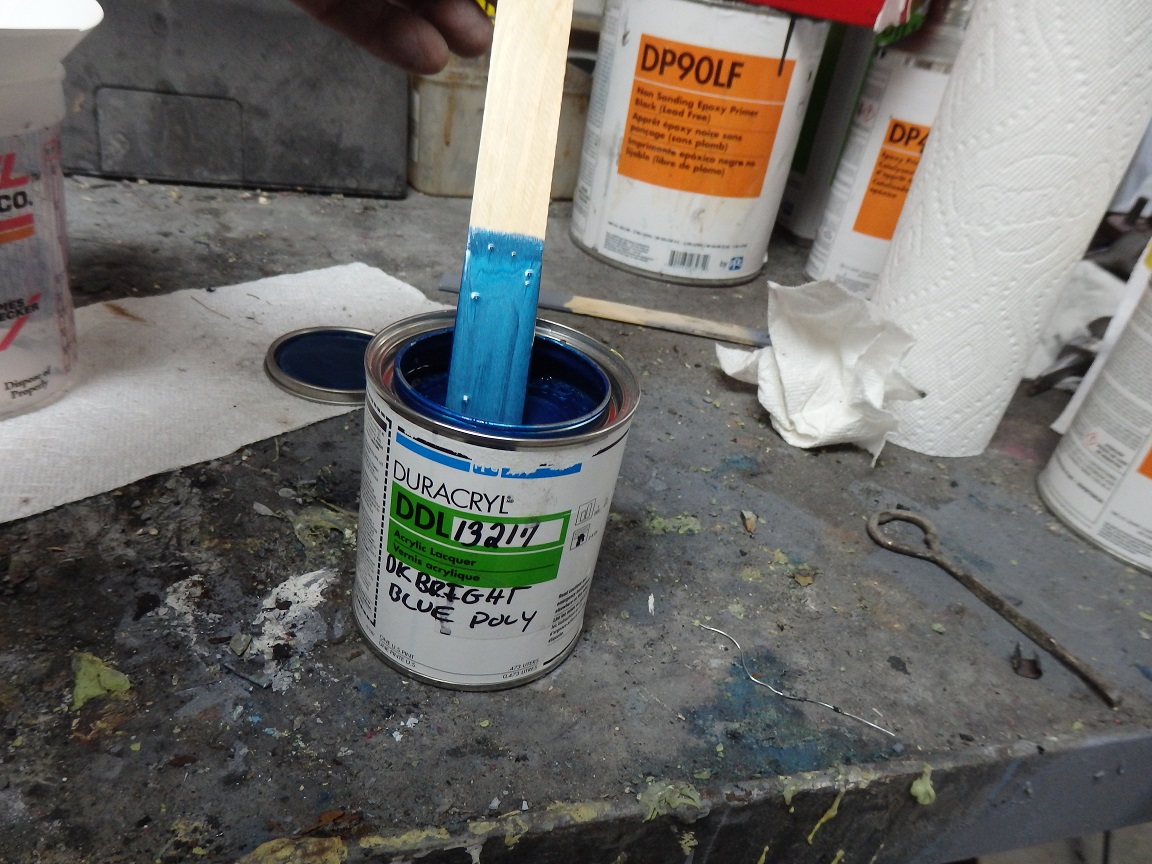

With the body off the rotisserie, the finish paint work could begin starting with the dash top. The top of the dash is PPG 13217, which is a dark blue lacquer paint with a suede additive. This could not be bought local anymore since lacquers are a thing of the past. However, I was able to have a pint mixed Instrument Specialities. I think the color came out great. It is a darker blue than the rest of the interior paint. It is supposed to match the dash pad, which is also darker than the rest of the interior. The suede additive gives the paint a nice texture and it holds down the glare.
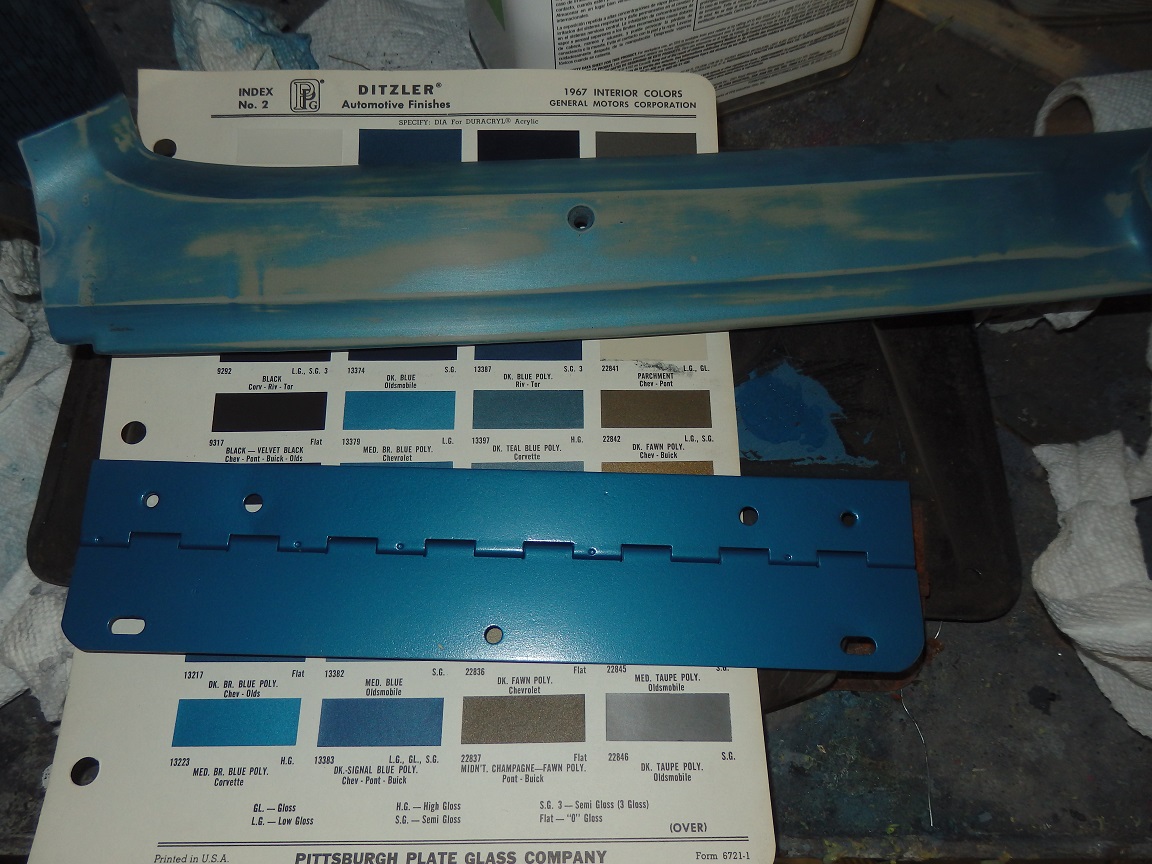
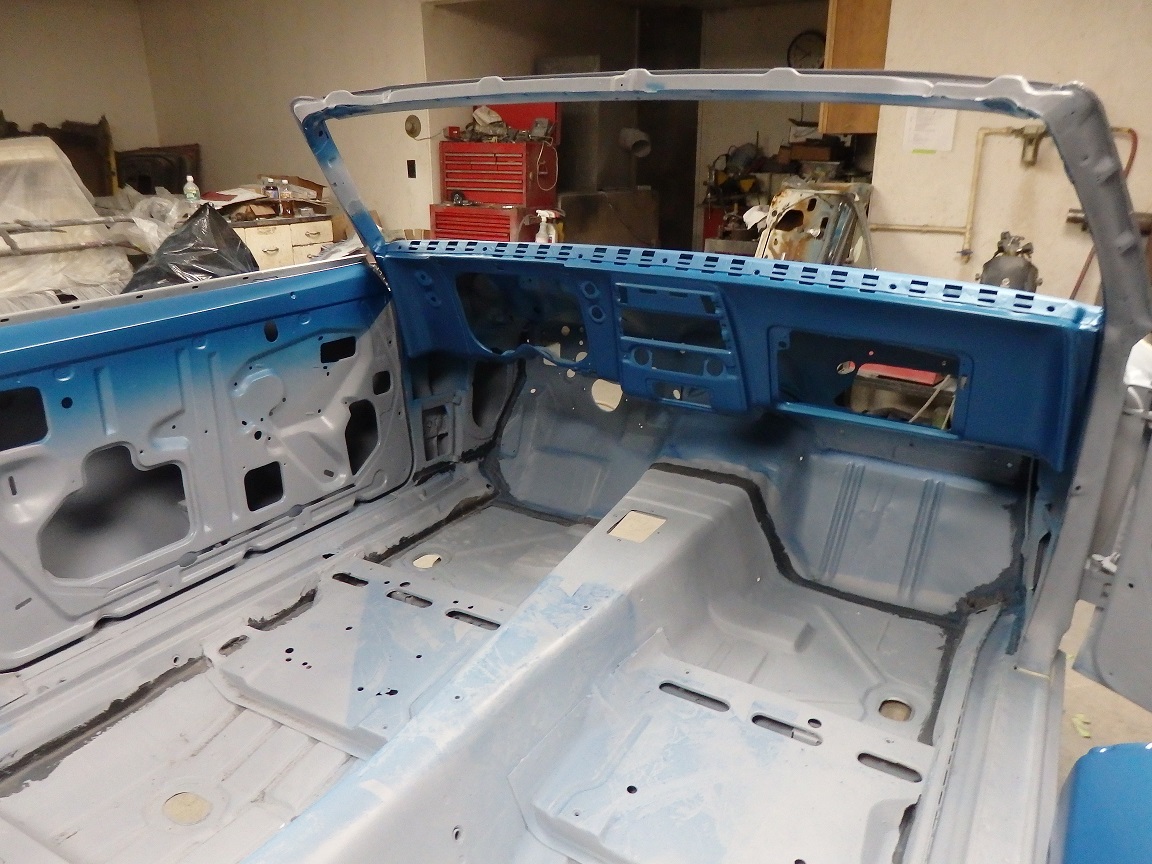
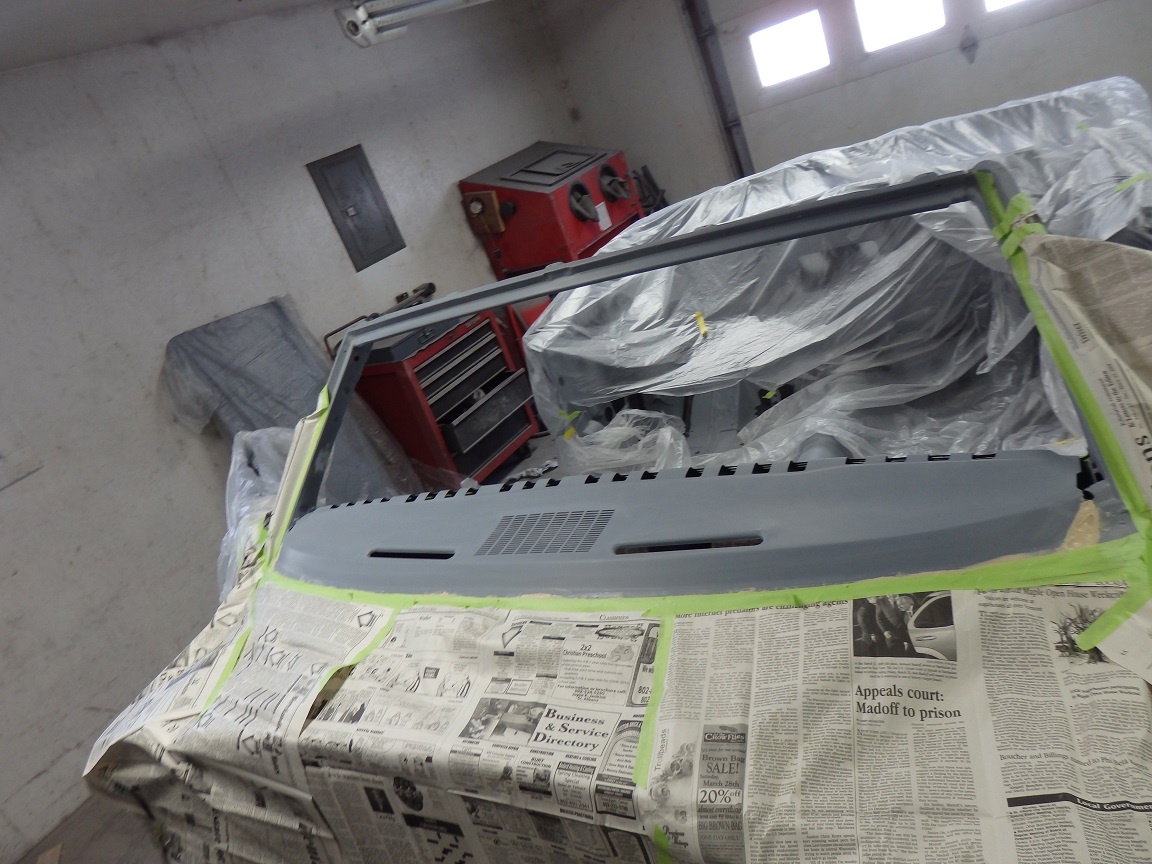
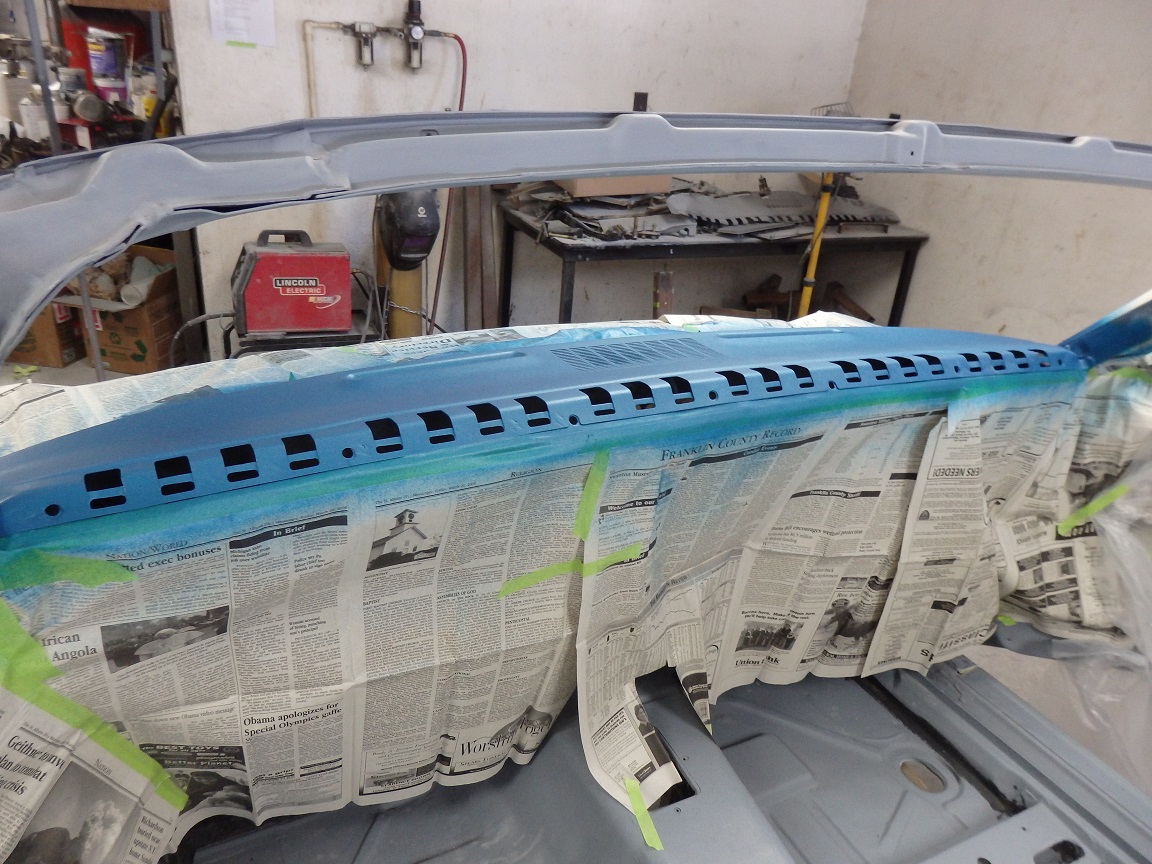
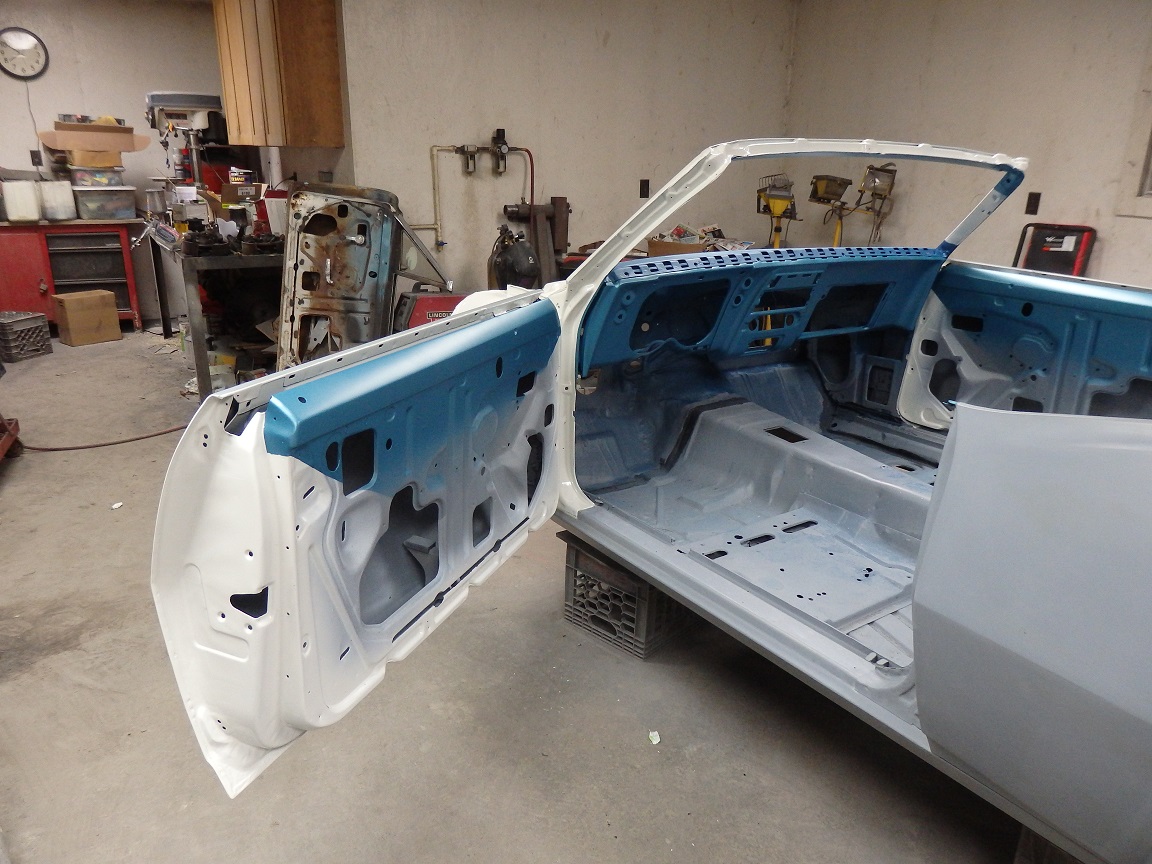
The next thing to get painted was the dash face and the top of the door and rear quarter frames. This is supposed to be PPG 13379, which is a medium blue that is lighter than the interior upholstery. I ordered a pint from Instrument Specialities and applied the paint, but probably shouldn't have. As it turned out the paint was the wrong color as you can see in the first 2 pictures. The first pictures shows an original trim piece, the PPG paint chip for 13379 and the glove box hinge I painted. The new paint didn't match the chip because it was mixed to the old formulas that were never updated when the newer lacquer pigments were updated. Instrument Specialities tried to help, but it was taking longer than I had time for.
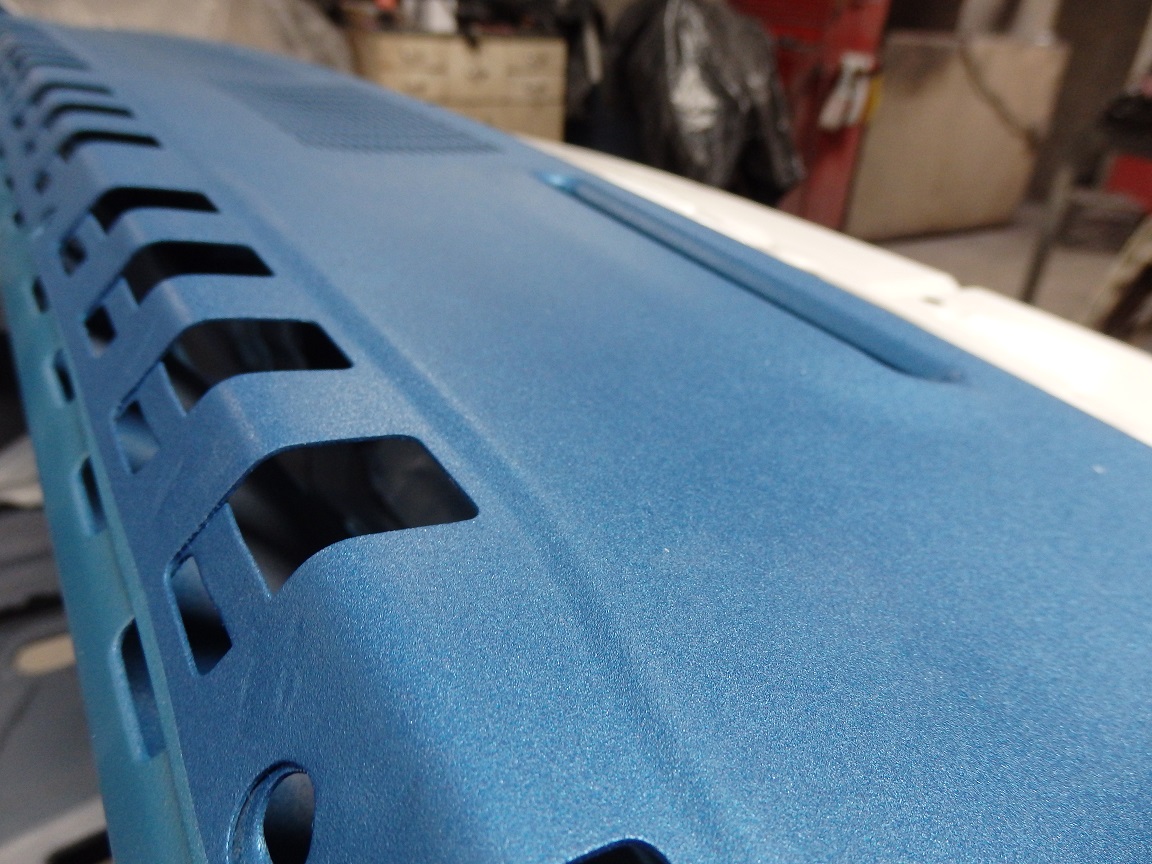
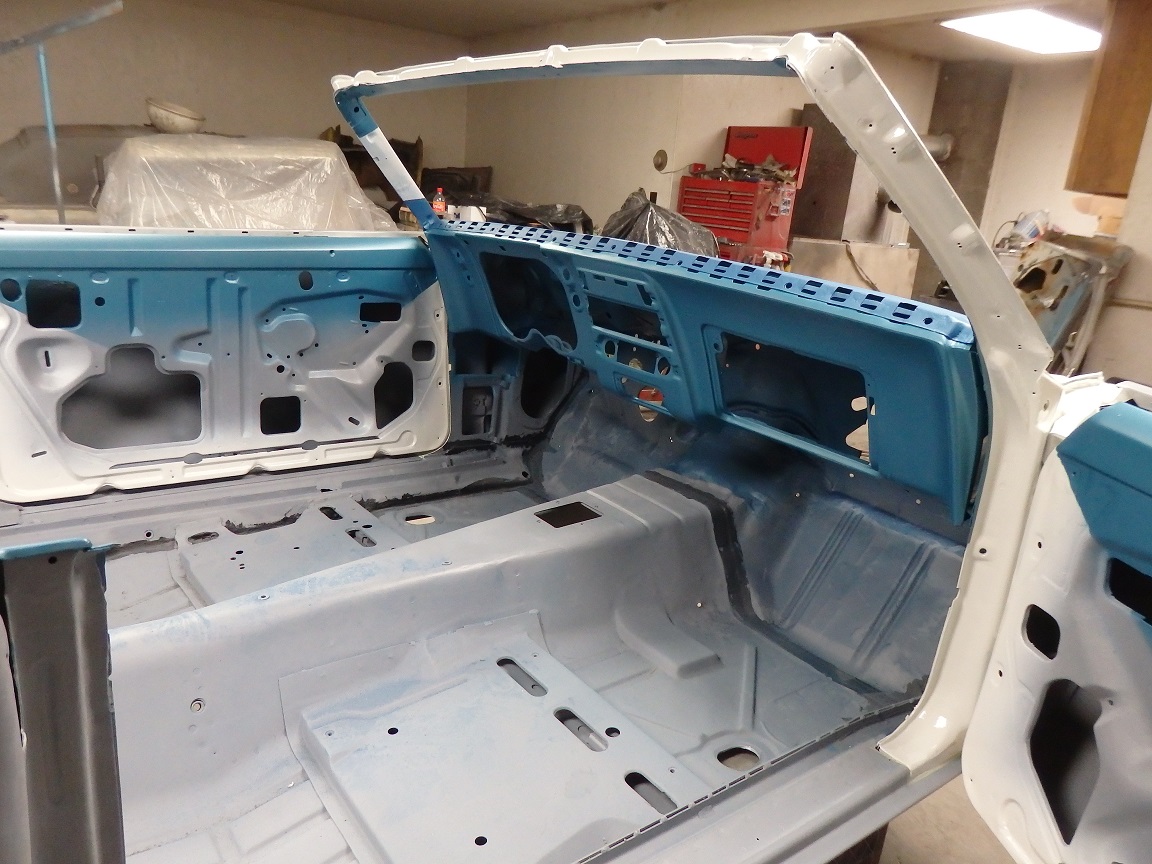
Luckily OER interior lacquer paint PP804 was close enough to the original color. Unfortunately it only comes in aerosol cans, which don't really spray out onto large panels very well. What I did to over come this was drain 4 aerosol cans into a pint can by poking holes in them. Then I was able to respray everything with my paint gun.


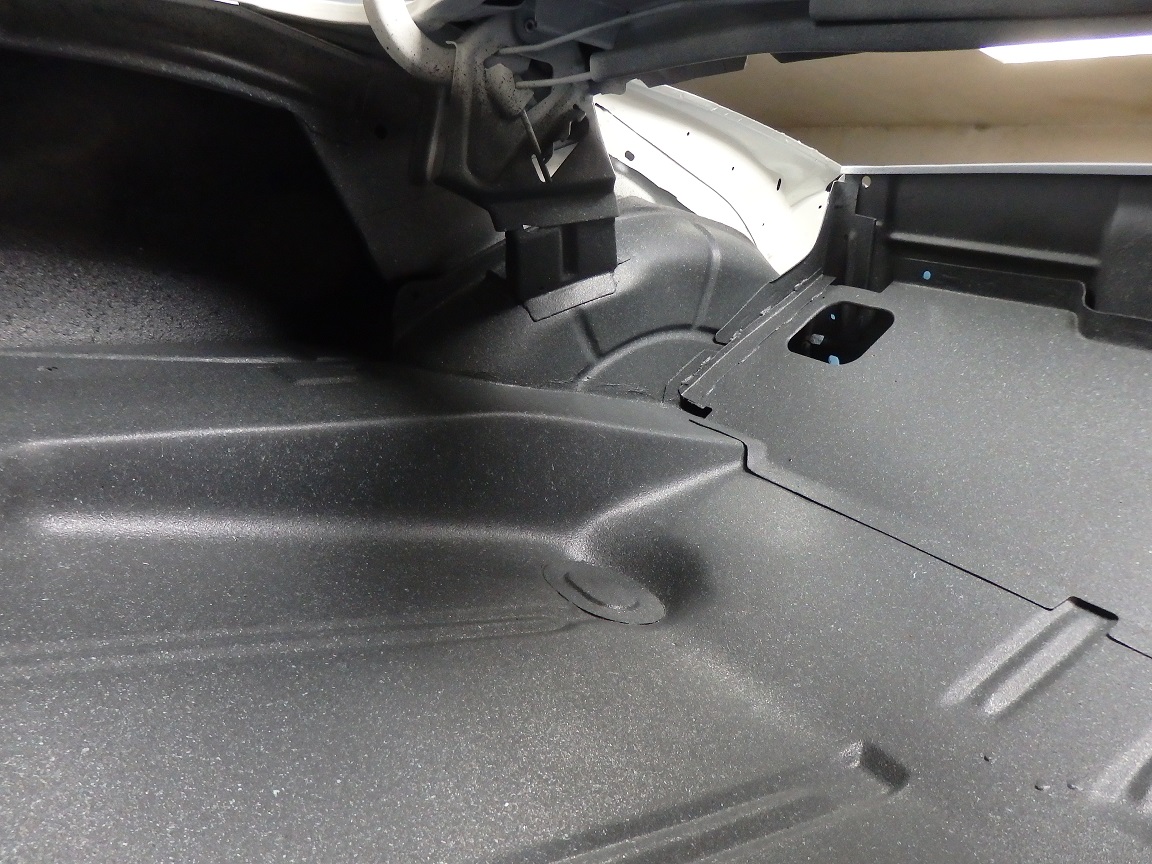

The trunk was another story. To get the inside of the quarter panels to look correct I coated them with a special undercoat created by Resto Rick, though originally intended for the Mopar restorer, it is perfect for GM restos as well.
With the outside masked off, I painted the perimeter of the trunk and convertible top well body color by mimicking the way the factory had originally did it. The first pictures shows this area masked off waiting for the spatter paint.
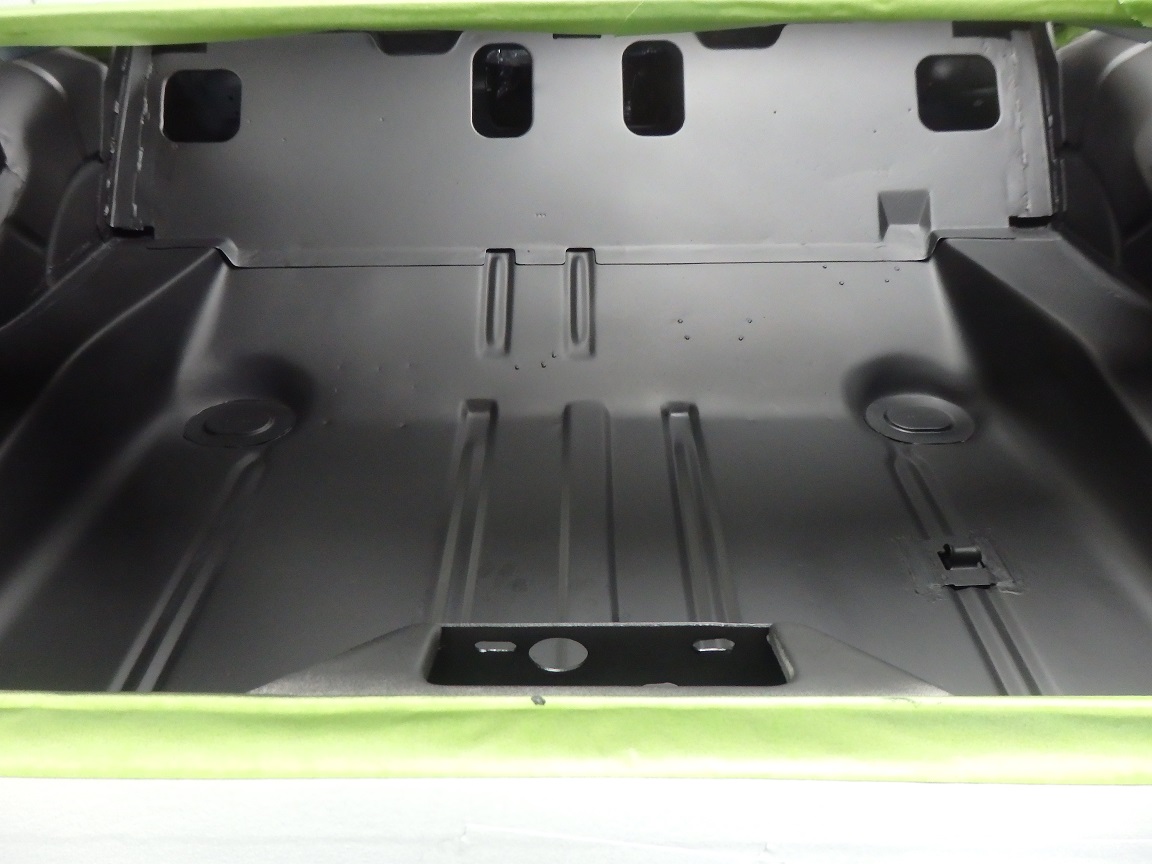
The factory originally painted the trunk with a black/acqua water based spatter paint. This is difficult to reproduce and there are only a few places that offer anything that comes close. I used PP-20-TS02-QT trunk spatter black acqua produced by "The Parts Place". It only looks good when it is sprayed over a back background, so a sprayed my trunk first with DP90LF black epoxy primer. After it had cured for about a day, I came back and sprayed the spatter paint over it. The factory was kind of sloppy when they spattered the trunk, so I reproduced the original look. The last picture is a prime example of how sloppy it looked from the factory.


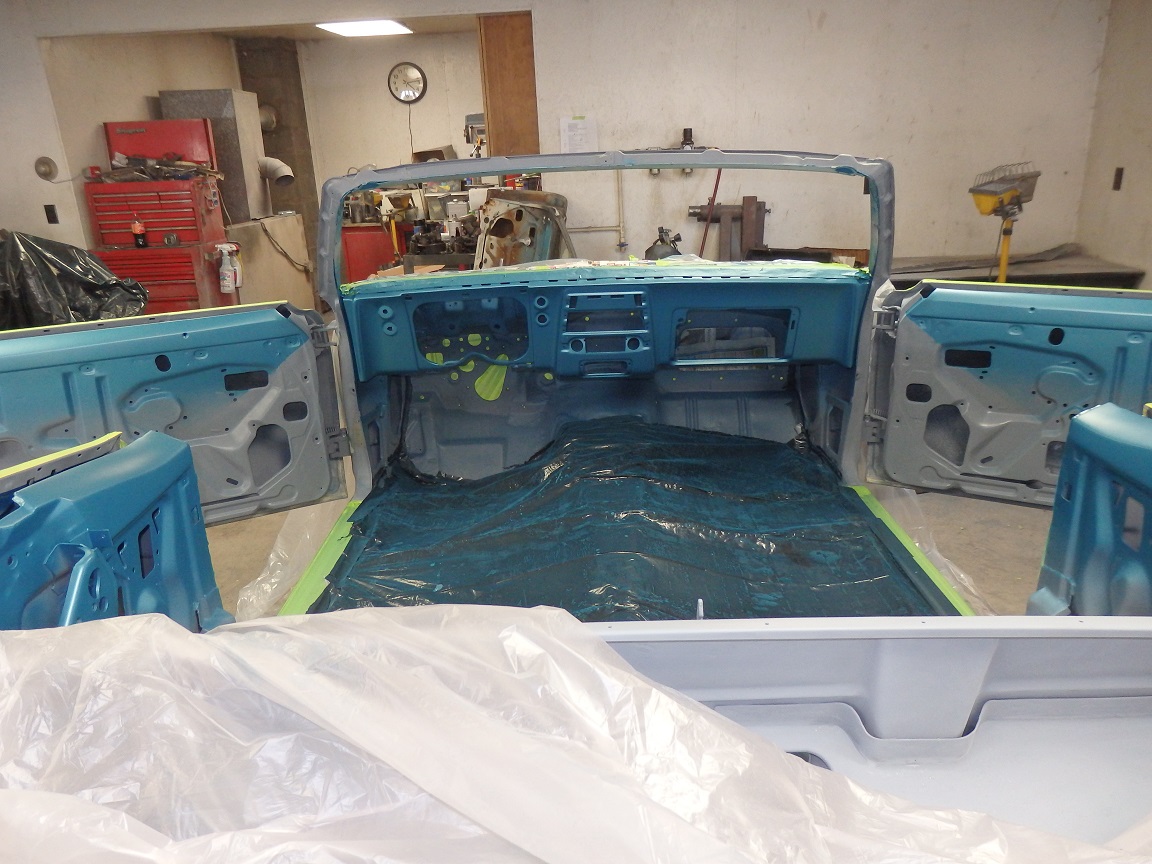
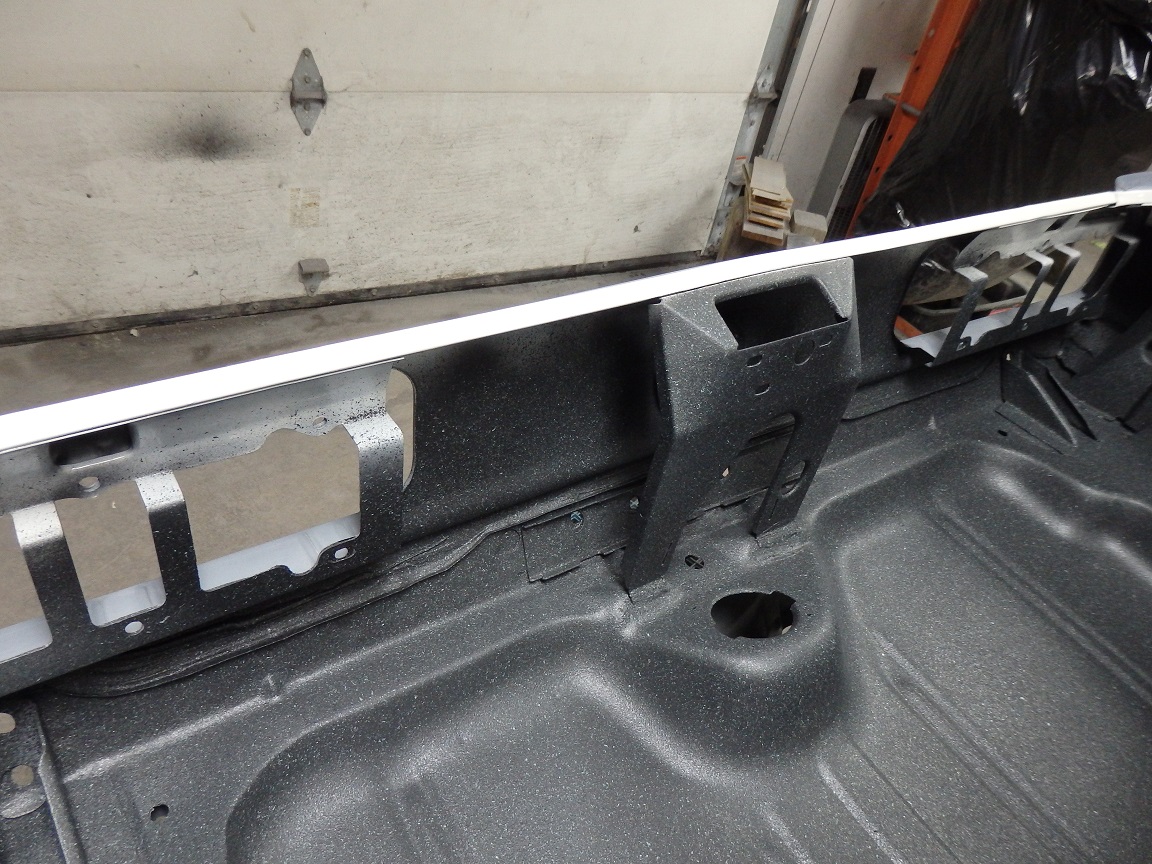
The factory blacked-out the firewall after the car was painted, I wanted to get that out of the way earlier to keep the black dust out of the garage before painting the car white. With the doors installed I painted the cowl top and sides along with the inside faces of the doors. This produced a factory correct look on the door hinges without having mask lines. Also I didn't have to risk damaging the paint by installing the doors after the car was painted.
The factory never masked the firewall when they blacked it out. So no mask lines should appeared at the top of the cowl. The black paint appears misted over the body color on original cars. The way I did it was to mask off all of the white except for the top of the cowl. I loosely taped down a piece of cardboard over the top of the cowl. I then painted the firewall. At the top of the firewall, I painted downwords so that paint would kind of fan out under the cardboard a little bit. This method seemed to work out well.