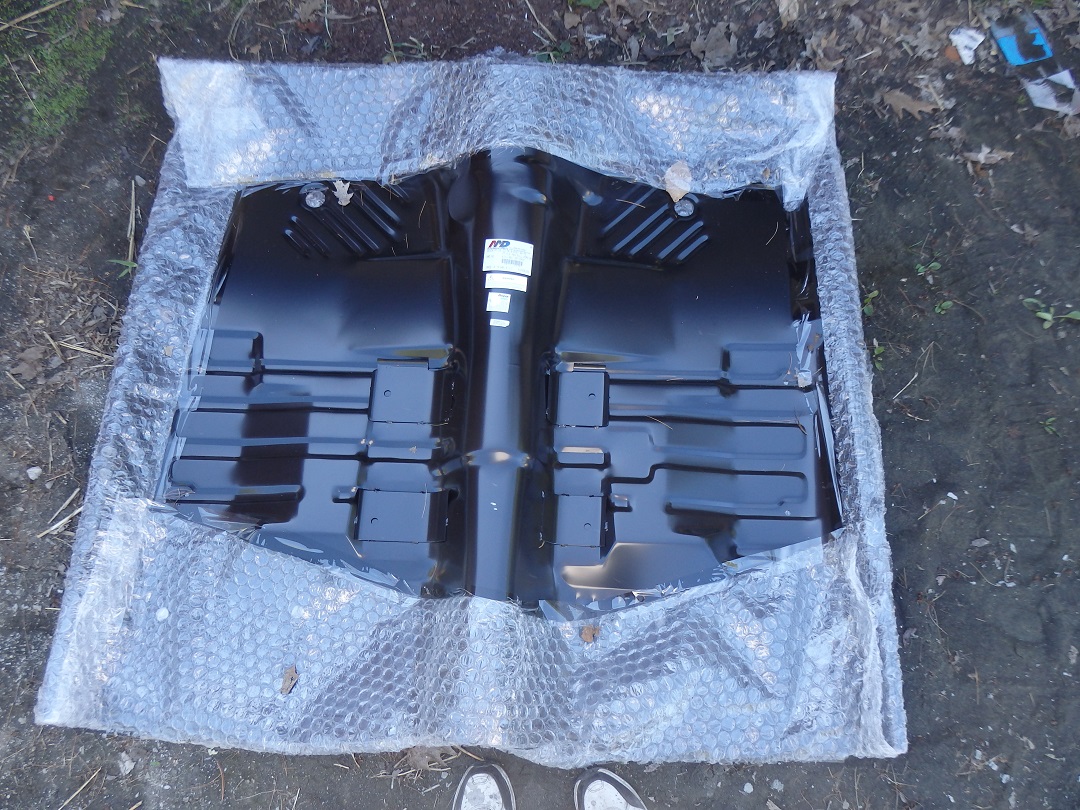
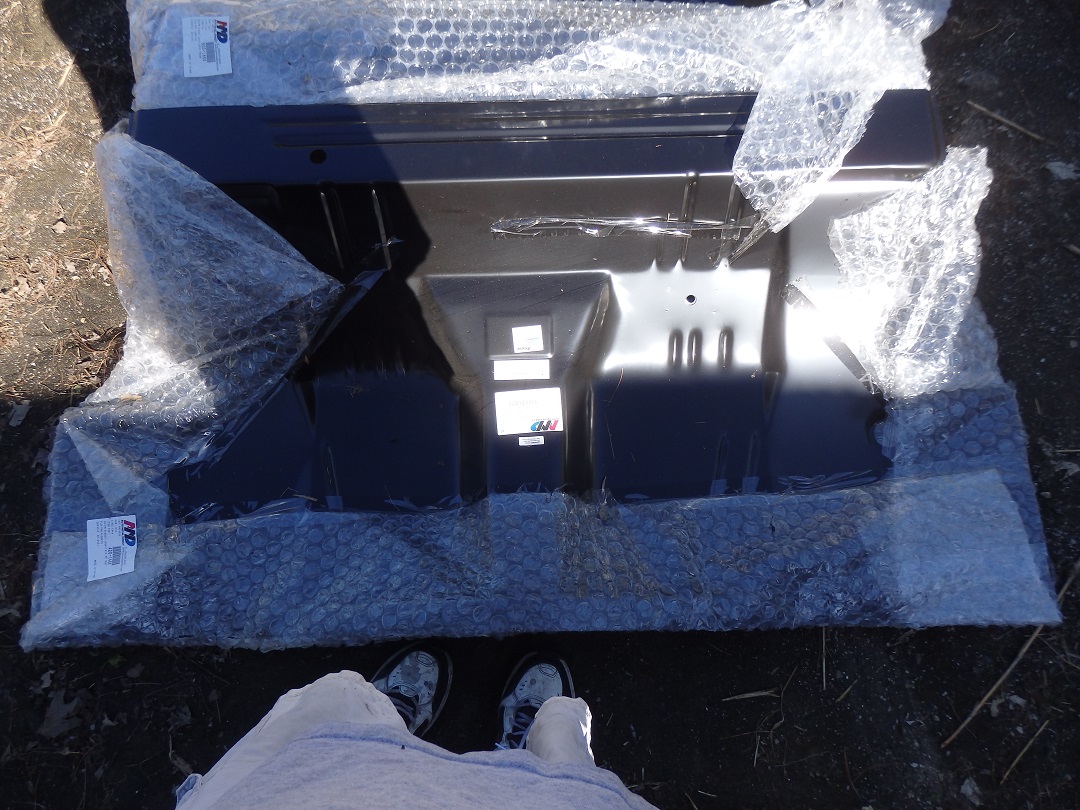
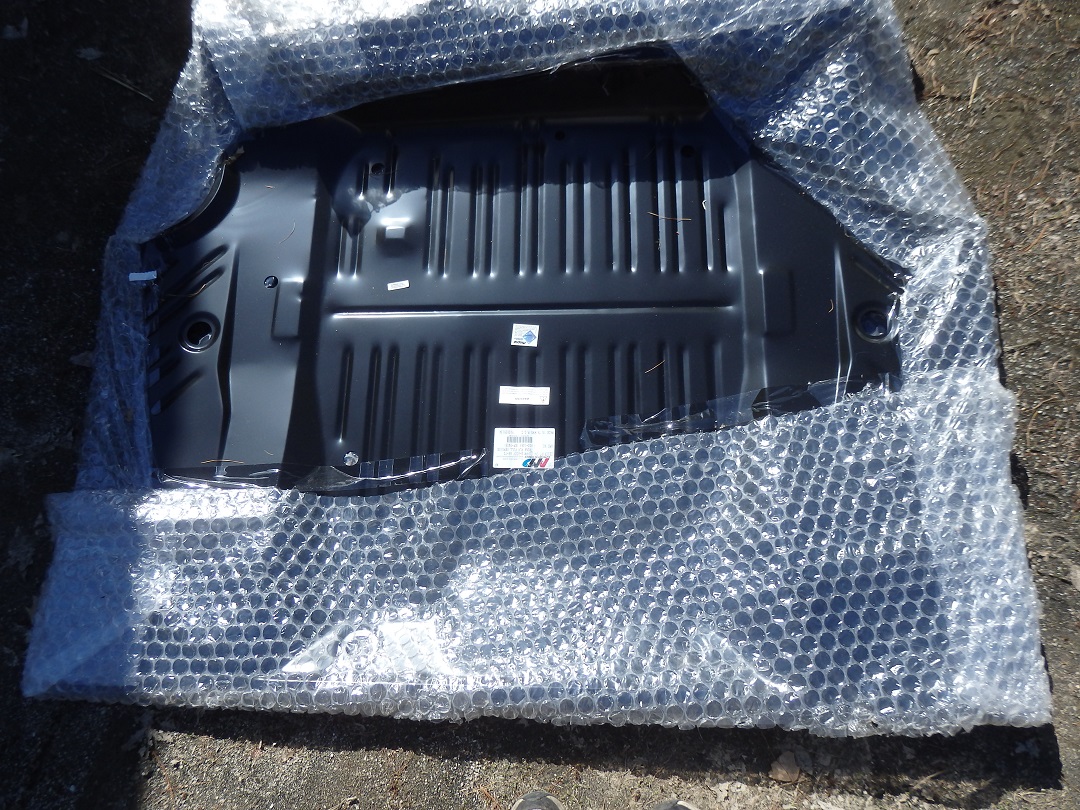
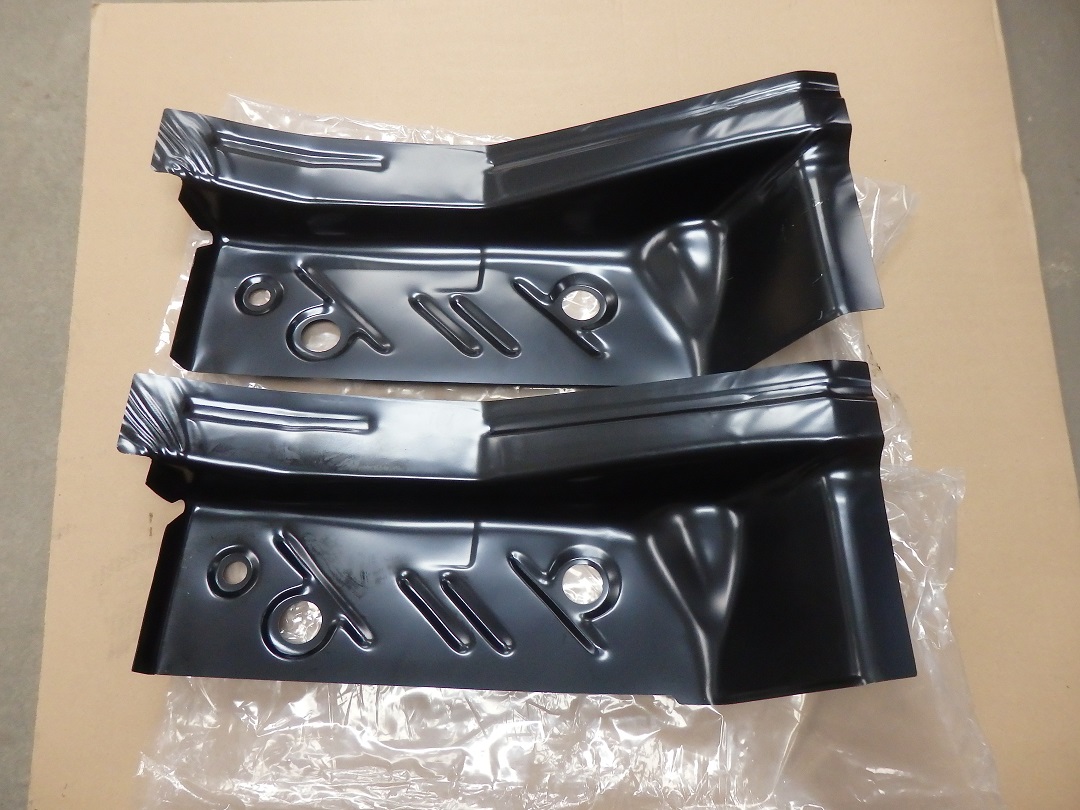
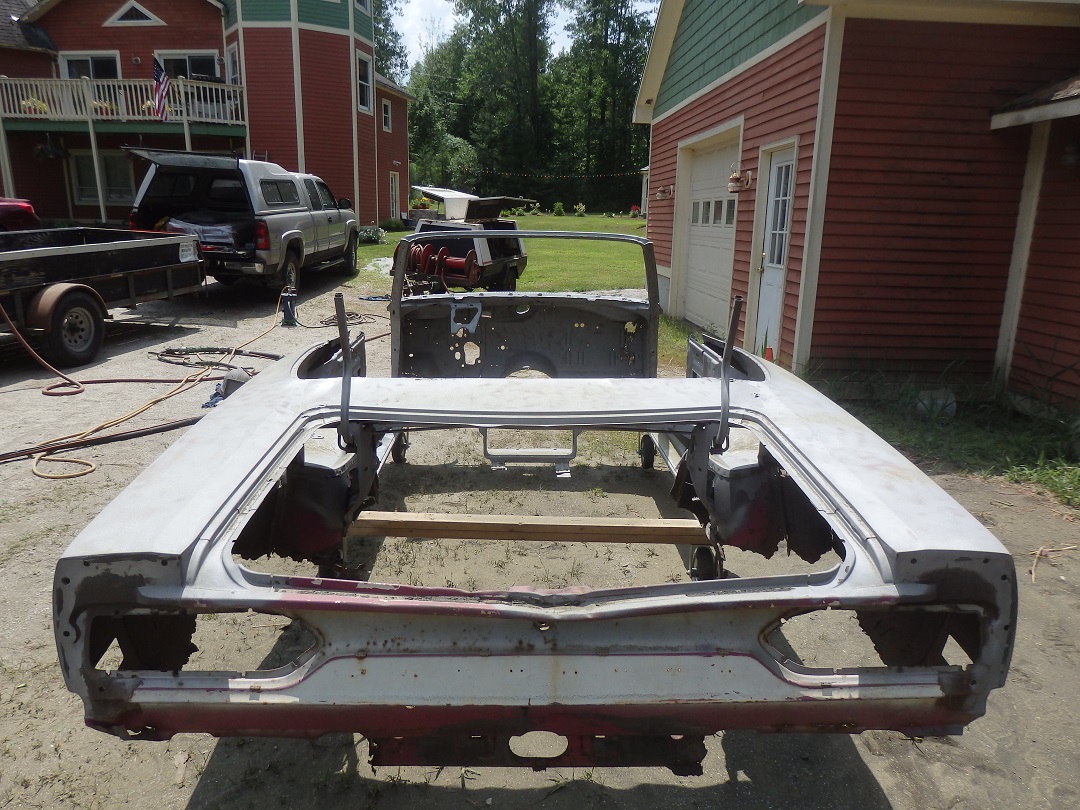
Before cutting out anything it's best to already have the new sheetmetal pieces so you know what can be removedand what needs to be saved. Sure the new AMD sheetmetal is nice, but there is always some detail that may need to be adjusted or corrected. It's best to know what that is before you cut everything out and need to figure it out by digging through the scrap pile. AMD accidentally sent 2 RH floor pan extensions, which was promptly corrected.
I started by cutting out the center section. The photo on the right shows what the underside finish looked like from the factory. Dark dip gray primer with Moulin Rouge/ Panther Pink overspray.
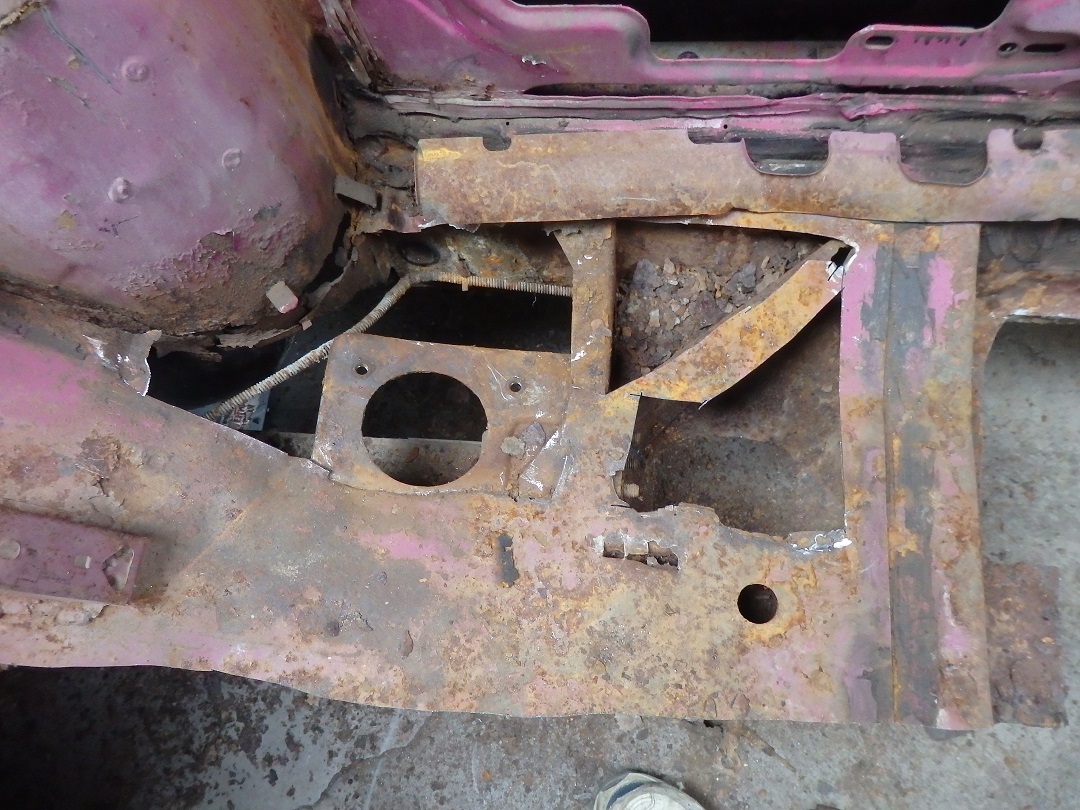
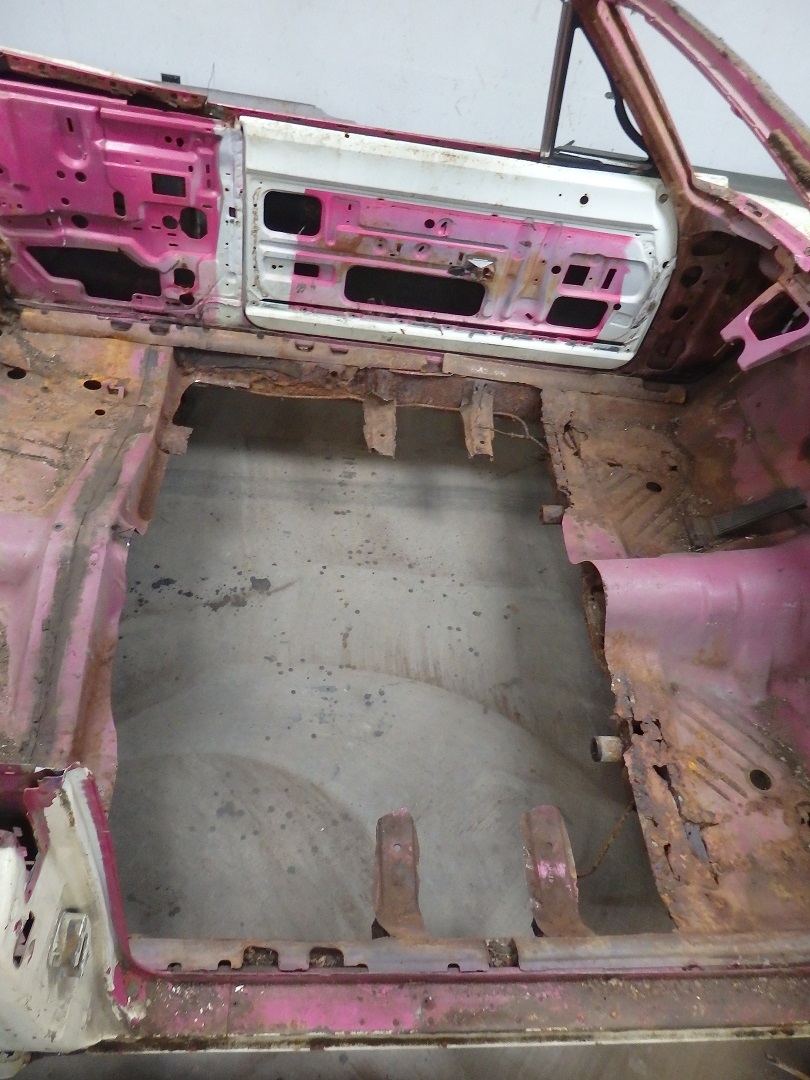
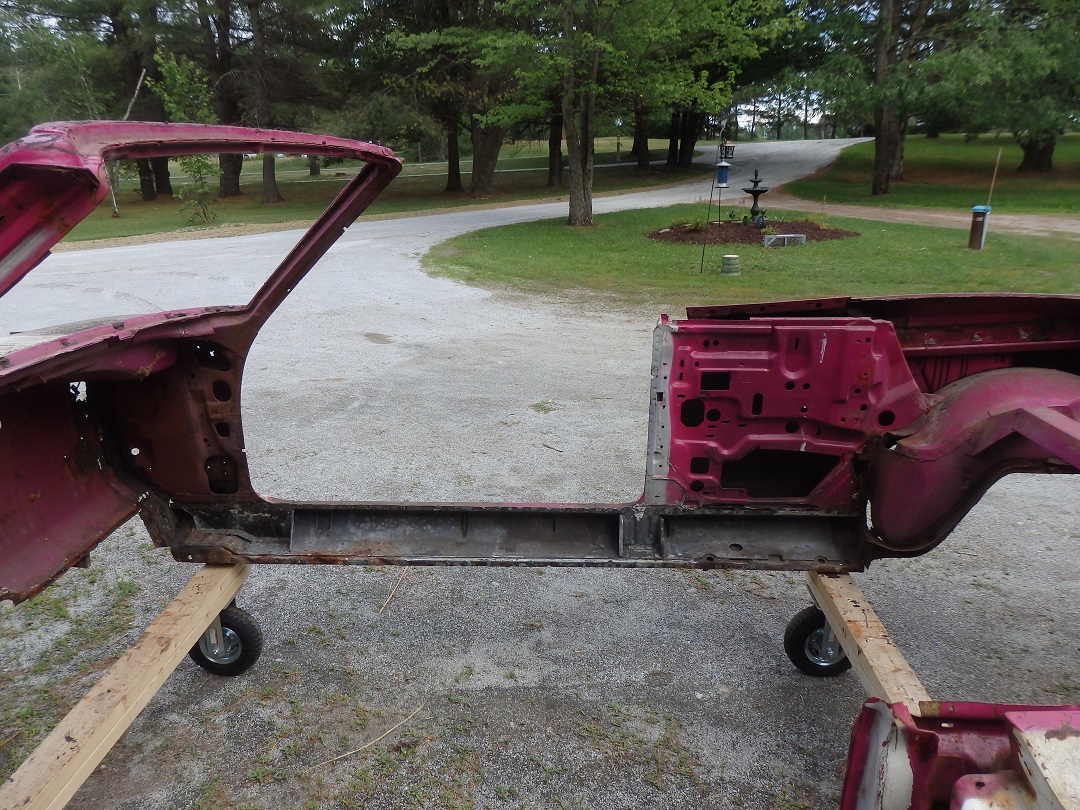
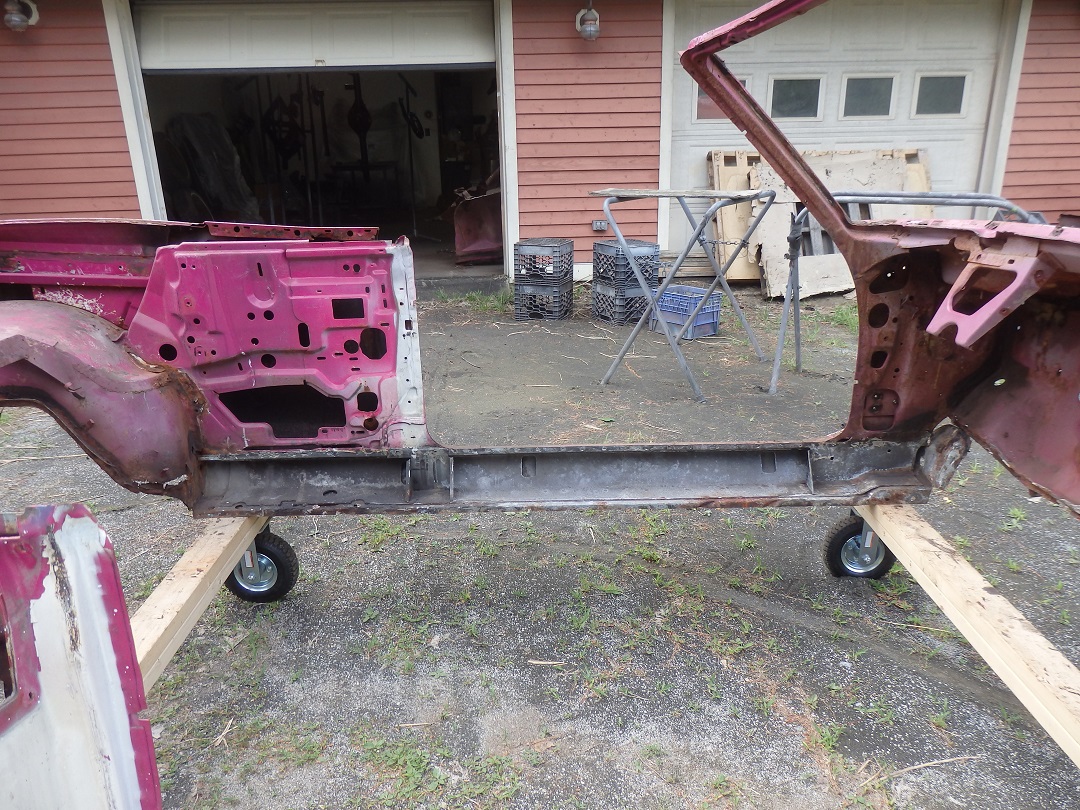
Here are pictures of more of the floor cut away. Normally you wouldn't go this far unless you braced the door openings, but this body was already twisted due to rusted out body structure.
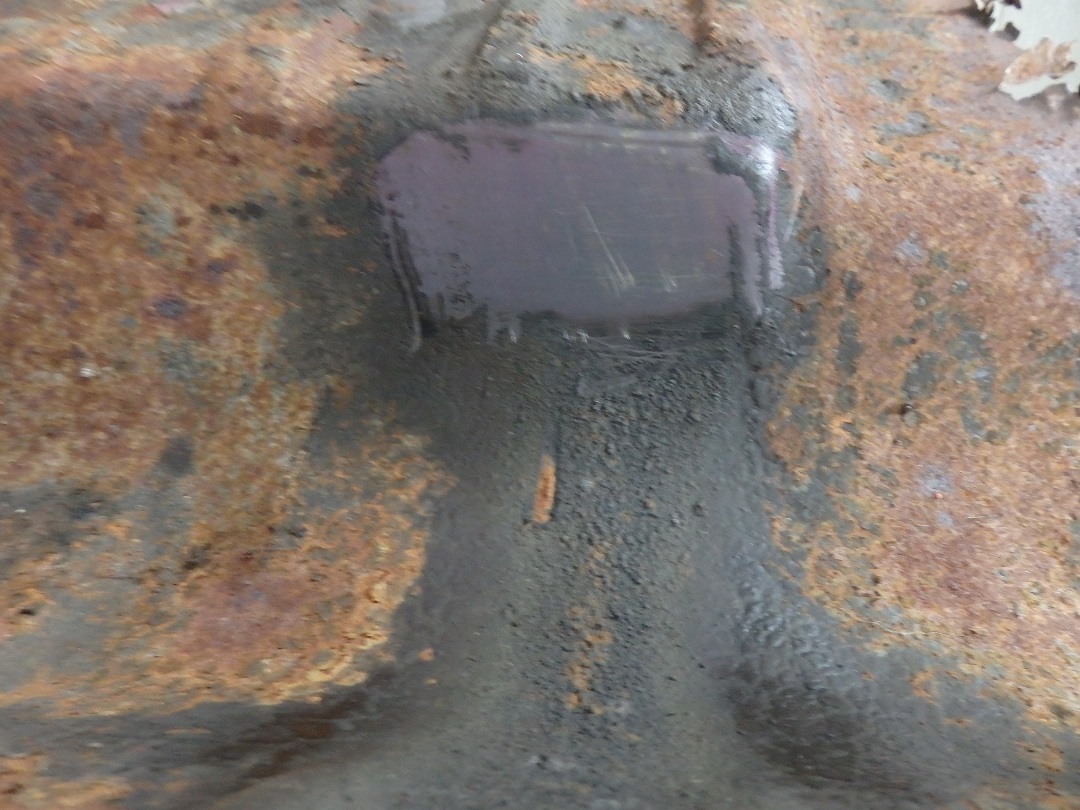
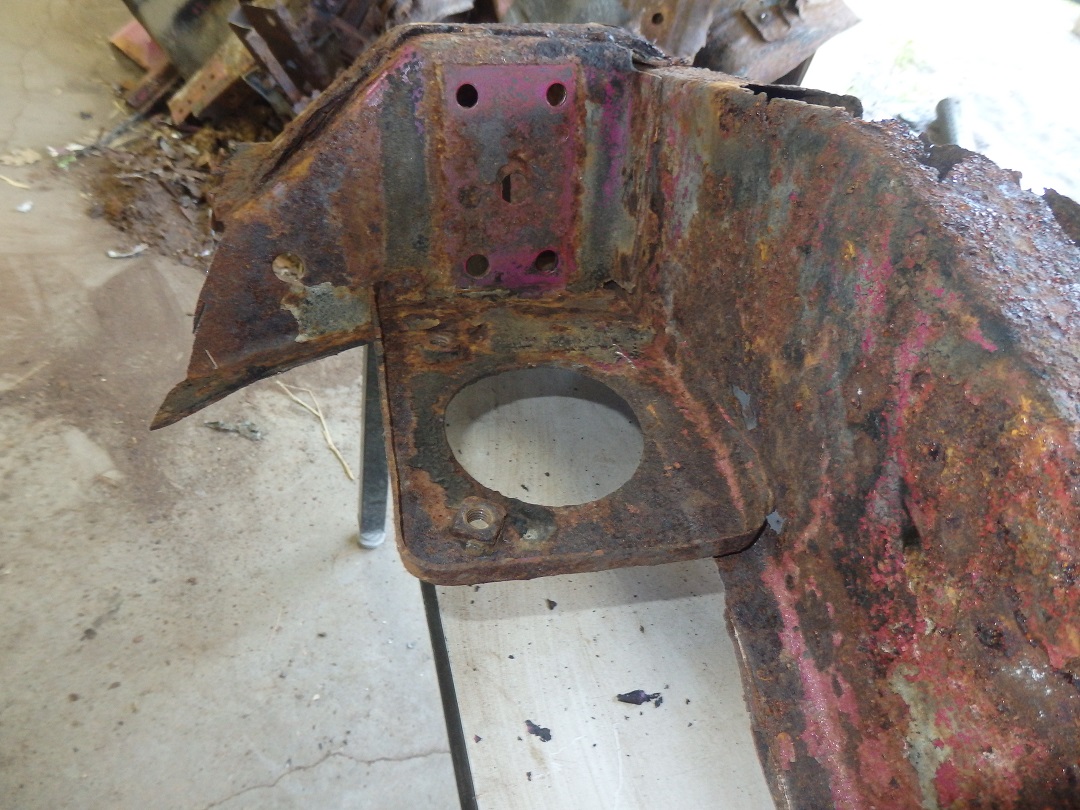
In the middle picture and the one to the right of it, you will see two views of a rectangular bracket with a round hole in it. This is a rear outer seatbelt to frame reinforcement, which is only on convertibles. Luckily they were intact as they are not reproduced.
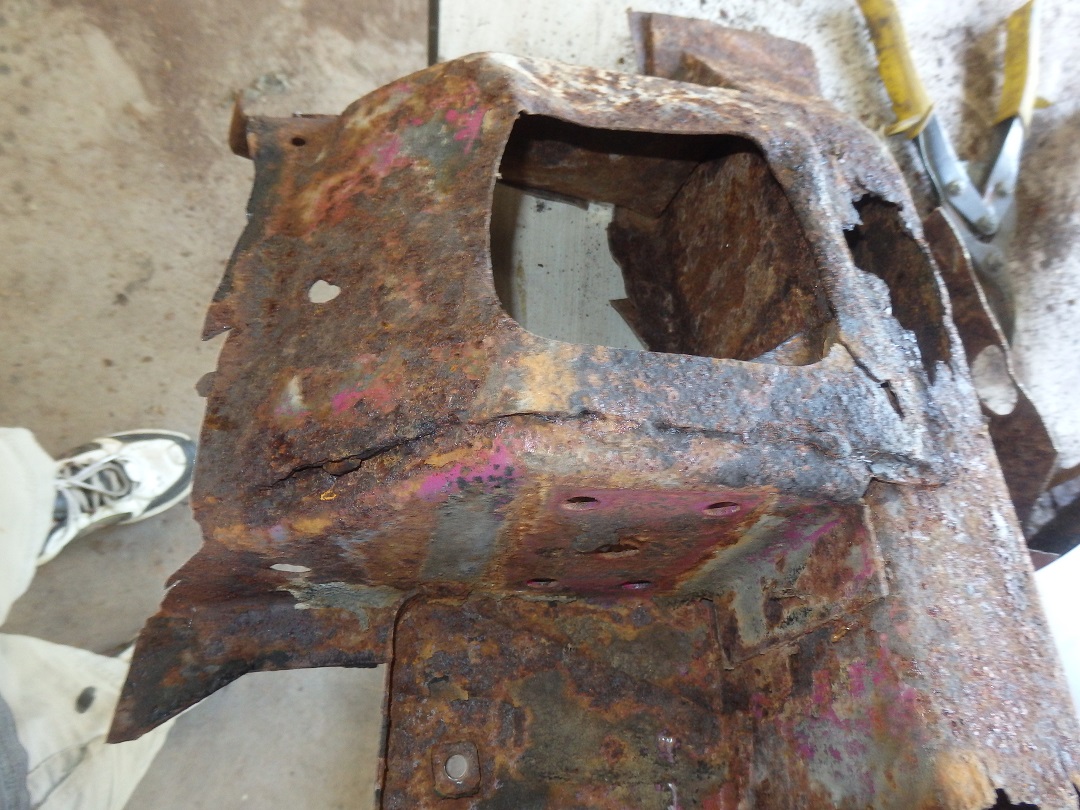
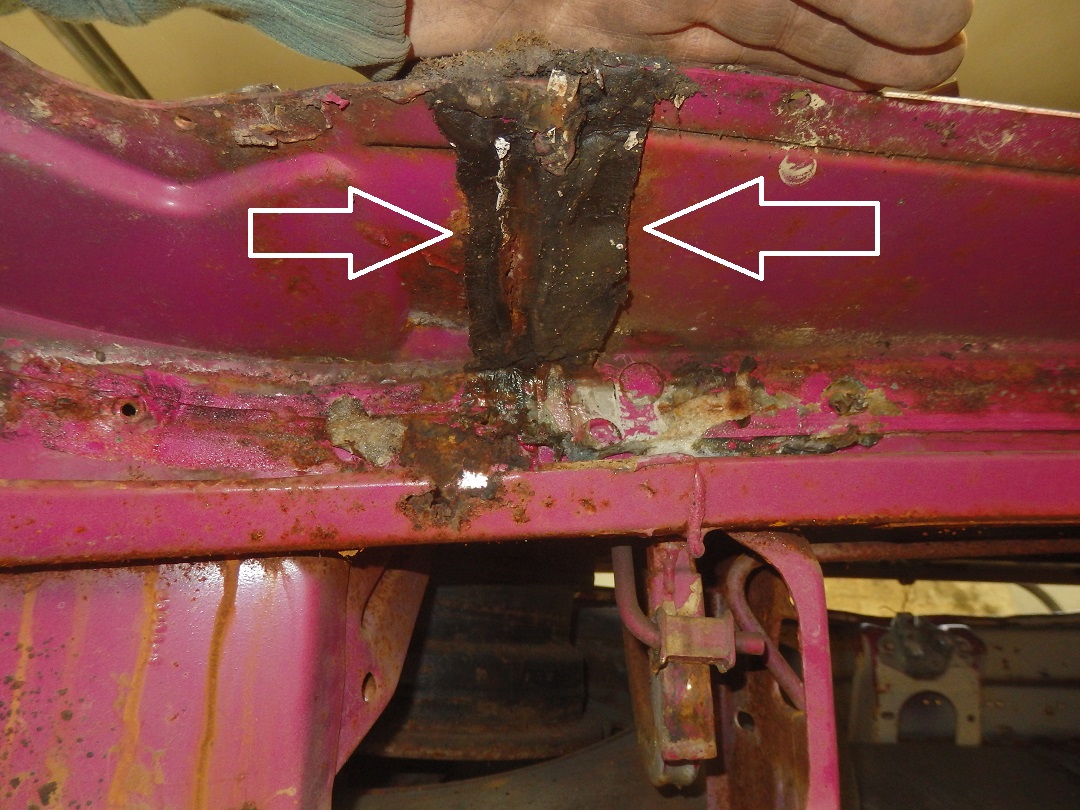
The picture on the far right is a rear torque box intended for hemi and 440 high performance cars. They were installed on convertibles as well to reinforce the body.
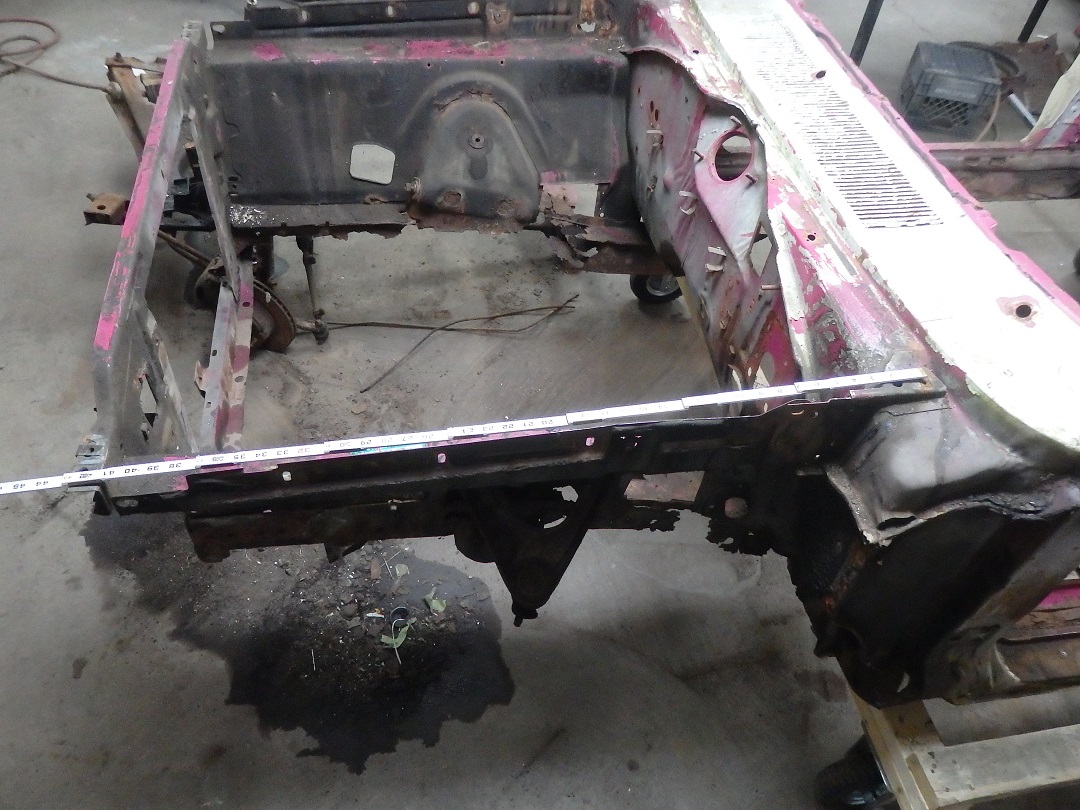
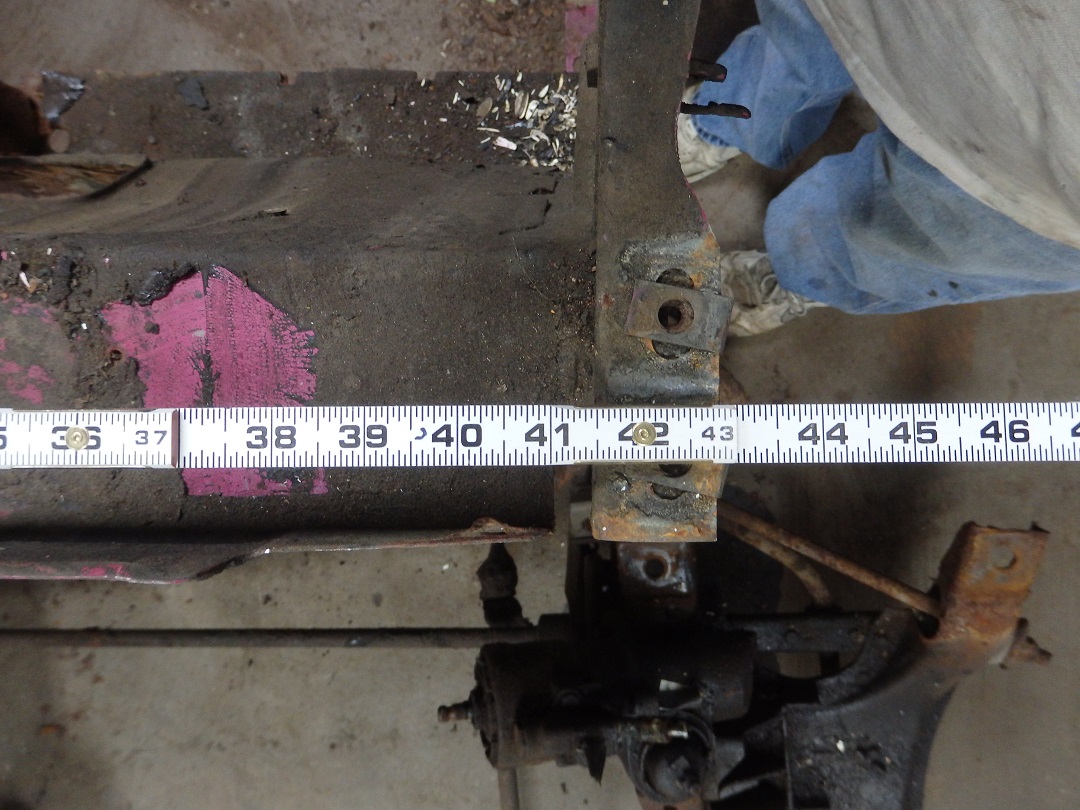
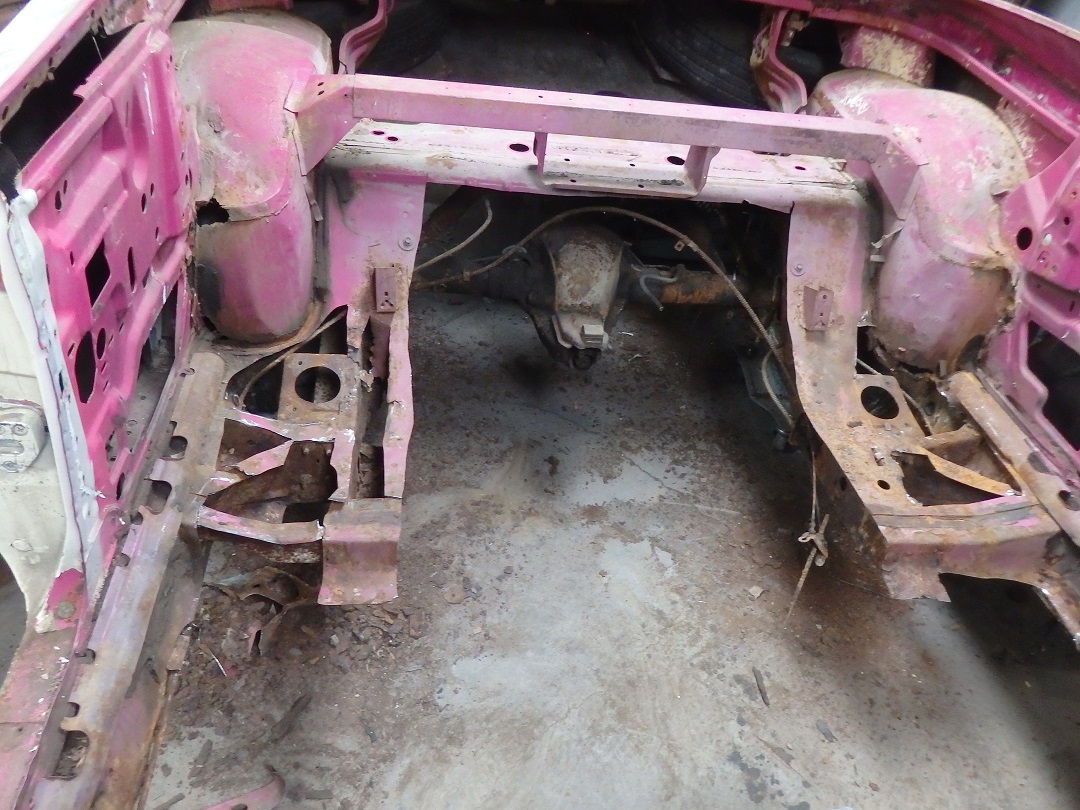
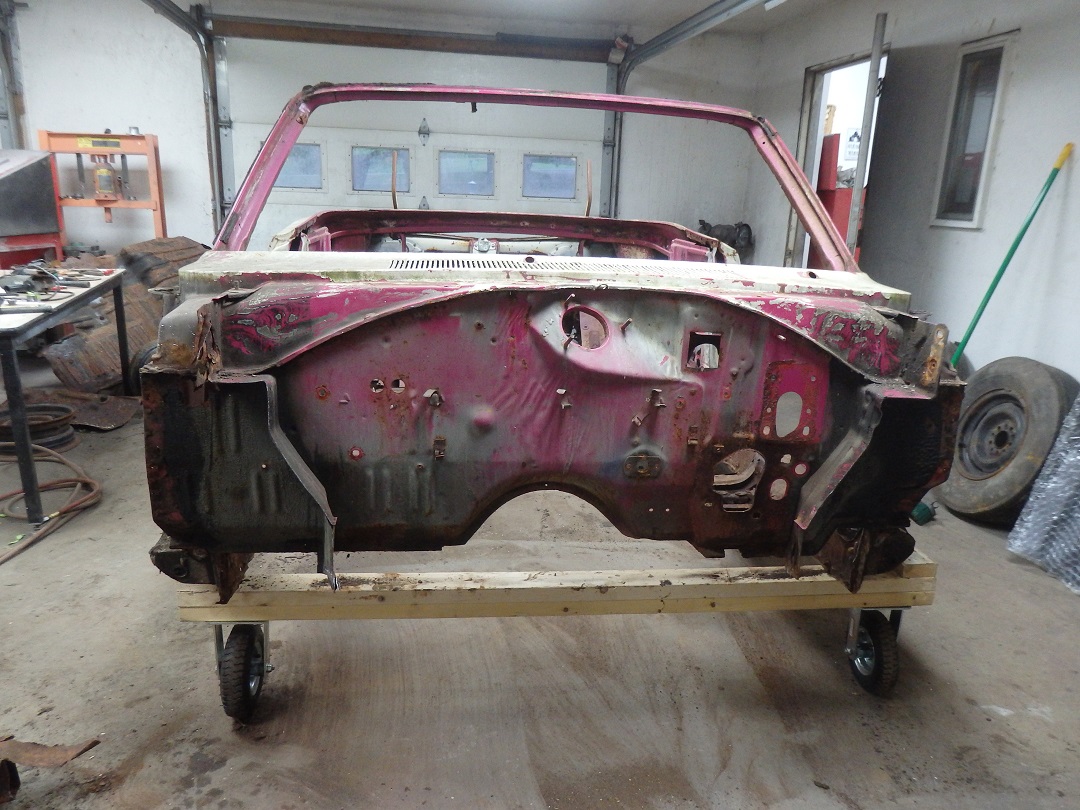
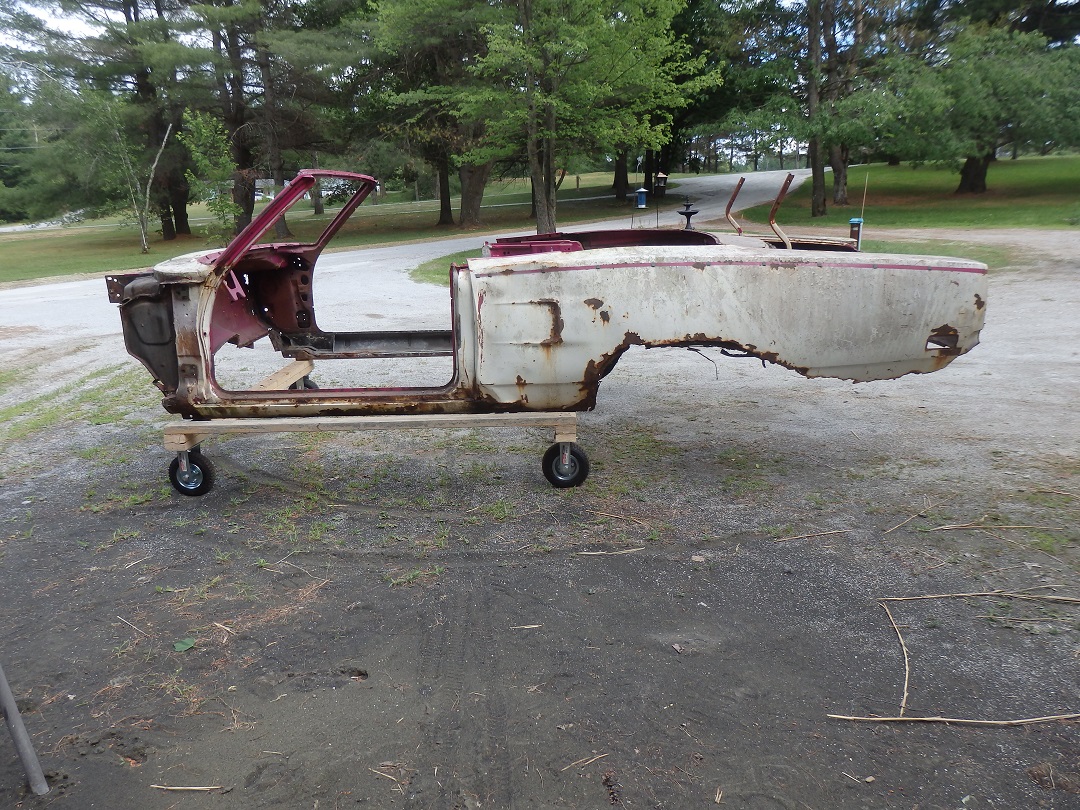
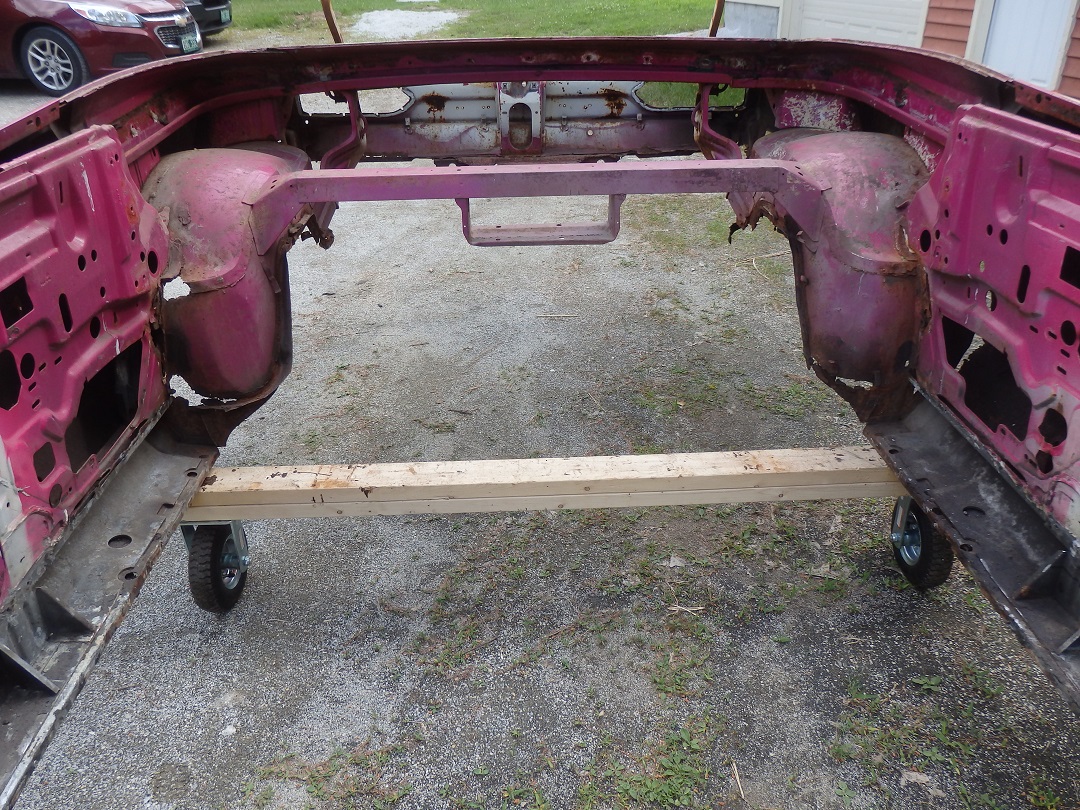
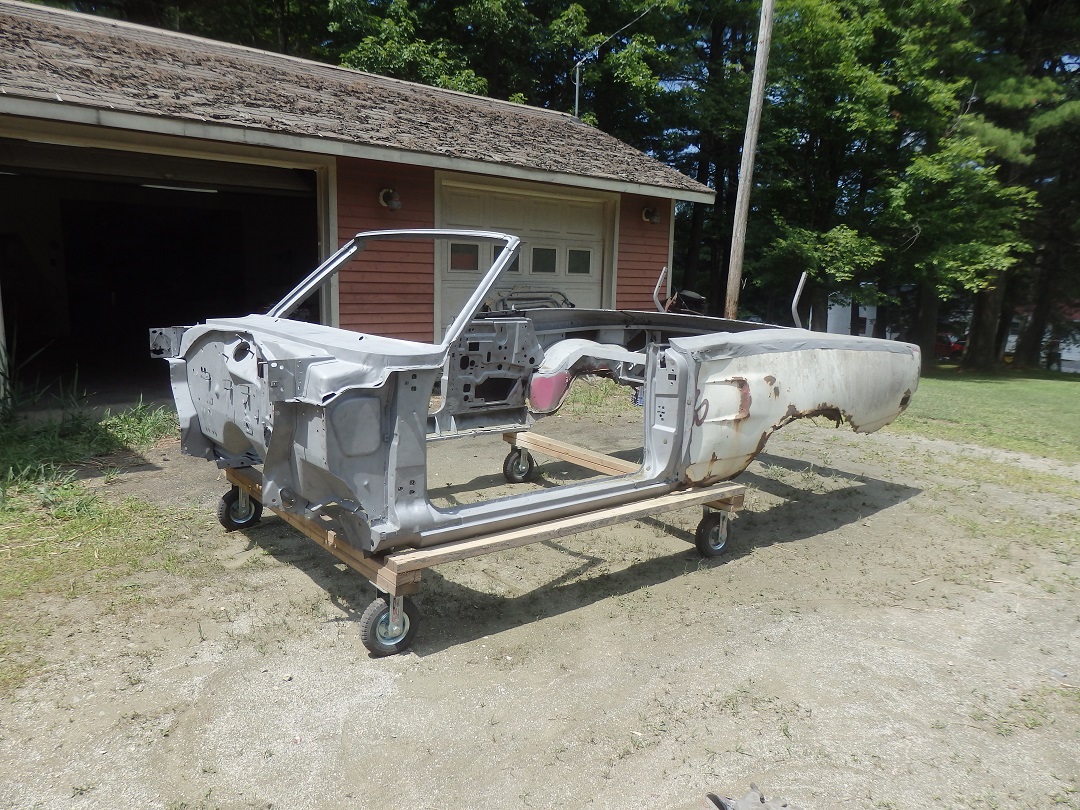
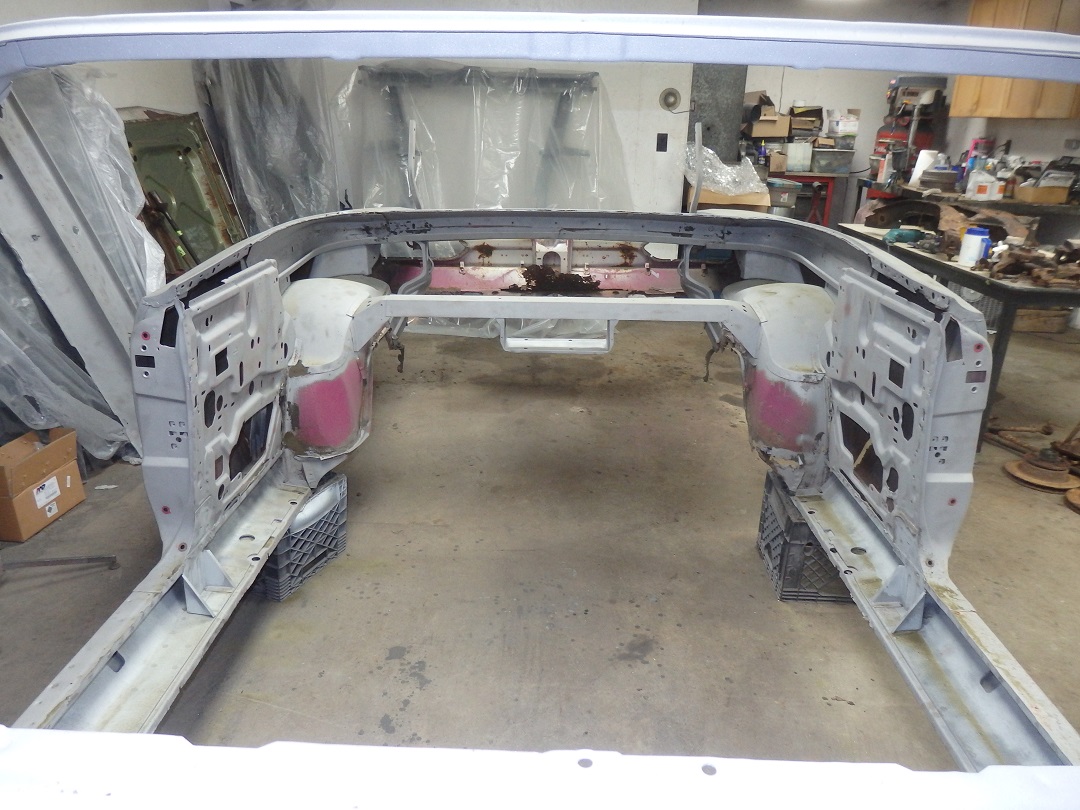
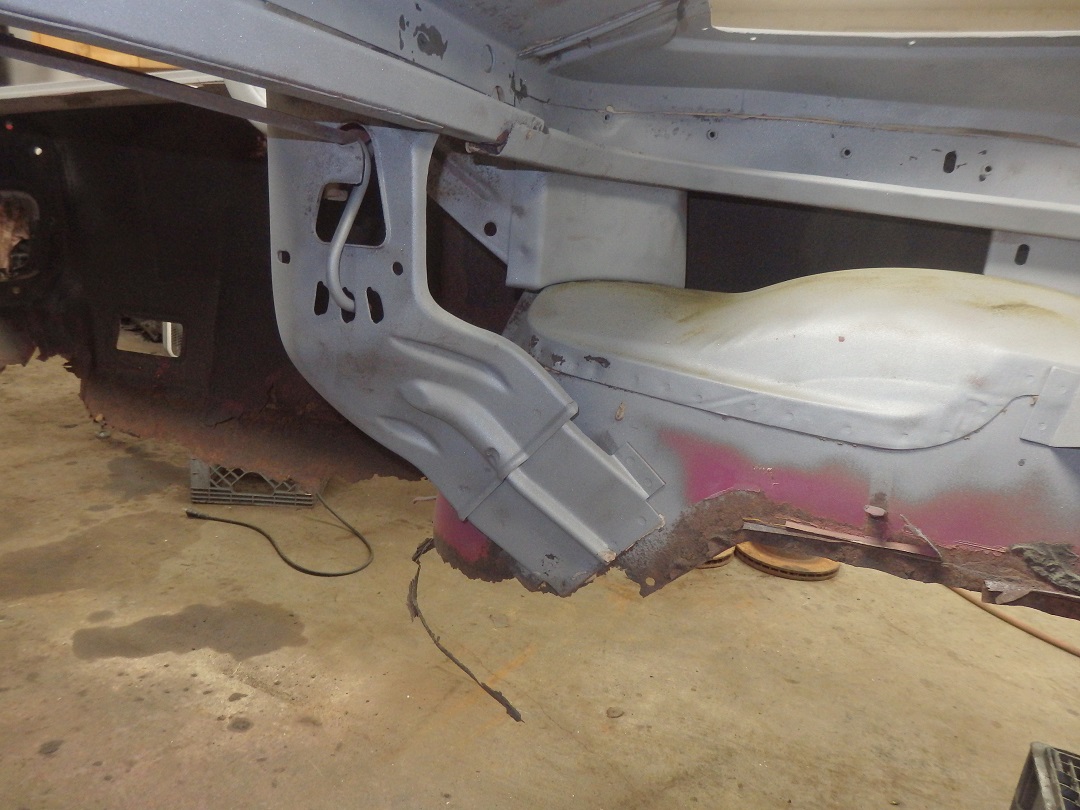
The front frame rails and inner fenders needed to be replaced on this car. Before cutting things off, I took a lot of measurements.
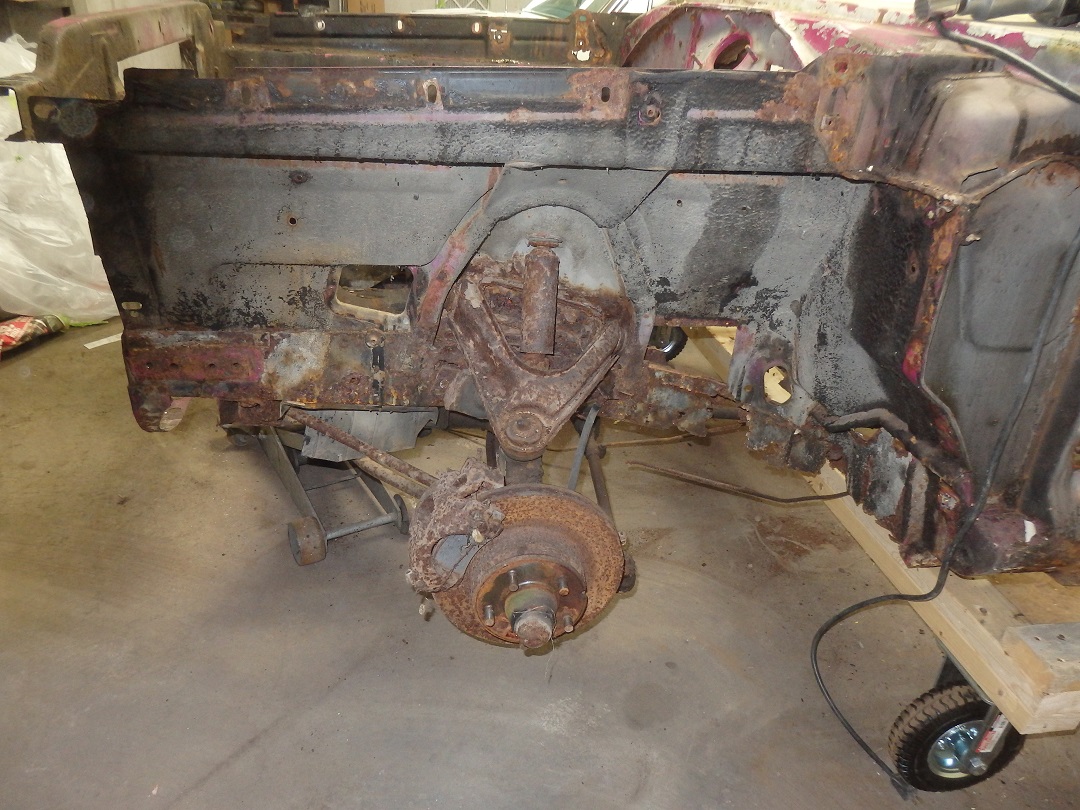
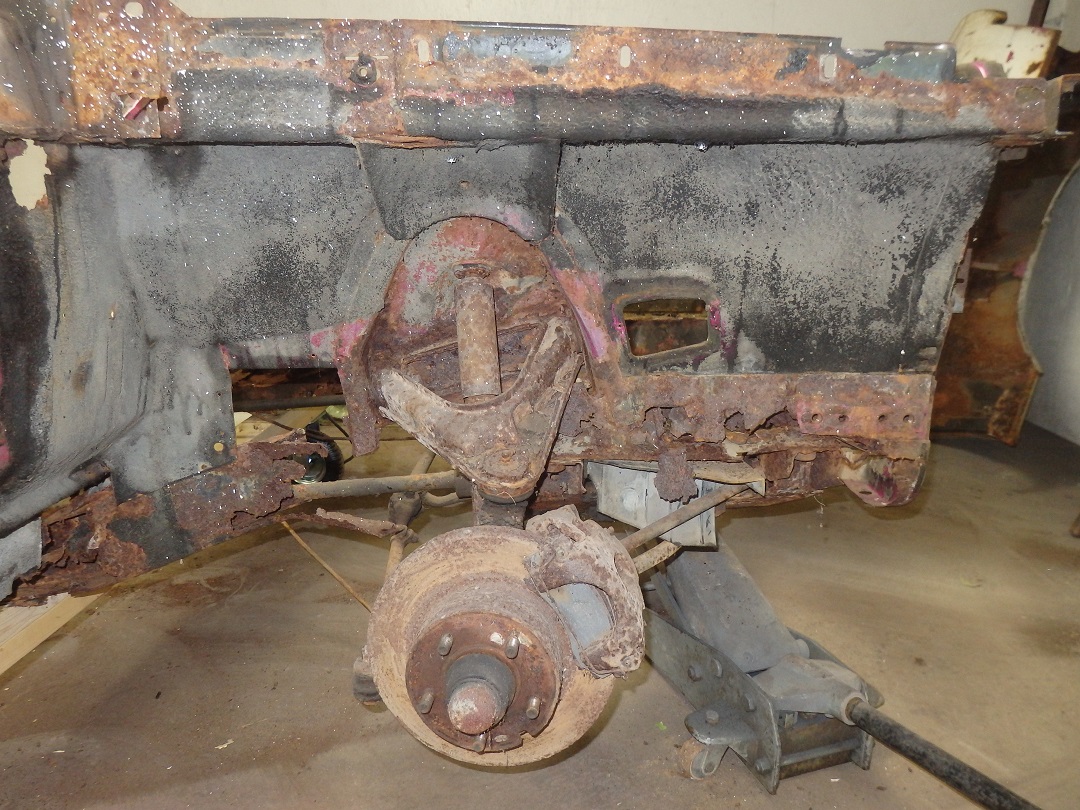
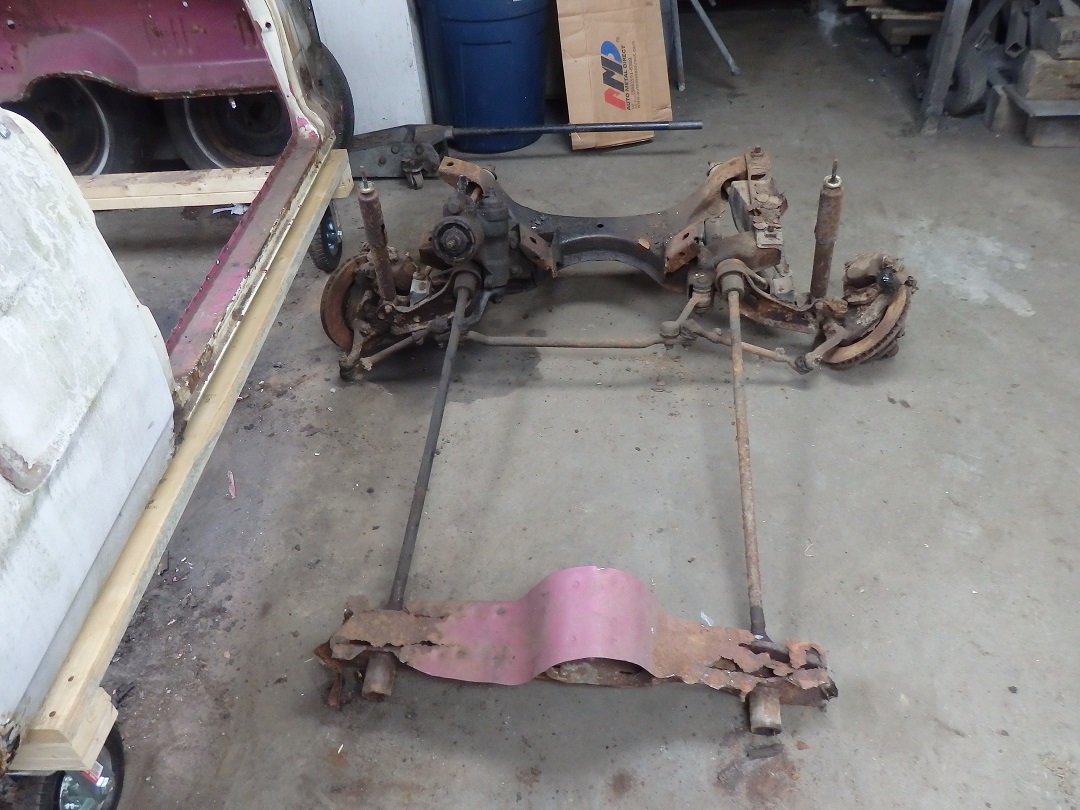

The frames were so bad on this car that I was able to pull the front suspension and K-frame off, just by making a few cuts on the remaining frame rails.
I then cut the inner fenders off near the firewall.
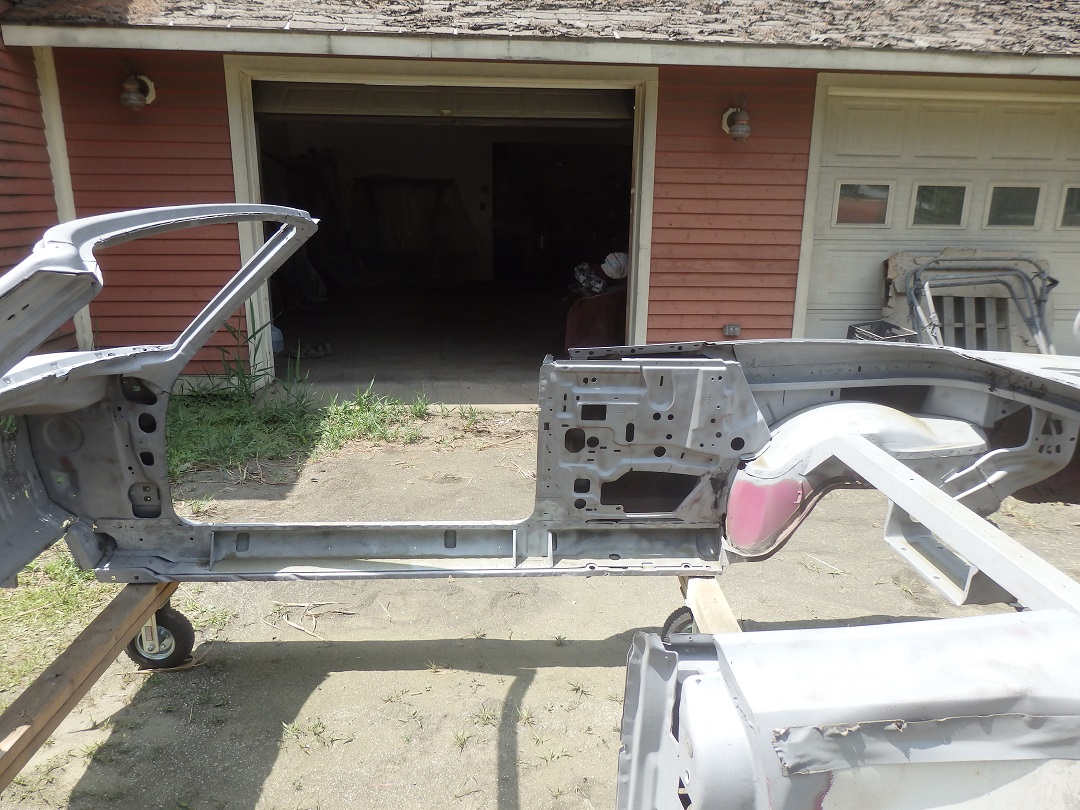
Again you wouldn't normally want to do this the way I did it. But there was very little intact structure available to keep things in place. Not to worry. I had a plan....
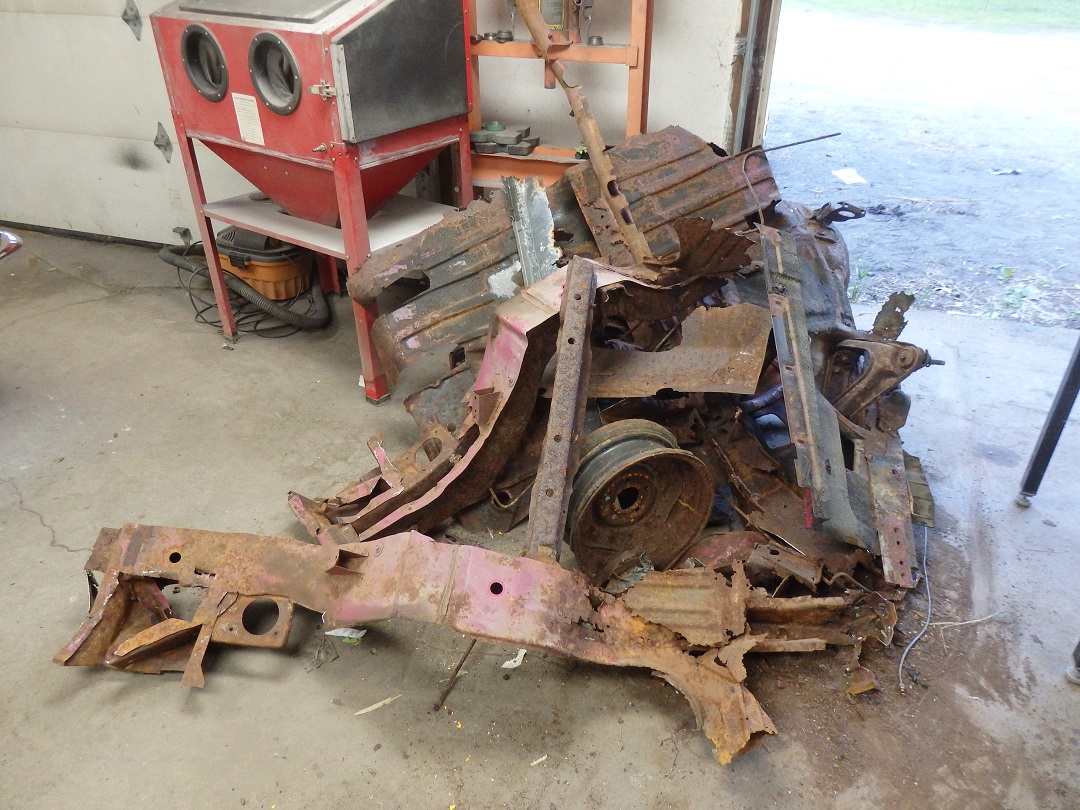
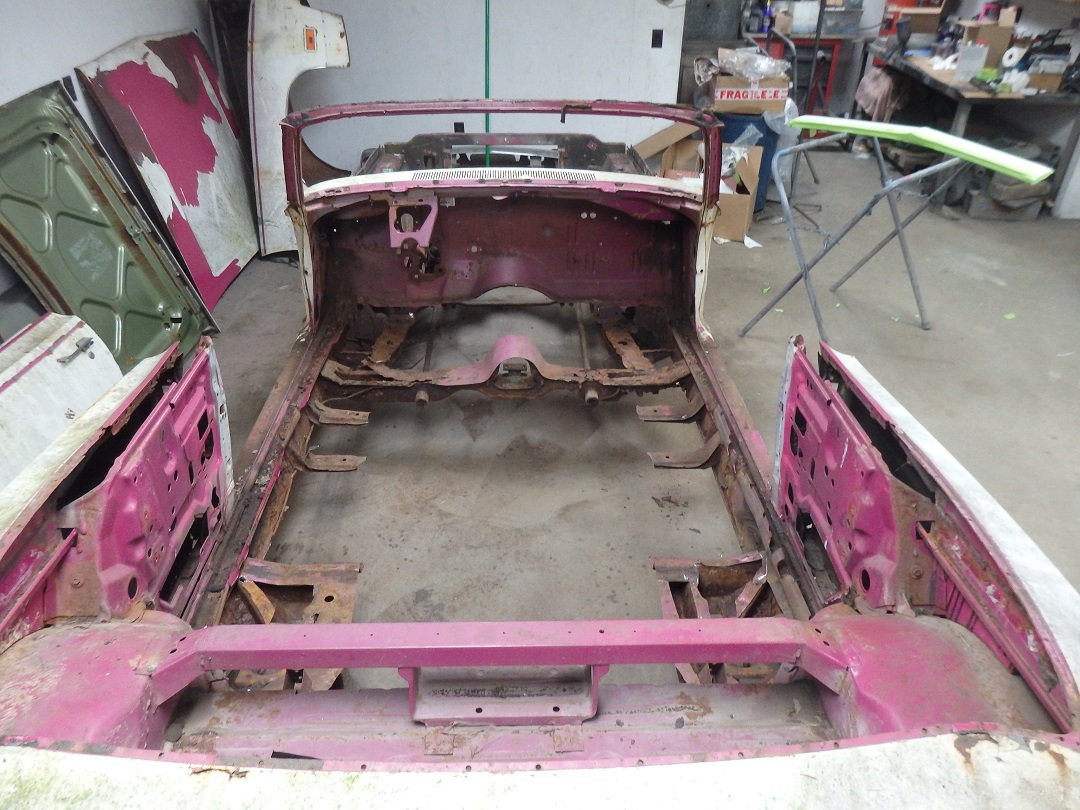
Here's the scrap pile. Though it would eventually all be thrown away, it was all kept as a reference for putting the car back together. Never throw away wnything until the car is done!
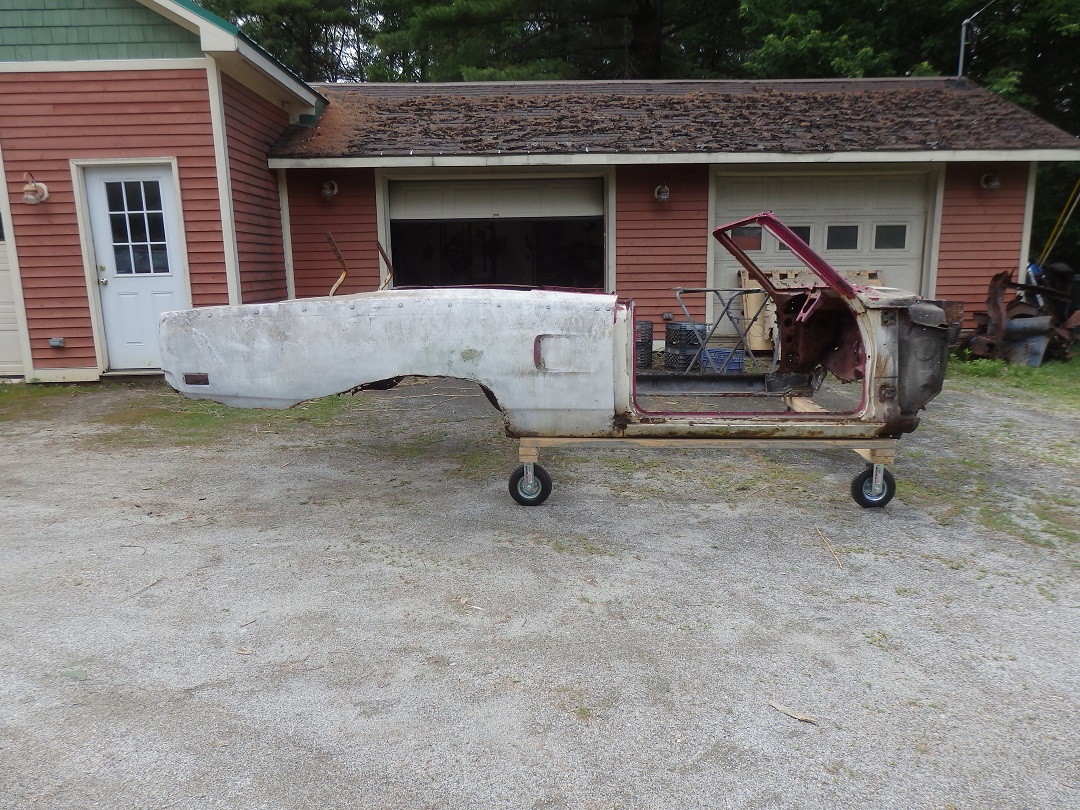
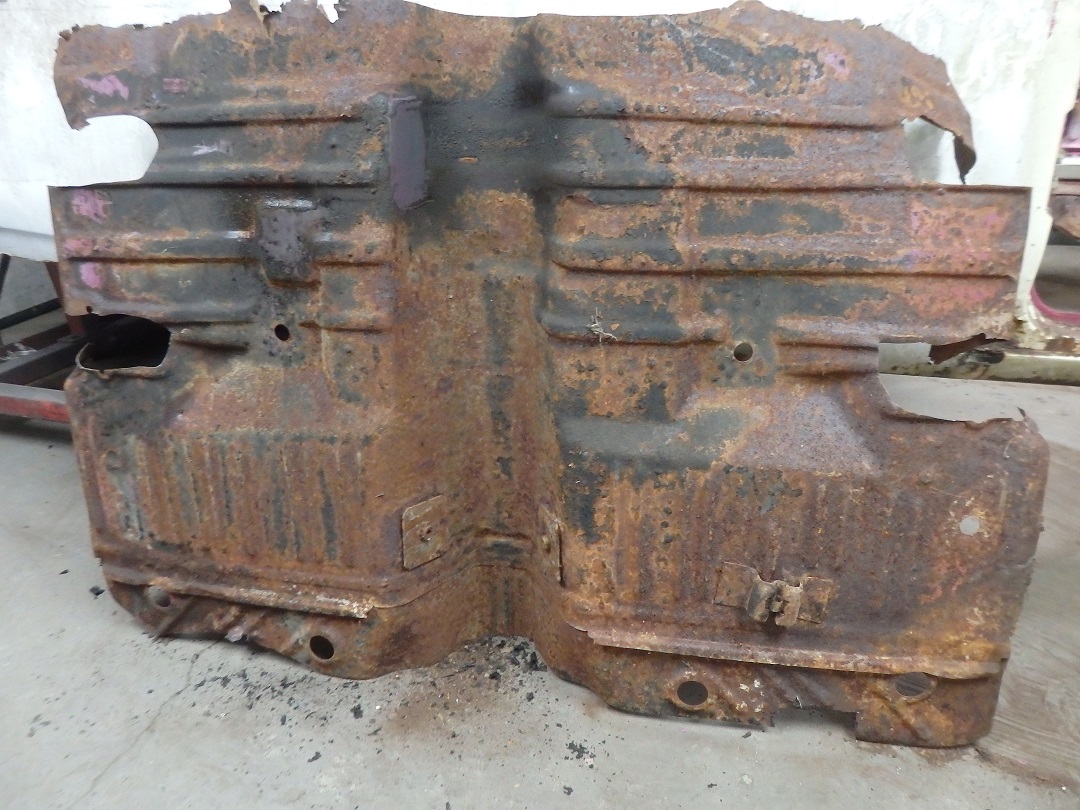
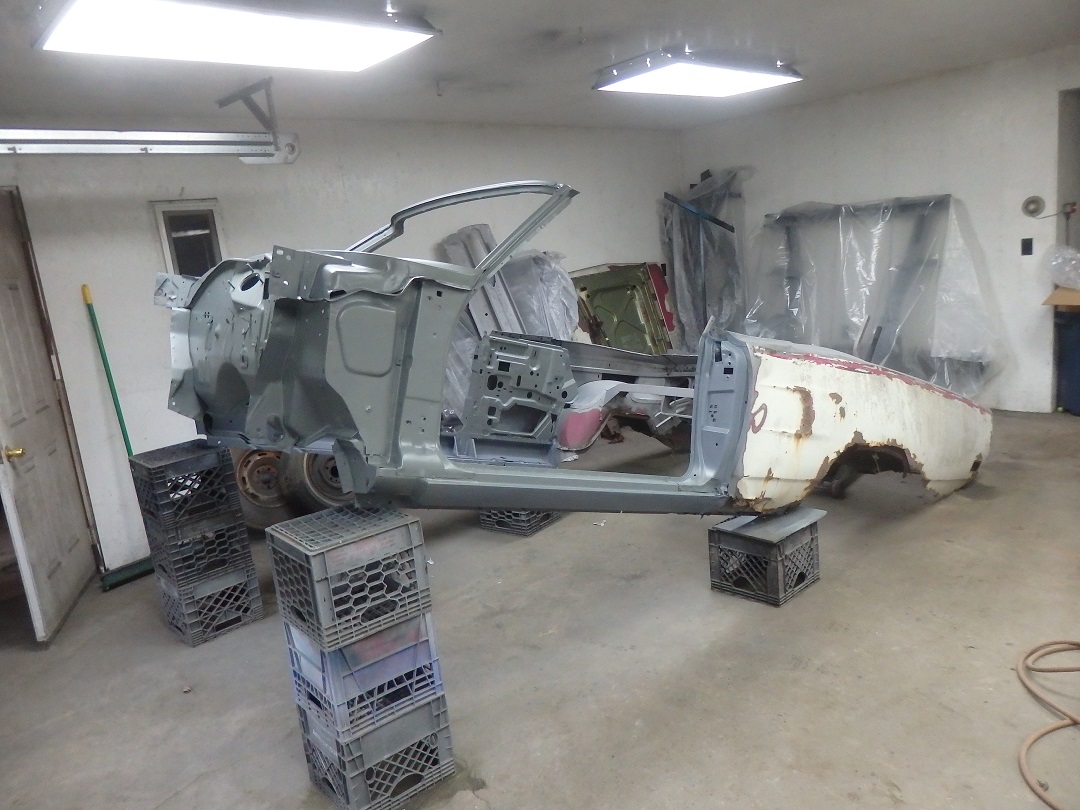
Here is what was left to the car after I removed most of the parts that needed to replaced. I had to remove the inner rocker panels since they weren't salvagable. In the last 3 pictures you can see all of the inner rocker reinforcements that were only installed on convertibles. They were all galvanized steal.
Don't follow my lead on this unless you are prepared for making a frame jig...

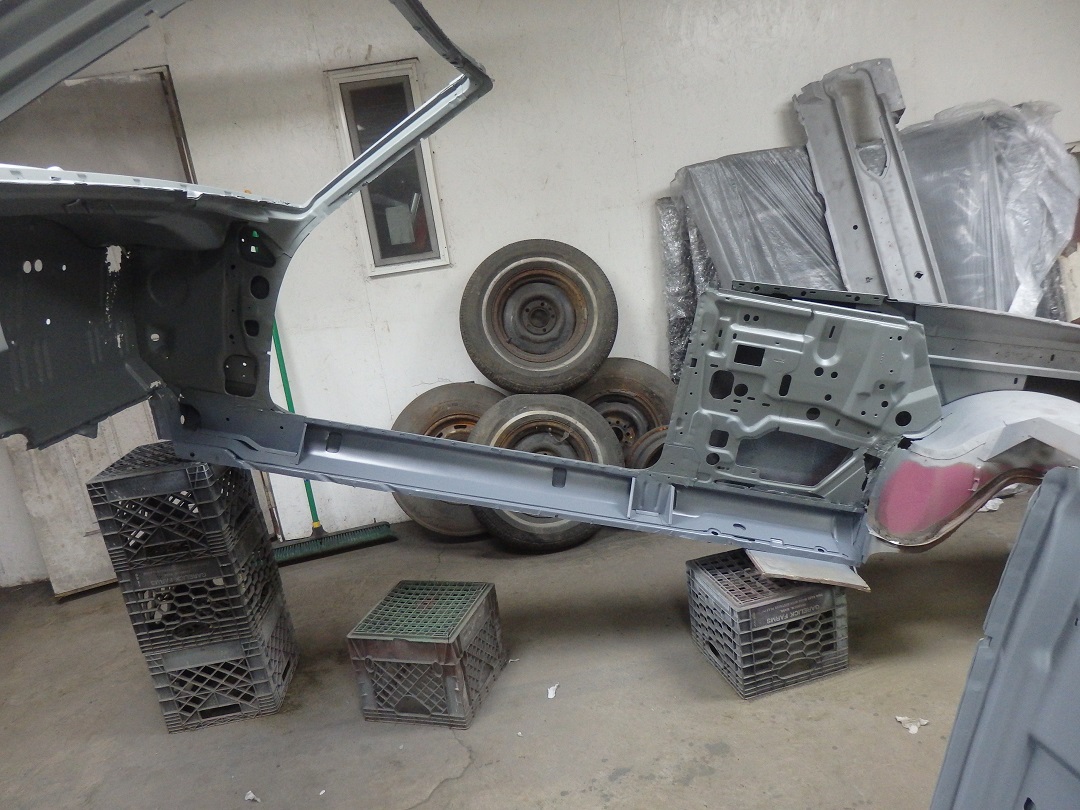
A local business, Dexter's Products, came to my house and sandblasted the shell. No suprise, the firewall was worse than I thought.
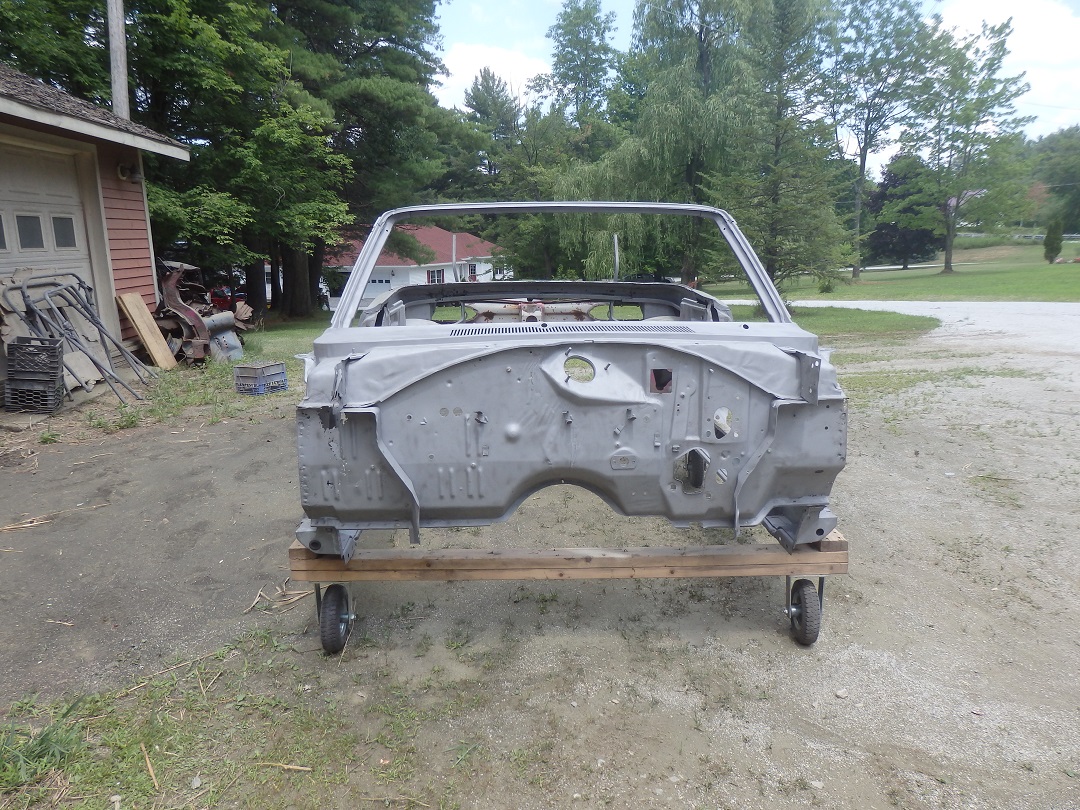

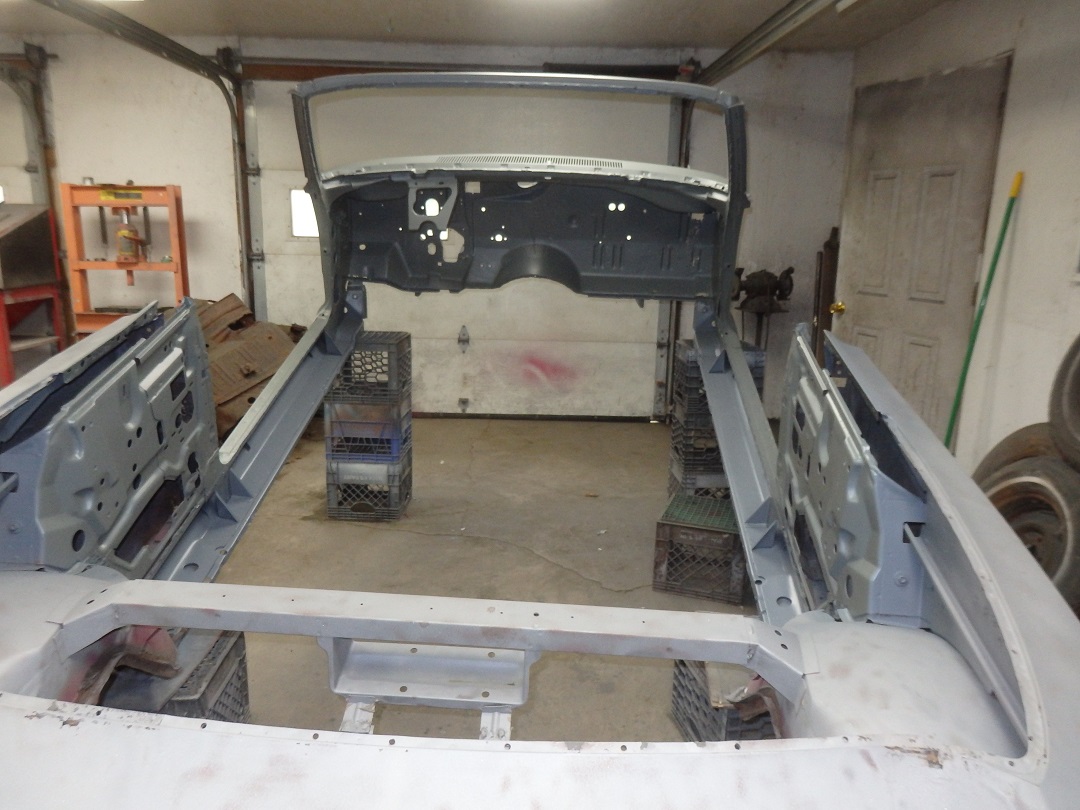
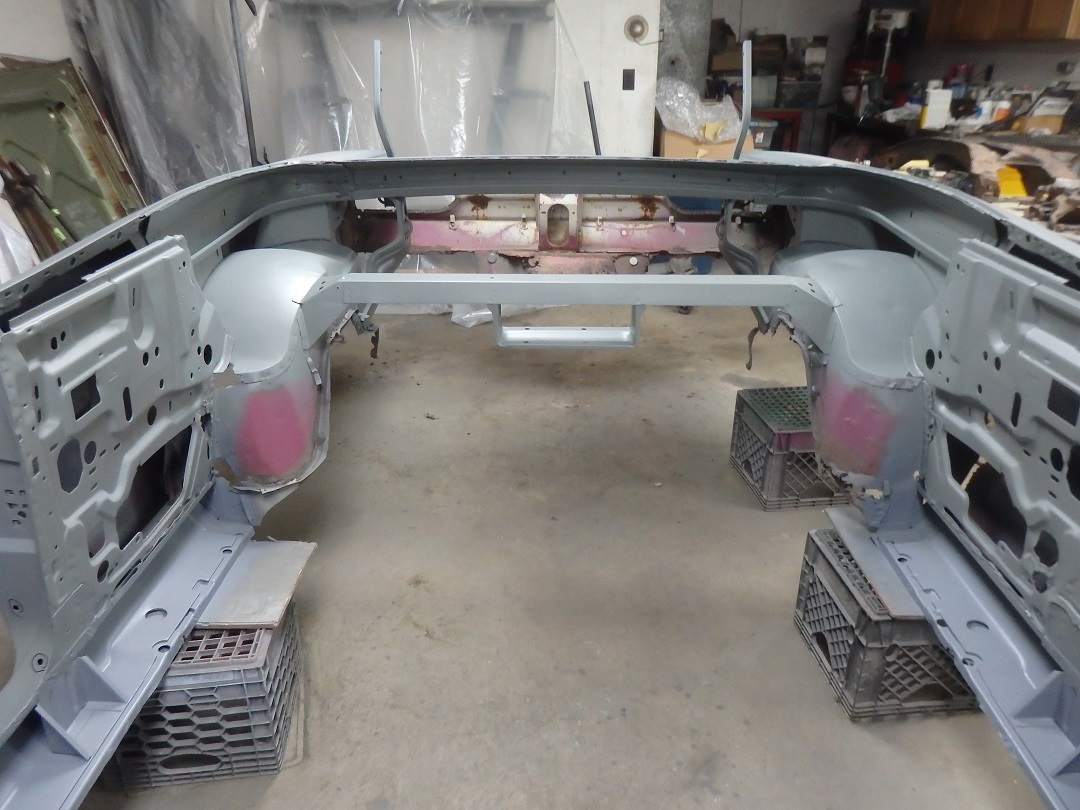
Once the car is sandblasted you can get a good idea of what the actual repairs will be. Anyting you see that was not sandblasted in this series of pictures is something that I was planning on replacing.
 >
>Here's a few more inside shots.
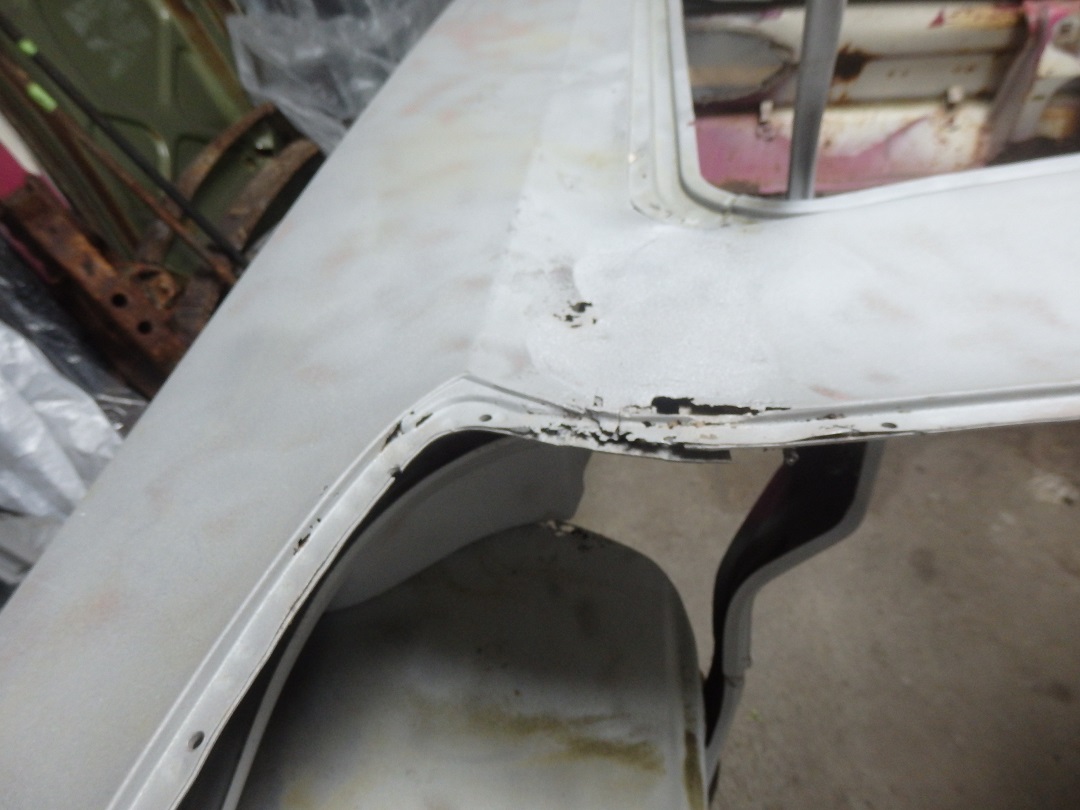
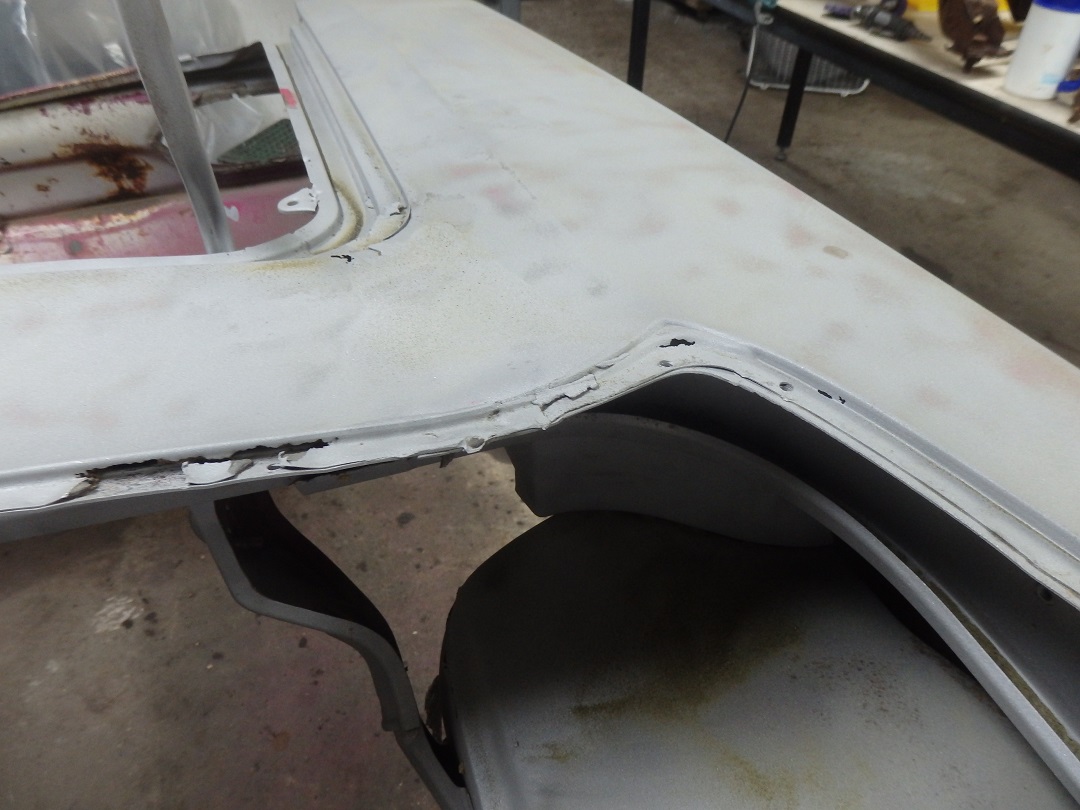
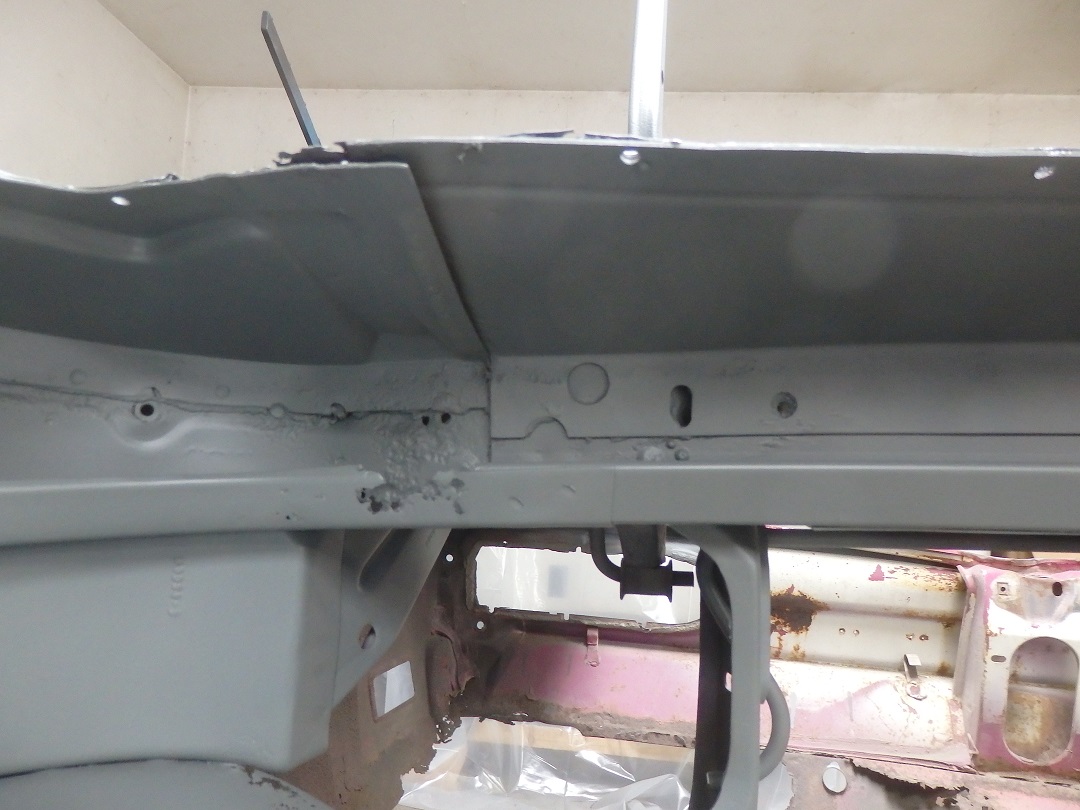
This area on convertibles can rust out pretty badly. They do not reproduce these panels. Creative repairs were in my future.
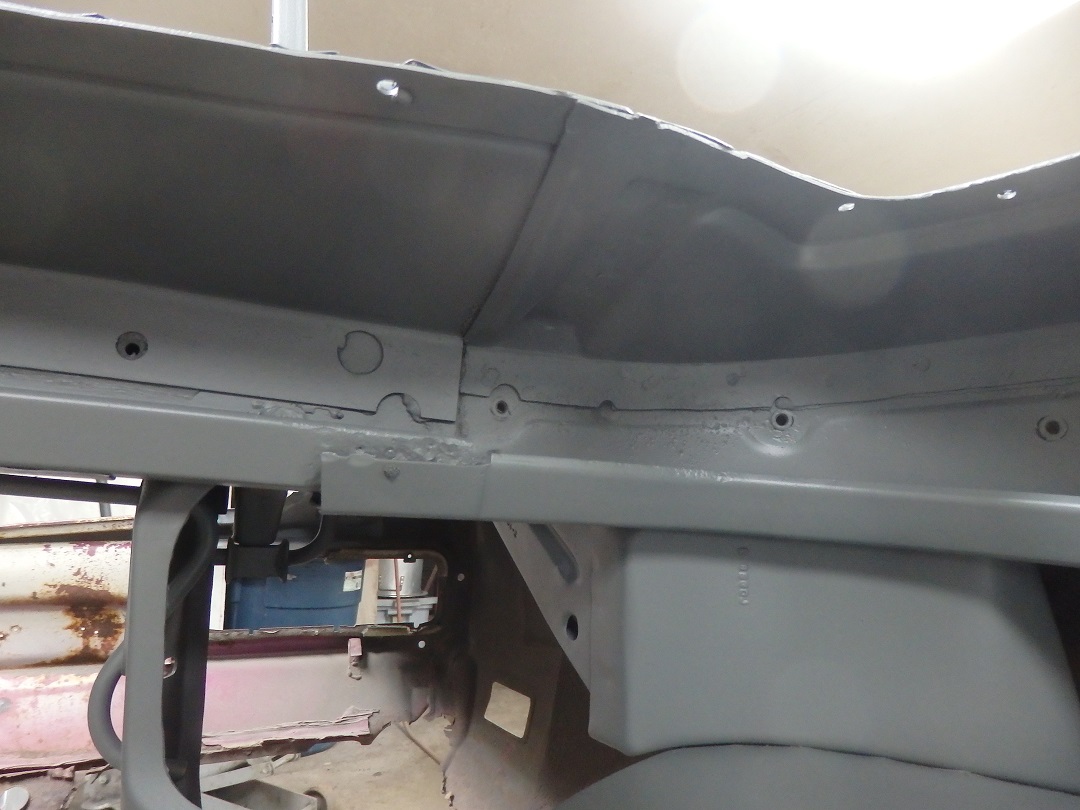
The center picture shows just how poorly these cars were made. The upper inner reinforcement was never welded in place. If you look at the picture on the far right you will see the huge strip of sealer the factory had applied to protect the convertible top from the sharp edge.
Before moving on to actual repairs I primed the exposed metal with PPG DP40LF Grey/Green epoxy primer. I ran out and used just DP50LF Gray epocy primer for the rockers.