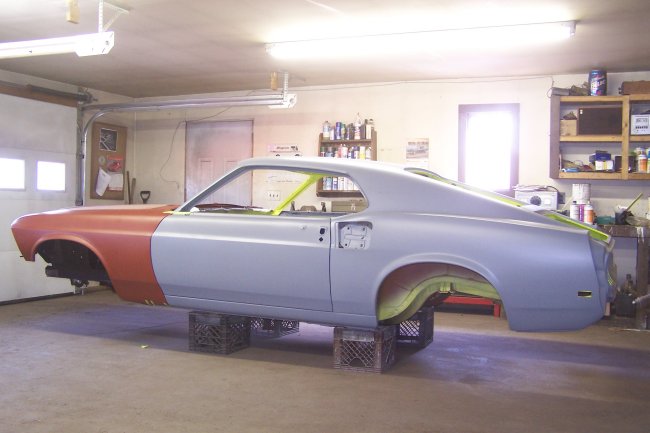
 One of the most important steps prior to painting is panel fitting. All of the sheetmetal should be hung on the shell and bolted in place. You don't want to find
out after the car is painted that nothing lines up. When I have everything bolted in place I take pictures of each gap and measure the gaps as well. Here we have the side view.
The gaps were pretty close to 3/16 on the door post and 1/4 at the bottom which are recommended in the body assembly manual. NOTE: Though the front sheet metal is in red
primer the sheetmetal was block-sanded and reprimed using the same gray epoxy primer as the shell. Primer colro does effect final body color so everything should be primed the
same color. Preferably out of the same can.
One of the most important steps prior to painting is panel fitting. All of the sheetmetal should be hung on the shell and bolted in place. You don't want to find
out after the car is painted that nothing lines up. When I have everything bolted in place I take pictures of each gap and measure the gaps as well. Here we have the side view.
The gaps were pretty close to 3/16 on the door post and 1/4 at the bottom which are recommended in the body assembly manual. NOTE: Though the front sheet metal is in red
primer the sheetmetal was block-sanded and reprimed using the same gray epoxy primer as the shell. Primer colro does effect final body color so everything should be primed the
same color. Preferably out of the same can.
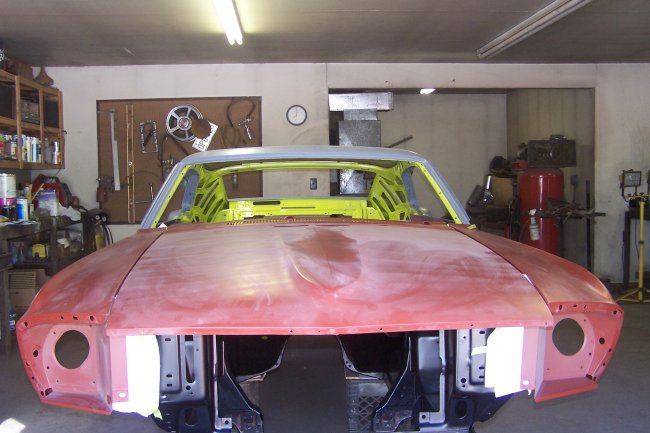 1969 and 1970 Mustangs tend to have issues with hood alignment with fenders. They lined up pretty good for me, but I don't quite like the gaps between the upper valance
and the fenders. I guess I'll have to live with it since everywhere else lines up real well.
1969 and 1970 Mustangs tend to have issues with hood alignment with fenders. They lined up pretty good for me, but I don't quite like the gaps between the upper valance
and the fenders. I guess I'll have to live with it since everywhere else lines up real well.
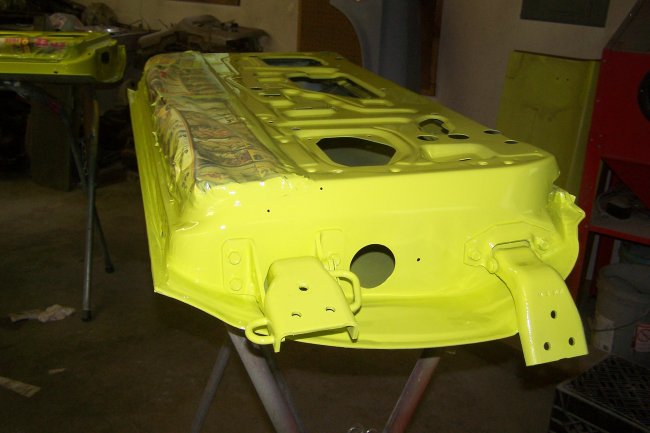
 I painted the underside of the hood, underside of the trunklid and the inside of the doors off from the car. The factory would have painted the doors and trunklid on the car and
would have painted the hood on a rack. Here is the underside of the hood after it was painted.
I painted the underside of the hood, underside of the trunklid and the inside of the doors off from the car. The factory would have painted the doors and trunklid on the car and
would have painted the hood on a rack. Here is the underside of the hood after it was painted.
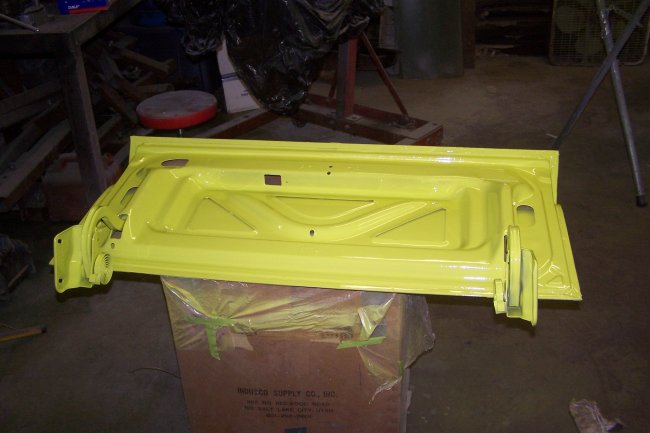 I painted the trunklid with the hinges installed so that the trunklid bolts would get painted at the same time. If I had not done this, the paint on the bolt heads would get damaged
when I bolted the trunklid on. The only drawback to doing it this way is that the hinges can not be adjusted on the trunklid without exposing the primer underneath. Needless to say I spent
a lot of time aligning the trunklid on the car to get it perfect.
I painted the trunklid with the hinges installed so that the trunklid bolts would get painted at the same time. If I had not done this, the paint on the bolt heads would get damaged
when I bolted the trunklid on. The only drawback to doing it this way is that the hinges can not be adjusted on the trunklid without exposing the primer underneath. Needless to say I spent
a lot of time aligning the trunklid on the car to get it perfect.
 I also painted the doors with the hinges attached. Again, getting the alignment correct is very important. The door hinges is always a dead giveaway that a car has been repainted, so its important
to get this detail right so that it looks clean and factory.
I also painted the doors with the hinges attached. Again, getting the alignment correct is very important. The door hinges is always a dead giveaway that a car has been repainted, so its important
to get this detail right so that it looks clean and factory.
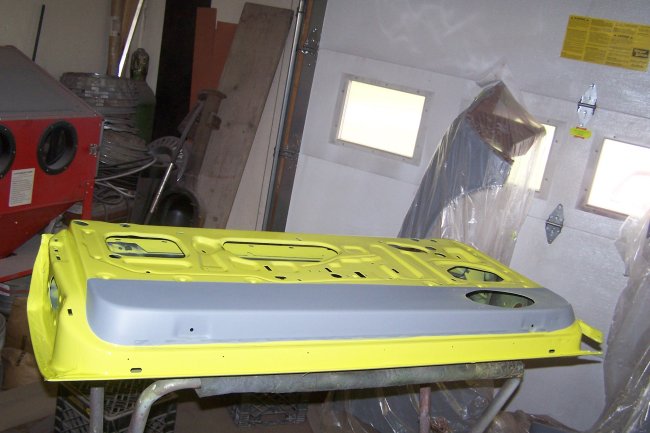 Since this car has a black standard interior, the bottom of the doors are painted charcoal gray metallic like the lower dash. To avoid a reaction between the green painted and
the paint I used for the charcoal gray metallic, I masked off the bottom of the doors so that I could spray the charcoal gray metallic over primer.
Since this car has a black standard interior, the bottom of the doors are painted charcoal gray metallic like the lower dash. To avoid a reaction between the green painted and
the paint I used for the charcoal gray metallic, I masked off the bottom of the doors so that I could spray the charcoal gray metallic over primer.
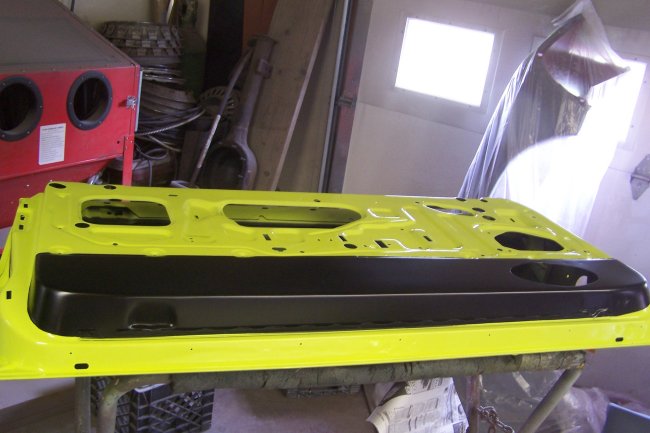 Here is the bottom of the door after painting. Its not pretty, but that oval hole is for the factory stereo speakers. That's how Ford did it.
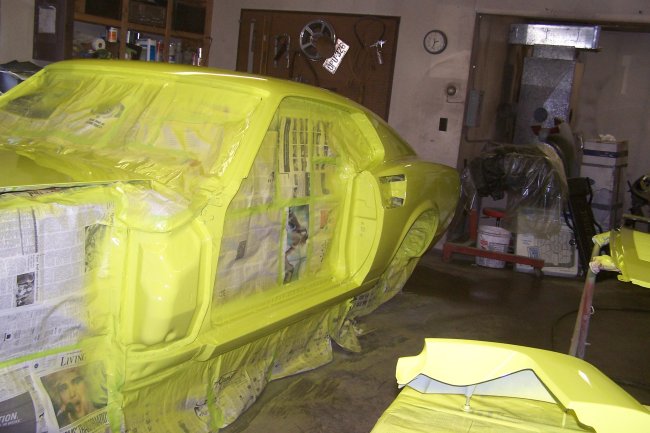
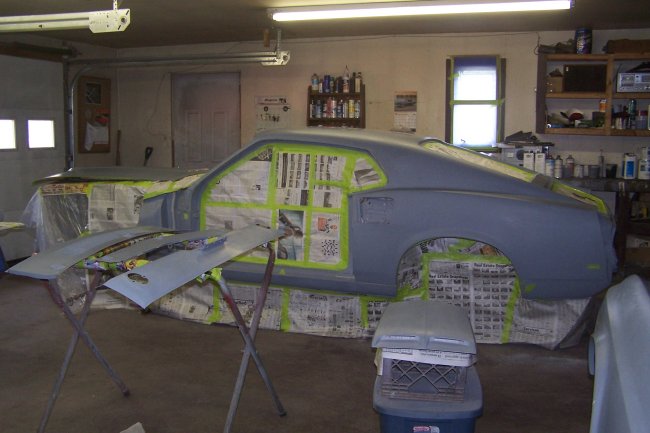 Its July 3,2006 and its time to paint the car. The door, window and trunk openings along with the undercarriage and front-end are fully masked off as you can see in this picture. The underside of the
hood, which was painted 5 days earlier, was masked off and placed on the front of the car.
Its July 3,2006 and its time to paint the car. The door, window and trunk openings along with the undercarriage and front-end are fully masked off as you can see in this picture. The underside of the
hood, which was painted 5 days earlier, was masked off and placed on the front of the car.
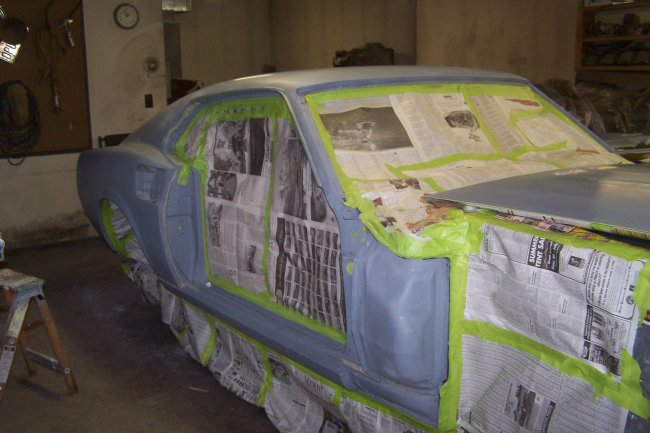 In this picture you can see some of the areas that where masked-off from the inside. Its important to mask as many openings as possible since the overspray will cause quite a mess on the inside.
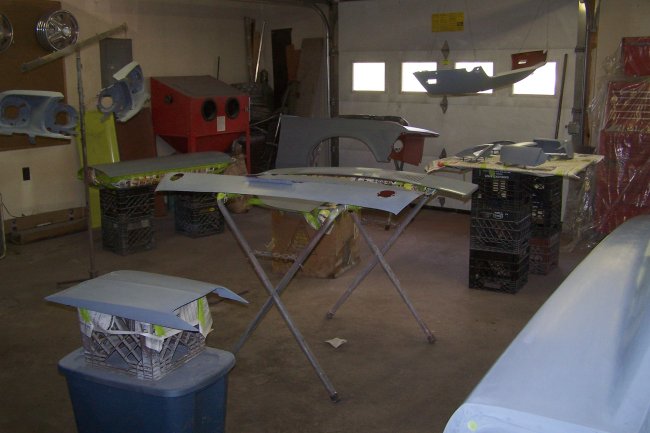 The rest of the parts where layed-out all over the garage. There is an aweful lot of parts that needed to be painted at once. I spent a lot of time arranging them so that they could be easily painted
without me bumping them during spraying and also they were arranged so that I would not accidentally overspray onto ajacent parts.
The rest of the parts where layed-out all over the garage. There is an aweful lot of parts that needed to be painted at once. I spent a lot of time arranging them so that they could be easily painted
without me bumping them during spraying and also they were arranged so that I would not accidentally overspray onto ajacent parts.
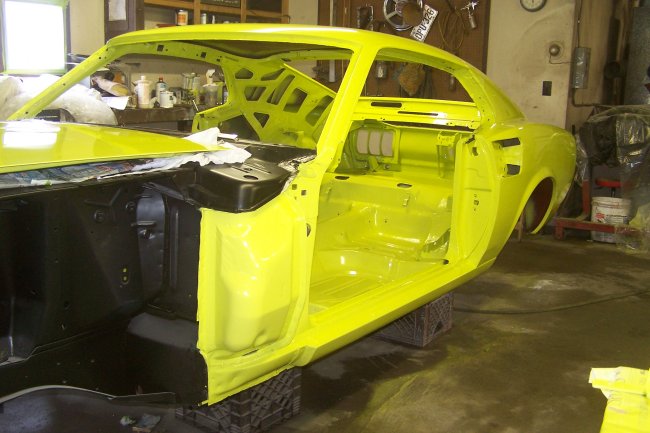
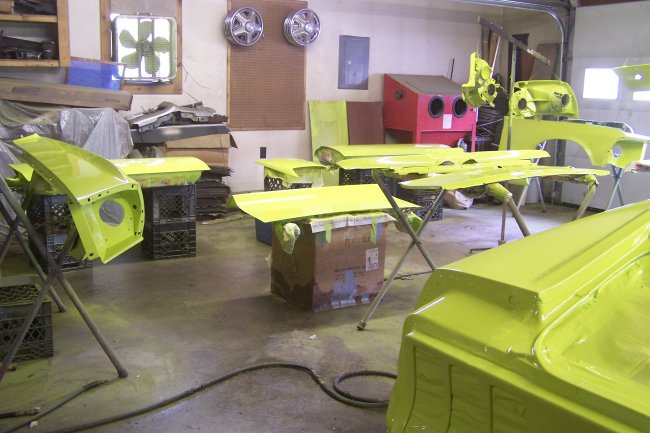 One long day later. Yah Hoo ! Its Groovy Green ! Once the dust had settled its time for the sanding and buffing process.
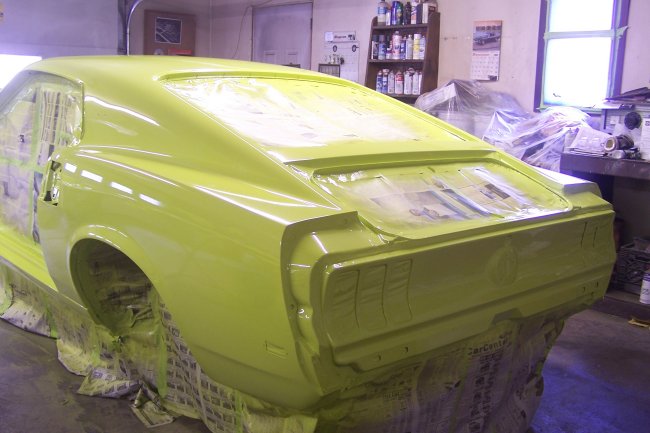 But first, here's a couple pictures of the shell.
 It may look pretty shiney in these pictures, but to get a much cleared and deeper shine the car has to be sanded and buffed. The clear needs to be sanded as soon as possible. After 3 days the clear becomes to
hard to sand easily.
It may look pretty shiney in these pictures, but to get a much cleared and deeper shine the car has to be sanded and buffed. The clear needs to be sanded as soon as possible. After 3 days the clear becomes to
hard to sand easily.
Buffing was done in two parts. The first buff was done using 3M PerfectIt II buffing compound. It takes out almost all of the scratches left by the 2000 grit paper. When that was finihsed I washed the car with hot soapy water to remove all residual buffing compound. Then the car was buffed again using Meguires Stage III polishing compound. It takes out the light scrtaches left by the buffer. It really brings out the shine too. Once final buffing is done the car is washed once again with hot soapy water.
 Here is all buffed and unmasked. Its a pretty wild color isn't it ? Its a good idea to wait a month before assembling the car if the finish was not baked on. It takes that long for the clear to fully cure.