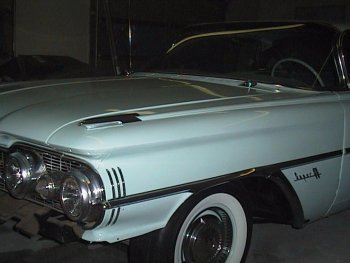
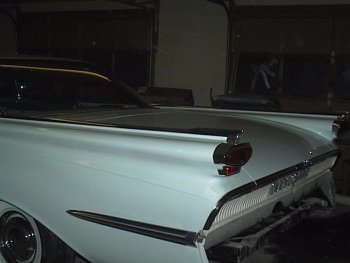
Out of the 11 chevrons that are on the car I had to repair all but one. Each chevron has 2 pins in the back and they are held onto the fenders using special twist-on clips. They are almost impossible to take off with out breaking the pins off, because of their age an because of the corrosion that forms when the chrome layer was broken by the installation of the clips by the factory. My trick to repairing them is to use a Dremmel Tool to grind the pin stub off and to grind down about 0.010" beyond that. I fill the entire recess behind the chevron with J-B Weld (an epoxy). On the fender I apply masking tape to the entire area where the chevrons are located. I then press a bunch of #6 flush-mount (beveled headed) screws into the chevron mounting holes. I apply some J-B Weld to the head of the screws and then I tape the chevrons inplace. After letting it cure, I remove the chevrons and trim the excess J-B Weld from around the edges. Then the chevrons can be bolted directly to the fender. You have now learned a trade secret!
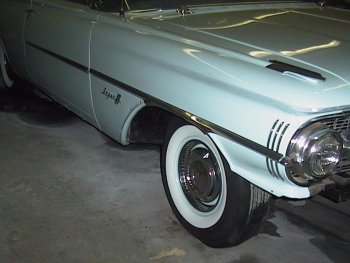
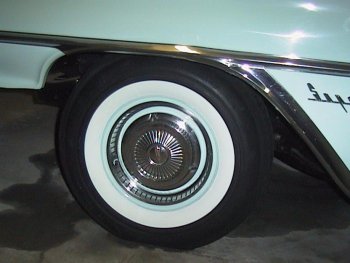 Here's a close-up picture of one of the wheels. I had to sandlbast all five rims, prime them, paint the backs gray and then paint
them with the body color before I could put the tires on. The tires came from Coker Tire.
I polished the centercaps and trim rings. I also touched up all of the black paint that goes on the trim rings' ribbing.
Here's a close-up picture of one of the wheels. I had to sandlbast all five rims, prime them, paint the backs gray and then paint
them with the body color before I could put the tires on. The tires came from Coker Tire.
I polished the centercaps and trim rings. I also touched up all of the black paint that goes on the trim rings' ribbing.
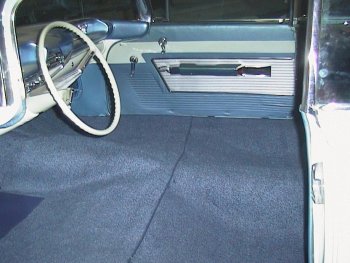
The carpets weren't perfect, however. There was way too much material in the center, which made the hump way to high. I had to do what Oldsmobile did with their carperts, which was to cut a slit about 8 inches down the middle, take out some of the material and then sew the carpet together. I also used the original carpet as a template to cut out the areas around the brake pedal, steering column and the headlight dimmer switch.
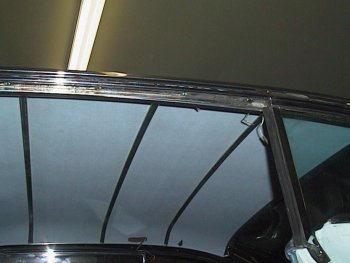 The original headliner, which is made of a textured foam had deteriorated over the years. Refer to project page #2.
It is not reproduced. What I had to do was use the standard headliner material that was used on cars that didn't receive this treatment.
I purchased the headliner and the seat insert material from SMS Auto Fabrics ,after receiving
some very nice samples from them. They also had some of the original material that was used on the seats as well, which was great because
I needed to fix the seat inserts. All I did for the headliner was to scrape the old foam off from the cardboard backers and affix
the new material to the backers using contact cement. Before I installed the headliner I put the Welding Checklist back where I found it
so that it may be rediscovered someday...
The original headliner, which is made of a textured foam had deteriorated over the years. Refer to project page #2.
It is not reproduced. What I had to do was use the standard headliner material that was used on cars that didn't receive this treatment.
I purchased the headliner and the seat insert material from SMS Auto Fabrics ,after receiving
some very nice samples from them. They also had some of the original material that was used on the seats as well, which was great because
I needed to fix the seat inserts. All I did for the headliner was to scrape the old foam off from the cardboard backers and affix
the new material to the backers using contact cement. Before I installed the headliner I put the Welding Checklist back where I found it
so that it may be rediscovered someday...